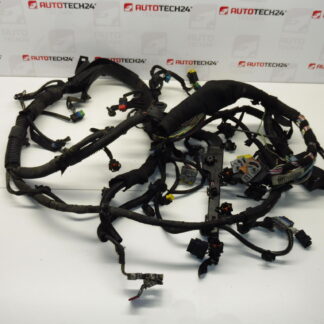
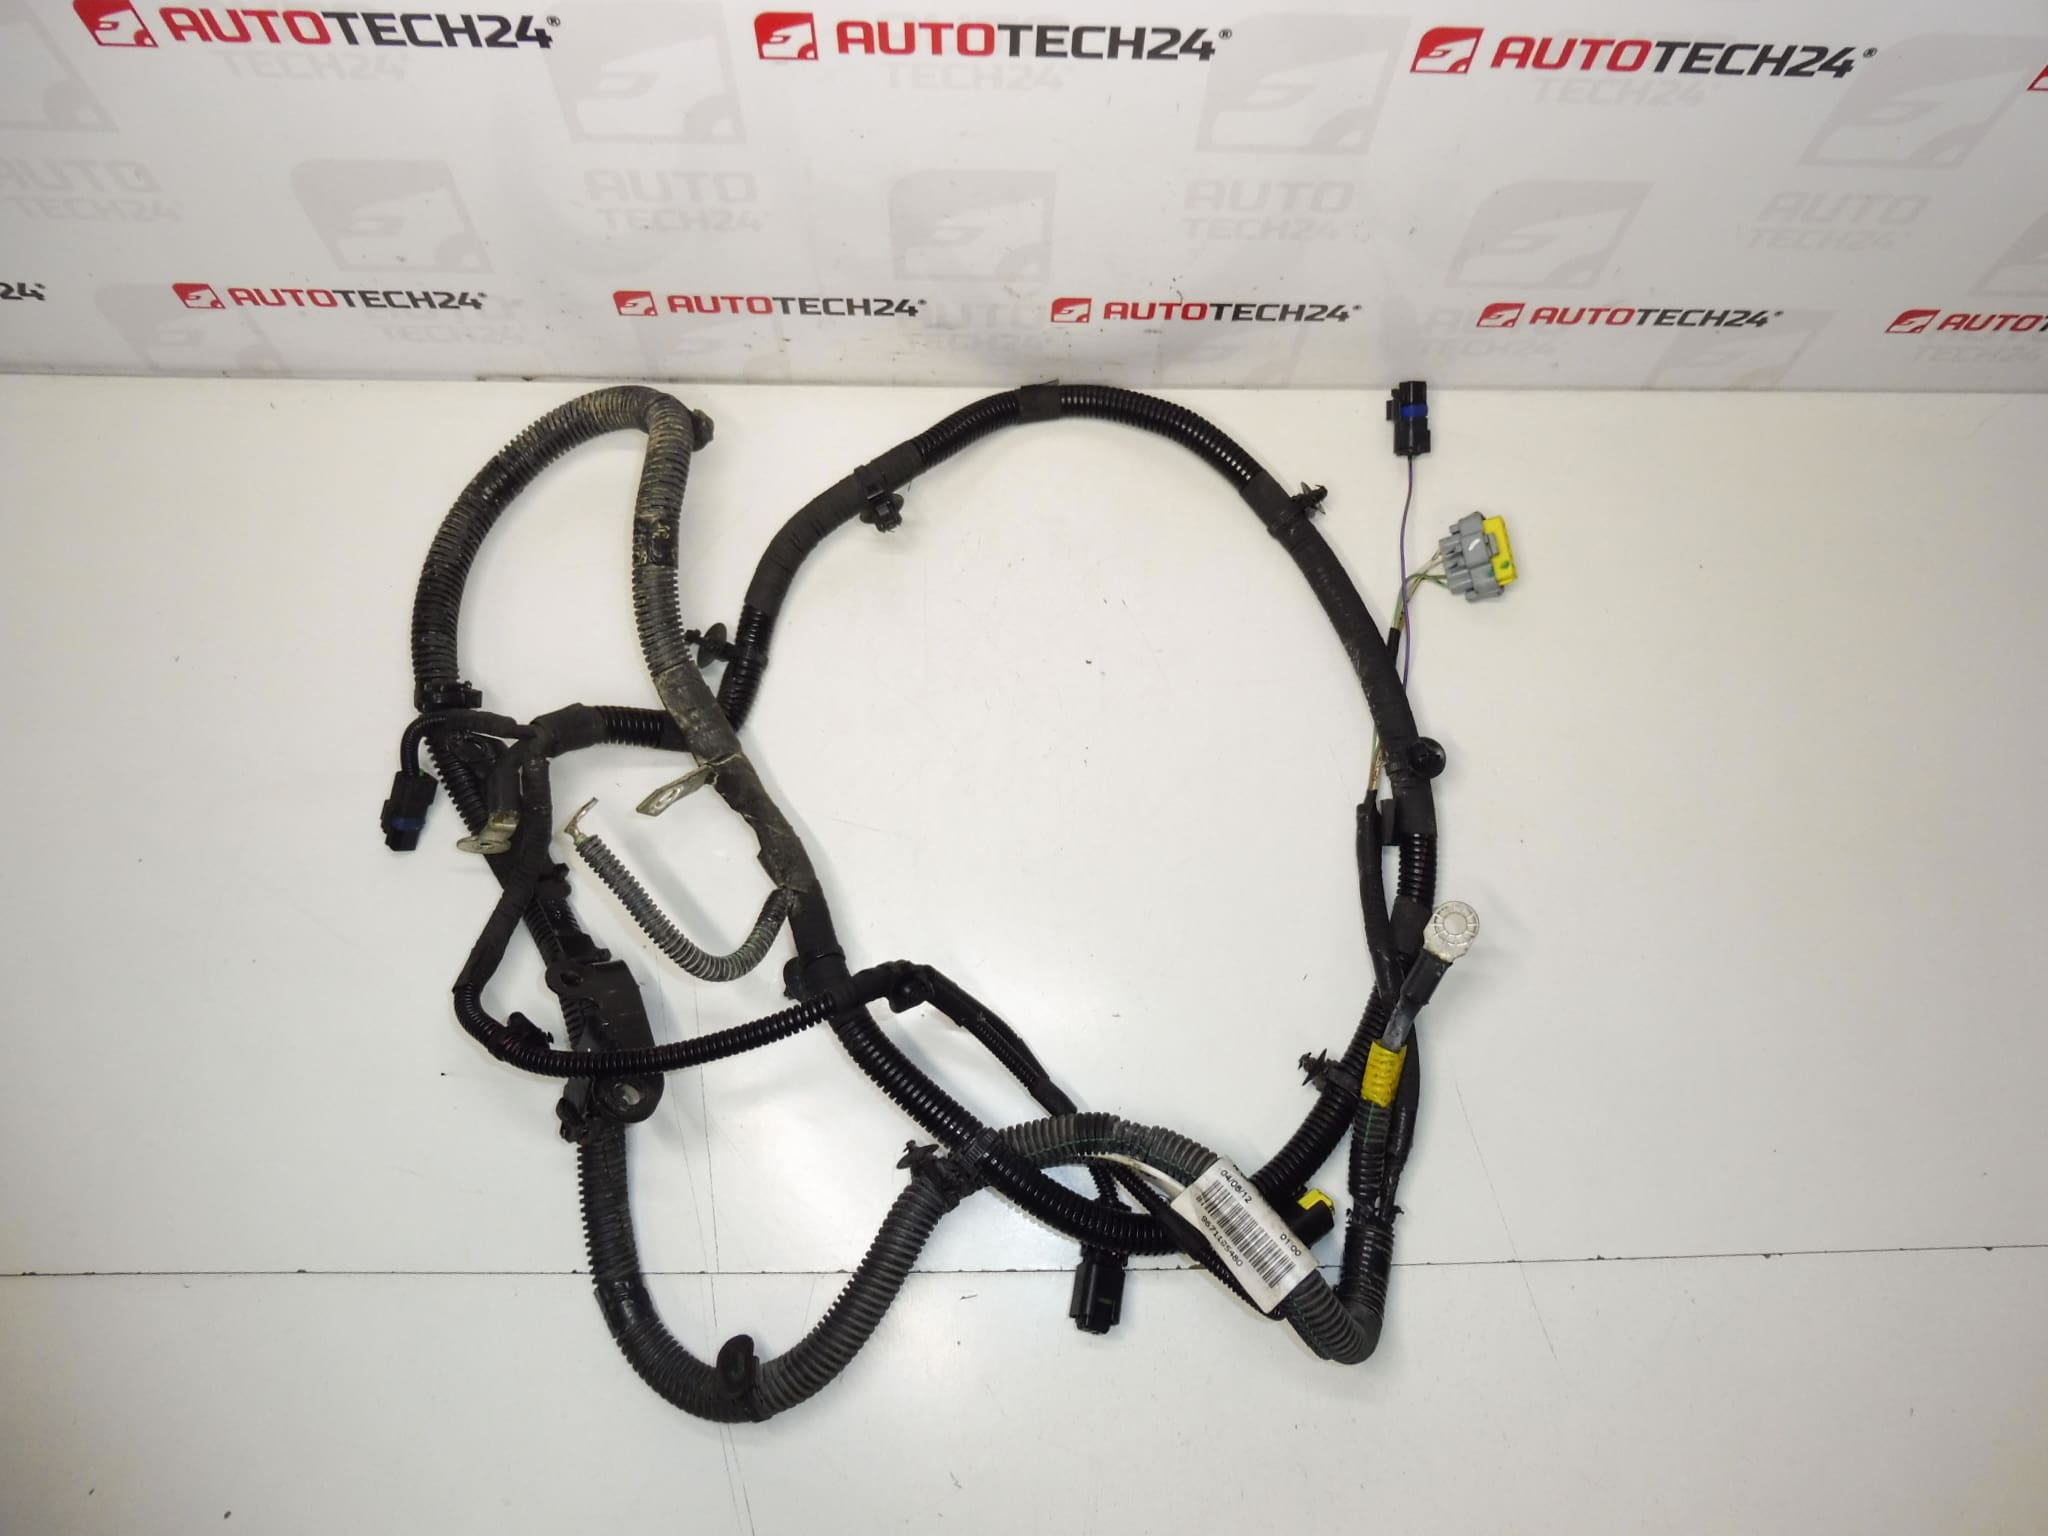
Description
PEUGEOT 207 rear door handle
With a switch for opening the back cover
ETS color – CENTRE GRAY PAINT
Part description
Used tailgate handle for Peugeot 207 SW marked ETSC, intended for convenient control of opening the tailgate thanks to the integrated switch. Thanks to the original PSA design, it is suitable as a replacement for a damaged handle (cracks, play, non-functioning switch) and will preserve the original appearance of the car in ETS – Cendre gray paint.
The part is often searched by number, so we also include the product code 8742R2 and the designation ETSC for easy pairing with the existing part.
Technical information
- Manufacturer: Stellantis Citroën Peugeot
- Model: Peugeot 207 (label: Peugeot 207; name: 207 SW)
- Other numbers: ETSC
- Design: back cover handle with switch
- Color: ETS – Cendre gray lacquer
Product codes
- Product codes: 8742R2
Installation recommendations
Generally/typically this involves replacing the handle of the outer part of the back cover with the switch. The exact steps may vary depending on the specific car model and equipment.
1) Before assembly (checks of used part)
- Compare with the old piece: handle shape, location and type of switch, connector/wiring (if included), and whether the 8742R2 / ETSC markings match.
- Check the condition of the paint surface (ETS – gray Cendre), cracks, broken handles and smooth operation/closing of the switch.
- Verify that the contact part of the switch is clean and free of obvious corrosion or moisture.
2) Necessary tools and materials (in general)
- Normal set of hand tools (screwdrivers, socket wrenches according to design)
- Plastic crowbar for removing upholstery/lining
- Cleaning agent and cloth (for contact surfaces)
- Possibly insulating tape/tapes to secure cabling
3) Step-by-step assembly procedure
- Secure the vehicle against movement and open the tailgate.
- Disconnect negative battery terminal (recommended for switch/electric parts).
- Remove the inner lining/upholstery of the rear cover to gain access to the handle mount and switch connector.
- Locate the handle switch connector and carefully disconnect it.
- Loosen the fixing of the handle (nuts/screws depending on the version) and pay attention to the plastic handles.
- Remove the old handle and check the contact surface (dirt, seal residues, damage to the surroundings).
- Clean the contact surfaces so that the new handle fits properly and there is no play.
- Place the new handle in the hole and align it to the correct position.
- Attach the handle in the original way; tighten carefully to avoid cracking the plastic.
- Plug the switch connector back in and make sure it snaps into place.
- Reinstall the rear cover inner trim.
- Connect the battery.
-
4) Post-assembly checks and function verification
- Test the function of the back cover opening switch repeatedly (short presses, different grip angles).
- Check that the handle holds firmly, has no play and does not rub anything.
- After closing the lid, verify that the lid clicks properly and then opens without a problem.
5) The most common assembly mistakes + how to avoid them
- Damage to the plastic handles when removing the trim: use a plastic pry bar and proceed evenly.
- Undertightened/conversely overtightened fastening: tighten with feel, check fit and play.
- Forgotten or badly snapped connectors: after connecting, pull the connector lightly and perform a function test of the switch before completely reassembling the trim.
- Impurities in the landing surface: clean before assembly so that the handle sits straight and does not squeak.
Reasons why the part is damaged
- Mechanical stress during frequent opening of the lid (play, cracks, broken handles).
- Wear of the switch and contacts (irregular switching, worse response to pressure).
- Ingress of moisture and dirt into the area of the handle and switch, which accelerates the corrosion of the contacts and deteriorates the function.
- Damage during handling (improper closing, impact, improper disassembly).


