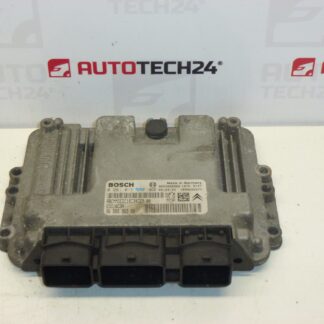
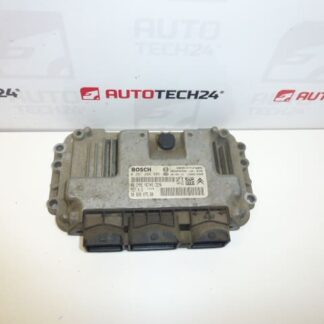
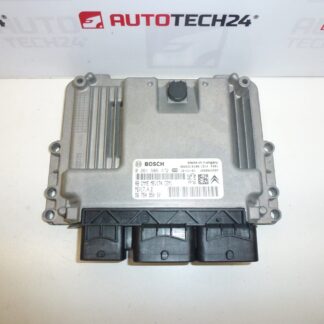
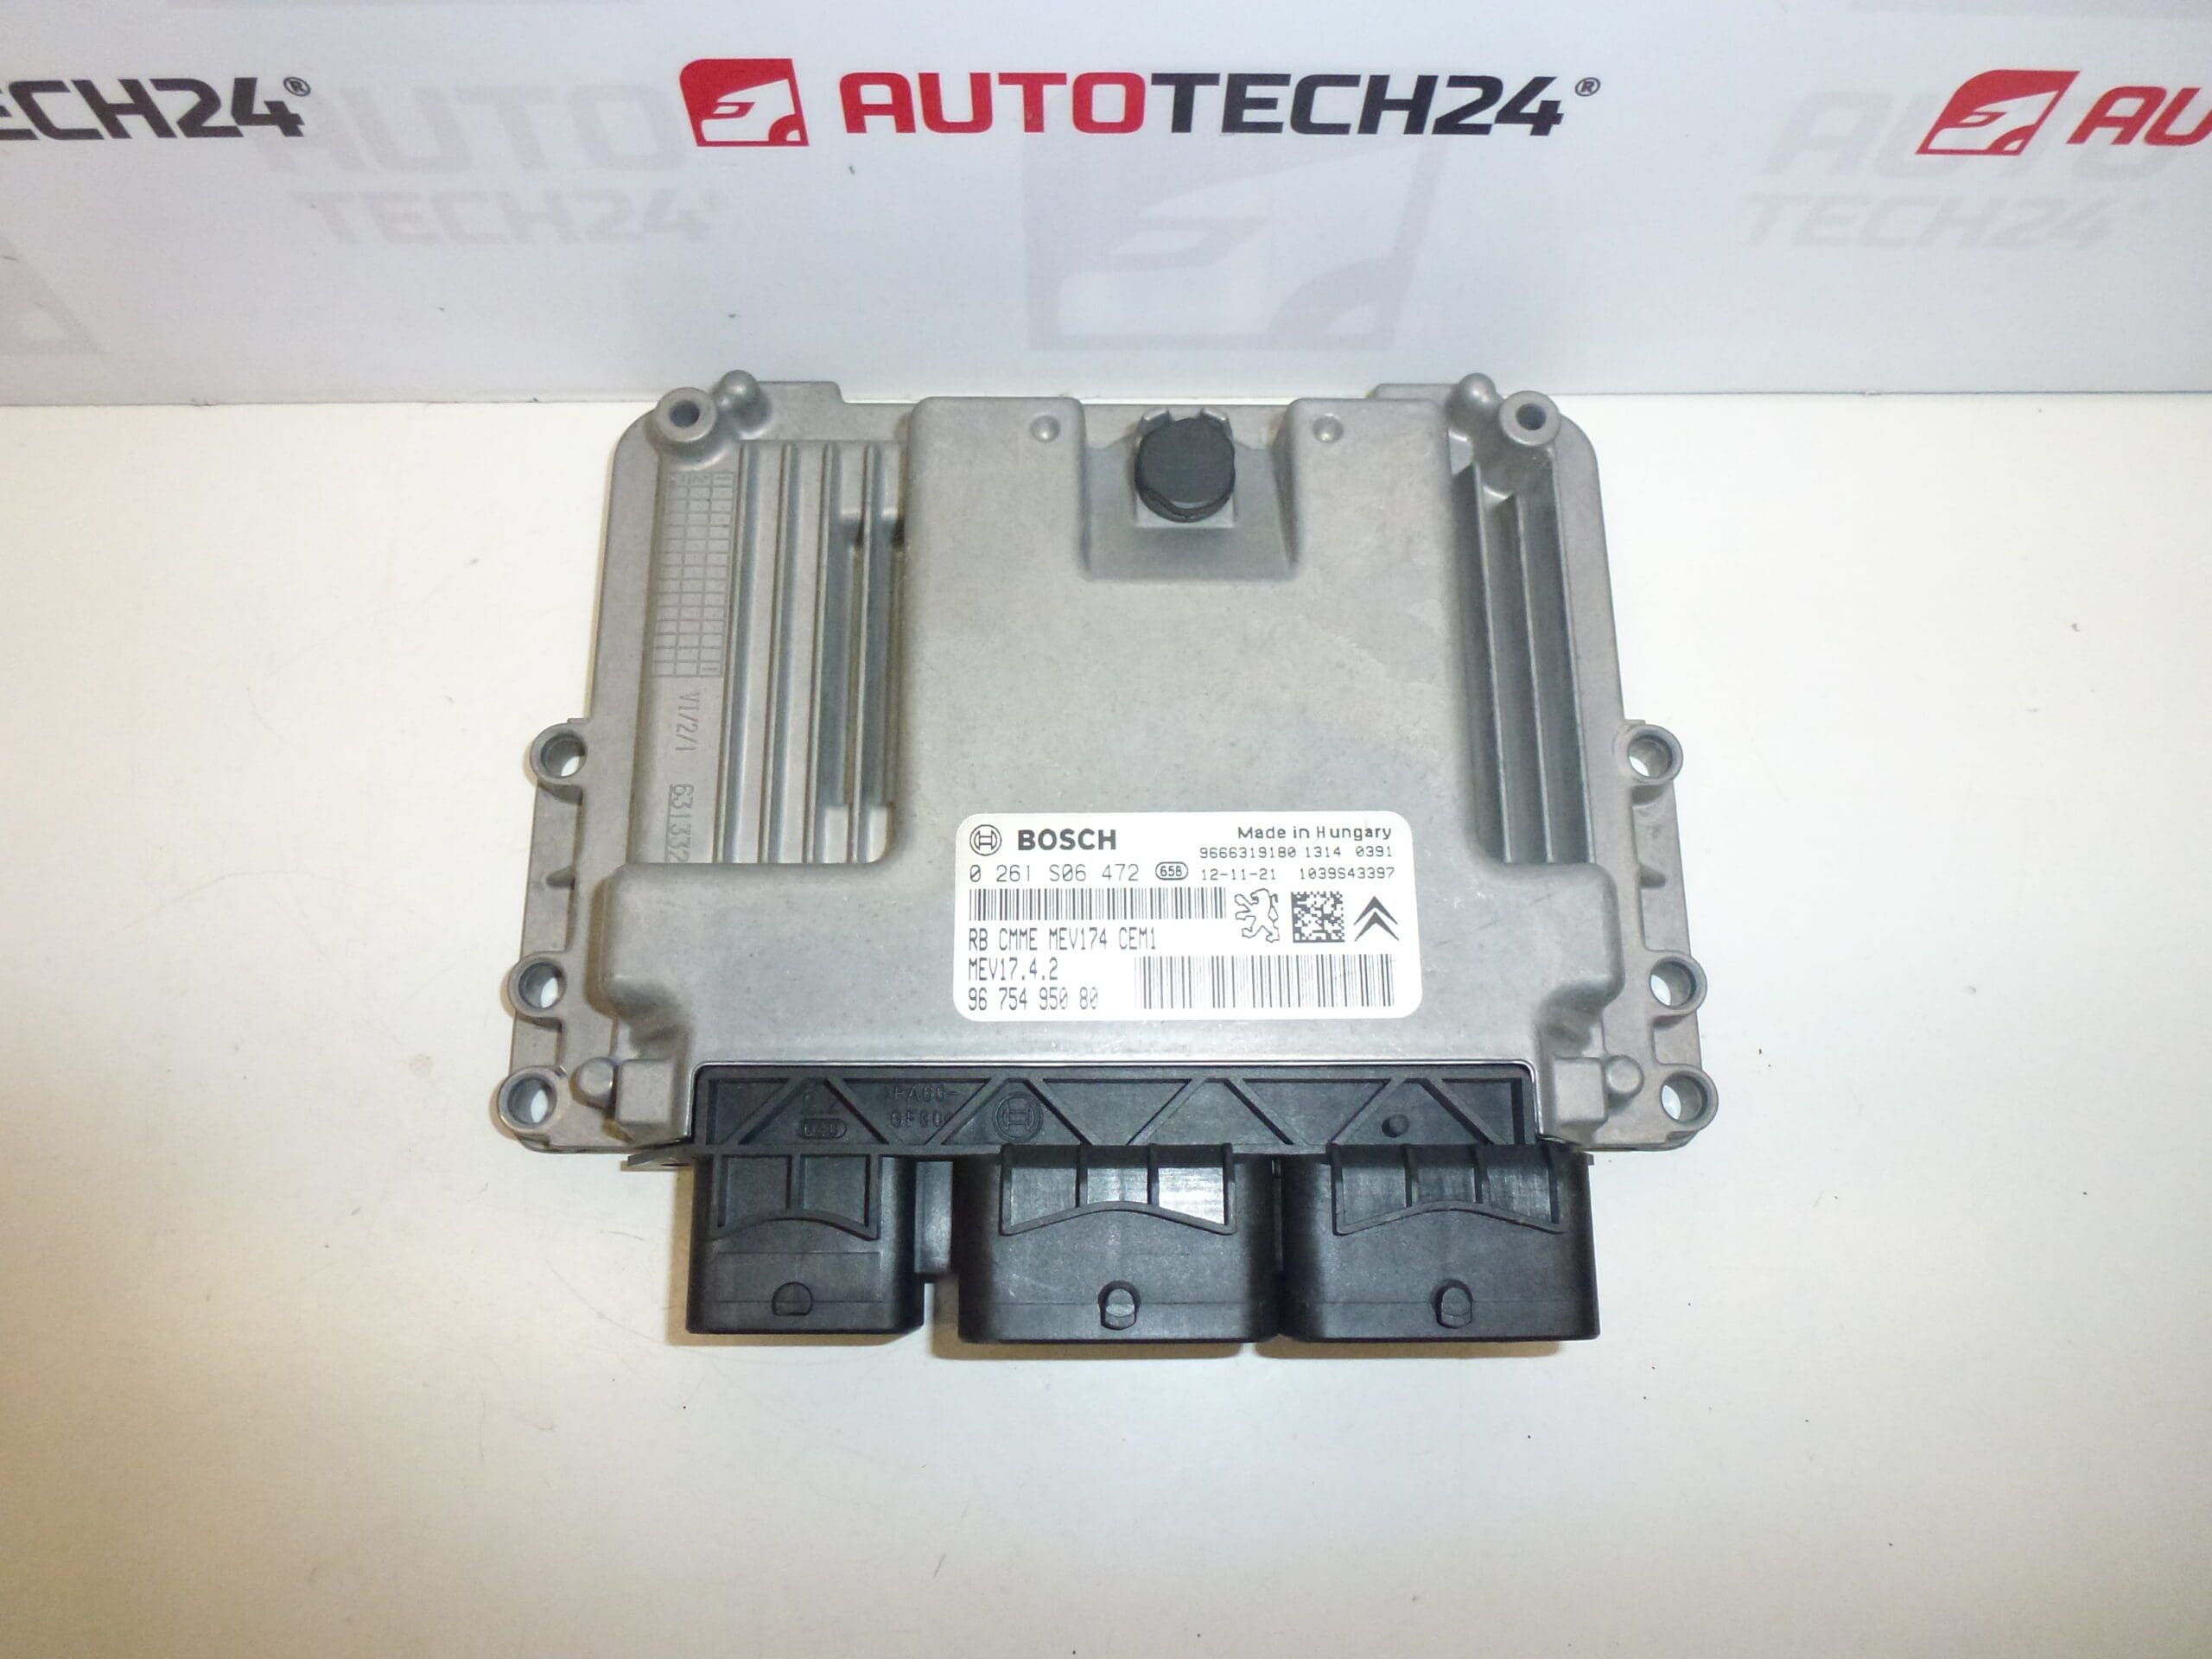
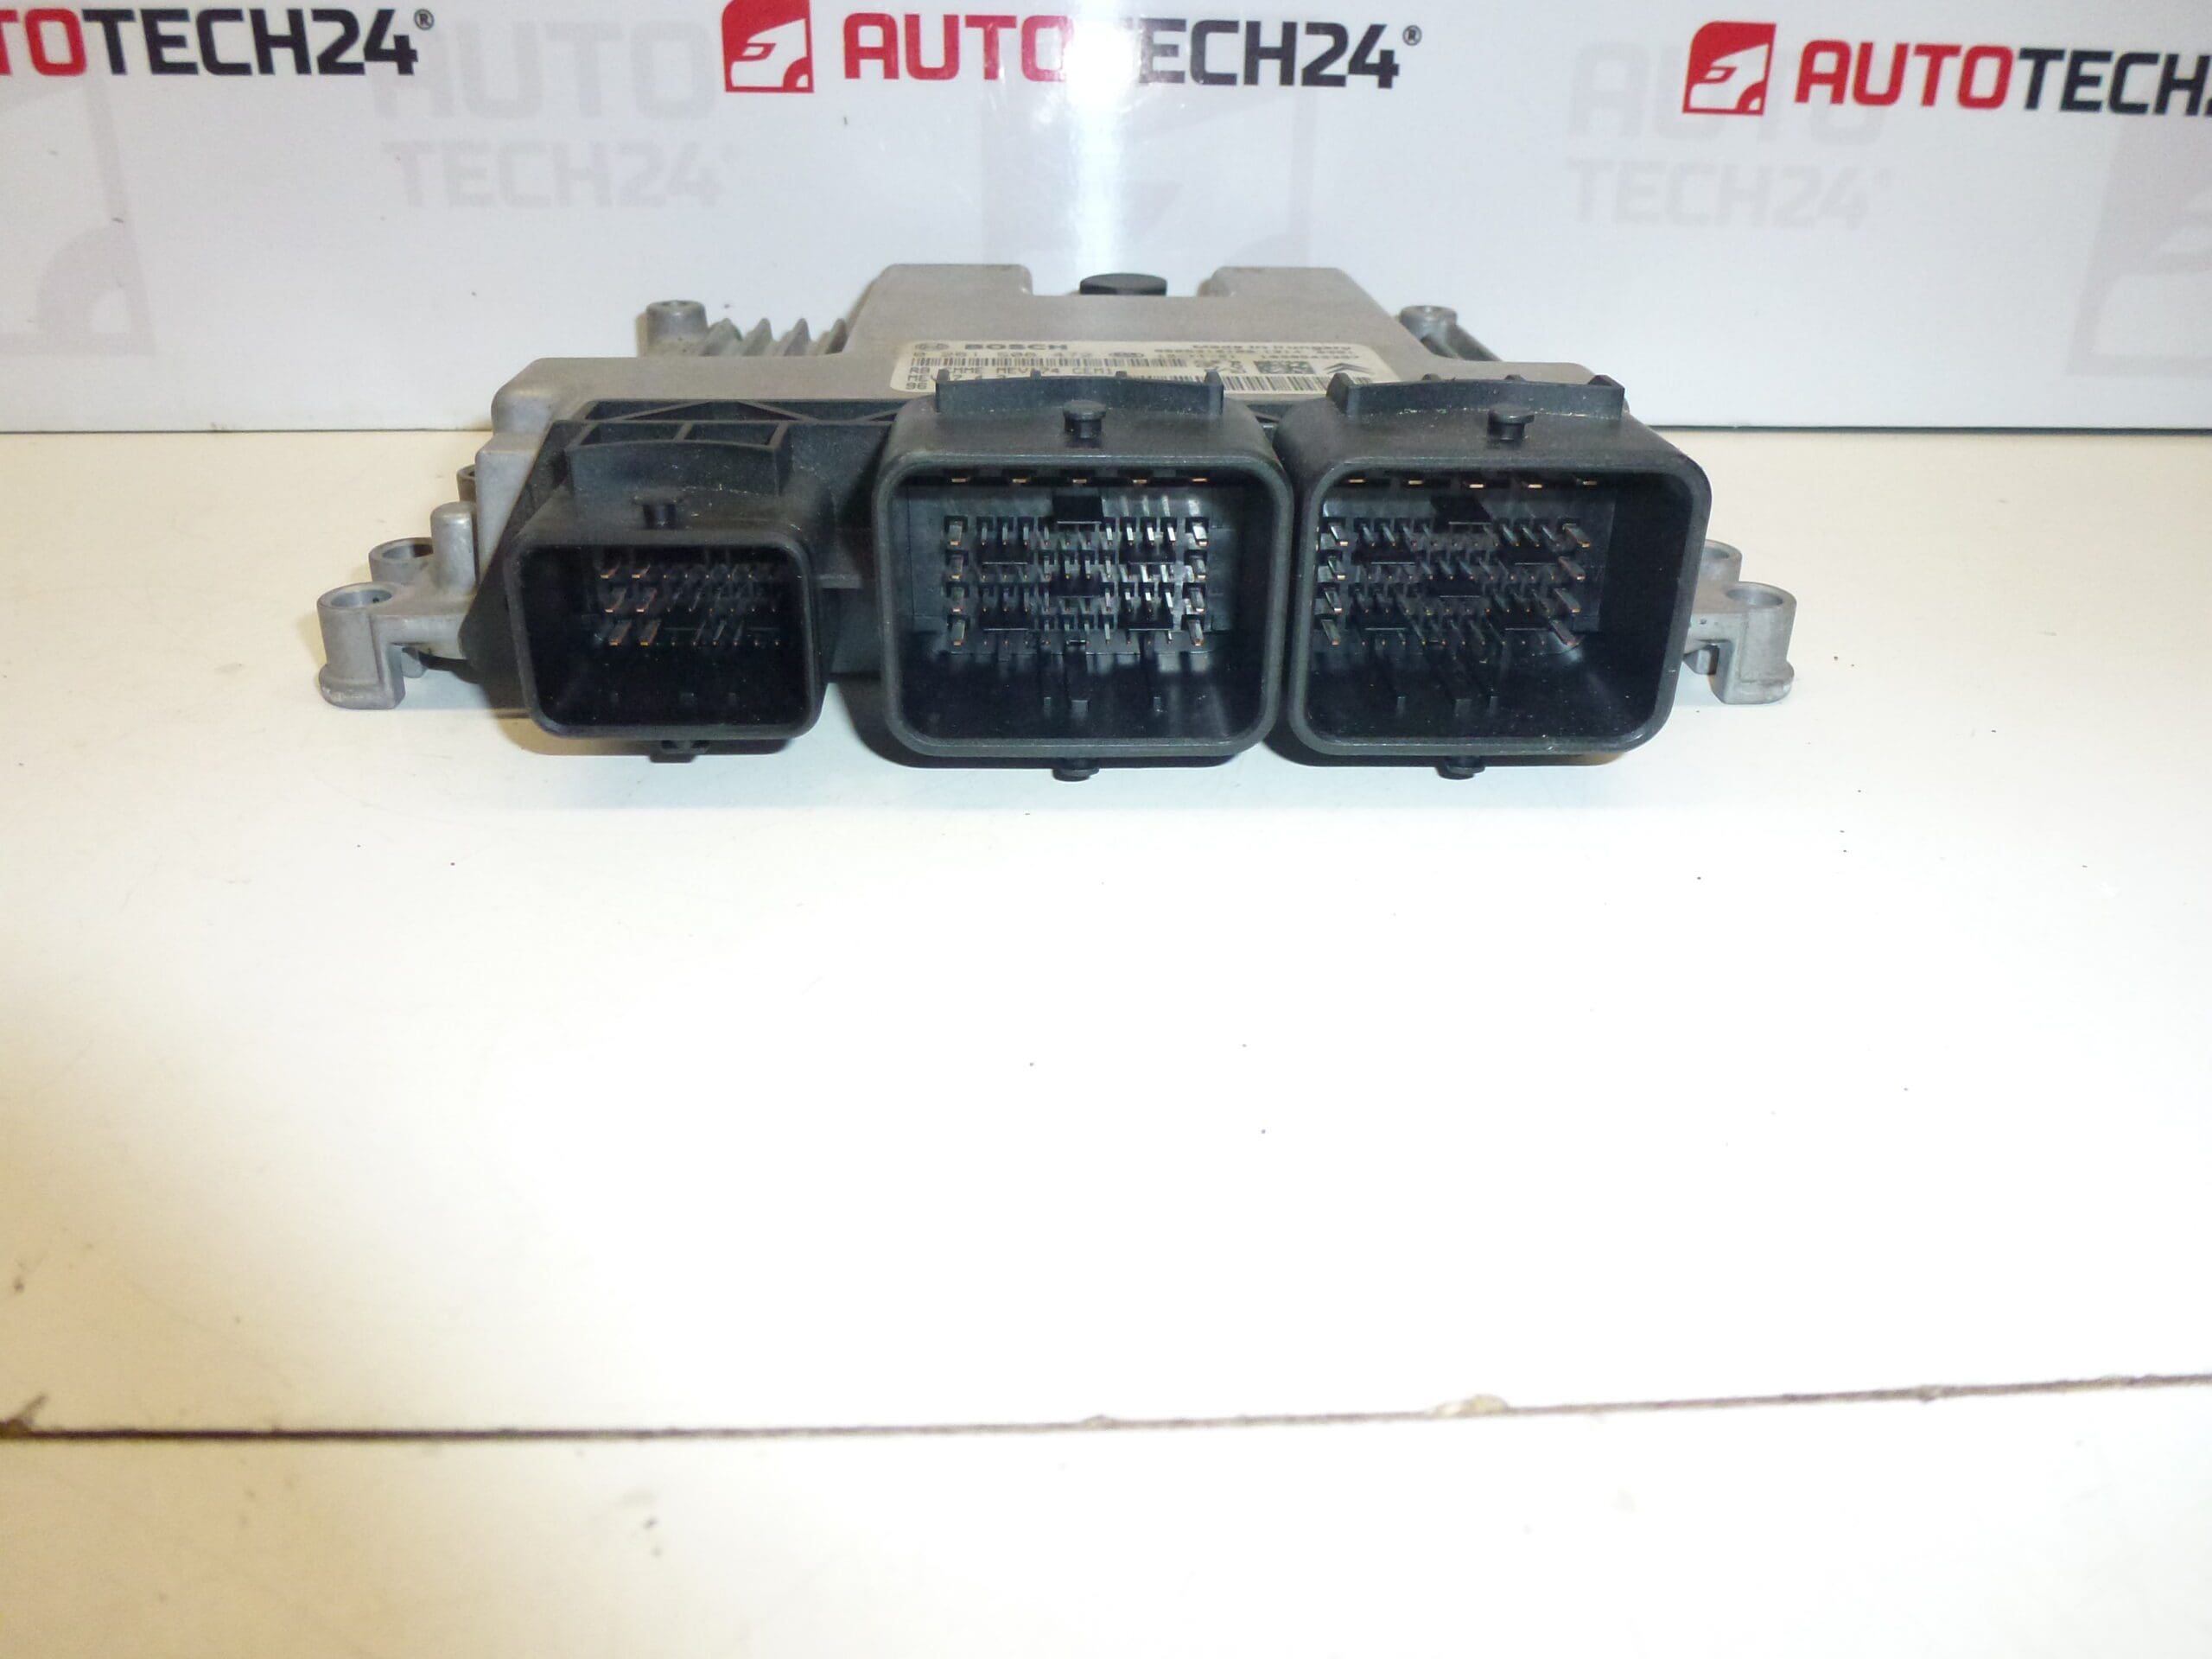
Description
Heating and air conditioning control for Citroën C3 II (A51) and DS3. With cable controls 6452R3.
This used climate/heater control unit is designed for Citroën C3 II (A51) and DS3 models and is a direct-fit replacement when the original panel or its control cables fail. The unit manages ventilation and temperature settings, fan speed, airflow distribution and air conditioning command through a combination of mechanical cables and electrical connectors. Commonly searched by part number 9675400280, this component is suitable for professional workshops and experienced DIYers who repair interior HVAC controls.
Technical Information
- Manufacturer: Stellantis / Citroën
- Model: Citroën C3 II (A51); DS3
- Product Codes: 9675400280
- Additional Numbers: 400018005, 6452R3
What This Part Does
The panel provides the driver with manual control over cabin climate: selecting temperature and airflow direction, adjusting fan speed, switching between recirculation and fresh air, and engaging air conditioning. In this variant the mechanical Bowden-type control cables (6452R3) transmit movement to the HVAC box flaps and blend doors, while electrical connectors handle fan motor and A/C signals.
How To Replace
Replacement is straightforward for a trained mechanic or competent DIYer:
- Park the car on level ground and ensure ignition is off. Disconnect the negative battery terminal before starting work to prevent short circuits.
- Carefully remove center-console trim panels around the control unit. Use appropriate trim tools to avoid breaking plastic clips.
- Unscrew the retaining fasteners and pull the control unit forward just enough to access electrical connectors and the cable ends.
- Disconnect electrical plugs and unclip the Bowden cable ends from the control levers. Note cable routing and lever positions to ensure correct reassembly.
- Fit the replacement unit by reconnecting cables and electrical connectors, secure with screws, refit trim, reconnect the battery and verify all functions (fan speeds, flap movement, A/C engagement, recirculation).
Installation Recommendations
- Always disconnect the battery before removal and follow the vehicle manufacturer’s fastening torques and assembly sequence to avoid damaging connectors or plastic trim.
- Inspect Bowden cables and end fittings during replacement; brittle or frayed cables should be replaced to prevent immediate re-failure.
- Check connector pins for corrosion and ensure a snug electrical connection. Clean contact surfaces if necessary with appropriate electronic cleaner.
- After installation, cycle all controls to confirm smooth movement of flaps and correct fan operation; adjust cable seating if flap positions are offset.
- When reinstalling trim, avoid overtightening screws and ensure all clips are properly engaged to prevent rattles.
Why This Part Most Commonly Fails
Failures usually stem from mechanical wear and environmental factors rather than a single electronic fault. Typical causes include:
- Worn, stretched or broken Bowden control cables causing poor flap response or stuck settings.
- Plastic lever or housing breakage due to aging, repeated use or impact when removing/installing trim.
- Degraded electrical contacts or corroded connector pins leading to intermittent fan speeds or backlighting failure.
- Accumulation of dust and moisture inside the control unit causing sticky knobs or degraded potentiometer contacts.
Notes For Buyers
If you are searching by part number, use 9675400280 or the additional references 400018005 / 6452R3 to check fitment against your vehicle. This product is intended for mechanics and skilled DIYers comfortable with interior disassembly and cable reseating. Replacing the control panel and addressing worn cables at the same time provides the most reliable result and restores full HVAC functionality.


