Description
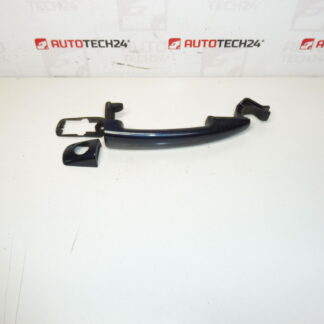
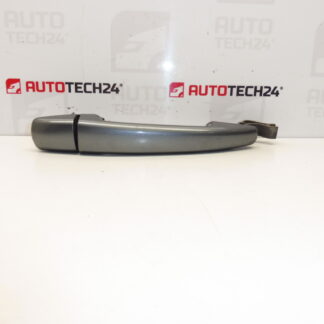
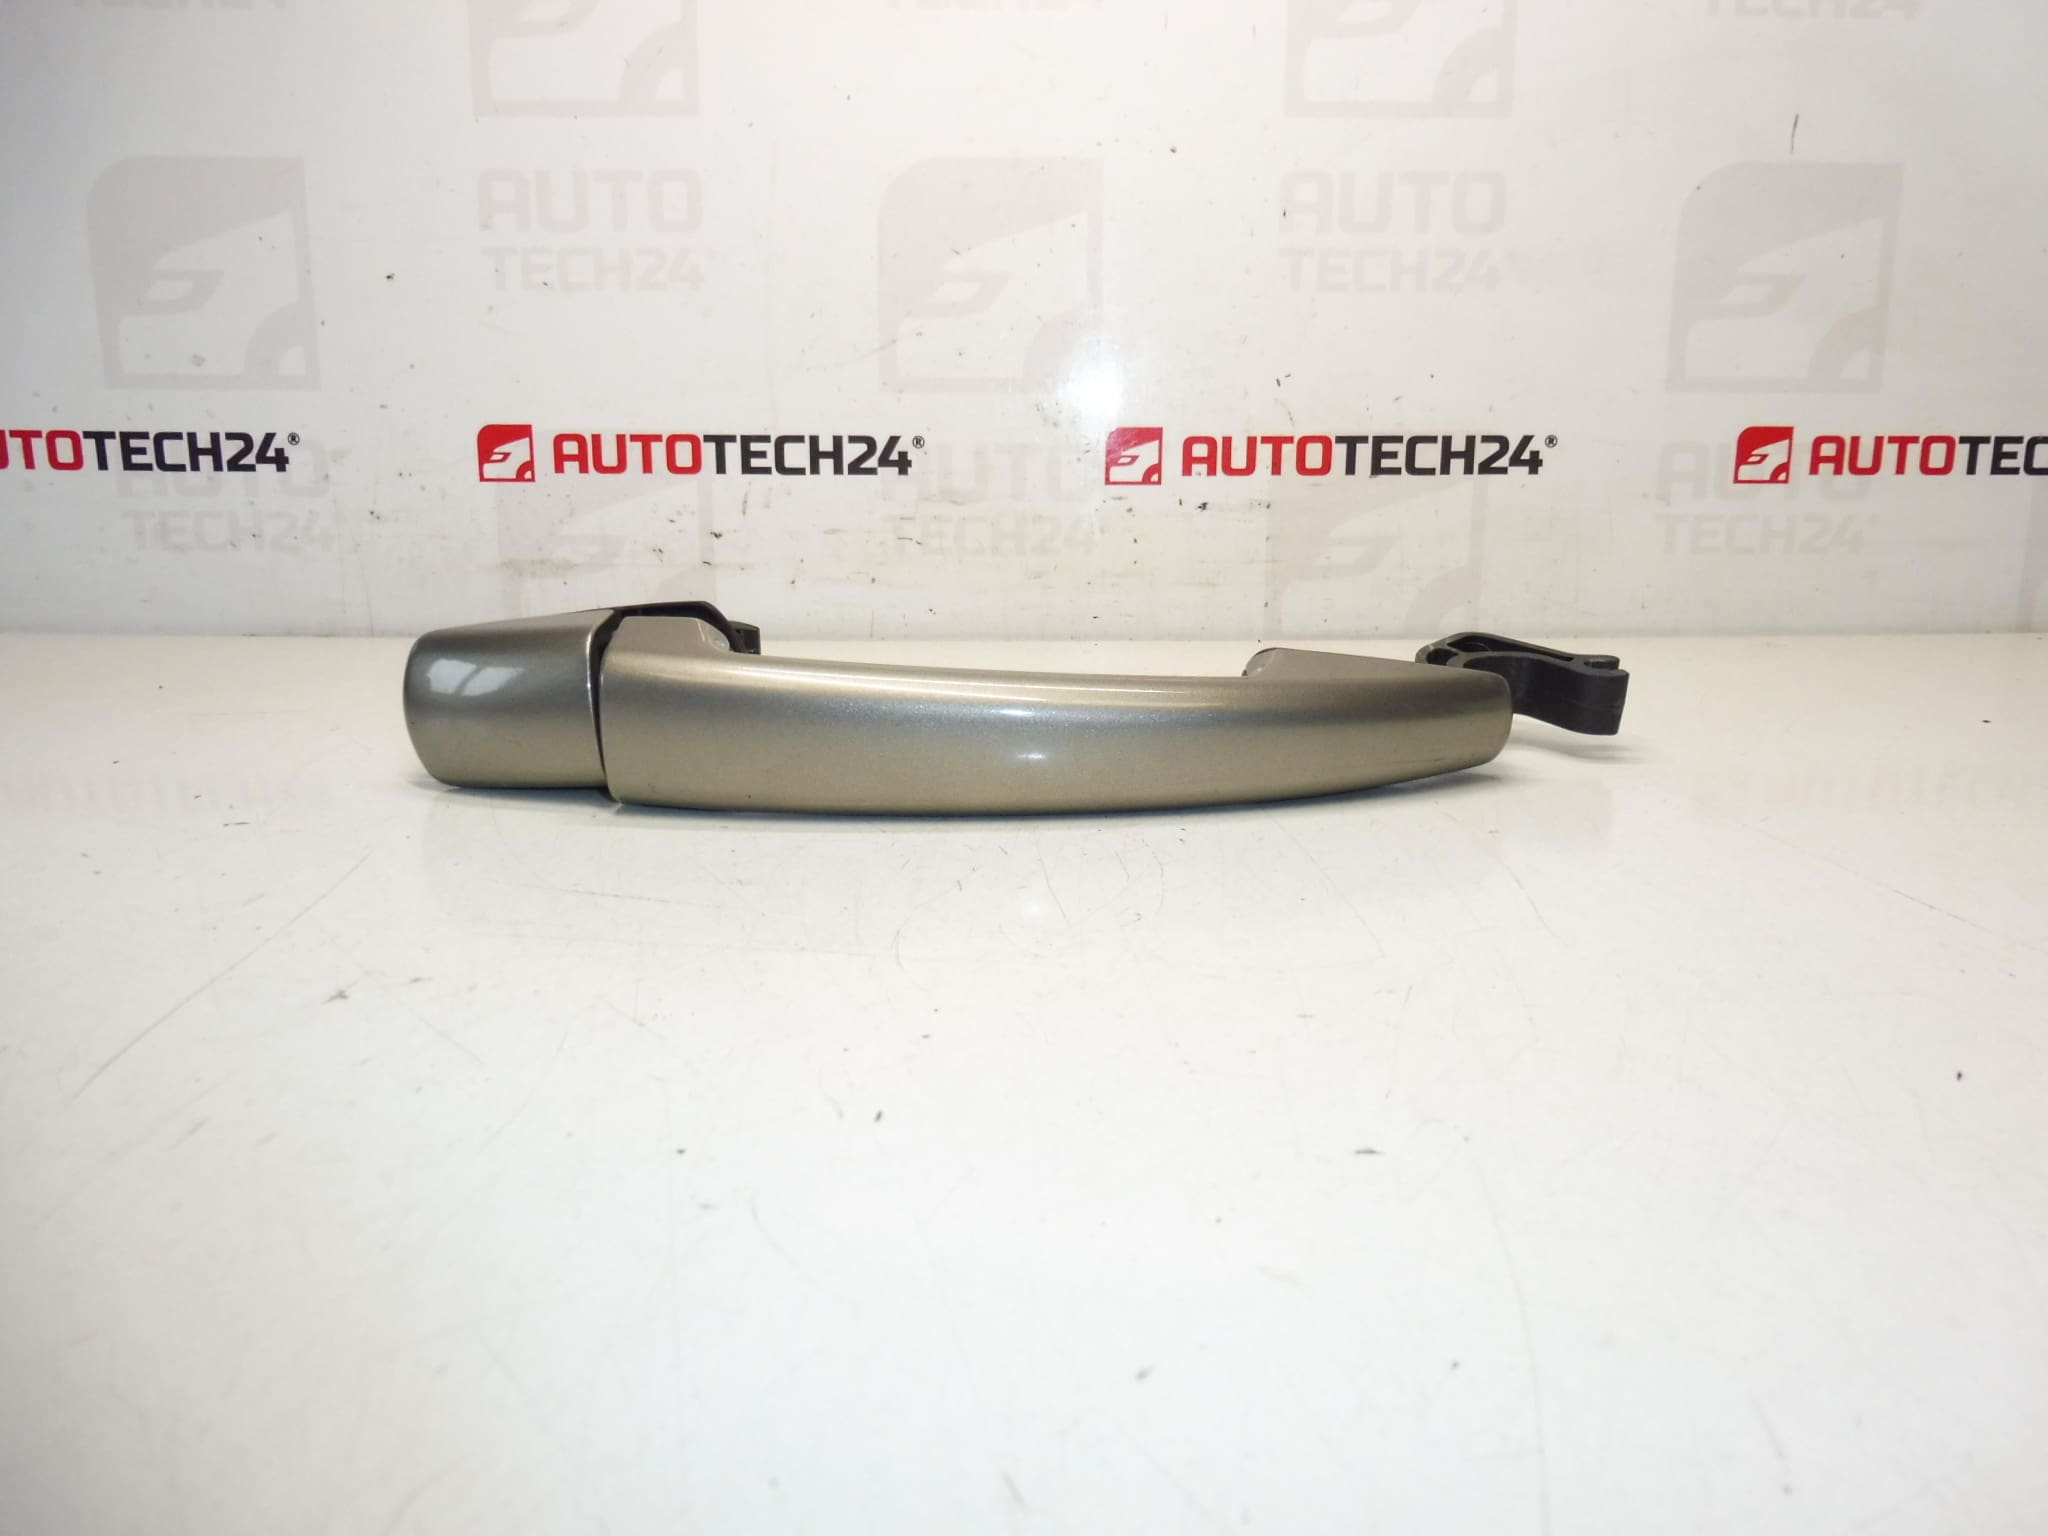
Left rear and right front and rear door handle for Citroën and Peugeot vehicles. Color EVG – Paint Vapor Gray
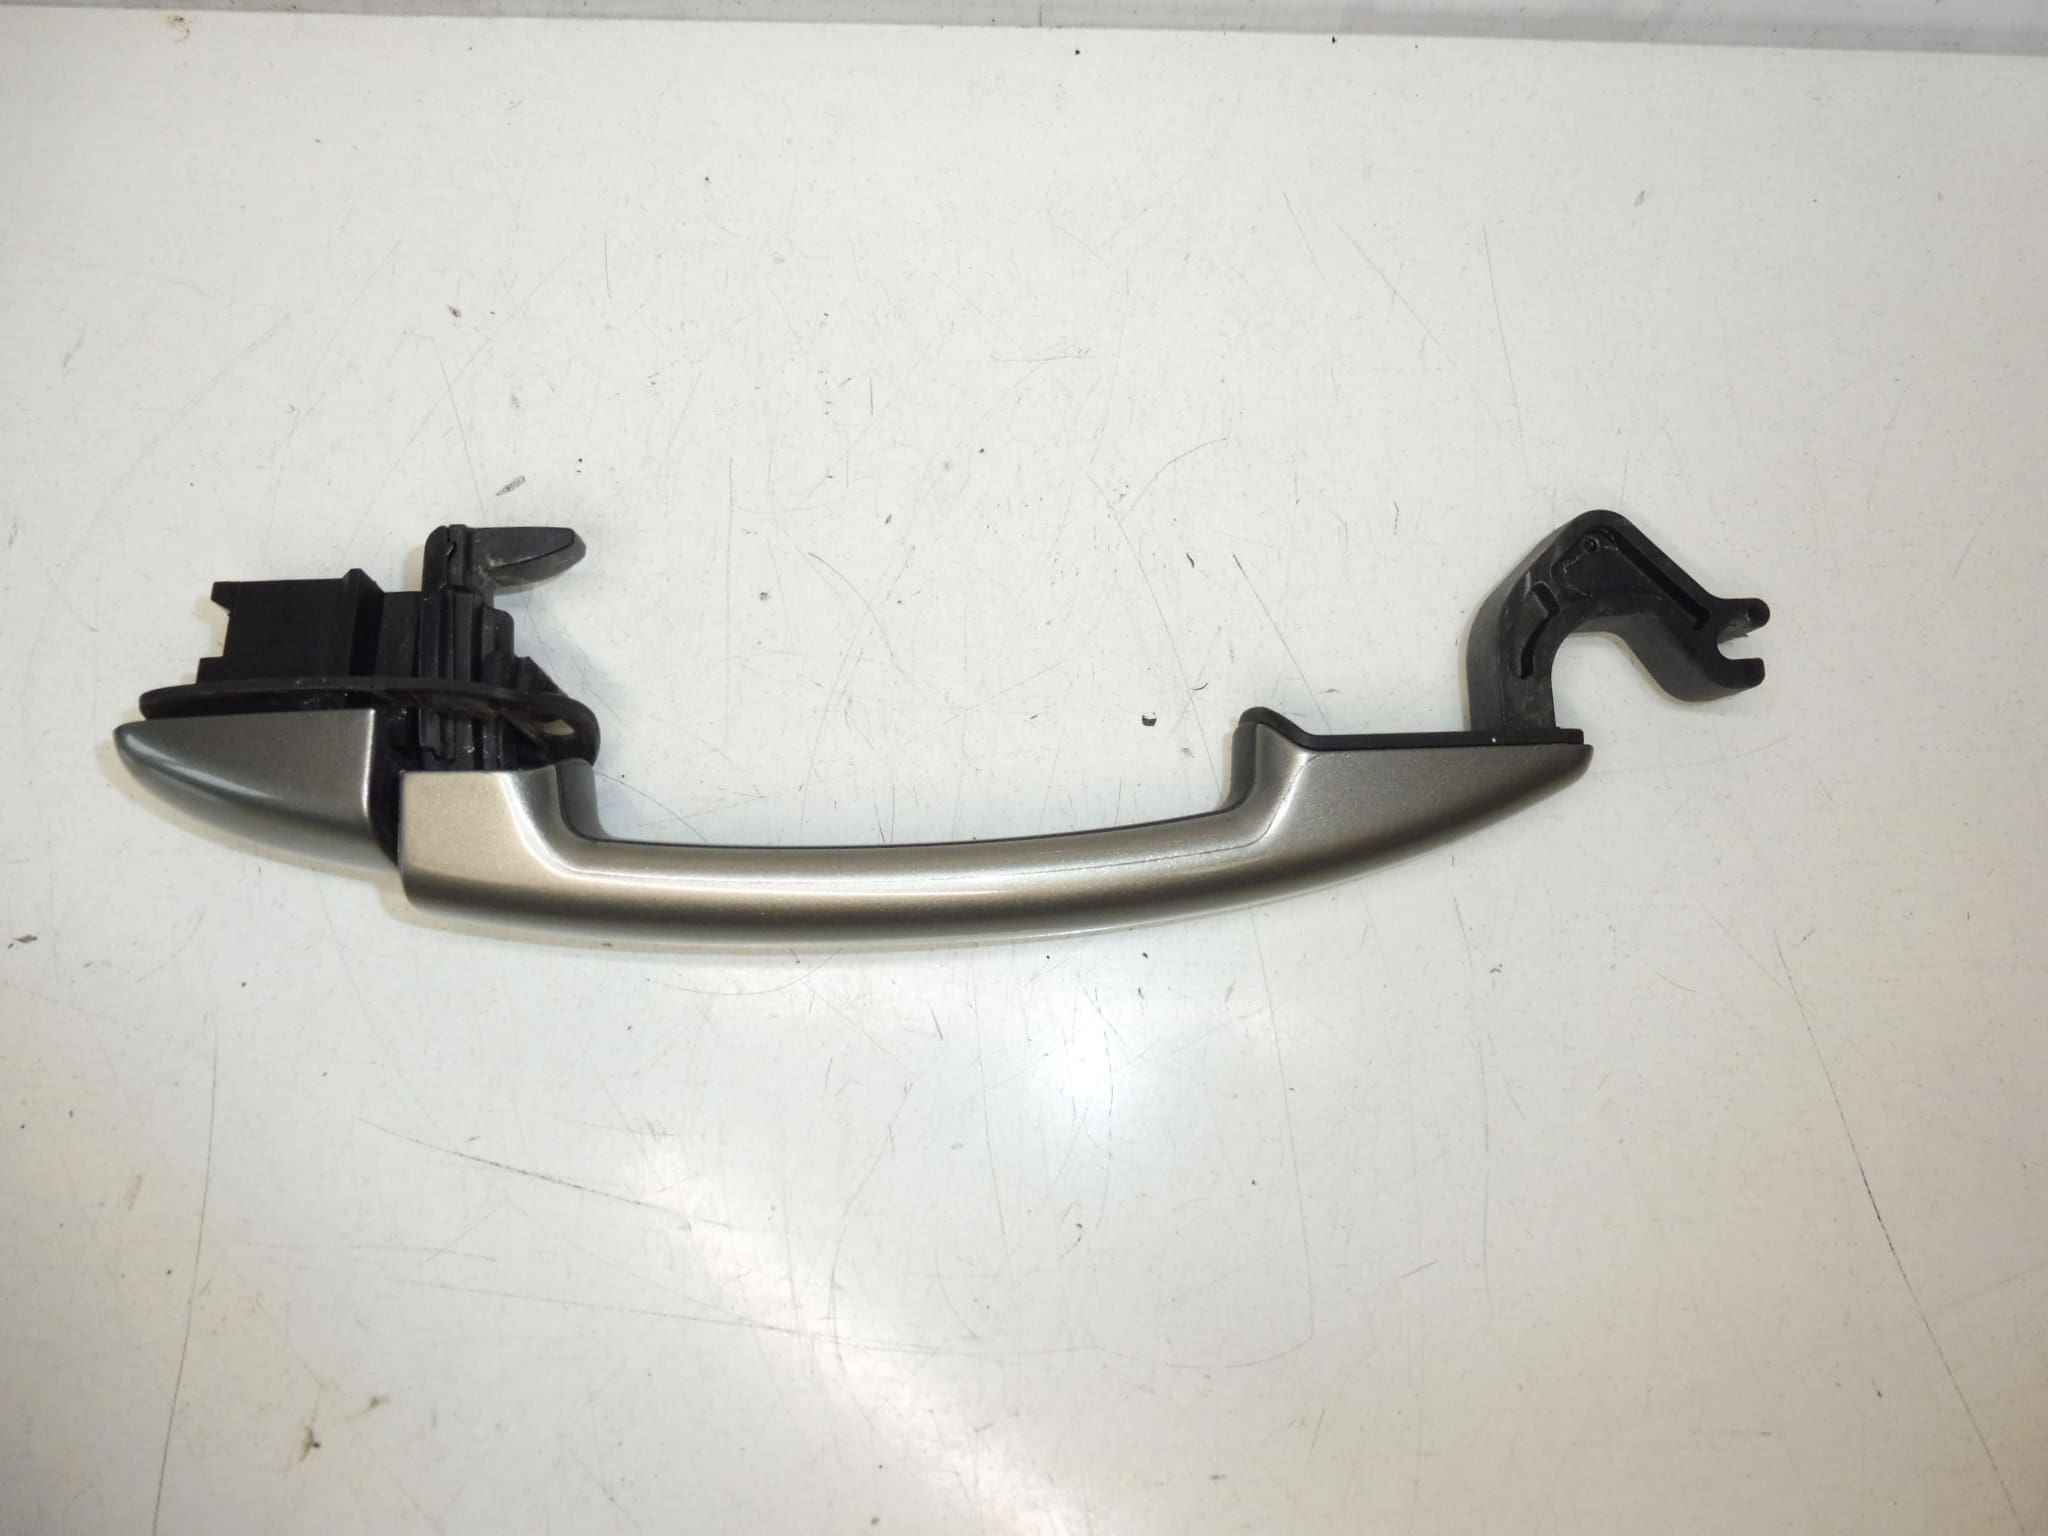
This exterior door handle (Part Code: 9101GH, Finish: EVGC / Vapor Gray) is suitable for several Citroën and Peugeot body variants. Designed as a direct-fit replacement for vehicles sharing the Stellantis door hardware specification, it restores proper door operation and appearance where the original handle is scratched, cracked or mechanically worn. The compact, OE-style design ensures correct engagement with the door latch and linkage for reliable opening and closing.
Compatibility
Compatible With Models (Typical Applications):
- Citroën C4 Picasso (C4 II)
- Citroën Berlingo III (Berlingo B9)
- Peugeot 207
- Peugeot 308
- Peugeot Partner / Partner Tepee (Partner III)
- Stellantis Platforms Where Part Code 9101GH Applies
Function And Common Use
The door handle provides the mechanical interface for opening the door from the exterior. It transmits user force to the internal latch via linkage or cable and must align precisely with the striker and latch assembly. Handles also protect the linkage from moisture and avoid direct loading on the latch mechanism.
Installation Overview
Recommended For Professional Mechanics And Experienced DIYers. Typical Replacement Steps:
- Remove Inner Door Trim To Access Handle Mounting Points: Carefully detach clips and screws to avoid breaking the trim.
- Disconnect Lock Rods/Cables And Any Electrical Connectors (If Present): Note orientations and retainers for reassembly.
- Unscrew Handle Fasteners From The Inside Of The Door And Release Retaining Clips.
- Fit New Handle Into Door Aperture, Reattach Rods/Cables And Fasten Securely. Check That The Handle Engages The Latch Smoothly.
- Test Door Operation Several Times, Adjust Linkage If Necessary, Then Refit Door Trim.
Use New Screws Or Clips If Original Fasteners Are Damaged. Apply A Light Grease To Pivot Points To Improve Feel And Corrosion Resistance. After Installation, Check Locking/Unlocking And Central Lock Function Across All Doors.
Technical Information
- Manufacturer: Stellantis (Citroën / Peugeot Fitment)
- Model: Exterior Door Handle, Left Rear / Right Front And Rear
- Product Codes: 9101GH, EVGC
- Additional Numbers: Color EVG – Vapor Gray
Installation Recommendations
Work In A Clean, Dry Environment. Keep Small Parts Organized To Avoid Misassembly. If Clips Or Rod Ends Are Brittle, Replace Them During Installation To Prevent Early Failure. Verify Smooth Operation Before Final Reassembly Of The Door Trim.
Why This Part Fails Most Often
Typical Failure Modes:
- Mechanical Wear And Fatigue Of The Handle Or Internal Pivot Points Caused By Repeated Use.
- Corrosion From Moisture Ingress Leading To Stiff Movement Or Breakage Of Metal Components.
- Snapped Plastic Clips Or Rod Ends Due To Age, Impact, Or Excessive Force.
- Surface Damage Or Scratching From Road Debris Or Minor Collisions That Affects Appearance And Function.
Choosing A Correctly Fitted Replacement Handle With Proper Finish (EVG / Vapor Gray) Restores Both Function And Visual Match To The Vehicle. Use Appropriate Tools And Take Care With Trim Clips To Ensure A Professional Result.