Description
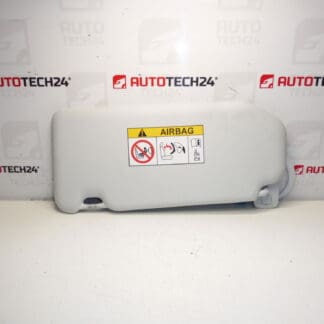
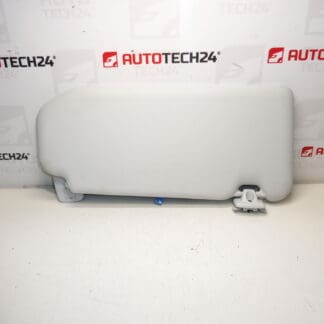
Sun visor Citroën PEUGEOT with lighting and mirror
Driver’s side, this is a used part, possible minor contamination
Color HPR – SALIN
Original driver’s sun visor for Peugeot 308 T9 with lighting and mirror. The ideal replacement for a loose, cracked or dirty shade – fits exactly, matches the interior color and maintains OEM quality workmanship. Searching by part number? Corresponds to OEM codes 16105437PR and 98284441PR.
Main features
– Genuine PSA part (Peugeot/Citroën), used – fully functional, normal signs of use
– Side: driver (left) for left-hand drive vehicles (EU)
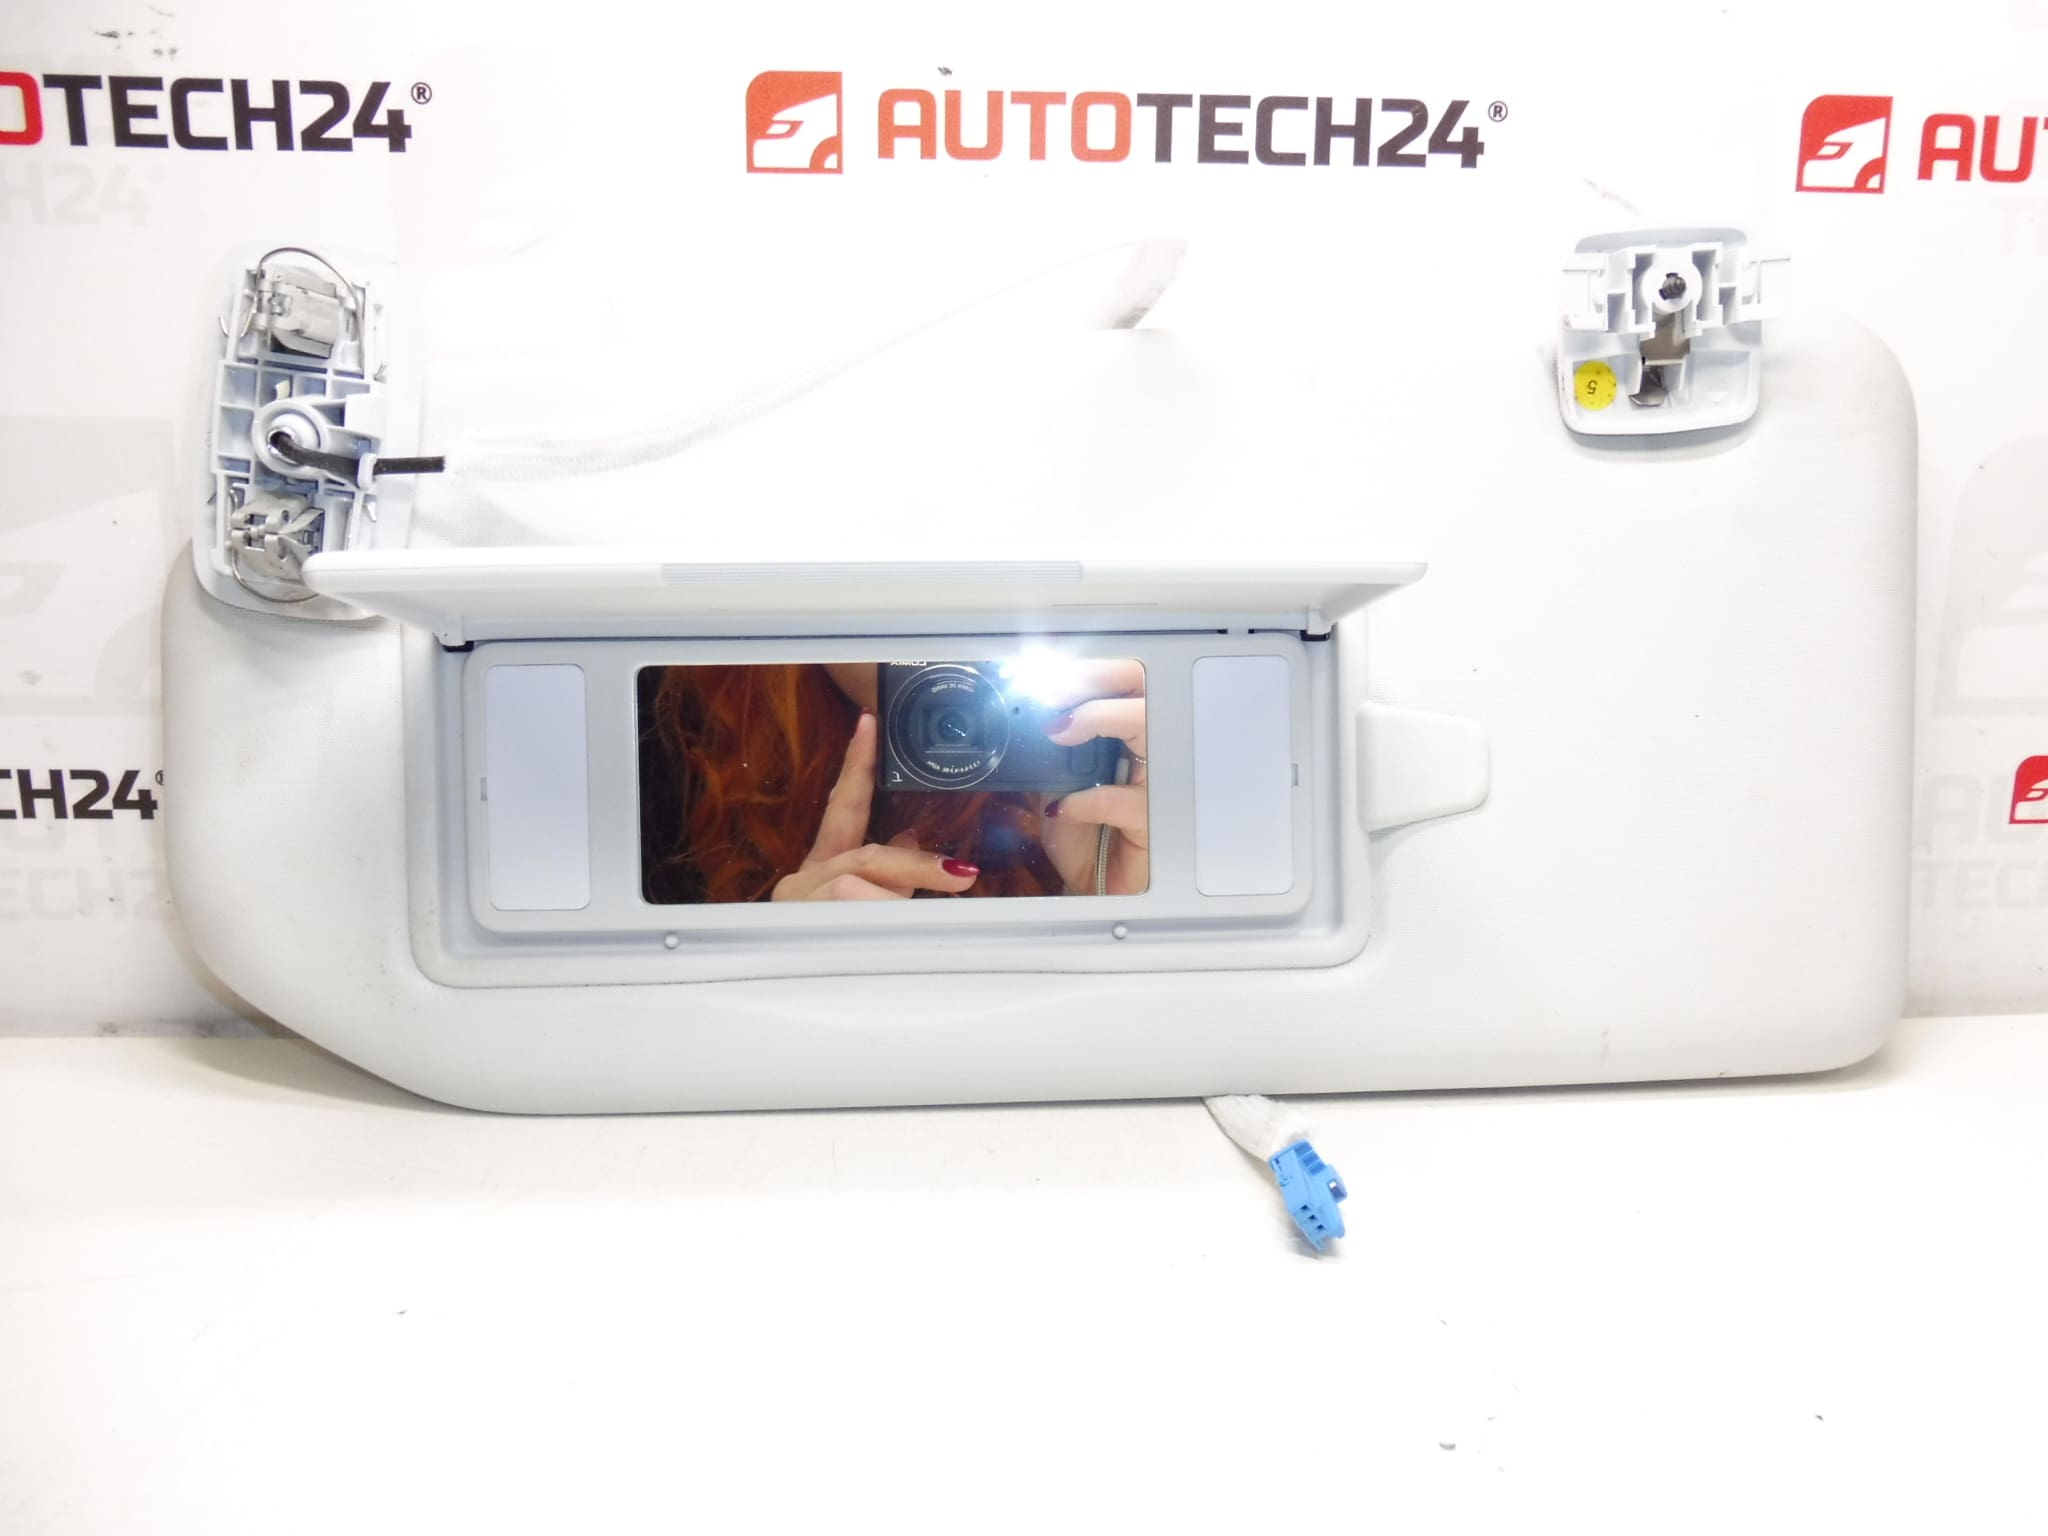
– Equipment: integrated cosmetic mirror with lighting
– Interior color: HPR – SALIN
– Mounting: standard PSA mounts, quick change (typically a few minutes)
– Electrics: preparation/connector for powering the lighting in the mirror cap
– Material: textile cover + plastic parts, OEM quality
OEM/cat. numbers
– 16105437PR
– 98284441PR
Compatibility
– Peugeot 308 II (T9), hatchback and SW, approx. 2013–2021
– Only for the driver position (left side) and cars with a steering wheel on the left
Note: Part is typical for 308 T9; some equipment variants may have different colors or connectors. Always compare the part number and color/interior to the original screen.
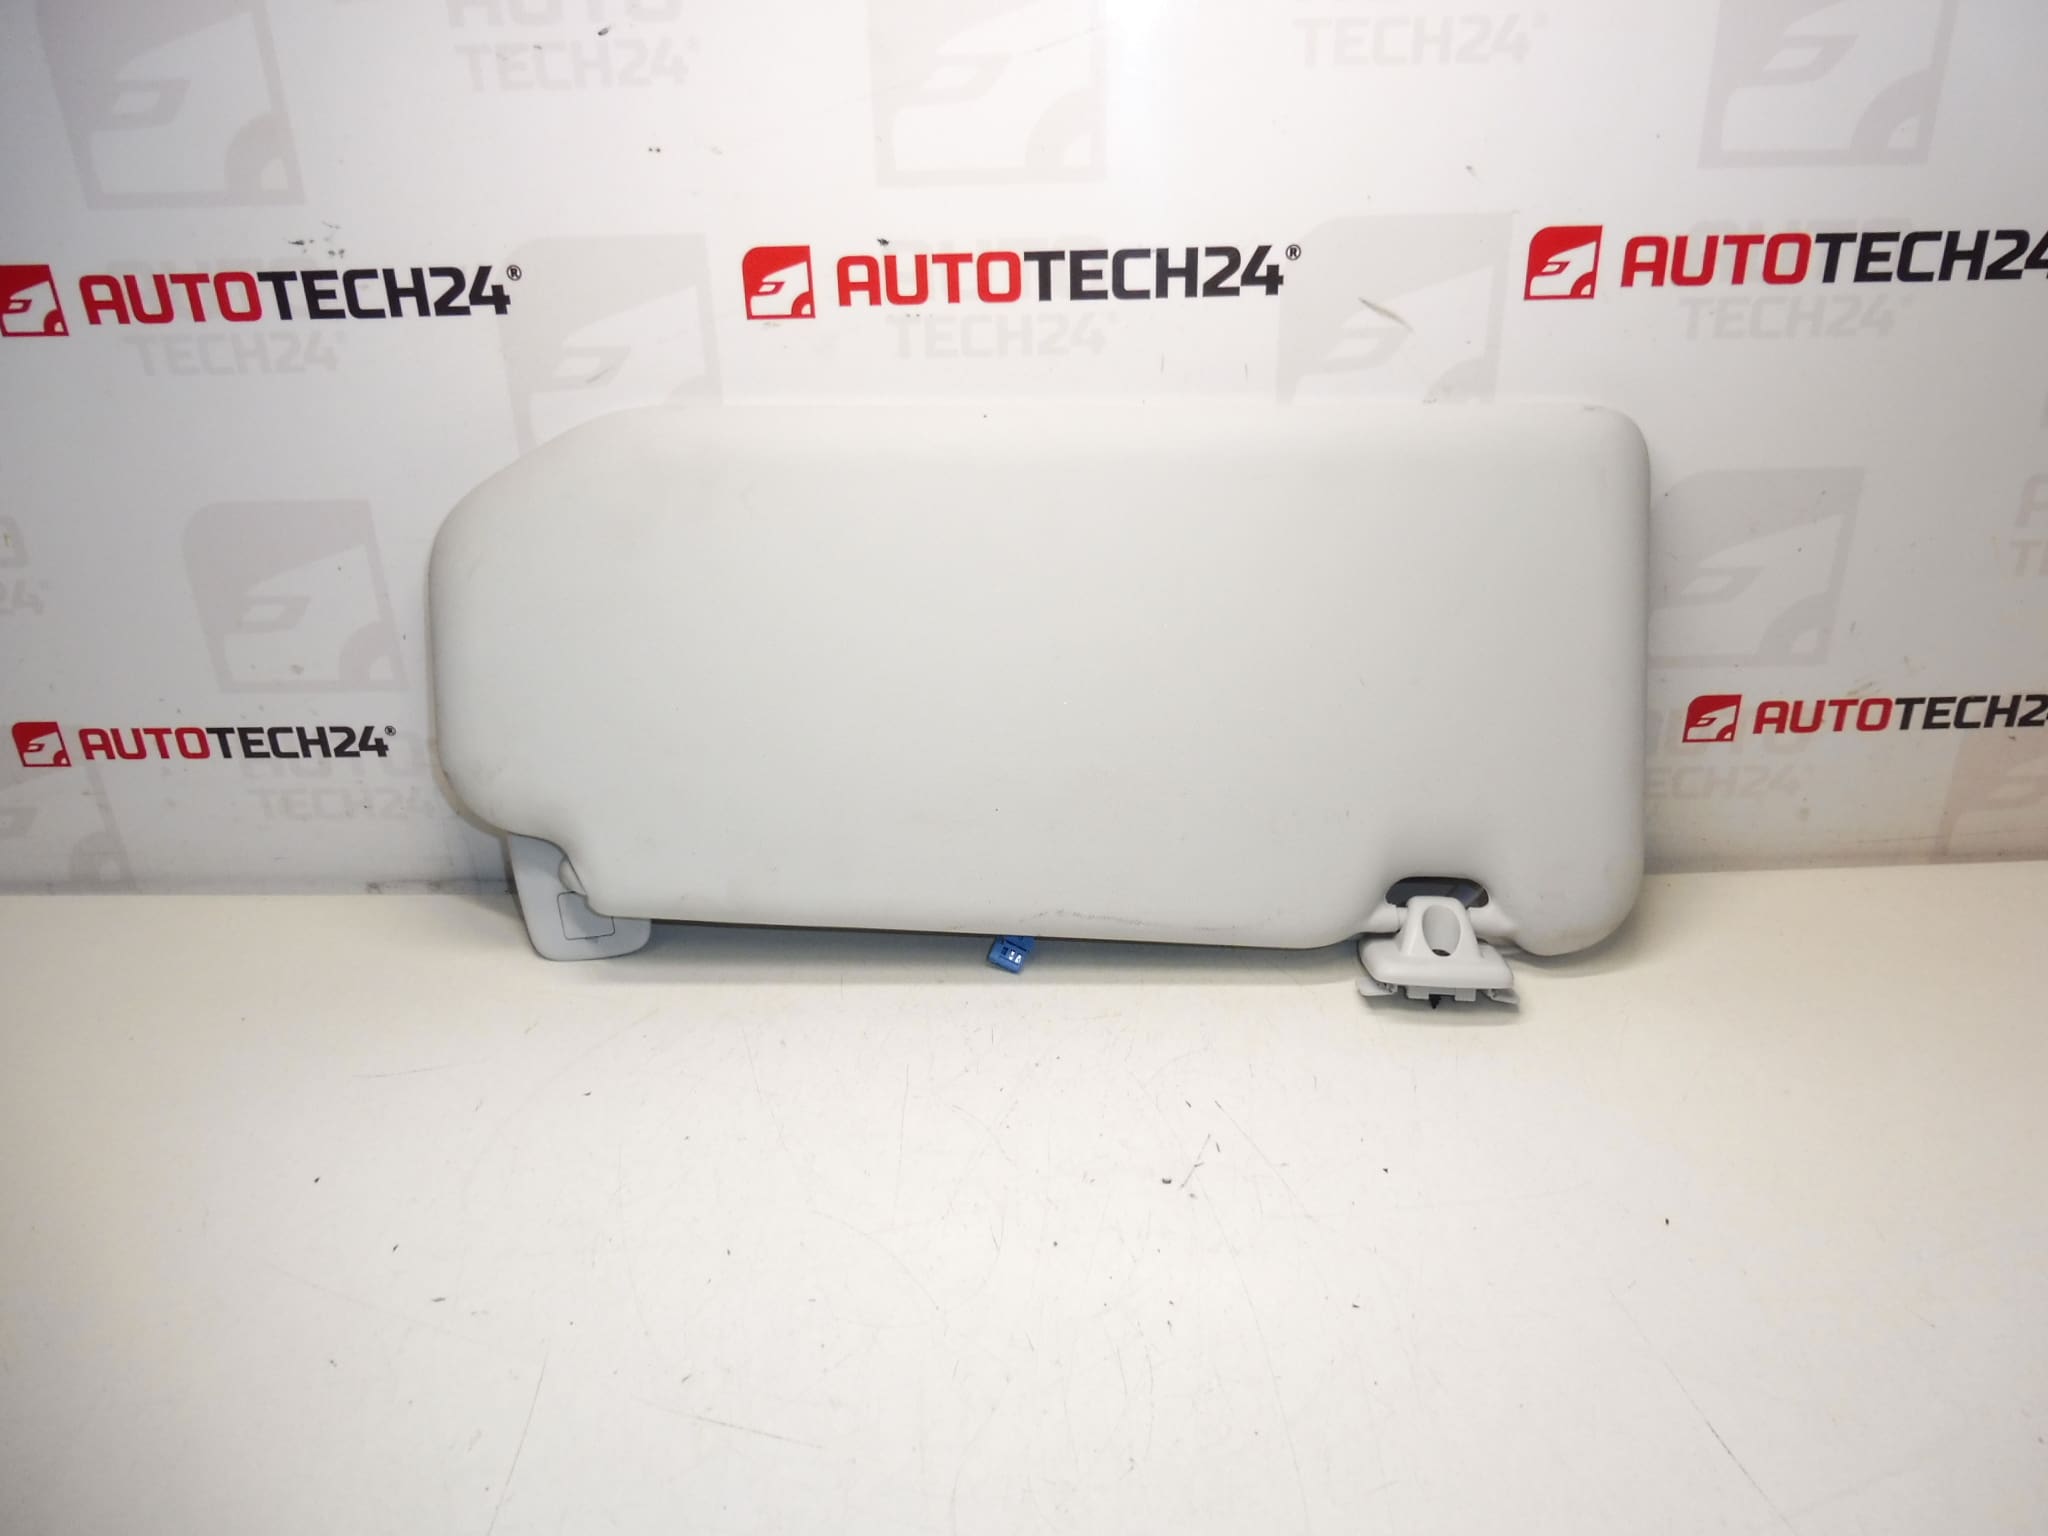
Condition and appearance
– Used original, may have minor scuffs or light soiling consistent with age
– HPR – SALIN interior color for a consistent cabin look
Why choose an OEM used lens
– Precise seating and reliable position holding
– Same color and texture as the original interior
– No modifications required, plug & play including lighting
Tips before buying
– Check color code (HPR – SALIN) and OEM number 16105437PR or 98284441PR
– Compare the mount shape and connector with your original screen
– In case of uncertainty, we will verify compatibility according to the VIN
Package contents
– Driver’s sun visor with integrated mirror and lighting
– The scope of delivery corresponds to the product photos (screws and small assembly material are part of the car)
Search keywords
Peugeot 308 T9 driver’s sun visor, shade 308, shade, sun visor, OEM PSA, 16105437PR, 98284441PR, HPR SALIN, interior Peugeot 308 II