Description
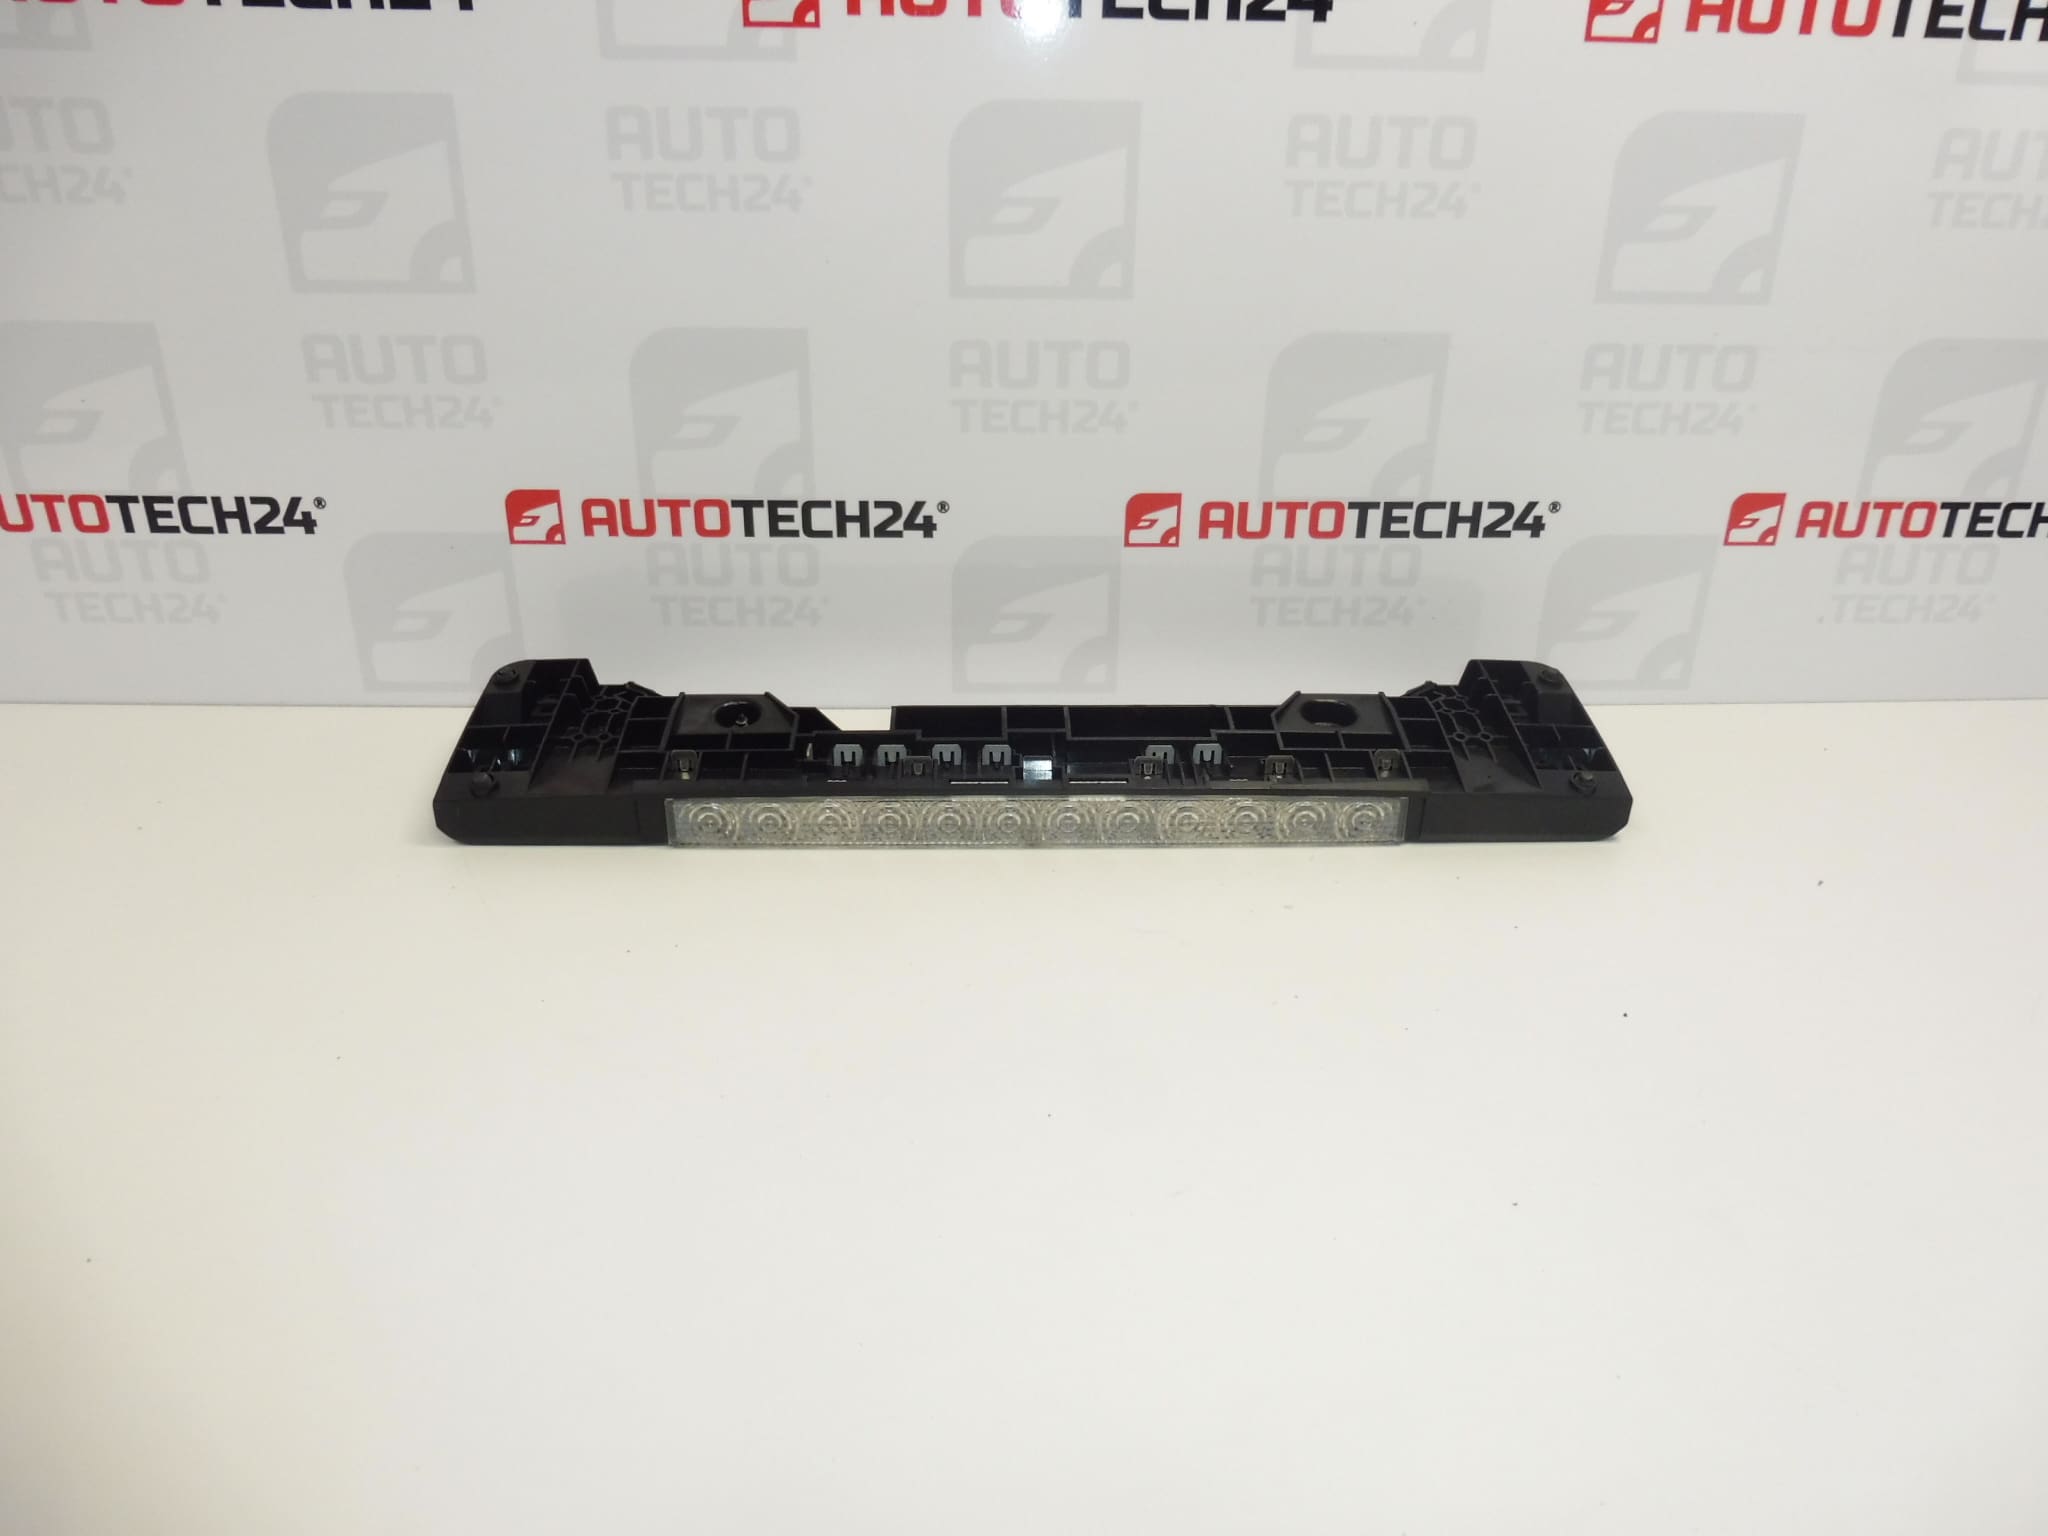
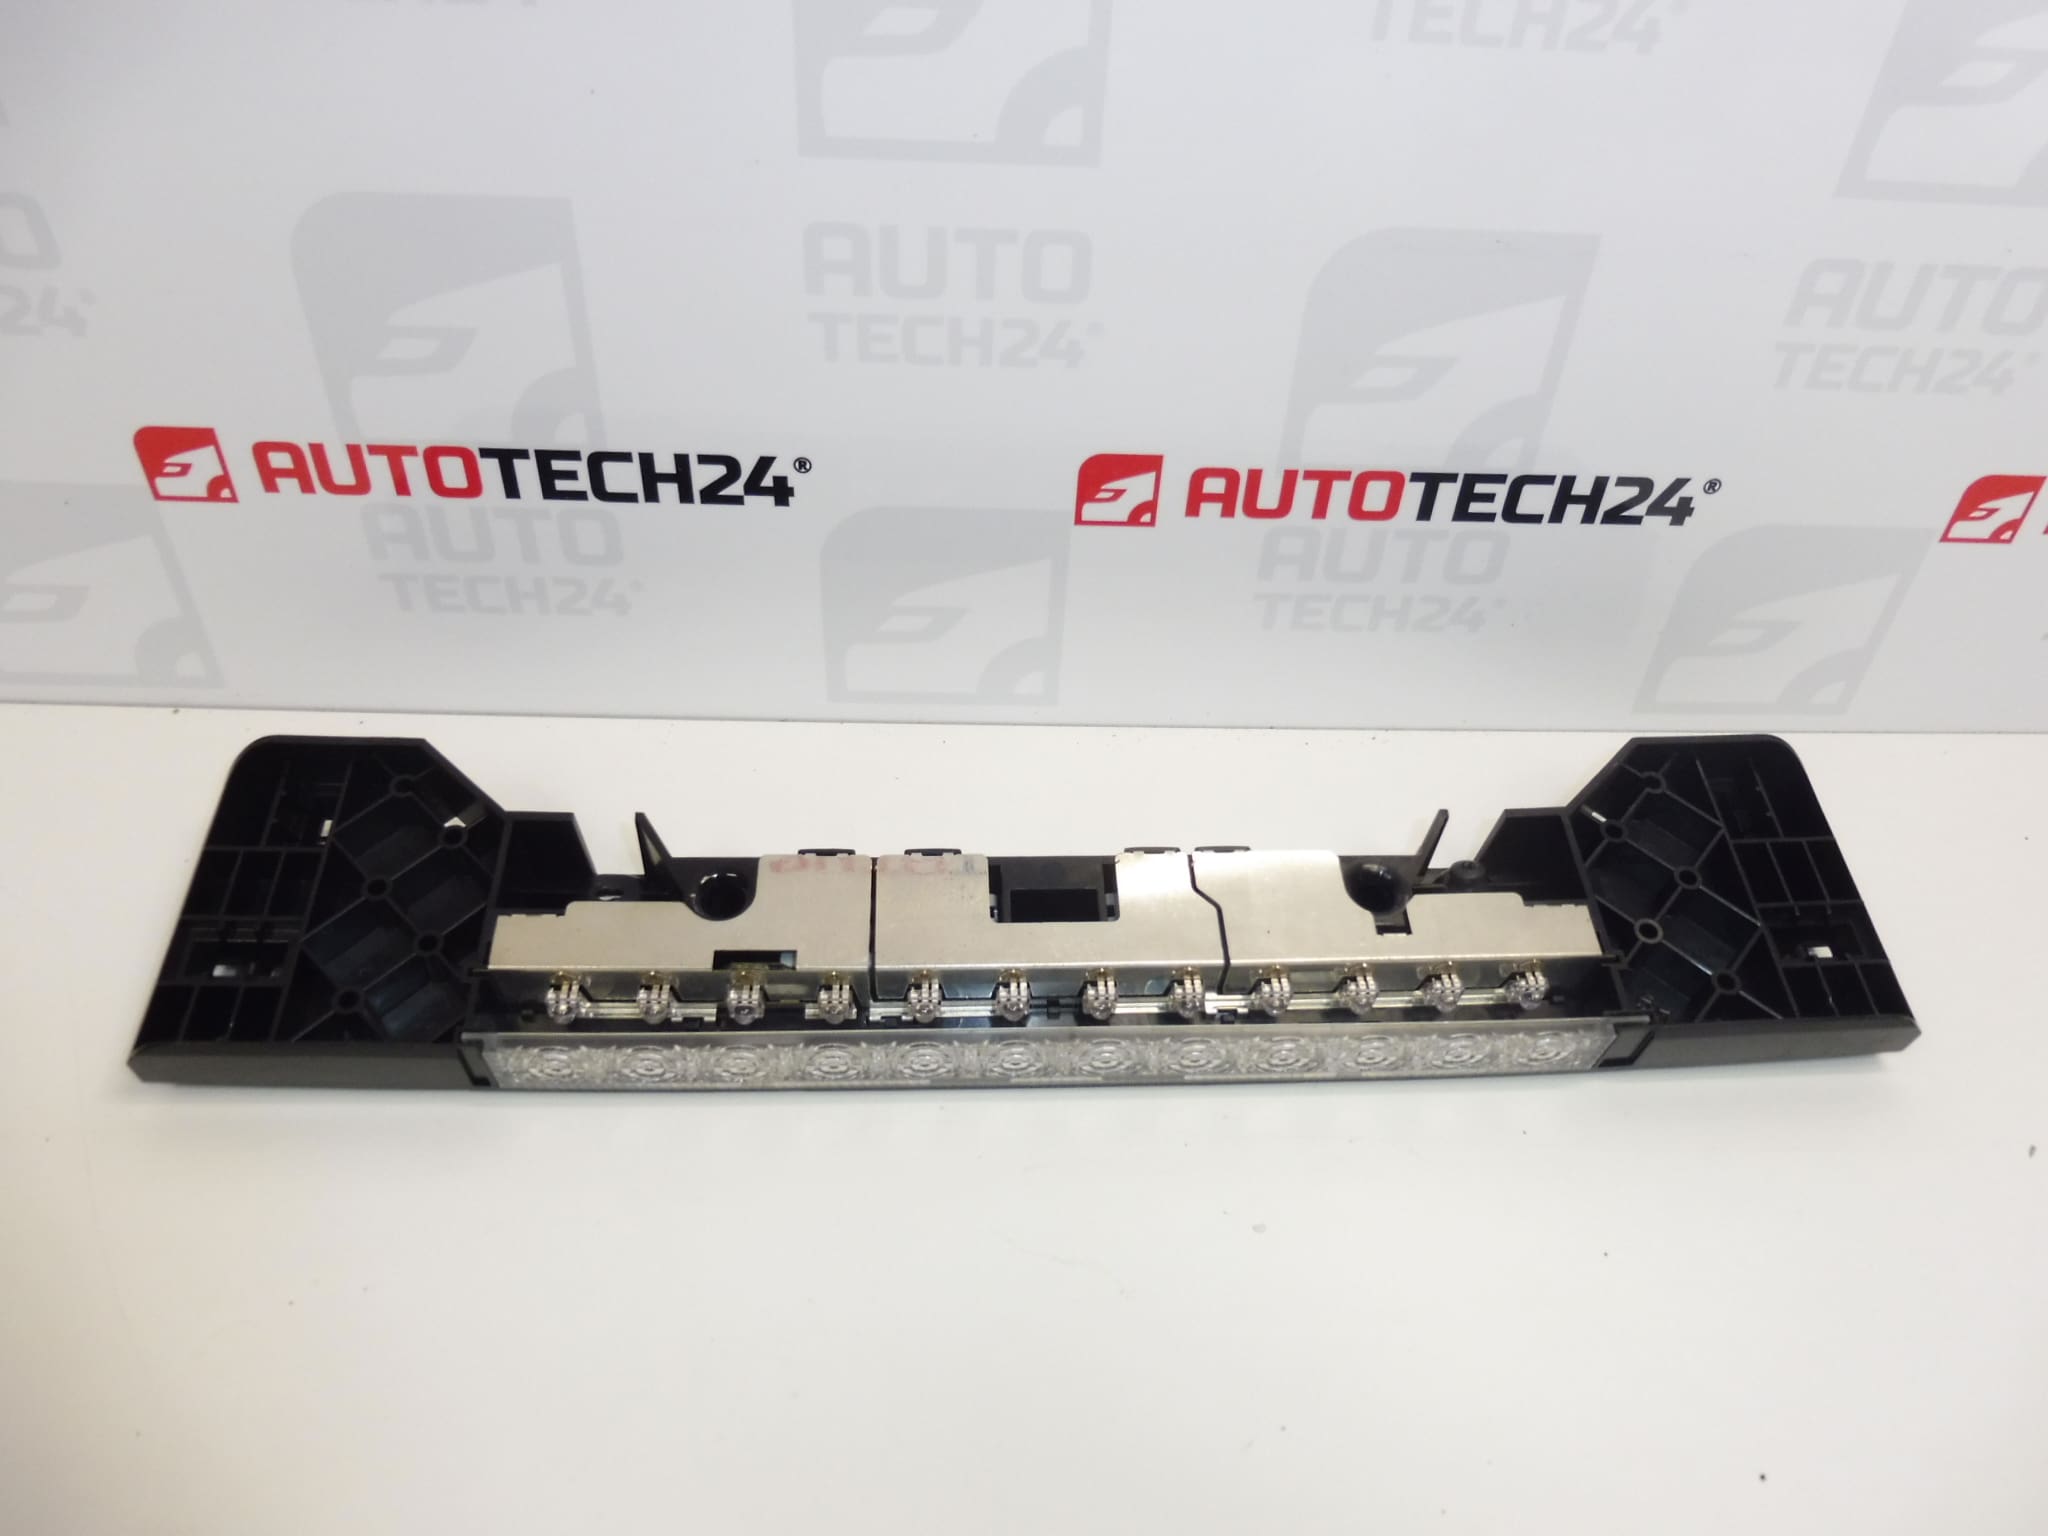
Additional third brake light for Peugeot 407 SW up to 2007. Note: 2 of 12 LEDs do not light.
This high-mounted third brake light is a practical replacement part for Peugeot 407 SW (Estate) models produced until 2007. Designed with a low-profile LED array, it restores rear signalling visibility and helps maintain road safety. The unit is suitable for professional workshops and skilled DIYers who search by OE codes (9647734980 / 6350T1). Be aware that this particular unit has partial LED failure (2 of 12 LEDs not illuminated), which affects the light pattern but not necessarily full safety compliance depending on local regulations.
Technical Information
- Manufacturer: Peugeot / Stellantis
- Model: Peugeot 407 SW (Estate) – Up To 2007
- Product Codes: 9647734980; 6350T1; NFP
- Other Numbers: 6350T1 (Alternative Reference)
- Voltage: 12 V vehicle electrical system
- Type: High-Mounted Third Brake Light (LED Array)
Compatibility And Fitment Notes
Intended For Peugeot 407 SW Estate models up to 2007. The unit follows OE references listed above; buyers who use product codes during searches will find the part quickly. This listing describes a used unit with partial LED malfunction (2/12 LEDs out), so verify the visual and functional condition before installation if full LED functionality is required.
How To Replace
- Open The Tailgate And Support It Securely.
- Remove Interior Trim Panel To Access The Third Brake Light Fasteners (Clips/Screws).
- Disconnect The Electrical Connector Carefully—Depress Any Retaining Clips.
- Unscrew Or Unclip The Brake Light Module And Withdraw It From The Tailgate.
- Fit The Replacement Unit, Ensuring The Gasket/Seal Is Intact To Prevent Water Ingress.
- Reconnect The Electrical Connector And Test Brake Light Function (Brake Pedal Or Assistant).
- Reassemble Interior Trim And Verify Tailgate Closing/Alignment.
Installation Recommendations
- Work In A Clean, Dry Area To Avoid Corrosion Of Electrical Contacts.
- Disconnect The Negative Battery Terminal When Handling Electrical Connectors To Prevent Short Circuits.
- Check Seals And Gaskets; Replace If Hardened Or Damaged To Avoid Moisture Ingress.
- Use Correct Torque For Fasteners And Avoid Overtightening Plastic Clips.
- After Installation, Test All Rear Lights And Confirm Proper Operation During A Short Road Test.
Why This Part Fails Most Often
LED Third Brake Lights Commonly Suffer From Moisture Ingress, Corrosion At Electrical Contacts, Or Mechanical Impact Damage From The Tailgate. Partial Failures—Like Two Out Of Twelve LEDs Not Lighting—Are Frequently Caused By Faulty Solder Joints, Individual LED Die Failures, Or Localized Water Damage To The LED Strip Or Circuit Traces. Vibration And Thermal Cycling Over Years Accelerate Joint Fatigue And Corrosion.
Practical Advice For Workshops And DIYers
Given The Unit Shows Partial LED Failure, Consider Whether The Remaining Light Output Meets Local Legal Requirements Before Installation. For Long-Term Reliability, Ensure The Mounting Area Is Dry And Seals Are Replaced If Necessary. In Cases Where Only A Few LEDs Fail, A Specialist With Soldering Skills Can Sometimes Repair The Module; Otherwise, Replacement With A Fully Functional Unit Is Recommended.