Description
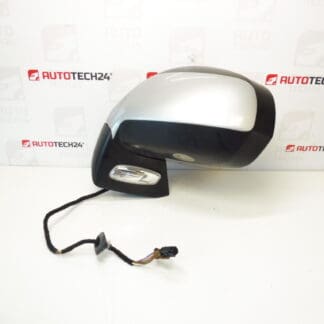
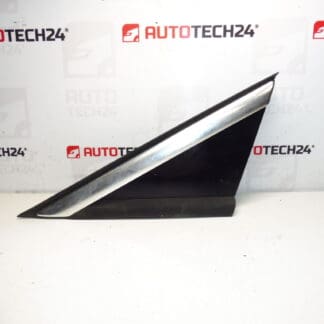
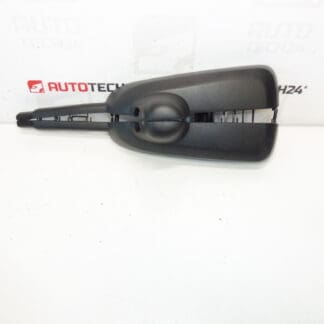
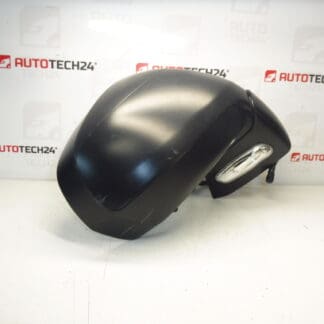
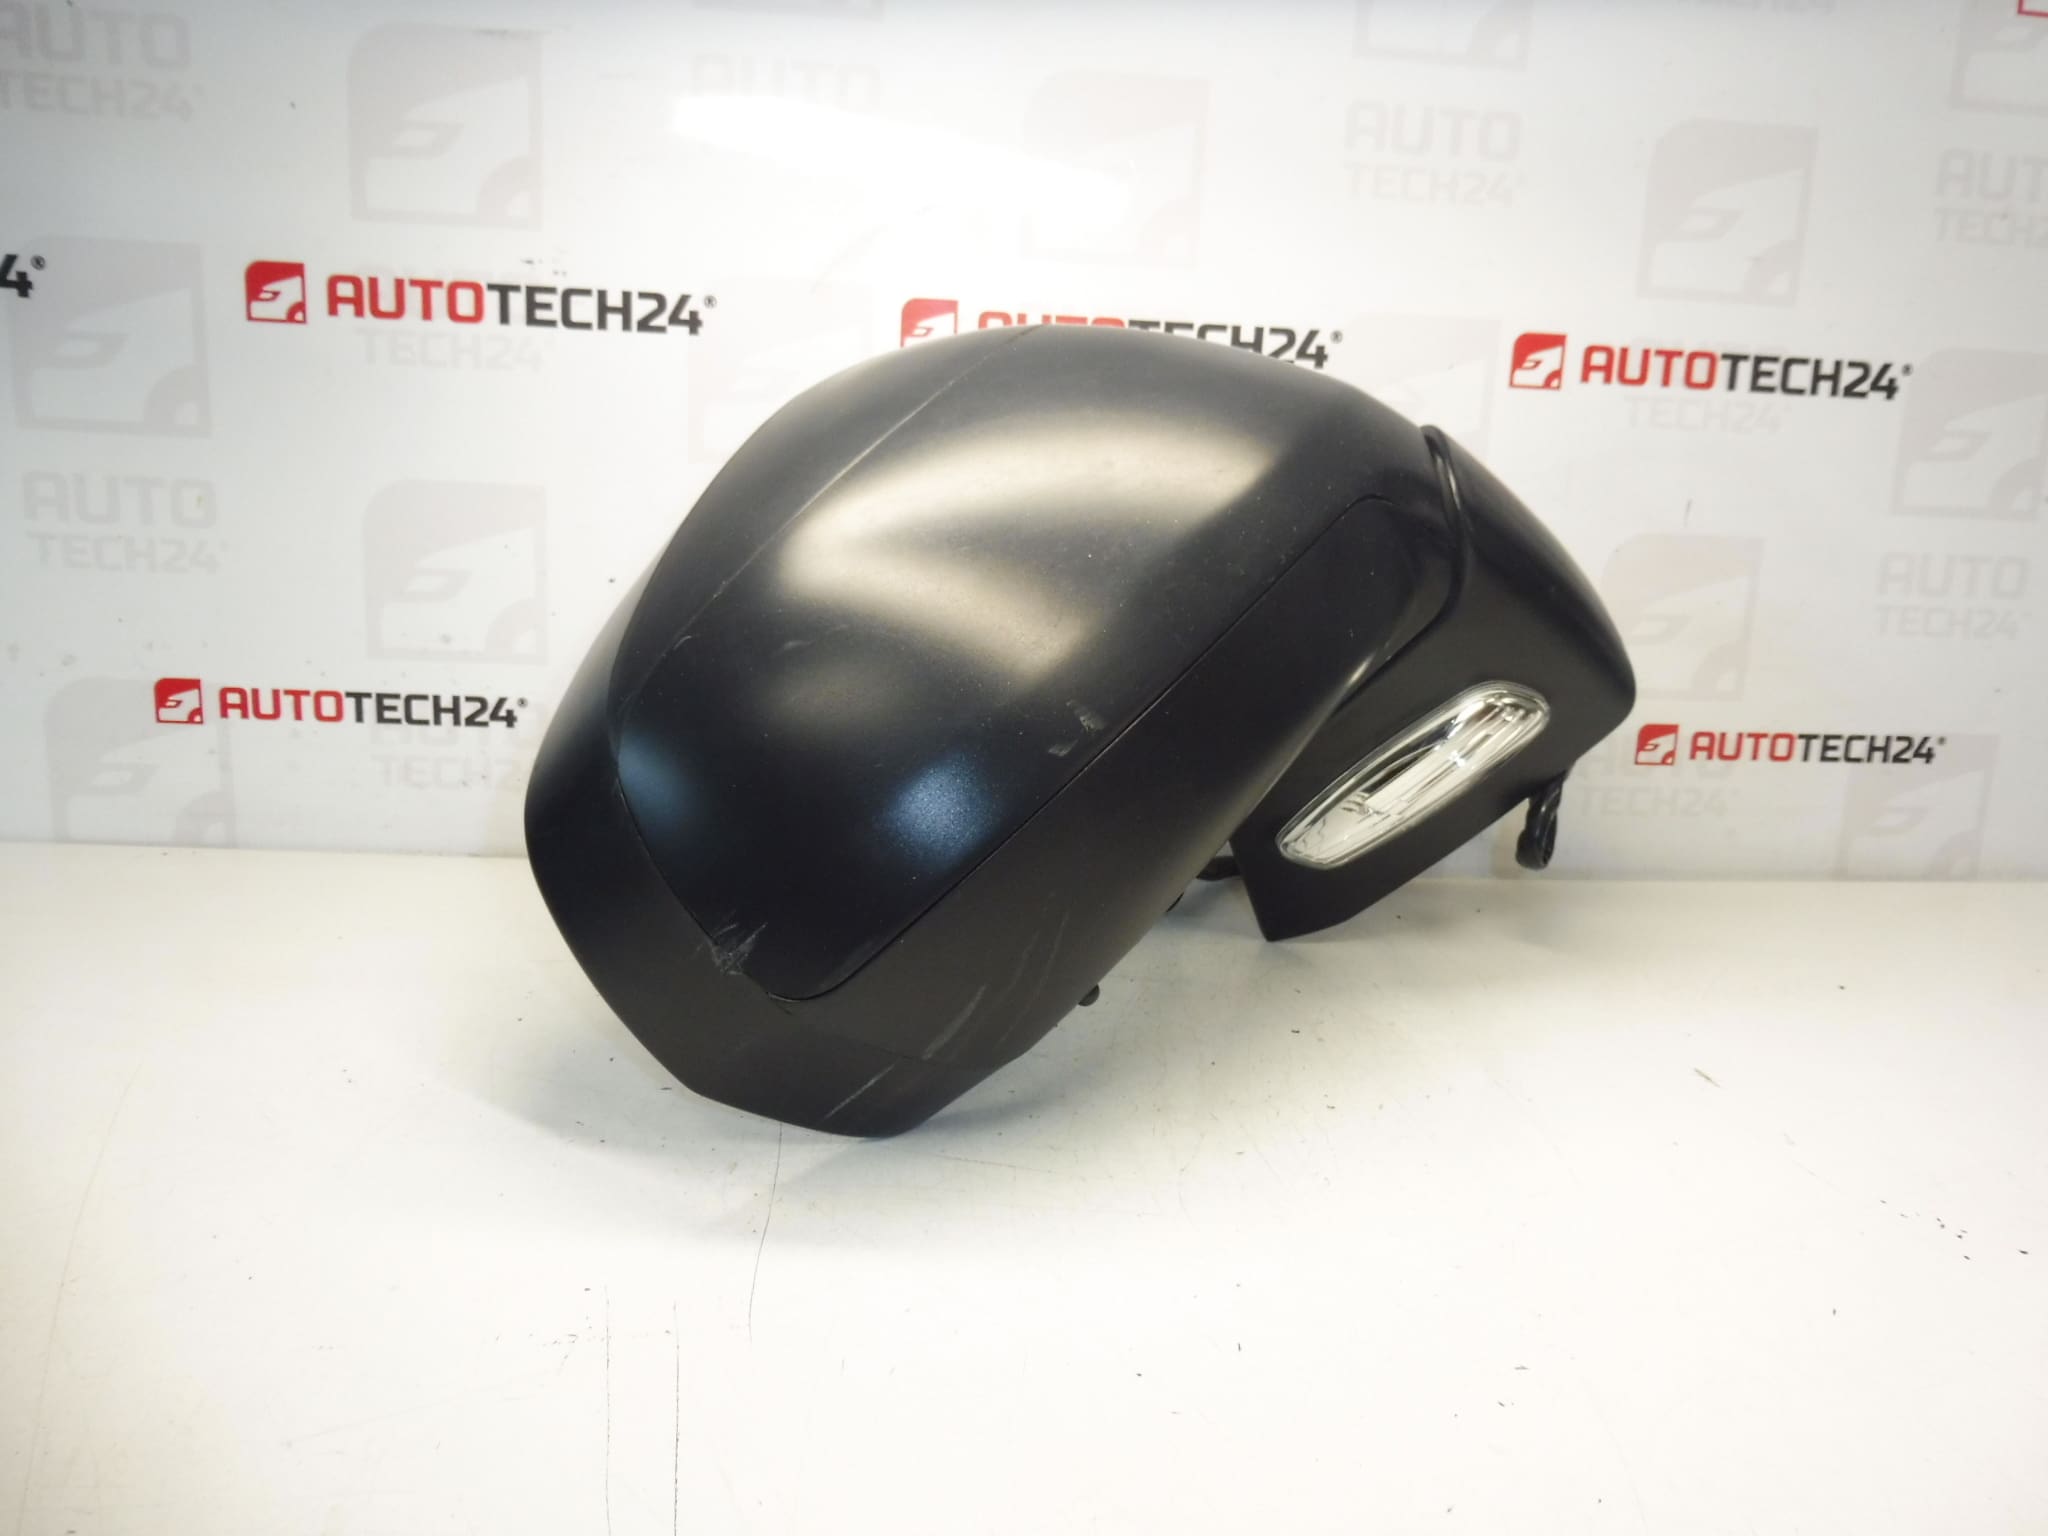
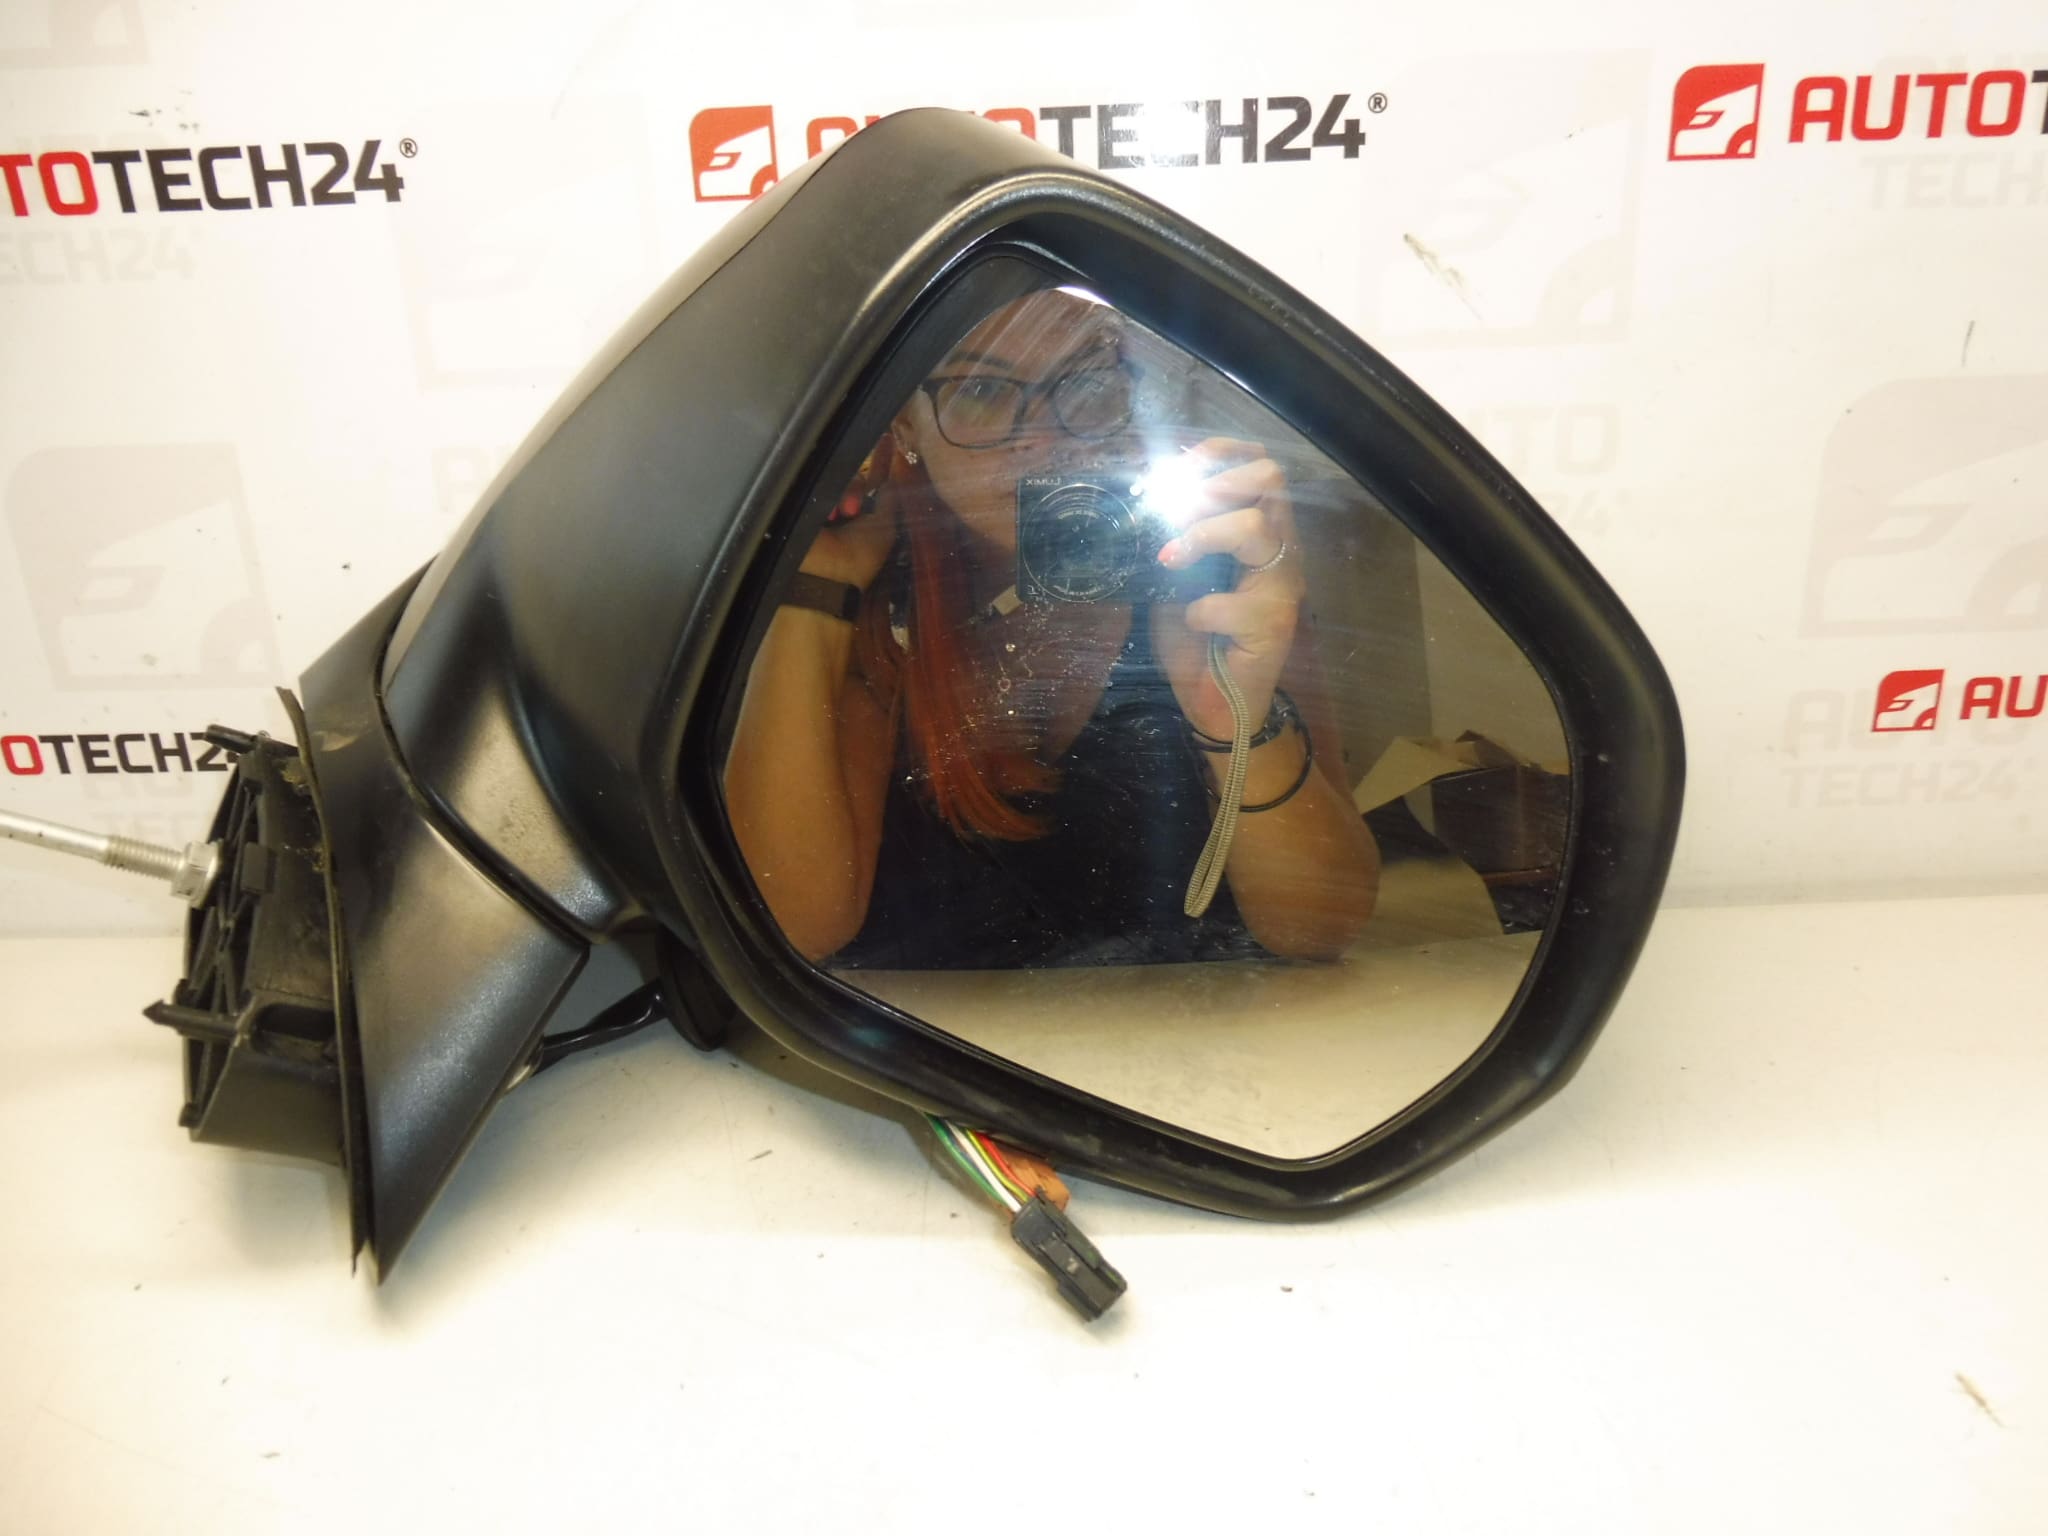
Right Exterior Mirror For PEUGEOT 3008 T84 And 5008 T87
Electrically Adjustable, Heated, Indicator, Temperature Sensor
Slightly Scuffed Black Plastic
Passenger Door
8 Pins 6+2
Product Overview
High-quality right side exterior mirror designed for early-generation Peugeot 3008 (T84) and 5008 (T87). This unit combines electrical adjustment, heating, integrated turn indicator and an exterior temperature sensor in a single assembly. The housing shows minor scuffing on the black plastic but the functional components and electrical connector configuration (8 pins arranged as 6+2) match OE specifications for direct replacement on the passenger door.
Key Features
- Electrically Adjustable Glass For Precise Mirror Positioning
- Heated Element To Reduce Fogging And Icing
- Integrated Turn Indicator For Visibility And Safety
- Exterior Temperature Sensor For Climate/Display Functions
- OE-Style 8-Pin Connector (6+2) For Compatibility With Vehicle Wiring
Technical Information
- Manufacturer: Stellantis / Peugeot
- Model: Peugeot 3008 (T84), Peugeot 5008 (T87)
- Product Codes: 8153ZF
- Other Numbers: 8-Pin Connector (6+2)
Installation Recommendations
Before starting, always disconnect the vehicle battery to avoid short circuits or airbag faults. Remove the interior door trim and any mirror trim caps to access the three mounting bolts and the electrical connector. Support the mirror when loosening the fasteners to prevent it from falling. Unplug the 8-pin connector (noting the 6+2 pin grouping) and transfer any gasket or insulation pieces to the new unit. Fit the replacement mirror, torque the mounting bolts to the manufacturer’s specification, reconnect the connector and test all functions (adjustment, heating, indicator, temperature readout) before reassembling the door trim.
Why Mirrors Fail
Exterior mirrors most commonly fail due to impact damage (parking knocks, side collisions) that breaks glass or housing and damages internal gears. Electrical faults arise from water ingress, corroded connectors, or worn adjustment motors. The heating element or turn signal can stop working if wiring or contact points degrade. Temperature sensors may drift or fail over long service life. Regular inspection after knocks and protecting door seals can reduce these issues.
Fitment And Function
Designed To Replace The Original Passenger-Side Mirror On Peugeot 3008 (T84) And 5008 (T87) Models. The unit provides the same electrical and sensor interfaces as the OE assembly and is suitable for mechanics and experienced DIY technicians seeking a direct-fit replacement. Check connector layout and mounting points visually during installation to confirm correct fitment.
Practical Notes For Mechanics
When installing, verify that the mirror’s electrical functions operate before refitting door trim. If an electrical function is inoperative, inspect pins for corrosion and ensure proper seating of the 6+2 connector. If heating or sensor functions are intermittent, inspect door moisture barriers and drainage to prevent future failures.