Description
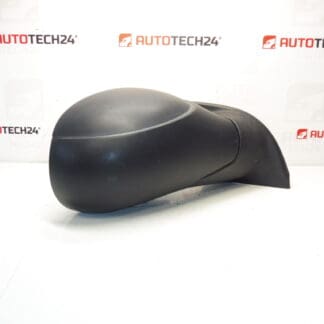
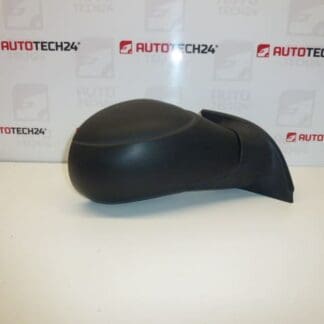
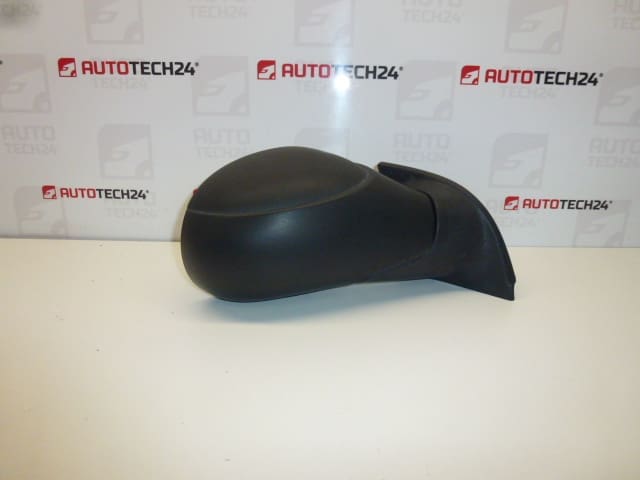
Right Passenger Side Mirror For CITROËN C3
Electrically Adjustable, Heated, Temperature Sensor
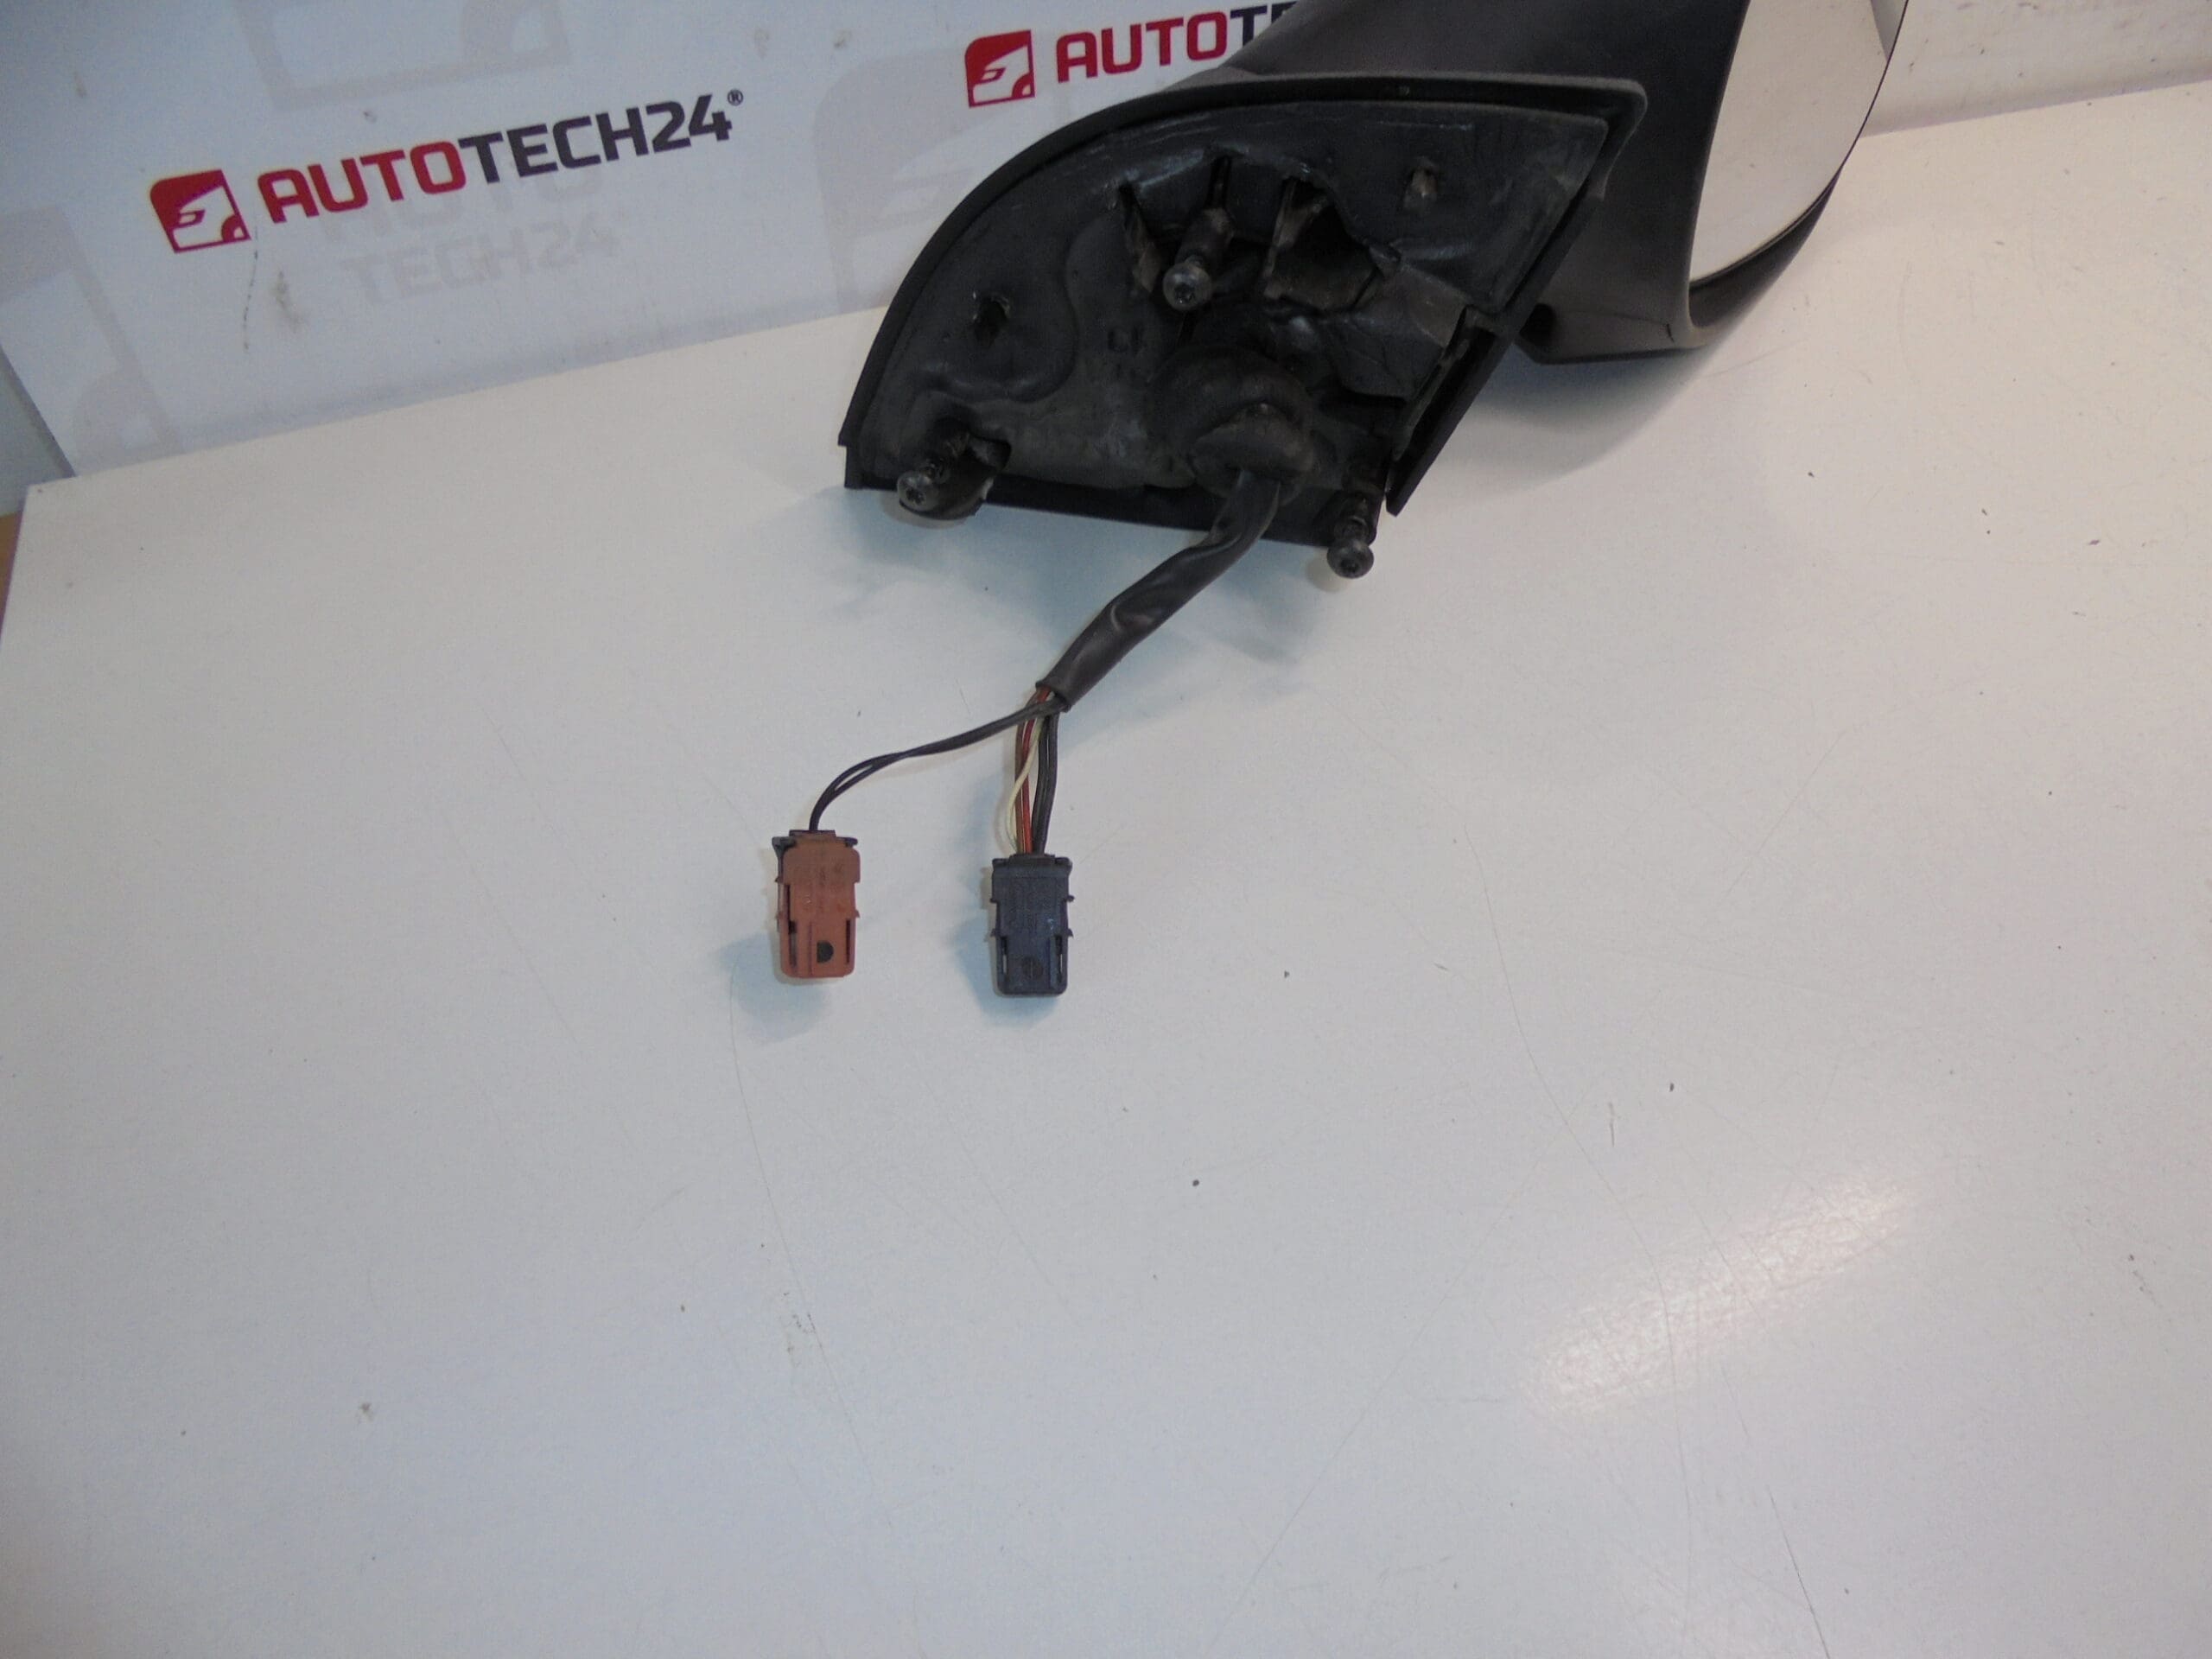
7 PIN (5+2)
This right passenger side exterior mirror is a direct replacement designed for Citroën C3 applications that use a 7‑pin (5+2) connector. The unit combines electric adjustment with an integrated heating element and a temperature sensor to improve visibility in cold conditions. Built to restore full mirror functionality after damage or electrical failure, it is suitable for professional workshops and experienced DIY mechanics who maintain Citroën vehicles.
Key Features
- Electric adjustment for precise mirror positioning.
- Integrated heating to clear ice and fog more quickly.
- Built‑in temperature sensor for improved climate-related control and performance.
- 7 PIN (5+2) electrical connector compatible with corresponding Citroën C3 mirror sockets.
- Passenger side (right) orientation, complete assembly with motor and heating elements.
Technical Information
- Manufacturer: Stellantis / Citroën
- Model: Citroën C3 (Passenger Side)
- Product Codes: 8149RW
- Additional Numbers: 7 PIN (5+2) Connector
Fitment And Compatibility
Intended for Citroën C3 vehicles that use a 7‑pin (5+2) mirror connector. Before ordering, verify that the existing mirror assembly has the same connector layout and mounting points. This product replaces the entire mirror unit on the passenger side and restores electrical adjustment and heating functions when compatible.
Installation Recommendations
- Prepare basic tools: trim removal tools, torx/screwdrivers, socket set, and a pry tool for the mirror cover.
- Disconnect the negative battery terminal before working on electrical connectors to reduce risk of short circuits.
- Remove the interior door trim or triangular trim piece to access the mirror mounting bolts and connector.
- Unplug the 7‑pin connector and remove the mounting bolts; support the mirror while detaching to avoid paint damage.
- Install the new mirror by reversing removal steps: secure mounting bolts to the correct torque, connect the electrical plug, and check adjustment and heating operation before reassembling trim.
- After installation, verify full function: mirror adjustment, heating activation (may require ignition on), and absence of warning indicators.
Most Common Reasons For Failure
- Impact Damage: Side-swipes or collisions are the most frequent cause of physical breakage or misalignment.
- Water Ingress And Corrosion: Moisture can corrode contacts or damage internal motors and heating elements over time.
- Electrical Faults: Broken wires, damaged connectors or failed actuators can cause loss of adjustment or heating function.
- Wear Of Mechanical Components: Actuator wear and degraded gears can produce slow or imprecise movement.
Why Choose This Part
This mirror unit provides a practical solution for restoring essential exterior mirror functions on Citroën C3 vehicles. With integrated heating and a temperature sensor, it enhances safety and comfort in cold weather while offering a straightforward installation path for professional mechanics and skilled DIYers. The 7‑pin connector ensures direct electrical compatibility with matching Citroën C3 harnesses, and the supplied product code (8149RW) helps locate the correct replacement quickly.