Description
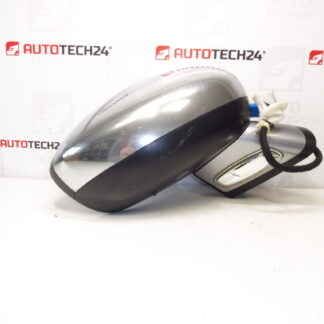
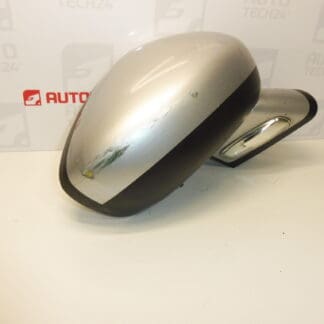
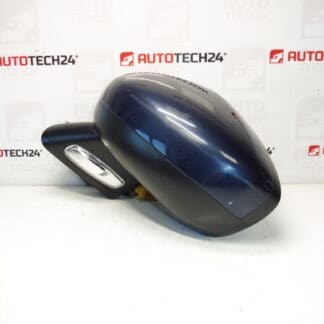
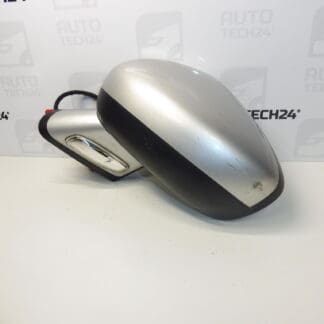
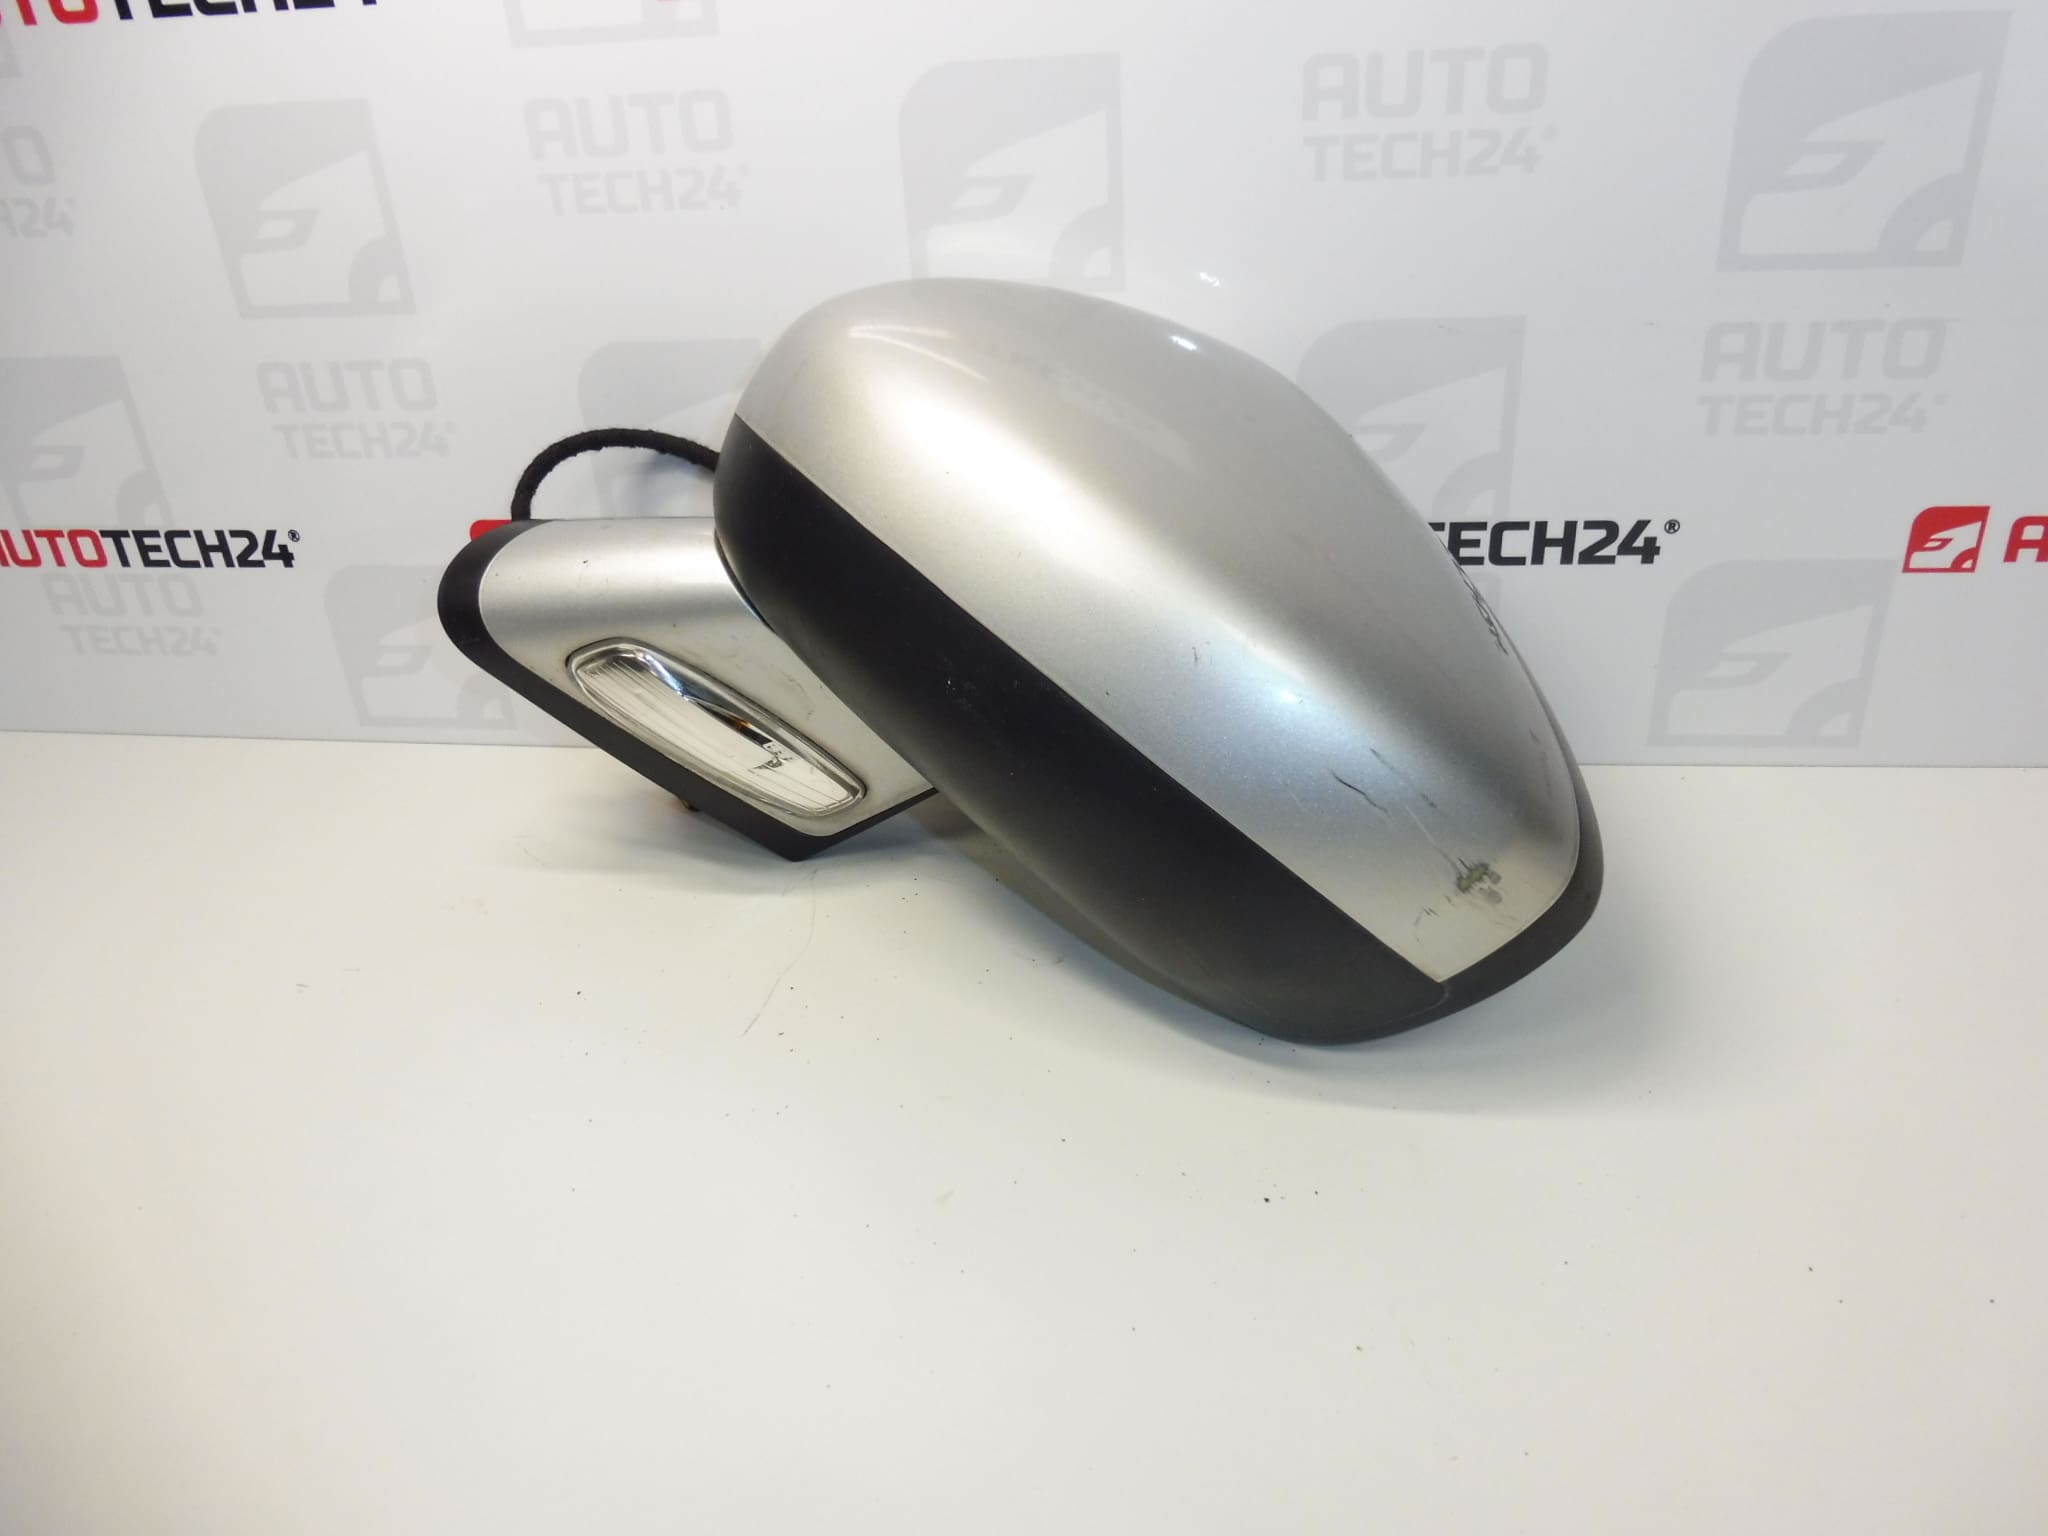
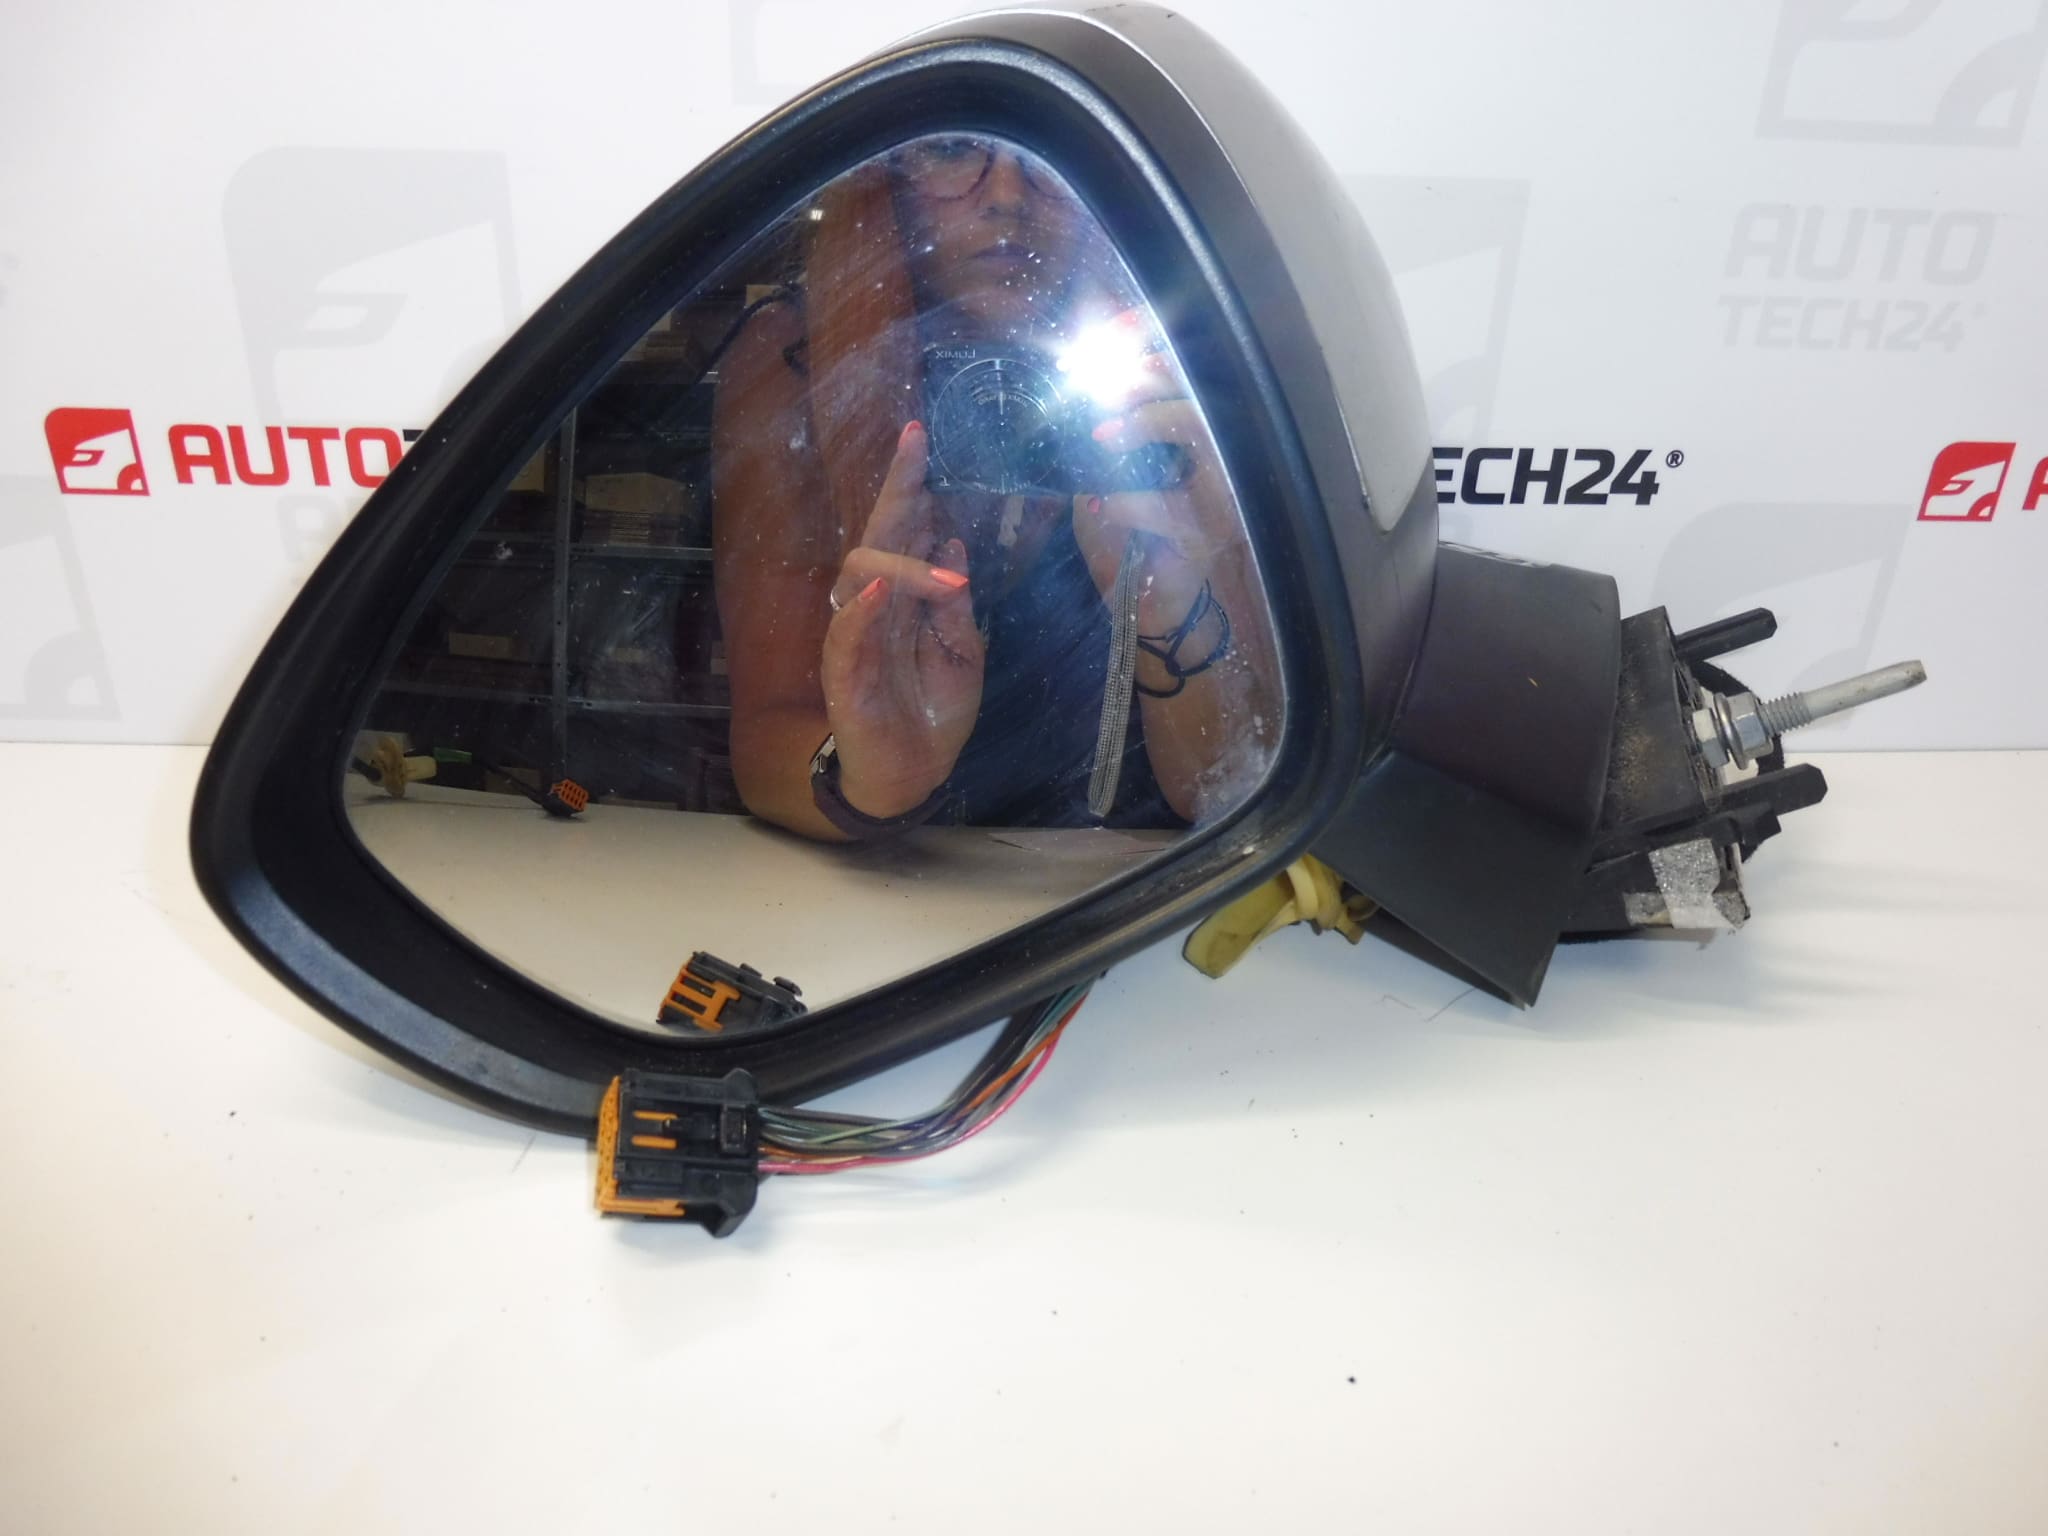
Driver’s rearview mirror for CITROEN C4 II B7 and DS4 cars
EZR color – GRAY ALUMINUM PAINT
Lightly scuffed, solid, fully functional
7 PIN
Part description
A used driver’s side rearview mirror for Citroen C4 II B7 and DS4 is a suitable replacement for a damaged mirror. You can easily find it under the product number 1607028580 when selecting a part. It has a gray Aluminum paintwork with the EZR marking, also referred to as EZRC in the documents.
According to the supplied description, the mirror is solid and fully functional, with light abrasion. It thus offers a practical replacement solution if you don’t mind minor cosmetic wear. The connection is listed as 7 PIN; when choosing, it is important to compare not only the number of contacts, but also the design of the connector and attachment to the existing piece. Specific electrical functions are not detailed in the documents.
Technical information
- Manufacturer: Stellantis / CITROEN PEUGEOT stated in the documents; the specific manufacturer of the mirror is not specified.
- Model: Citroen C4 II, DS4; clarification from the long description: CITROEN C4 II B7.
- Type of part: outside rear view mirror.
- Party: driver.
- Connection: 7 PIN.
- Color: EZR – GRAY ALUMINUM LACQUER; designation in other EZRC documents.
- Condition: used, slightly scuffed, sturdy, fully functional according to the supplied description.
- Other numbers: not specified; additional designation in the documents: NFP.
Product codes
- Product codes: 1607028580.
- Color designation: EZRC / EZR.
- Additional designation: NFP.
- Models according to labels: Citroen C4 II, DS4.
Installation recommendations
The following procedure represents general practice for replacing an electrically connected outside rearview mirror. The exact approach to fastening, disassembly of the lining and the method of disconnecting the electrical system depend on the specific model and design of the car. Follow the manufacturer’s service procedure.
1) Before assembly
- Compare the product number, mirror side, base shape, attachment points and seating surface with the old part.
- Check the compatibility of the connector, its keying and the assignment of contacts. The 7 PIN data alone does not confirm the conformity of all functions.
- Inspect the glass, the cover, the attachment and any joint. Check for cracked mounts or damaged wiring.
- Check the seal and compare the color of the paint with the car; the appearance of the used painted part can be affected by the age and wear of the surface.
2) Necessary tools and materials
- Common hand tools with attachments corresponding to the car’s fasteners.
- Plastic tools for gentle release of covers and linings.
- Protective tape or a soft pad to protect the paintwork, a clean cloth and a suitable agent for cleaning the contact surface.
- Gloves and container for discarded fasteners.
3) Step-by-step assembly procedure
- Secure the car against movement, turn off the ignition and prepare a safe work area.
- According to the manufacturer’s instructions, prepare the electrical system for disconnecting the part. If the procedure requires battery disconnection, follow the prescribed order and waiting time.
- Protect the paintwork and surrounding surfaces from scratches when handling the mirror.
- Remove the caps or necessary trim parts according to the service procedure. Do not forcefully break the plastic clips.
- Record the original wiring. Release the connector’s fuse and disconnect it by pulling on its body, not the wires.
- Hold the mirror from the outside and gradually loosen the fasteners so that they do not fall after removal.
- Remove the old part, clean the bearing surface and check the condition of the fastening and the sealing. Do not reuse a damaged gasket.
- Attach the replacement mirror, seat the gasket correctly and route the wiring so that it is not pinched or strained.
- First install the fasteners by hand and then tighten them evenly according to the manufacturer’s instructions. Over-tightening may damage the base or mounts.
- Connect the connector until the fuse is secured and fasten the wiring to the original line.
- Restore power according to the manufacturer’s procedure and verify available mirror functions. Then put back the trim and caps and set the correct view.
-
4) Post-assembly checks and function verification
- Verify that the mirror is firmly seated, that the gasket is properly seated and that the lining is secure.
- Try out all the functions that the specific car and the corresponding mirror are equipped with. Their extent cannot be safely determined from the number of contacts.
- Before driving, adjust the mirror to provide the correct view. If it does not hold the position or is not firmly attached, remove the defect first.
- On a short test drive, observe image vibrations, unusual noise and mirror stability.
5) The most common assembly mistakes and how to avoid them
- Choose only by appearance or number of pins: also compare the product number, connector, mounting and functional design of the original part.
- Pinched wiring: check for routing and looseness before tightening.
- Poorly seated seal: clean the seating surface and seat the seal without bending to reduce water ingress and noise.
- Extended fasteners: follow manufacturer’s procedure, do not use unnecessary force.
- Forcible readjustment of the mechanism: do not push the resistance of the joint or the adjustment; follow the design of the mirror.
Reasons why the part is damaged
External rear-view mirrors are generally damaged mainly in the following ways. It is not about determining the cause of the light scuffing on this particular piece.
- Impact when parking or passing an obstacle can damage the cover, glass, joint and attachment points.
- Forceful handling or loading of a frozen mechanism can damage moving parts.
- Moisture and corrosion of contacts can cause failures of electrical functions.
- Aging plastics and seals increase susceptibility to cracks, looseness and water ingress.
- Incorrect previous assembly, especially overstretched mounting or pinched wires, can lead to mechanical or electrical damage.