Description
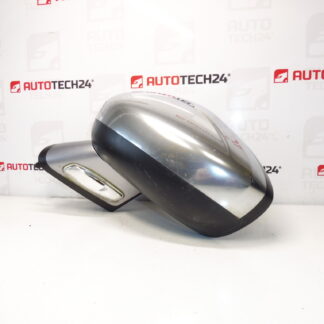
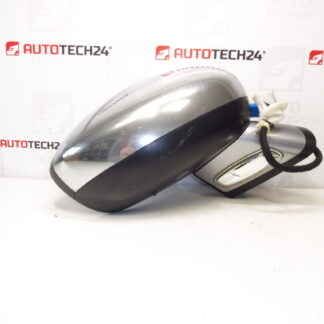
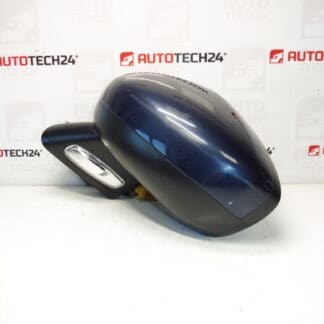
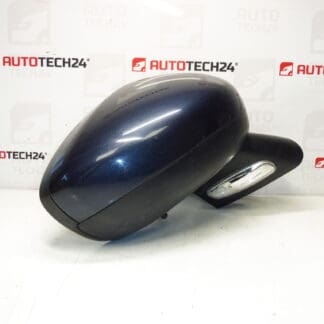
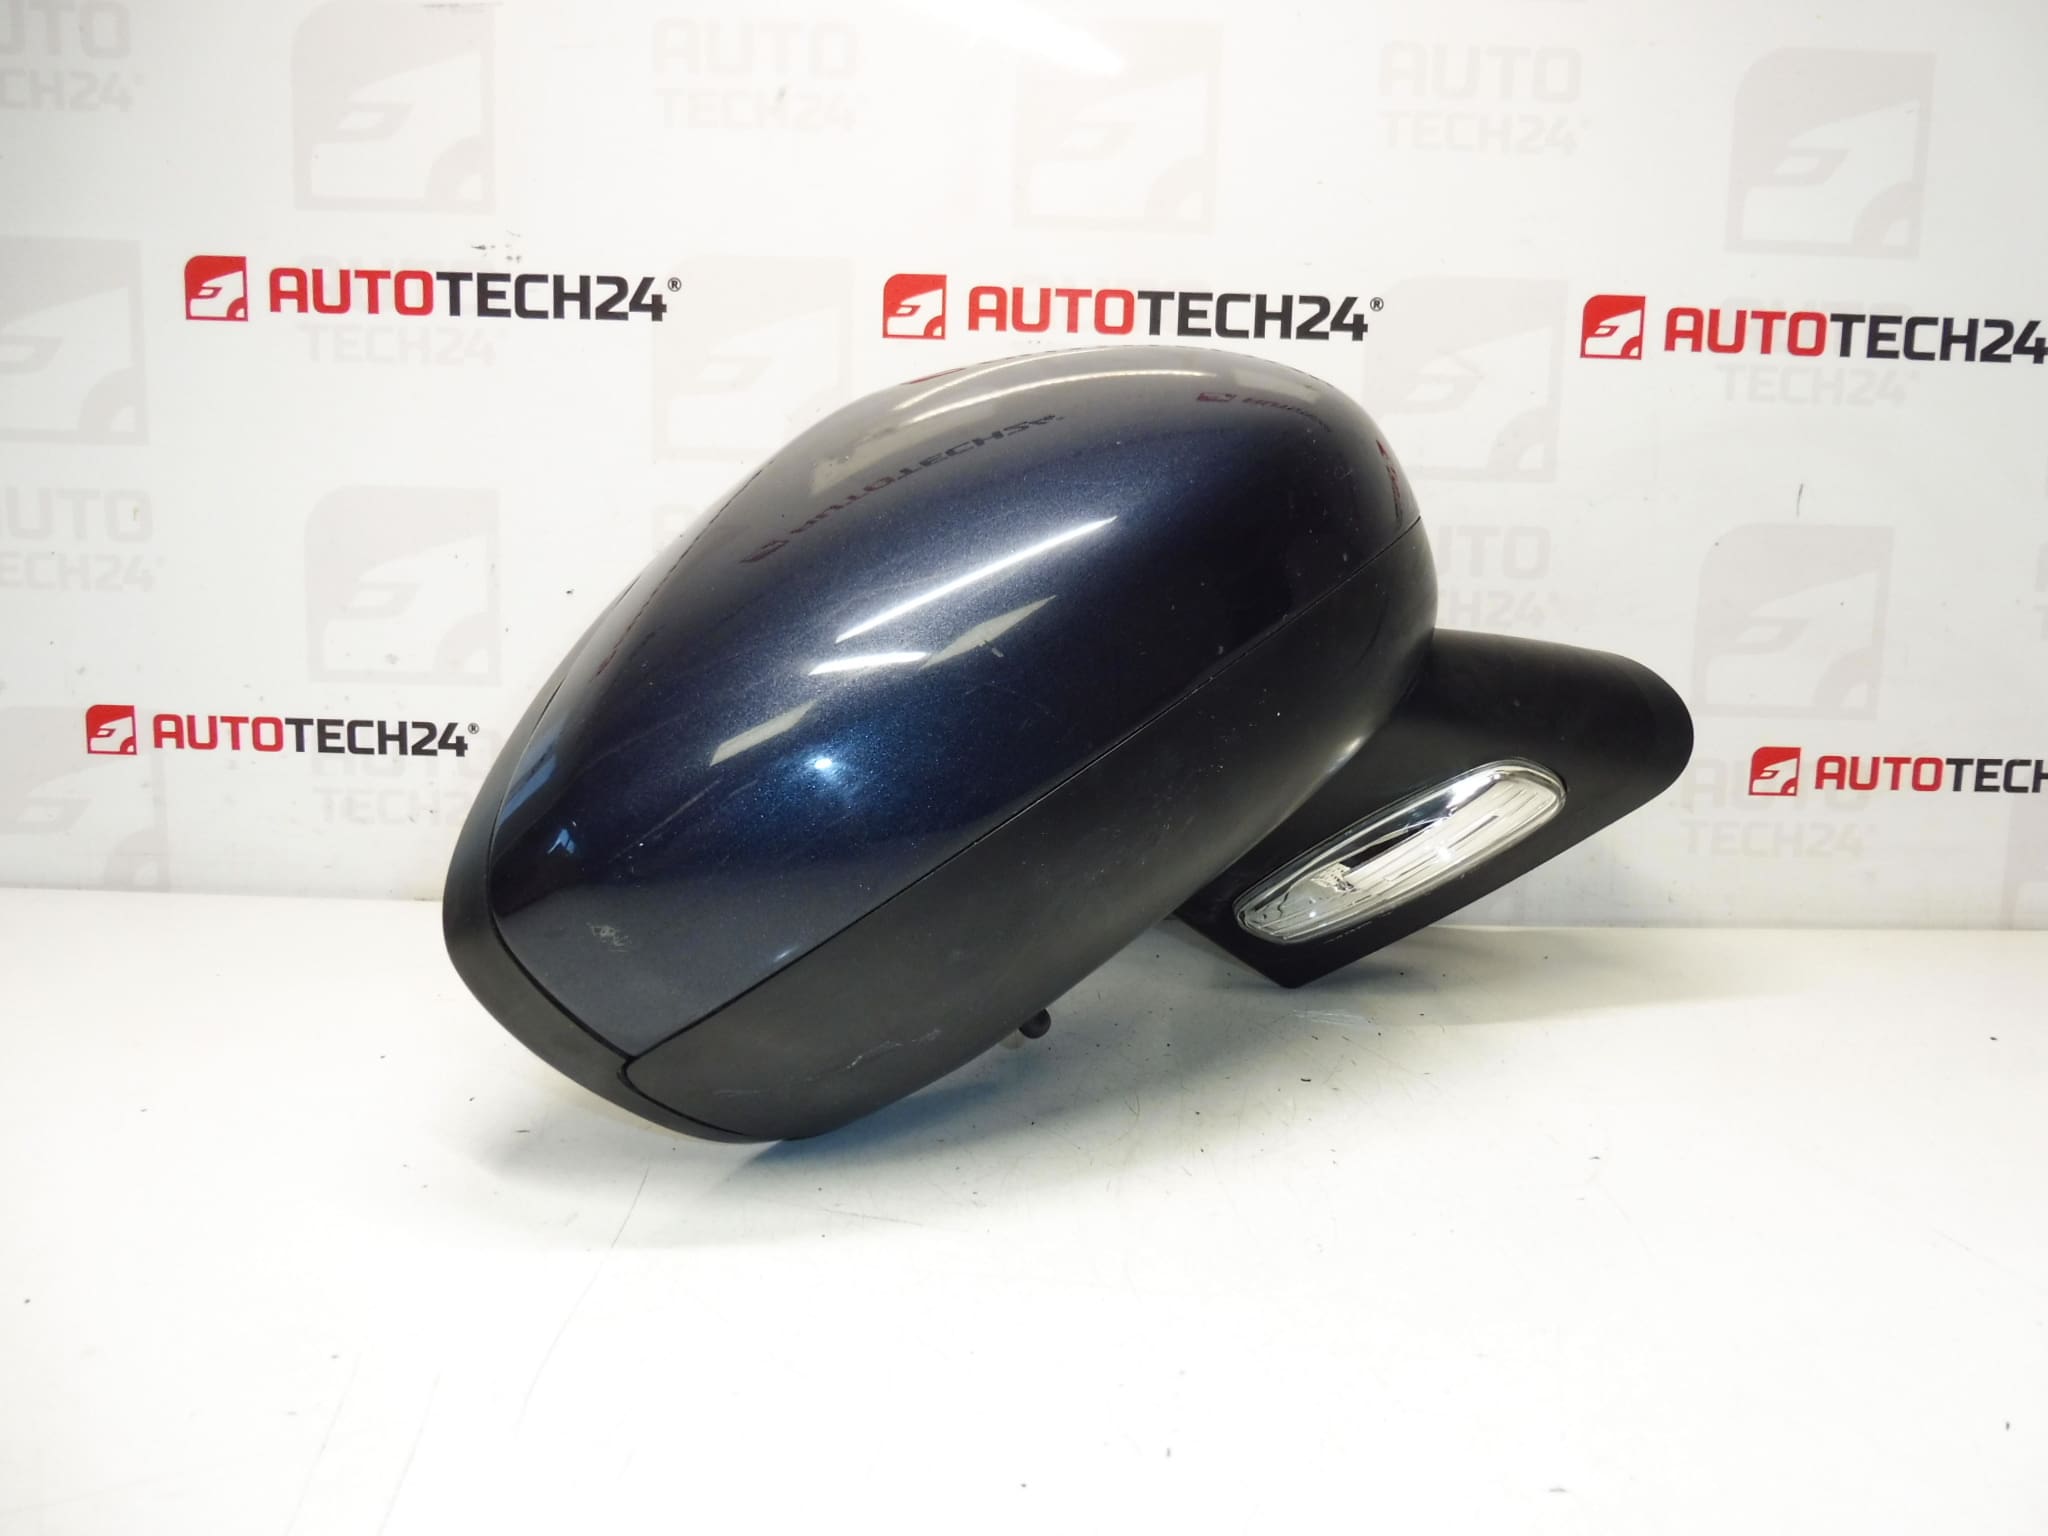
Rear passenger mirror for CITROEN C4 II B7a DS4 cars
Color KGN – LAK BOURRASQUE
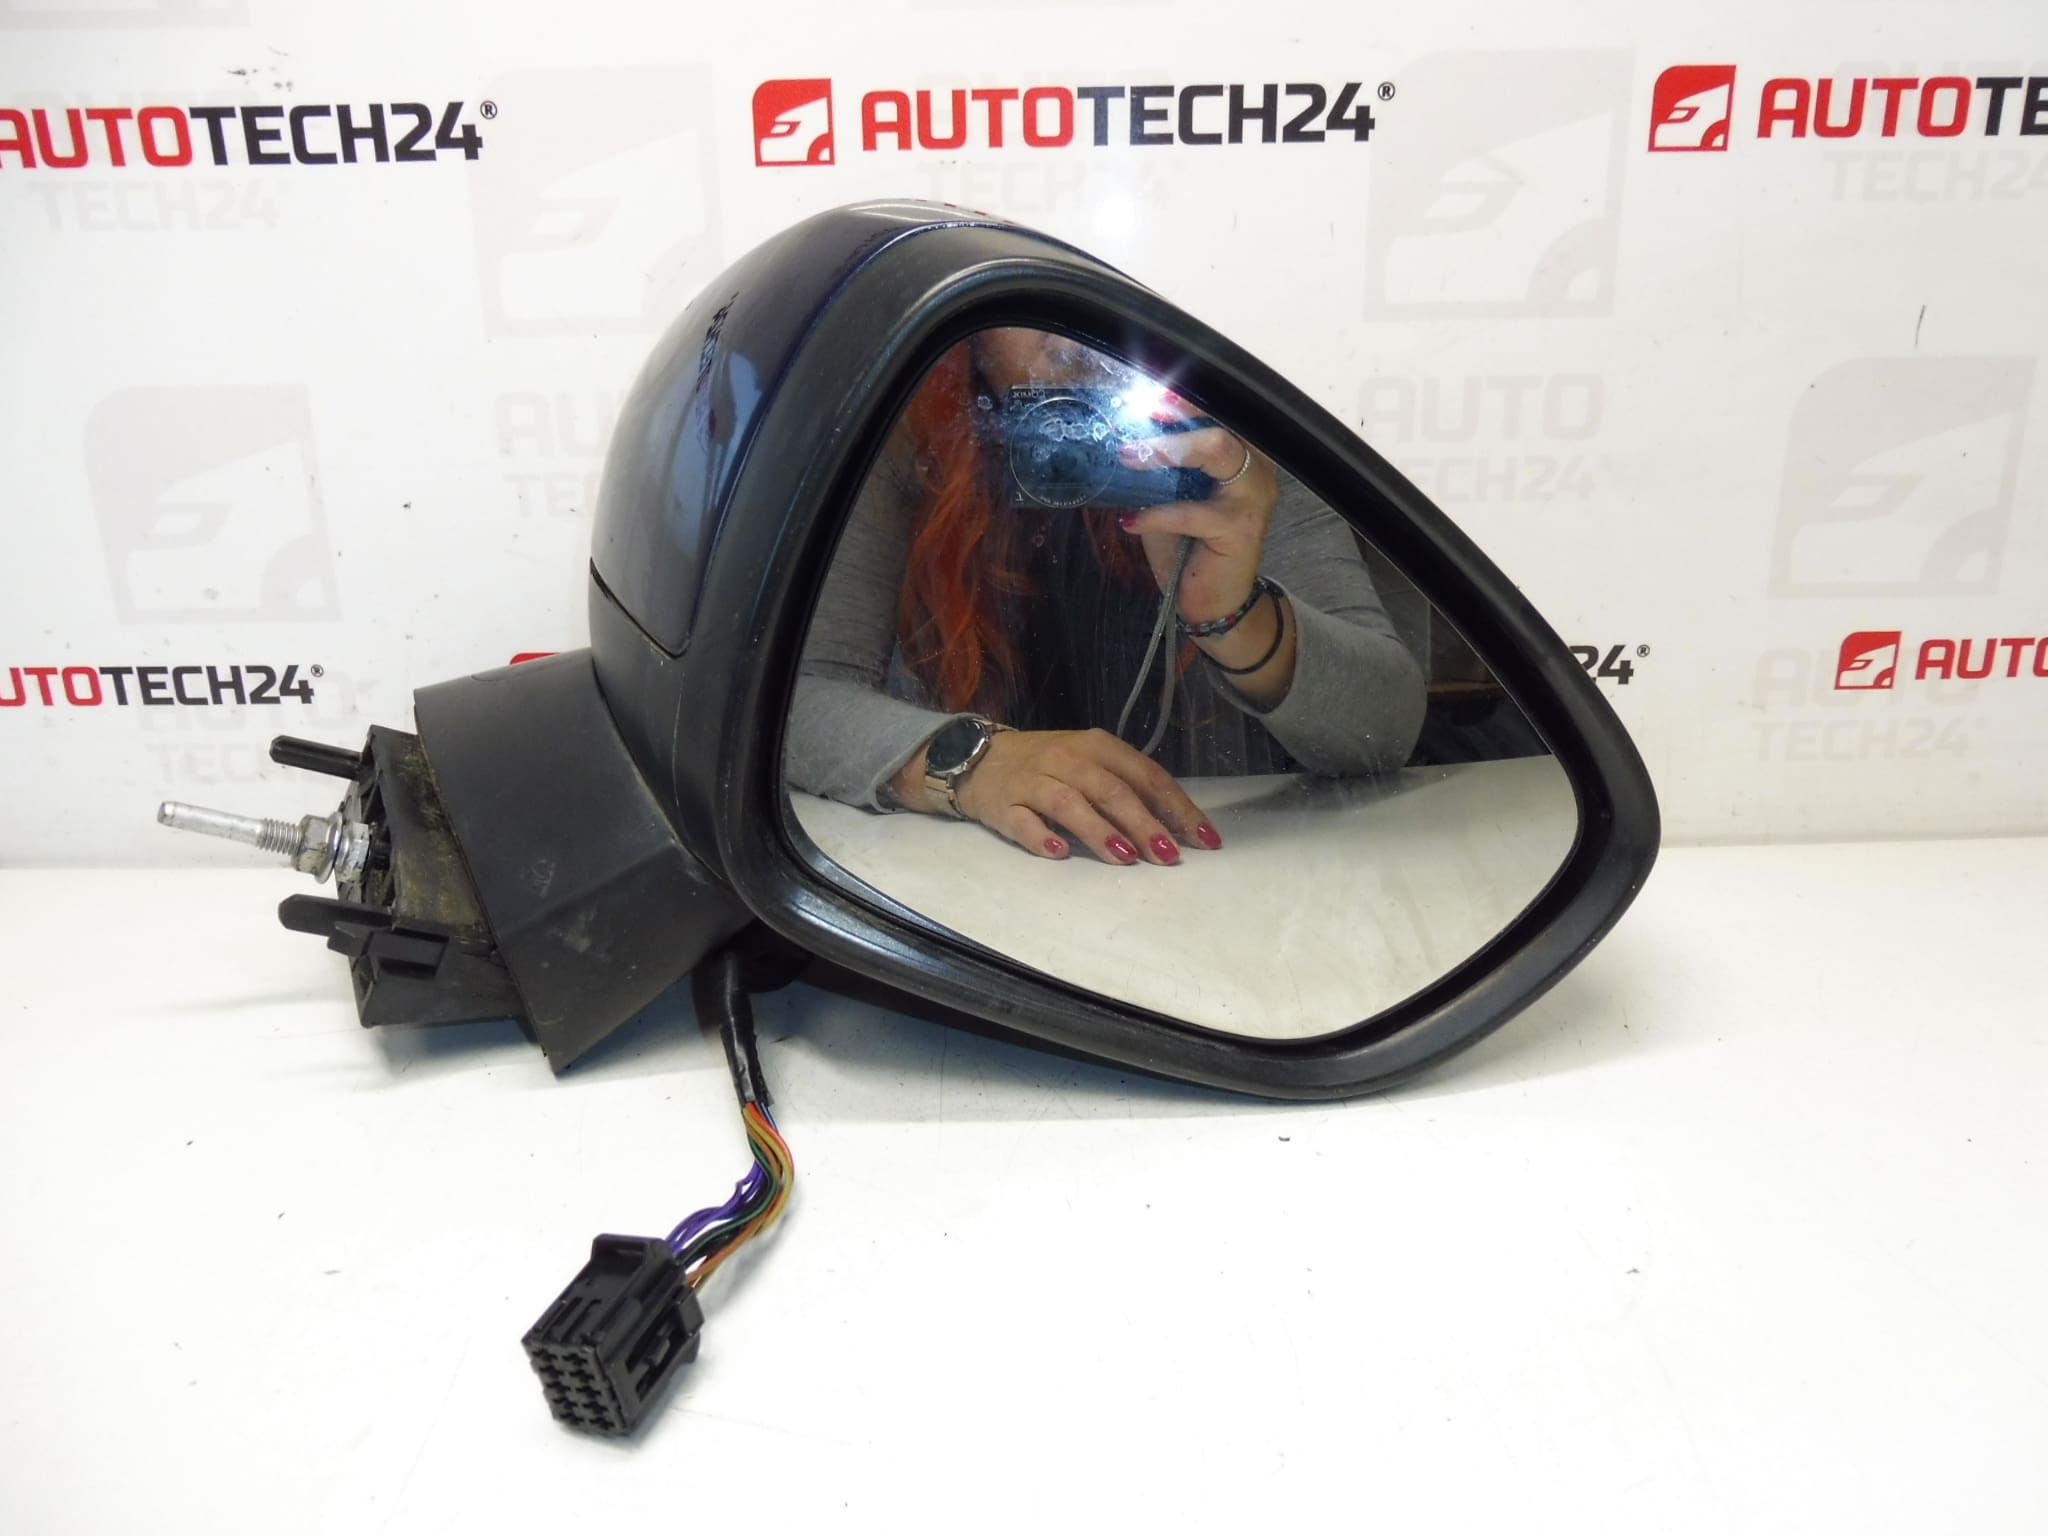
9 PIN
Part description
Used passenger rear-view mirror intended for Citroën/DS cars as indicated in the documents. Thanks to the KGN – LAK BOURRASQUE color specification, it is suitable for repair after damage, replacement of a cracked/broken mirror or when solving a defect in the electrical functions of the mirror. It is also important to compare the number of pins (9 PIN) and the product number 1607024580 for a correct exchange.
Technical information
- Manufacturer: Stellantis (Citroën/Peugeot)
- Model: Citroën C4 II B7a, DS4
- Colour: KGN – LAK BOURRASQUE
- Connector: 9 PIN
- Other numbers: KGNC, NFP
Product codes
- Product codes: 1607024580
Installation recommendations
Generally/typically for replacing an outside rearview mirror (exact steps may vary depending on the specific car design and equipment):
1) Before assembly (checks of the used part, what to compare with the old part)
- Check that it is the passenger side mirror.
- Compare product number 1607024580 and any other designations (e.g. KGNC).
- Verify the match of the connector and number of pins (9 PIN).
- Visually check for cracks in the cover, the condition of the attachment, damage to the wiring and the connector.
- If you are also dealing with the appearance, check the match of the KGN – LAK BOURRASQUE colors.
2) Necessary tools and materials (in general, without specific extra parts)
- Set of screwdrivers and bits (typically Torx/hex according to design)
- Plastic pry bar for removing covers/upholstery (to minimize damage)
- Ratchet with extensions
- Contact cleaner (optional)
- Soft cloth/paint protection around the work
3) Step-by-step assembly procedure
- Turn off the ignition and disconnect the battery for safety reasons.
- Secure the door and protect the area around the mirror (paint/upholstery) with a soft cloth.
- Dismantle the inner cover in the area of the triangle near the mirror (typically clipped/screwed).
- Free access to the mirror connector and disconnect the electrical connector (not by the cables, but by the body of the connector).
- Loosen the mirror mounting screws/nuts and hold the mirror from the outside to prevent it from falling.
- Remove the old mirror and check the contact surface (dirt, sealing residues, damage).
- Place the new mirror in the correct position and grasp the fasteners by hand.
- Tighten the fastening evenly so that the mirror fits correctly and there is no tension.
- Connect the electrical connector and check that it clicks into place and that the wiring is not pinched.
- Reattach the inner cover/upholstery.
- Connect the battery.
- Verify basic functions (typically mirror settings; depending on the equipment, other functions).
-
4) Post-assembly checks and test drive/function verification
- Check the strength of the attachment and the stability of the mirror when closing the door and pushing lightly.
- Verify that the mirror does not vibrate and holds the set position.
- After a short ride, visually check the fit again and any unwanted play.
5) The most common assembly mistakes + how to avoid them
- Swapping the connector/pins → always compare the connector and 9 PIN before assembly.
- Pinched wiring → run the cables in the same route as the original part.
- Damage to covers/upholstery → use a plastic pry bar instead of metal tools.
- Incorrect seating → before tightening, check the contact surface and the even seating of the mirror.
Reasons why the part is damaged
- Mechanical damage during parking (crash, hitting an obstacle, vandalism).
- Breaking of the joint/attachment due to violent tipping or careless handling.
- Damage to the cover and paint from flying stones and weather effects.
- Defect in the wiring in the area of the door/mirror (stressed wiring, oxidation of contacts).
- Wear of the moving parts of the mirror due to long-term operation.