Description
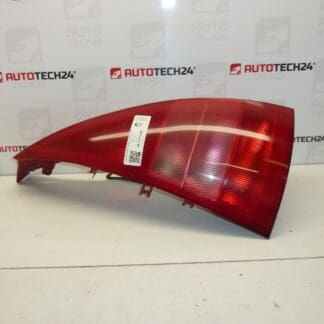
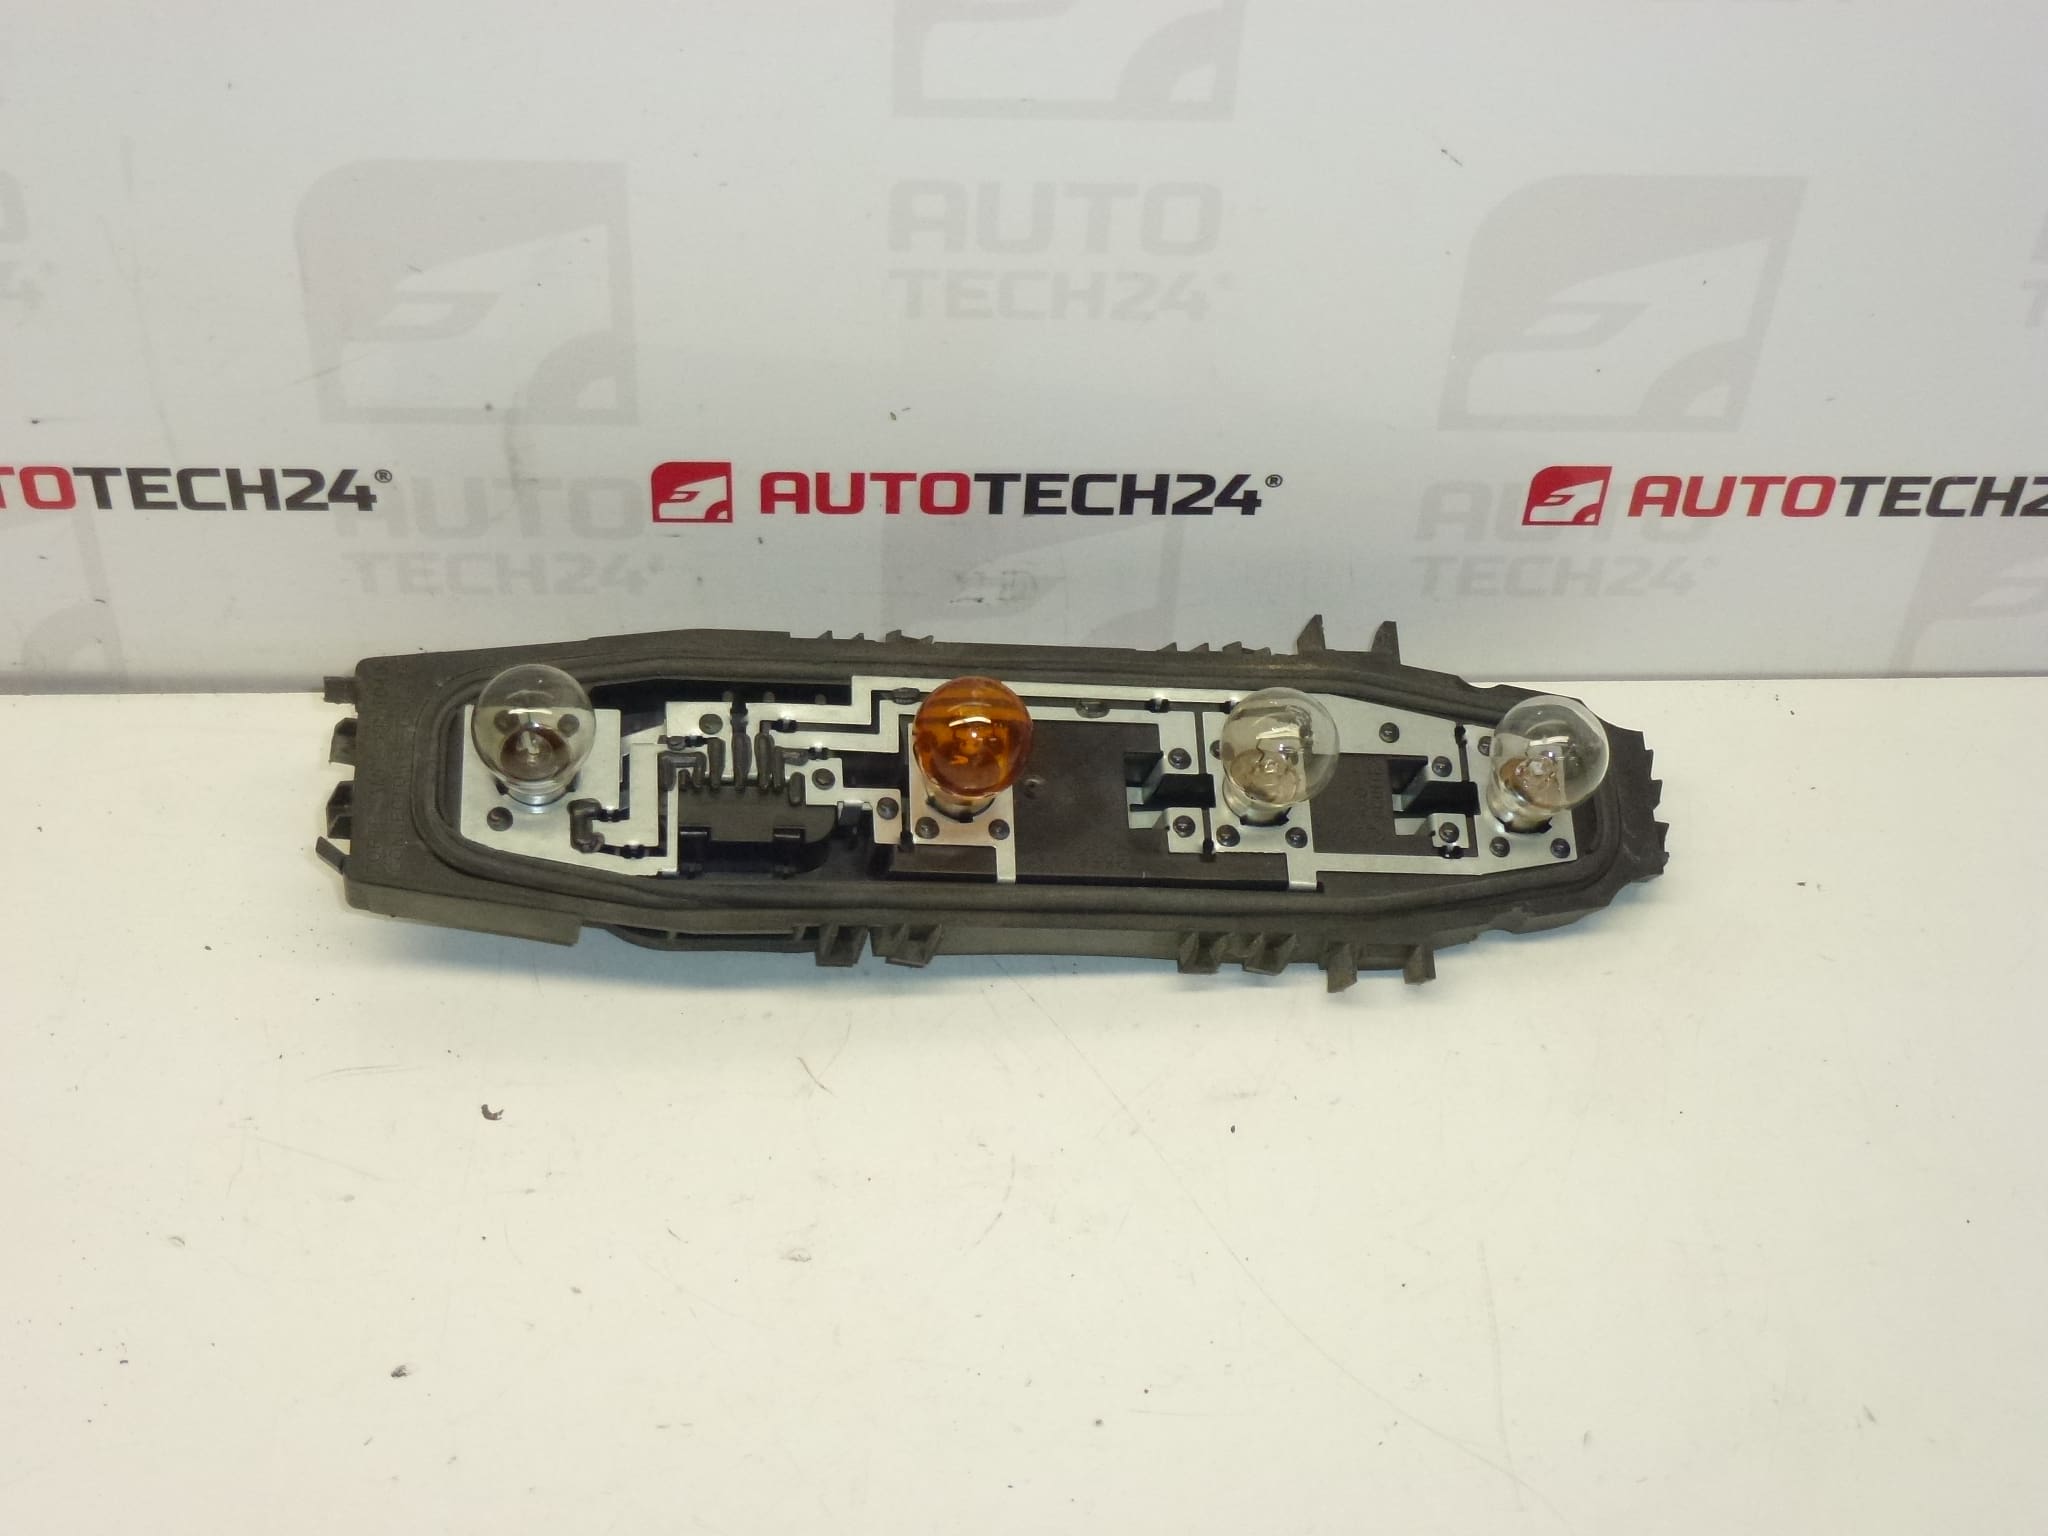
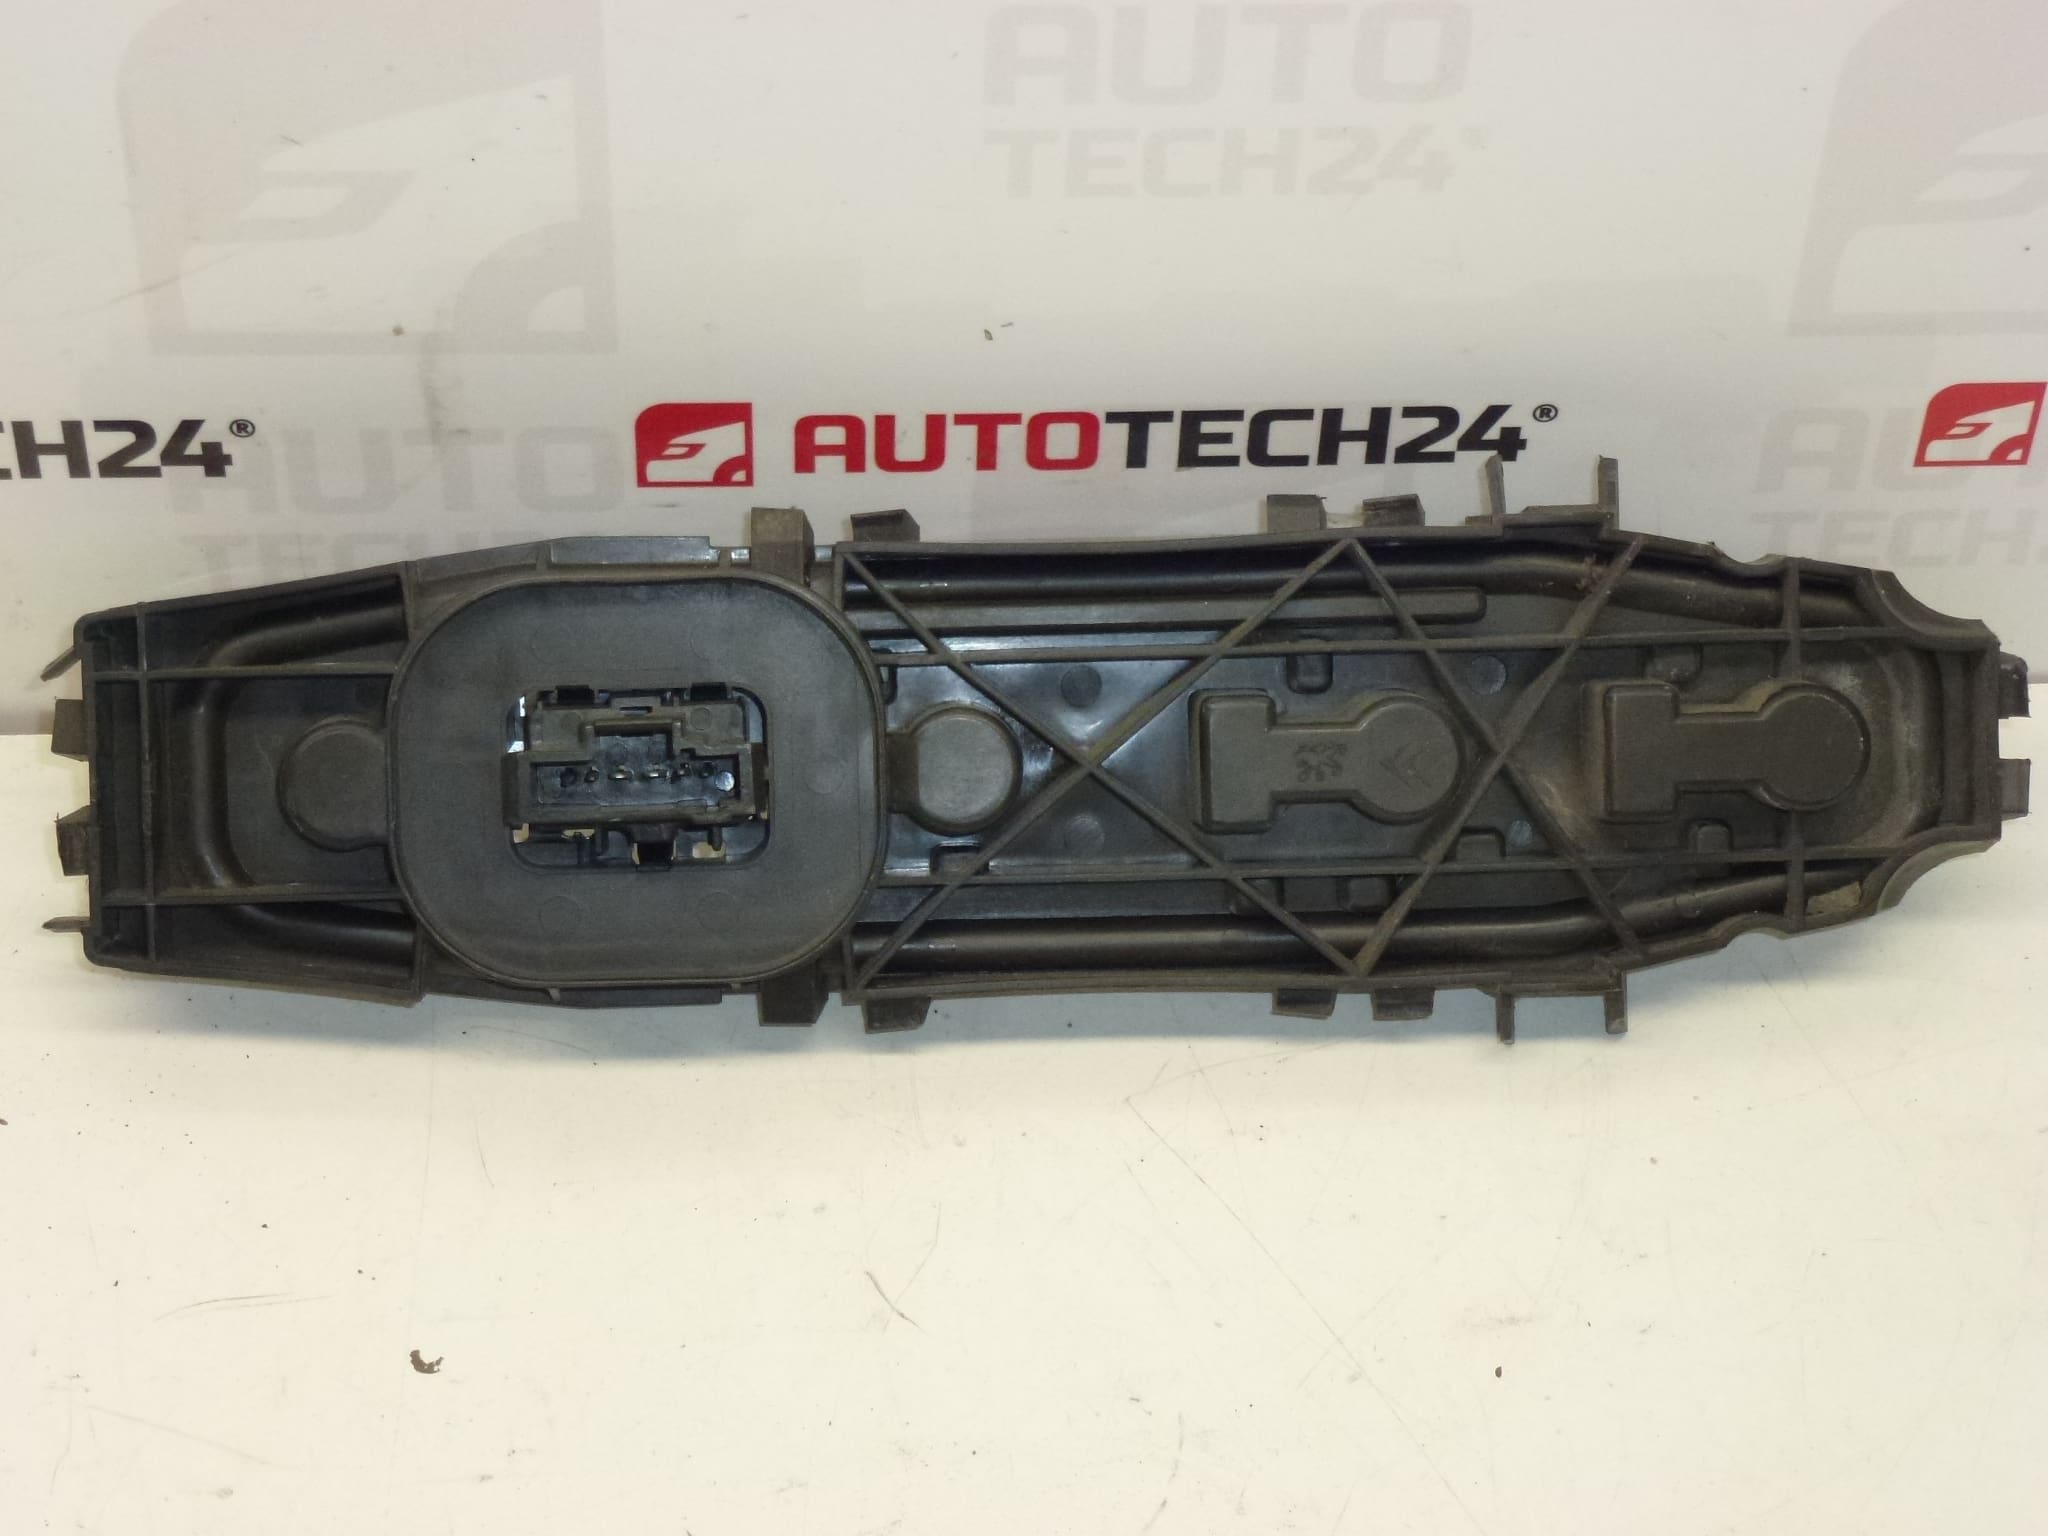
Socket With Bulbs For Rear Lamp, Left And Right, Citroën C3 Up To 2009. Functionality Of Bulbs Not Guaranteed.
This used rear lamp socket assembly is a practical replacement part for Citroën C3 models produced up to 2009. The unit includes bulb holders already fitted, allowing quick swap of the complete socket instead of changing individual contacts. Ideal for professional garages and DIY mechanics, the part restores secure electrical connection for rear lights and helps eliminate intermittent lighting caused by worn or corroded sockets. Commonly searched by product numbers 6350Q3, 6351Q3, 6350X5 and 6351X5.
Technical Information
- Manufacturer: Stellantis (Citroën)
- Model: Citroën C3 (up to 2009)
- Product Codes: 6350Q3, 6351Q3, 6350X5, 6351X5
- Additional Numbers: No additional numbers provided
Function And Application
The socket assembly secures and connects the rear lamp bulbs on left and right tail lamp clusters. It provides mechanical retention and electrical contact for the bulbs used in rear combination lamps (tail/stop/indicator circuits depending on lamp configuration). Replacing a damaged socket restores reliable contact and prevents flicker, poor lighting or intermittent faults on the rear lights.
Fitment And Replacement
Typical replacement procedure:
- Open the tailgate or boot and remove interior trim panels to access the tail lamp fasteners.
- Unscrew or unclip the lamp cluster and carefully pull the assembly out to reach the socket area.
- Twist and unplug the socket from the lamp cluster (note connector orientation), replace with the new socket and reconnect the wiring harness.
- Reinstall the lamp cluster, secure fasteners and check lamp operation before refitting interior trim.
Always verify bulb type and orientation when refitting. Some models may require removing a few screws or clips; consult vehicle repair manual for exact steps.
Installation Recommendations
- Work With Ignition Off. For safety, switch off ignition and, if practical, disconnect the negative battery terminal to avoid accidental short circuits when handling wiring.
- Check Connectors. Clean mating surfaces and apply small amount of dielectric grease to contacts to prevent future corrosion and improve conductivity.
- Inspect Seals. Ensure lamp gaskets and seals are intact to prevent water ingress that can damage the socket and bulbs.
- Test Lights. After installation, test all rear lamp functions (tail, brake, indicator, reverse where applicable) on both sides.
Why The Part Commonly Fails
Rear lamp sockets fail most often due to corrosion from moisture ingress, heat-induced deformation from aging bulbs, and mechanical wear from repeated bulb changes. Poor electrical contact caused by oxidized terminals or melted plastic can lead to intermittent lighting or complete failure of the rear lamp circuit. Ensuring proper sealing and clean contacts significantly extends service life.
Notes
This listing describes the socket assembly with bulbs as supplied. Bulb functionality is not guaranteed, so replace bulbs as required. Verify fitment for your Citroën C3 (up to 2009) and reference product codes 6350Q3, 6351Q3, 6350X5, 6351X5 when searching or ordering.