Description
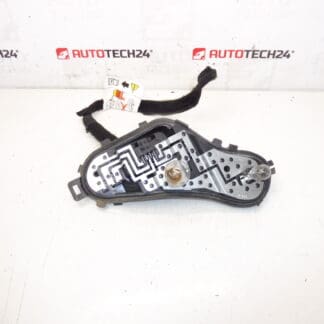
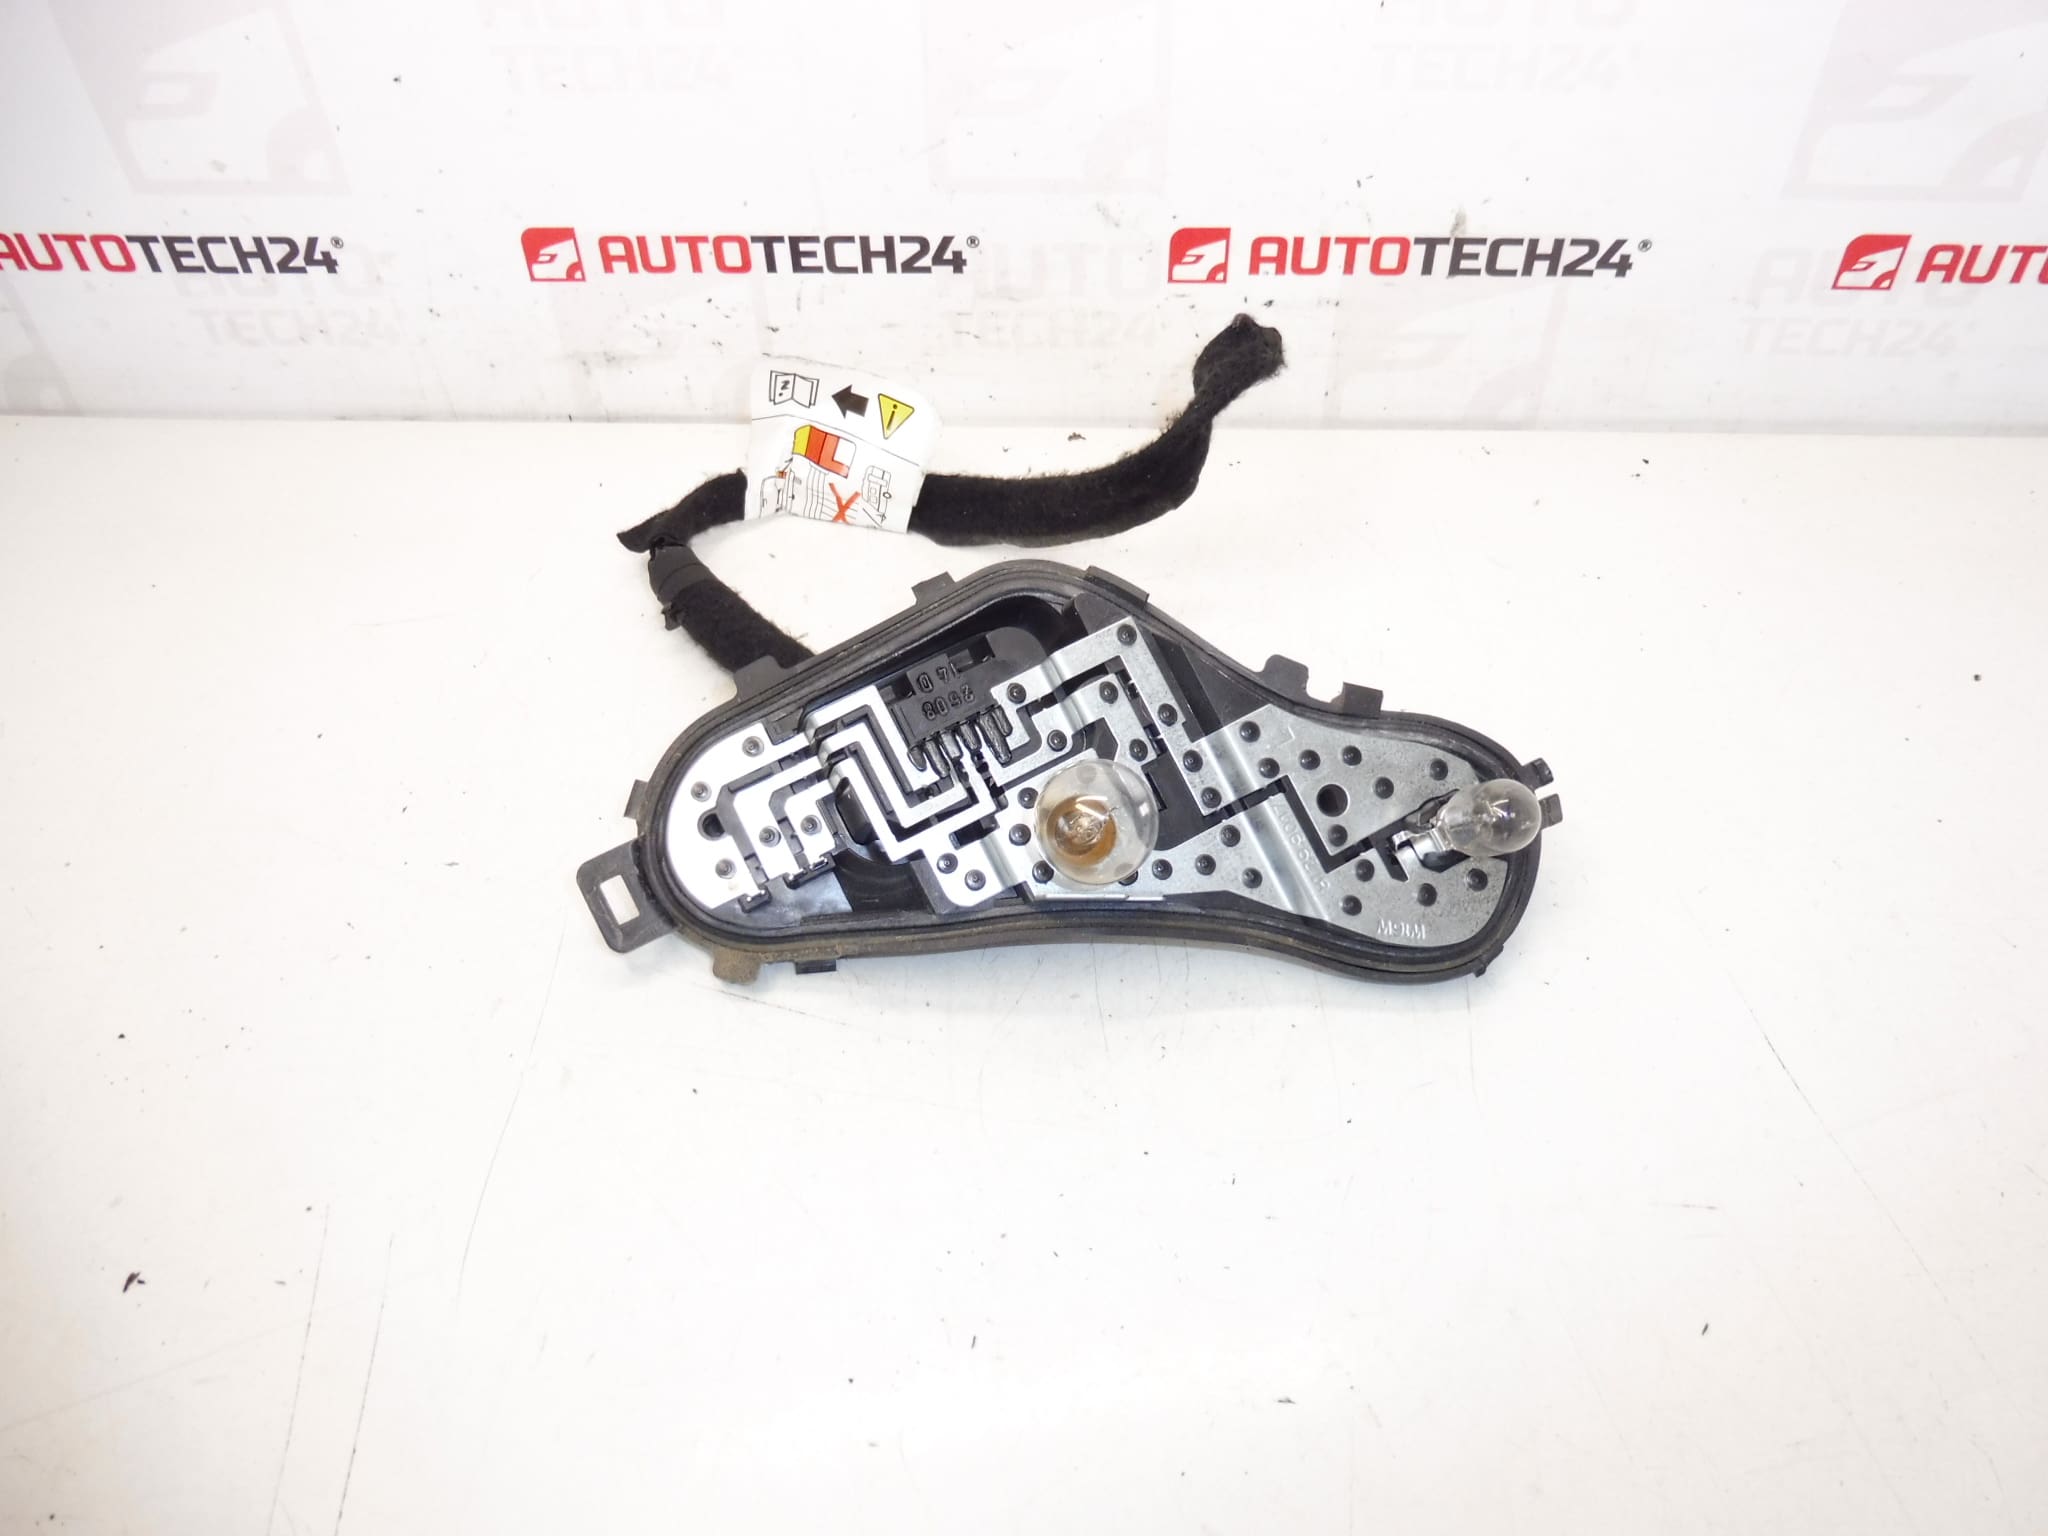
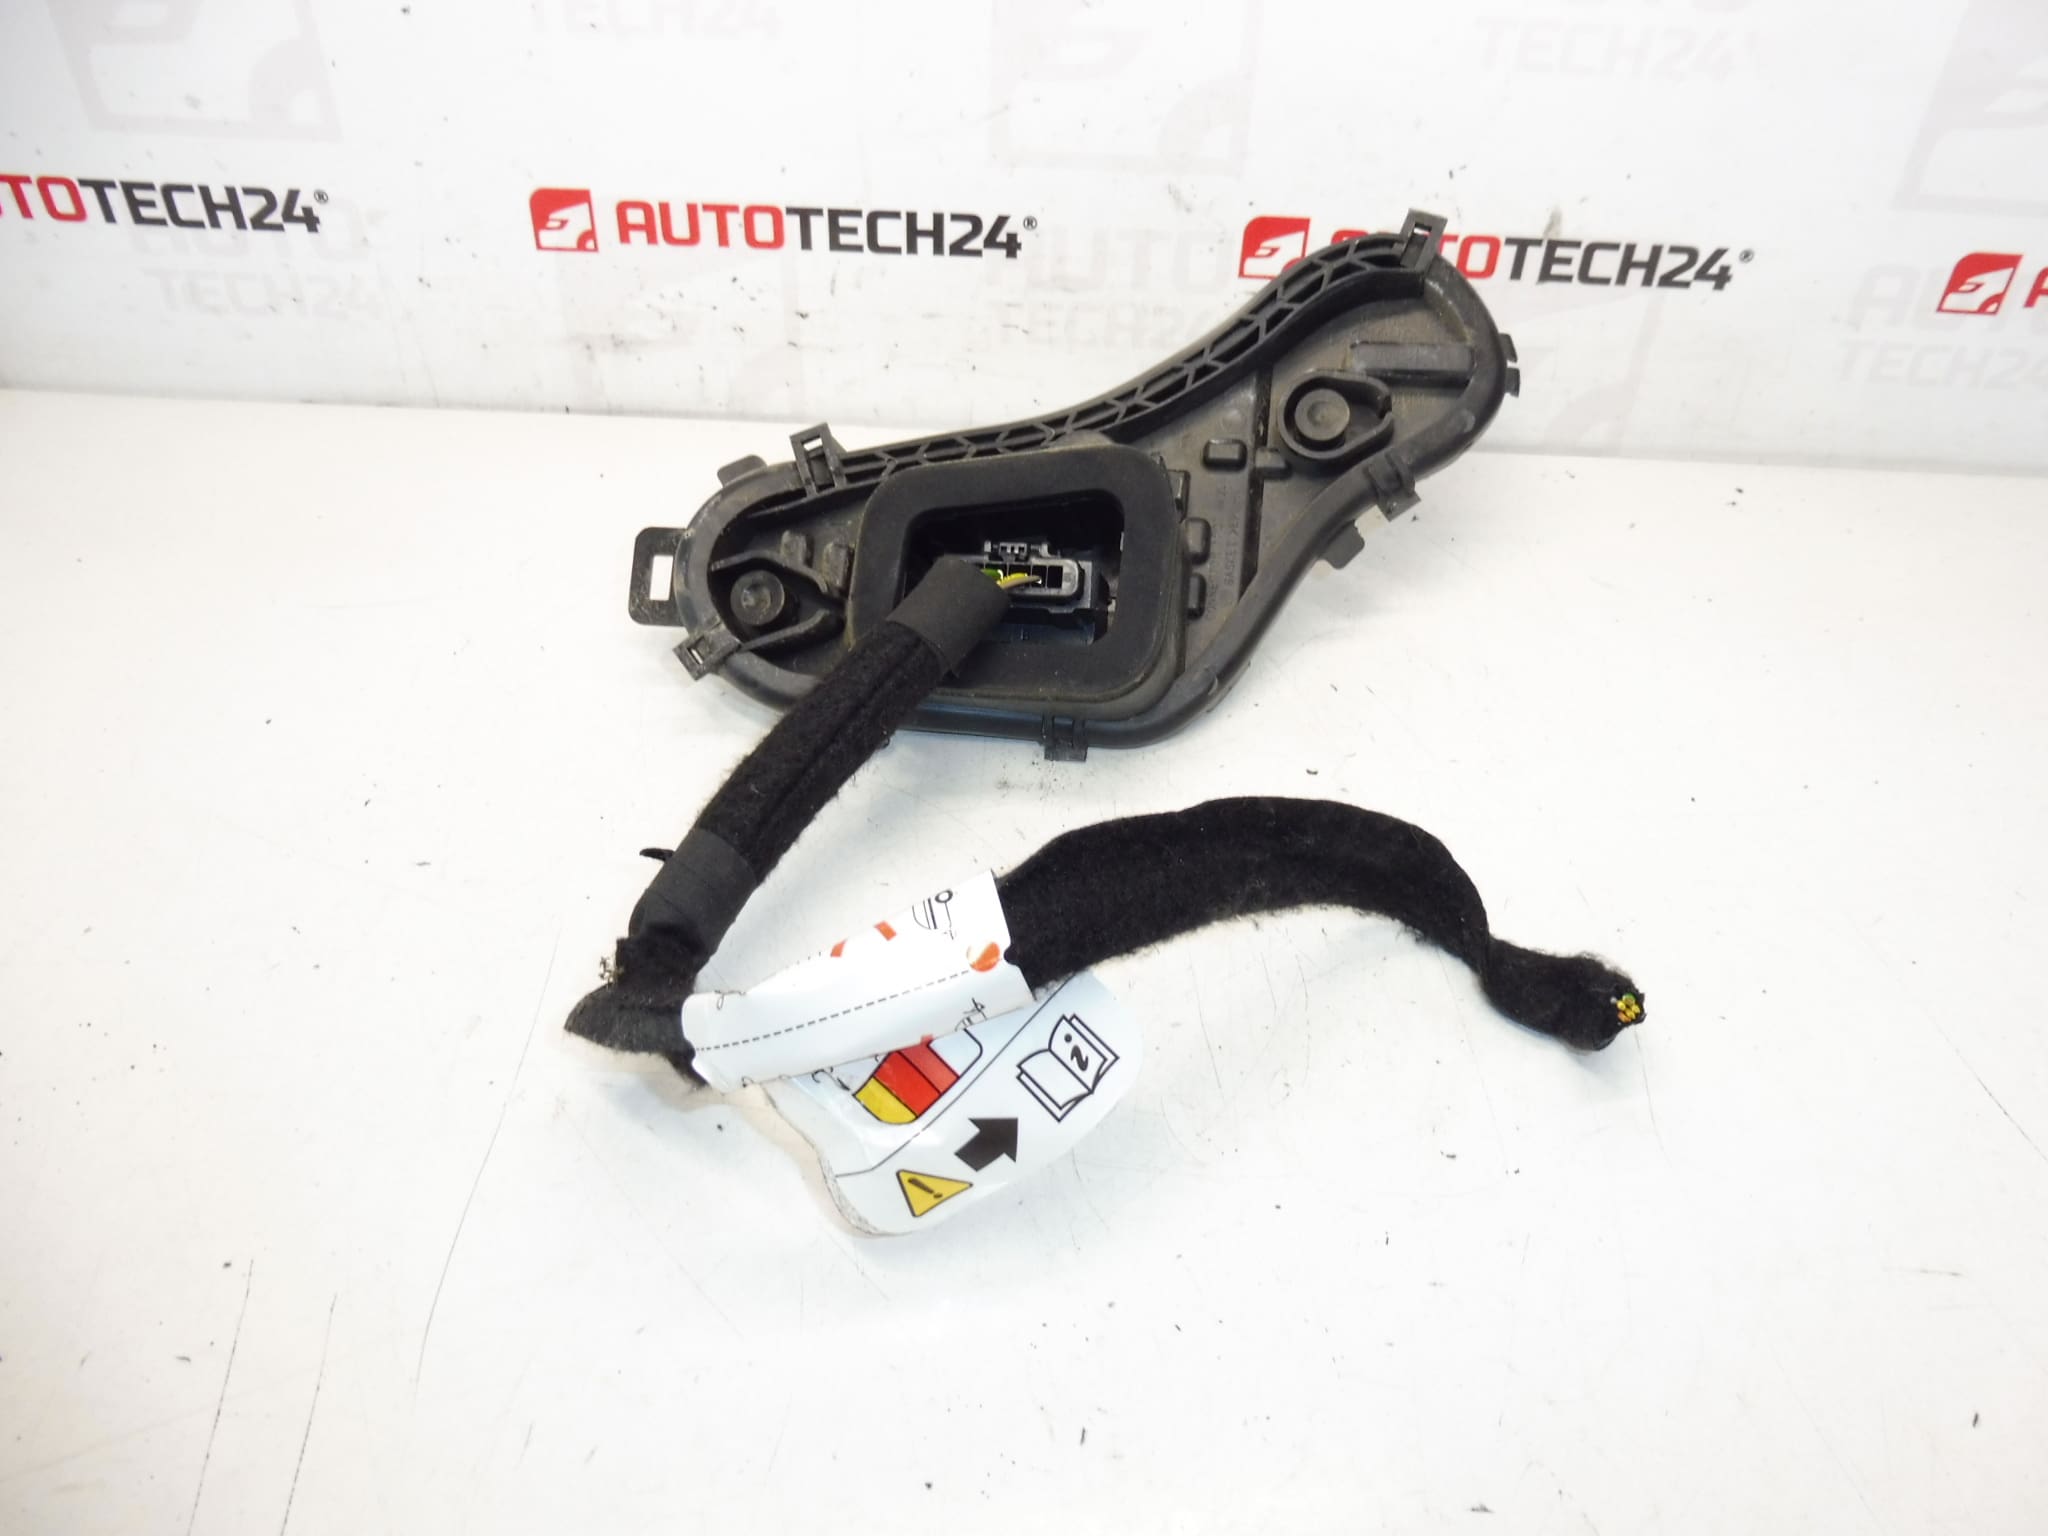
Bulb socket for the left rear lamp for Peugeot 3008 First Generation facelift. Includes a short length of wiring.
Direct-fit replacement bulb socket designed for the left rear tail light of the Peugeot 3008 first generation (facelift). Ideal for professional workshops and competent DIYers, this socket restores reliable electrical contact between the vehicle wiring and the rear lamp, helping to eliminate intermittent brake, tail, or indicator light faults. The presence of a short wiring pigtail simplifies installation and avoids cutting into the vehicle loom when replacing a damaged connector.
Technical Information
- Manufacturer: Stellantis (Peugeot)
- Model(s): Peugeot 3008 I (Facelift) – Left Rear Lamp
- Product Codes: 9805510580
- Additional Numbers: Not specified
Fitment And Application
Designed specifically as a replacement for the left rear lamp socket on Peugeot 3008 first generation facelift models. Use this part when the factory socket shows signs of corrosion, melted plastic, broken tabs, or damaged wiring that prevents a secure connection.
Installation Recommendation
- Always disconnect the battery before starting work to prevent short circuits and accidental bulb activation.
- Remove the tail lamp assembly or access panel to reach the faulty socket. Release the retaining clips or screws and carefully pull the lamp housing outward.
- Twist and withdraw the old bulb socket from the lamp housing. If the socket is retained by a clip or spring, note its position for correct reassembly.
- Unplug or cut the damaged connector from the vehicle harness as required. If using the supplied pigtail, splice or crimp the connections with quality terminals and insulate them with heat-shrink tubing or automotive-grade electrical tape.
- Fit the new socket into the lamp housing, reinsert the bulb, and test all lamp functions (tail, brake, indicator, and reverse if applicable) before final reassembly.
- Apply a small amount of dielectric grease to contacts to reduce future corrosion and improve contact reliability.
Most Common Failure Reasons
- Corrosion Of Contacts: Moisture ingress leads to oxidized terminals and poor electrical contact.
- Heat And Thermal Cycling: Repeated heating from bulbs causes plastic to deform or contacts to lose spring tension.
- Mechanical Damage: Impact to the rear lamp or rough removal/installation can crack the socket or break retention features.
- Wiring Wear Or Rodent Damage: Chafing, abrasion, or chewing can sever conductors or expose insulation.
- Poor Electrical Connection: Loose or oxidized contacts increase resistance, causing overheating and accelerated failure.
Why Choose This Socket
Replacing a worn or damaged socket with a correct-fit unit reduces flicker, intermittent faults, and the risk of melted connectors. The supplied short wiring section (pigtail) speeds up repair and is especially useful in situations where the original connector is brittle or the loom has been previously repaired. Suitable for routine workshop repairs or confident DIY maintenance, this part helps maintain safe and legal rear lighting performance.