Description
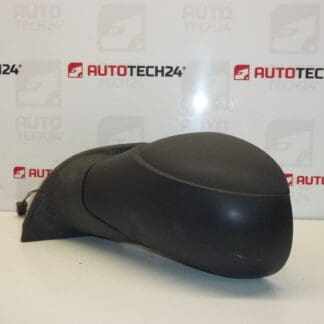
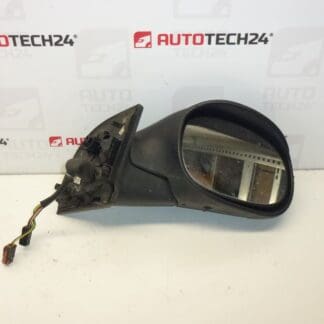
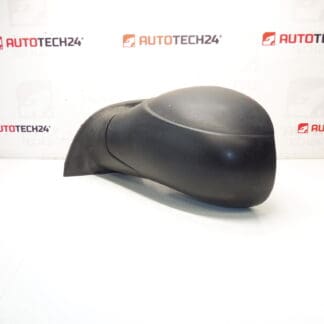
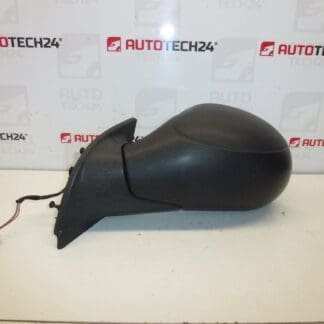
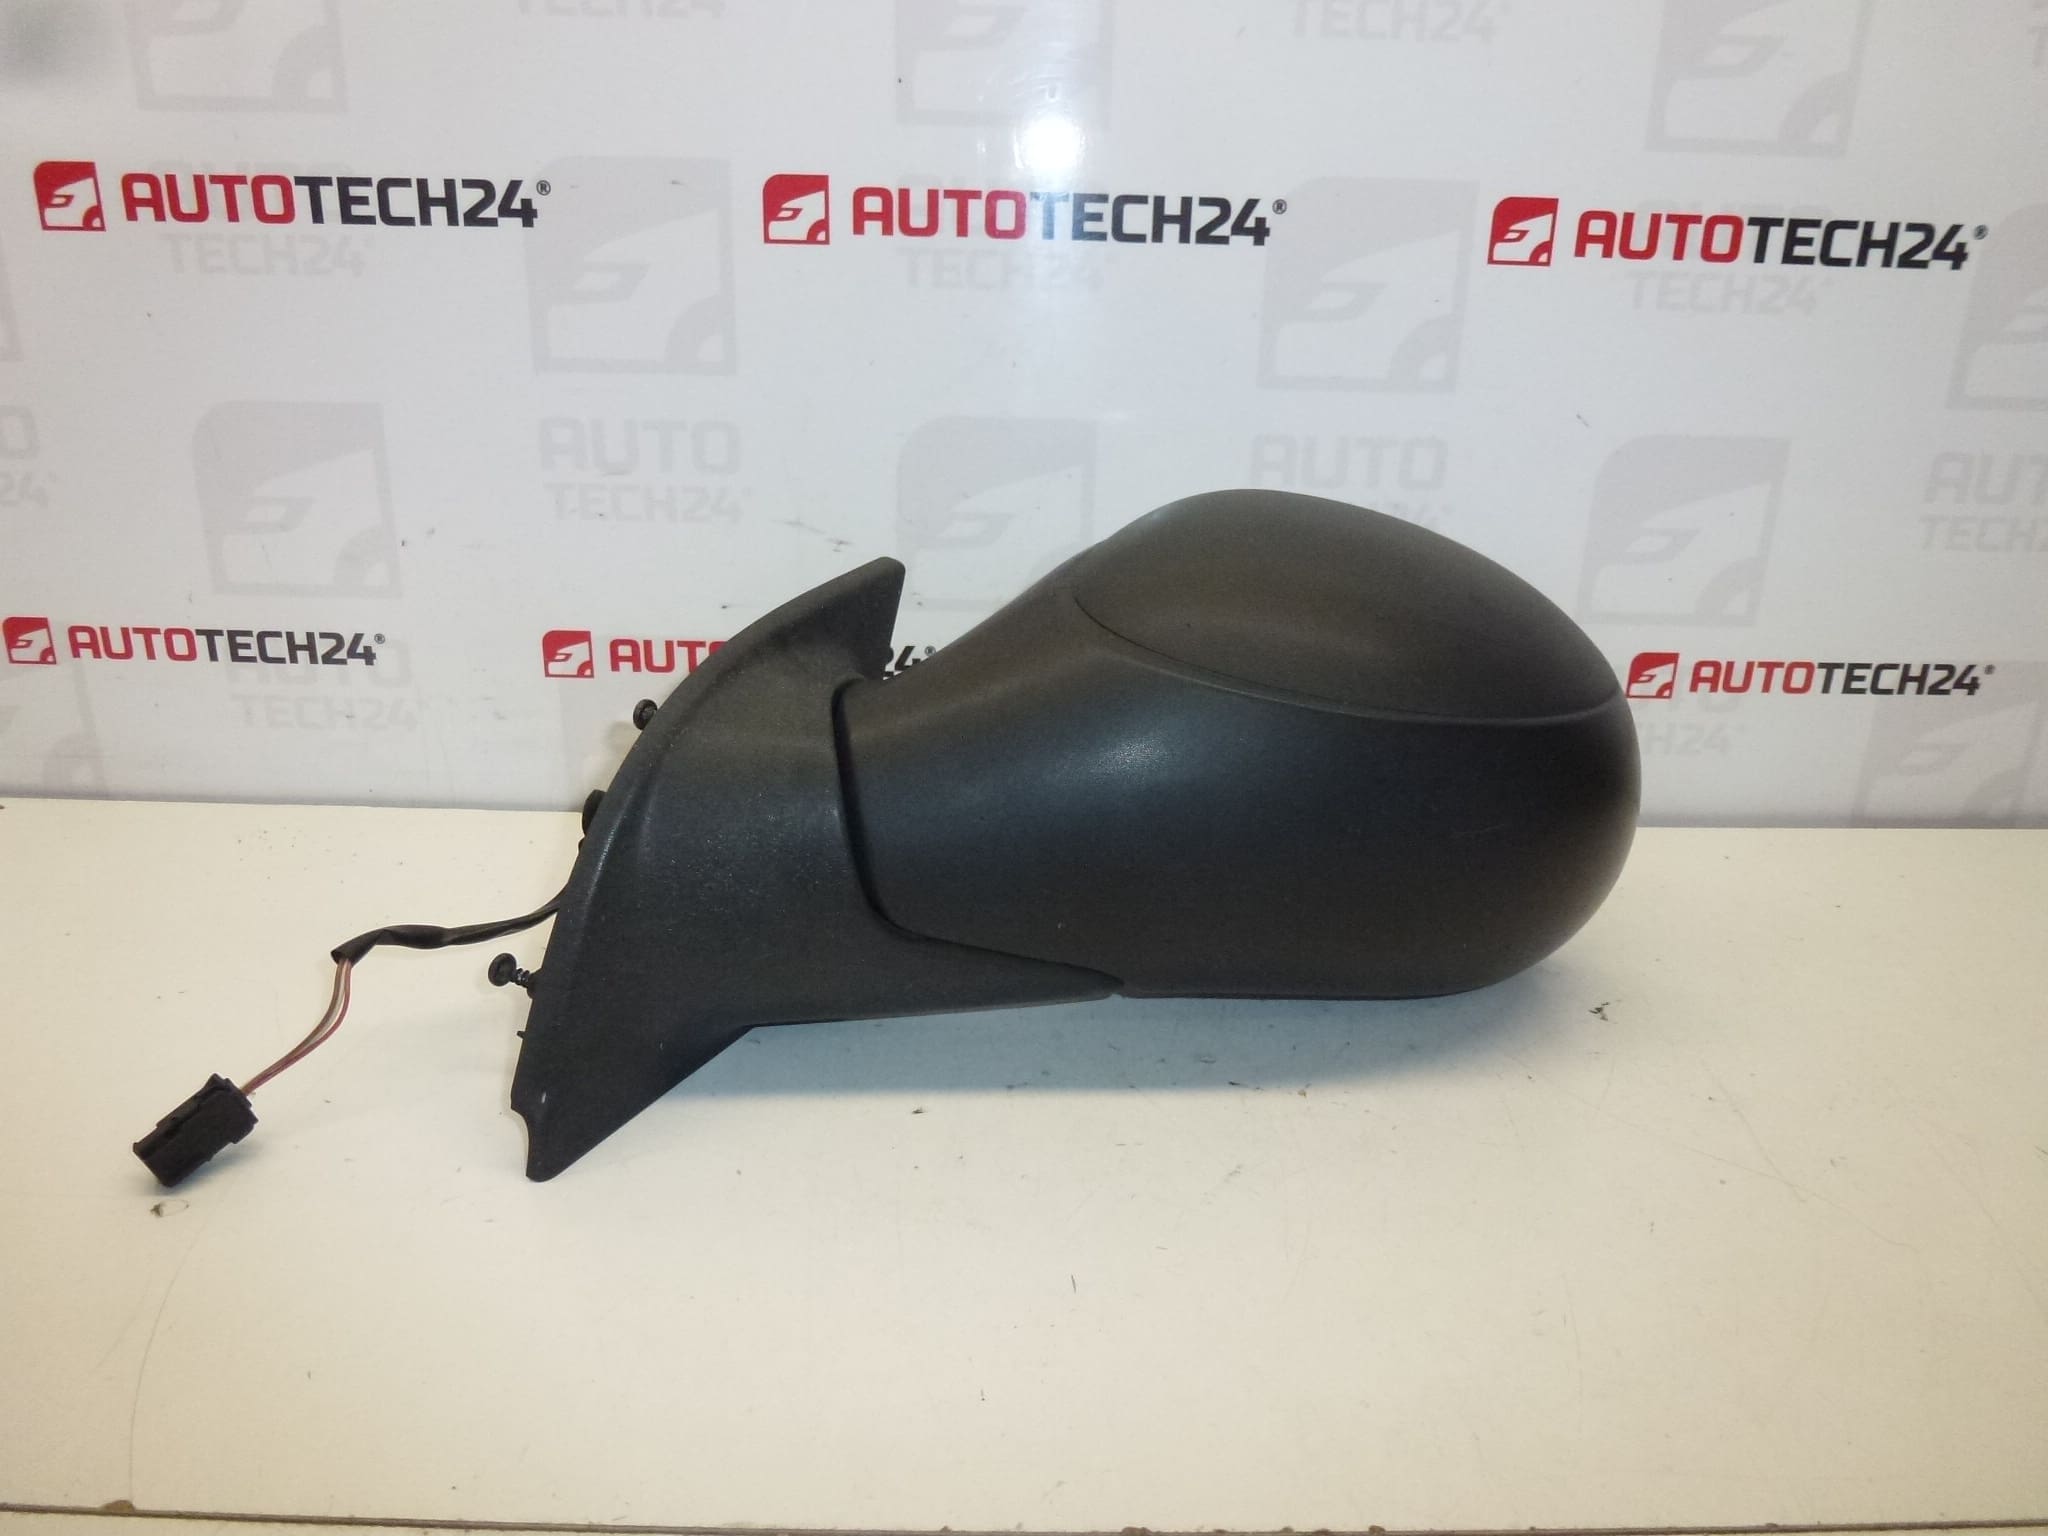
Original left driver-side exterior mirror for Citroën C3. Electrically operated, non-heated. 3-pin connector.
Overview
High-quality replacement left (driver-side) exterior mirror designed for Citroën C3 models. This electrically adjustable, non-heated unit connects via a 3-pin plug and is commonly sought under the part number 8149FJ. Ideal for professional workshops and DIY enthusiasts who need a direct-fit mirror assembly that restores vehicle functionality after damage or wear.
Key Features
- Electrically Adjustable Mirror Motor — precise mirror positioning from the cabin.
- Non-Heated Glass — mirror without heating element, suitable for vehicle variants without defrost feature.
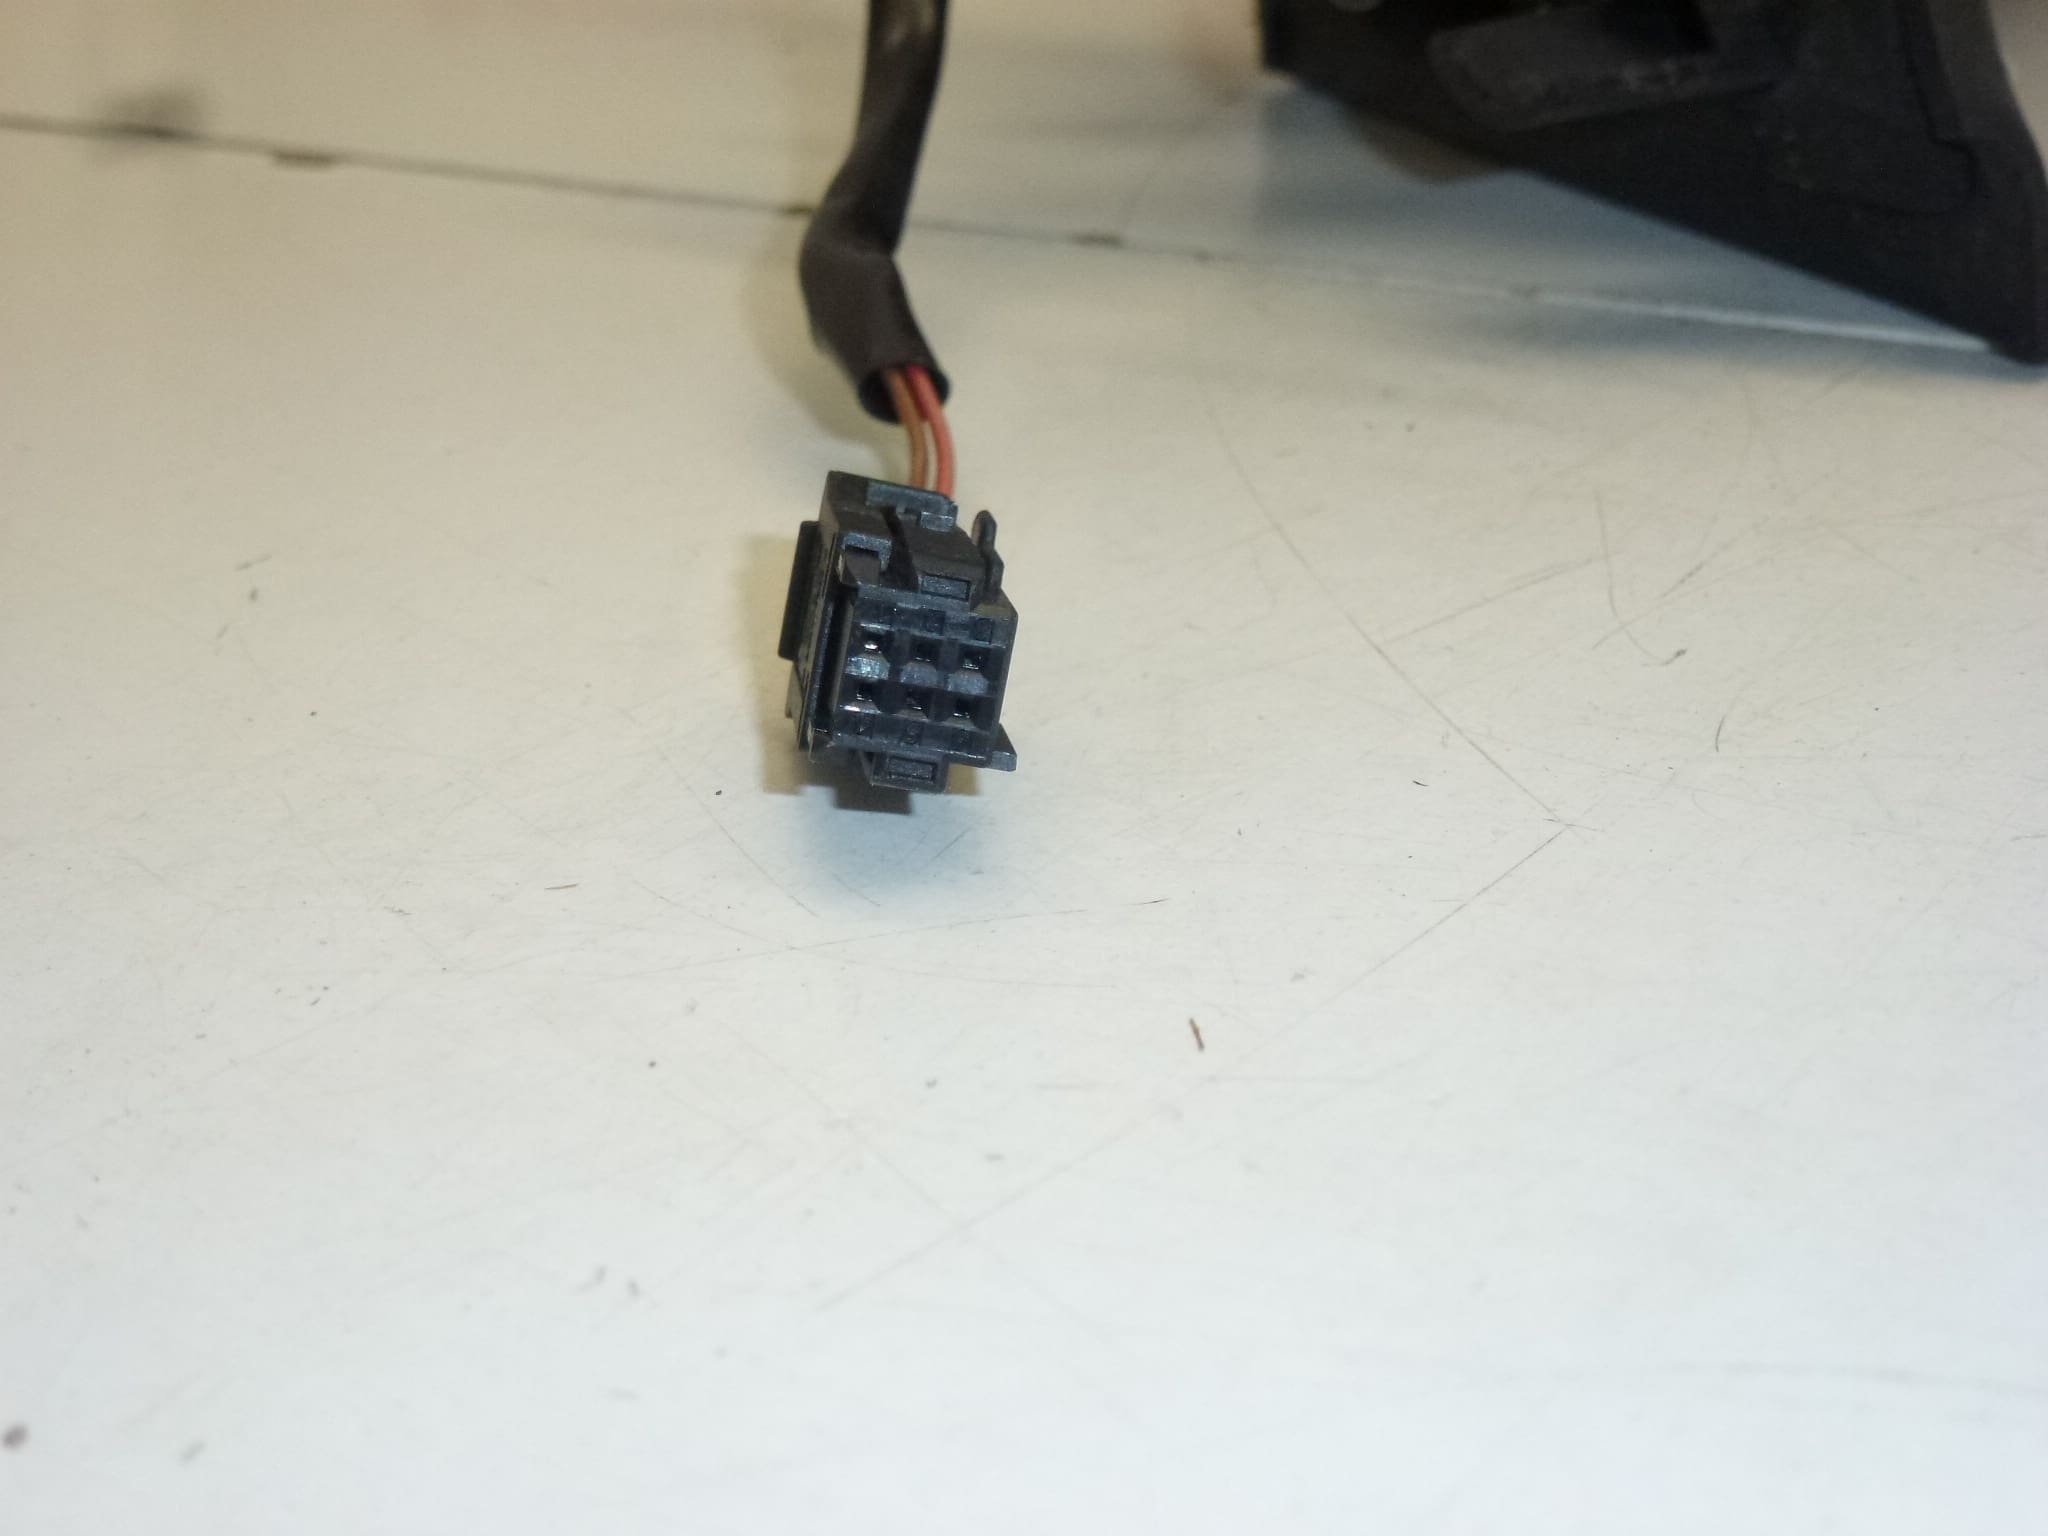
- 3-Pin Electrical Connector — standard plug type for compatible Citroën C3 configurations.
- OE-Style Fitment — mounting points and housing designed for direct replacement.
- Frequently Searched By Part Number — 8149FJ for faster lookup and cross-referencing.
Technical Information
- Manufacturer: Stellantis / Citroën
- Model: Citroën C3
- Product Codes: 8149FJ
- Other Numbers: N/A
Installation Guide
Removal and installation can be done in a standard workshop with basic tools. Typical procedure:
- Protect Door Trim And Glass — Use soft covers or tape to avoid scratches.
- Remove Interior Door Trim Or Access Cover — Gain access to the mirror mounting area and connector.
- Disconnect Electrical Connector — Carefully unplug the 3-pin connector before loosening fasteners.
- Support The Mirror Assembly — Prevent the mirror from dropping when removing the retaining bolts (usually three bolts/screws).
- Fit New Unit And Reconnect — Align mounting points, tighten fasteners evenly, and reconnect the electrical plug.
- Function Test — Before reassembling the door trim, check mirror adjustment from the switch to ensure motor and wiring are working correctly.
Installation Recommendations
- Use Proper Trim Tools To Avoid Damage To Interior Panels.
- Verify Connector Pins Are Clean And Free Of Corrosion Before Reconnecting.
- Tighten Mounting Fasteners Securely But Avoid Over-Torquing To Prevent Cracking The Housing.
- If The Vehicle Has Additional Features (Indicators, Folding Function), Confirm Compatibility Before Installation.
- After Installation, Check Mirror Range Of Motion And That The Glass Is Securely Seated.
Why This Part Most Commonly Fails
Mirror assemblies typically fail due to mechanical wear of the adjustment motor or internal gears, water ingress and corrosion of the motor or electrical connector, and physical damage from impacts (parking knocks, collisions). Wiring harness damage or connector corrosion can also cause intermittent or complete loss of mirror function. Regular inspection after minor impacts and keeping door seals intact helps reduce premature failures.
Notes For Buyers
This listing is focused on the left (driver-side) electrically adjustable, non-heated mirror for Citroën C3 vehicles. Many customers search by the OE code 8149FJ, so using that reference speeds up identification. Suitable for mechanics and experienced DIYers familiar with door panel removal and electrical connector handling.