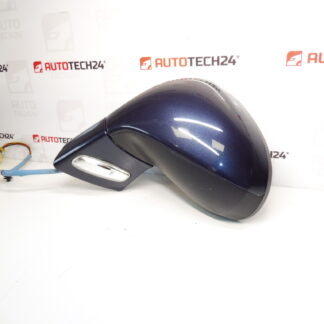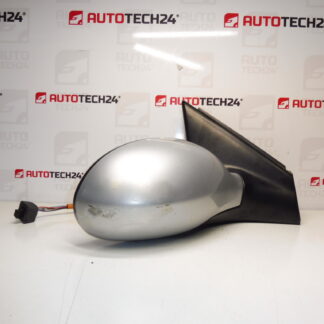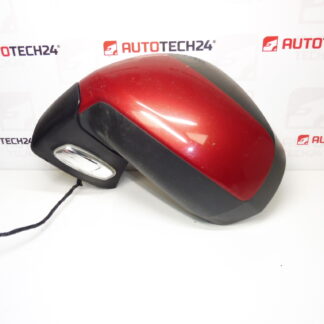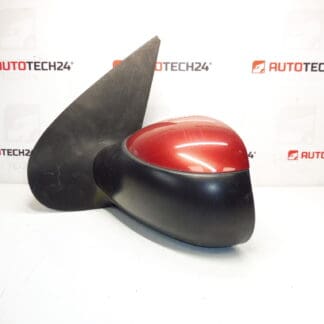
Description
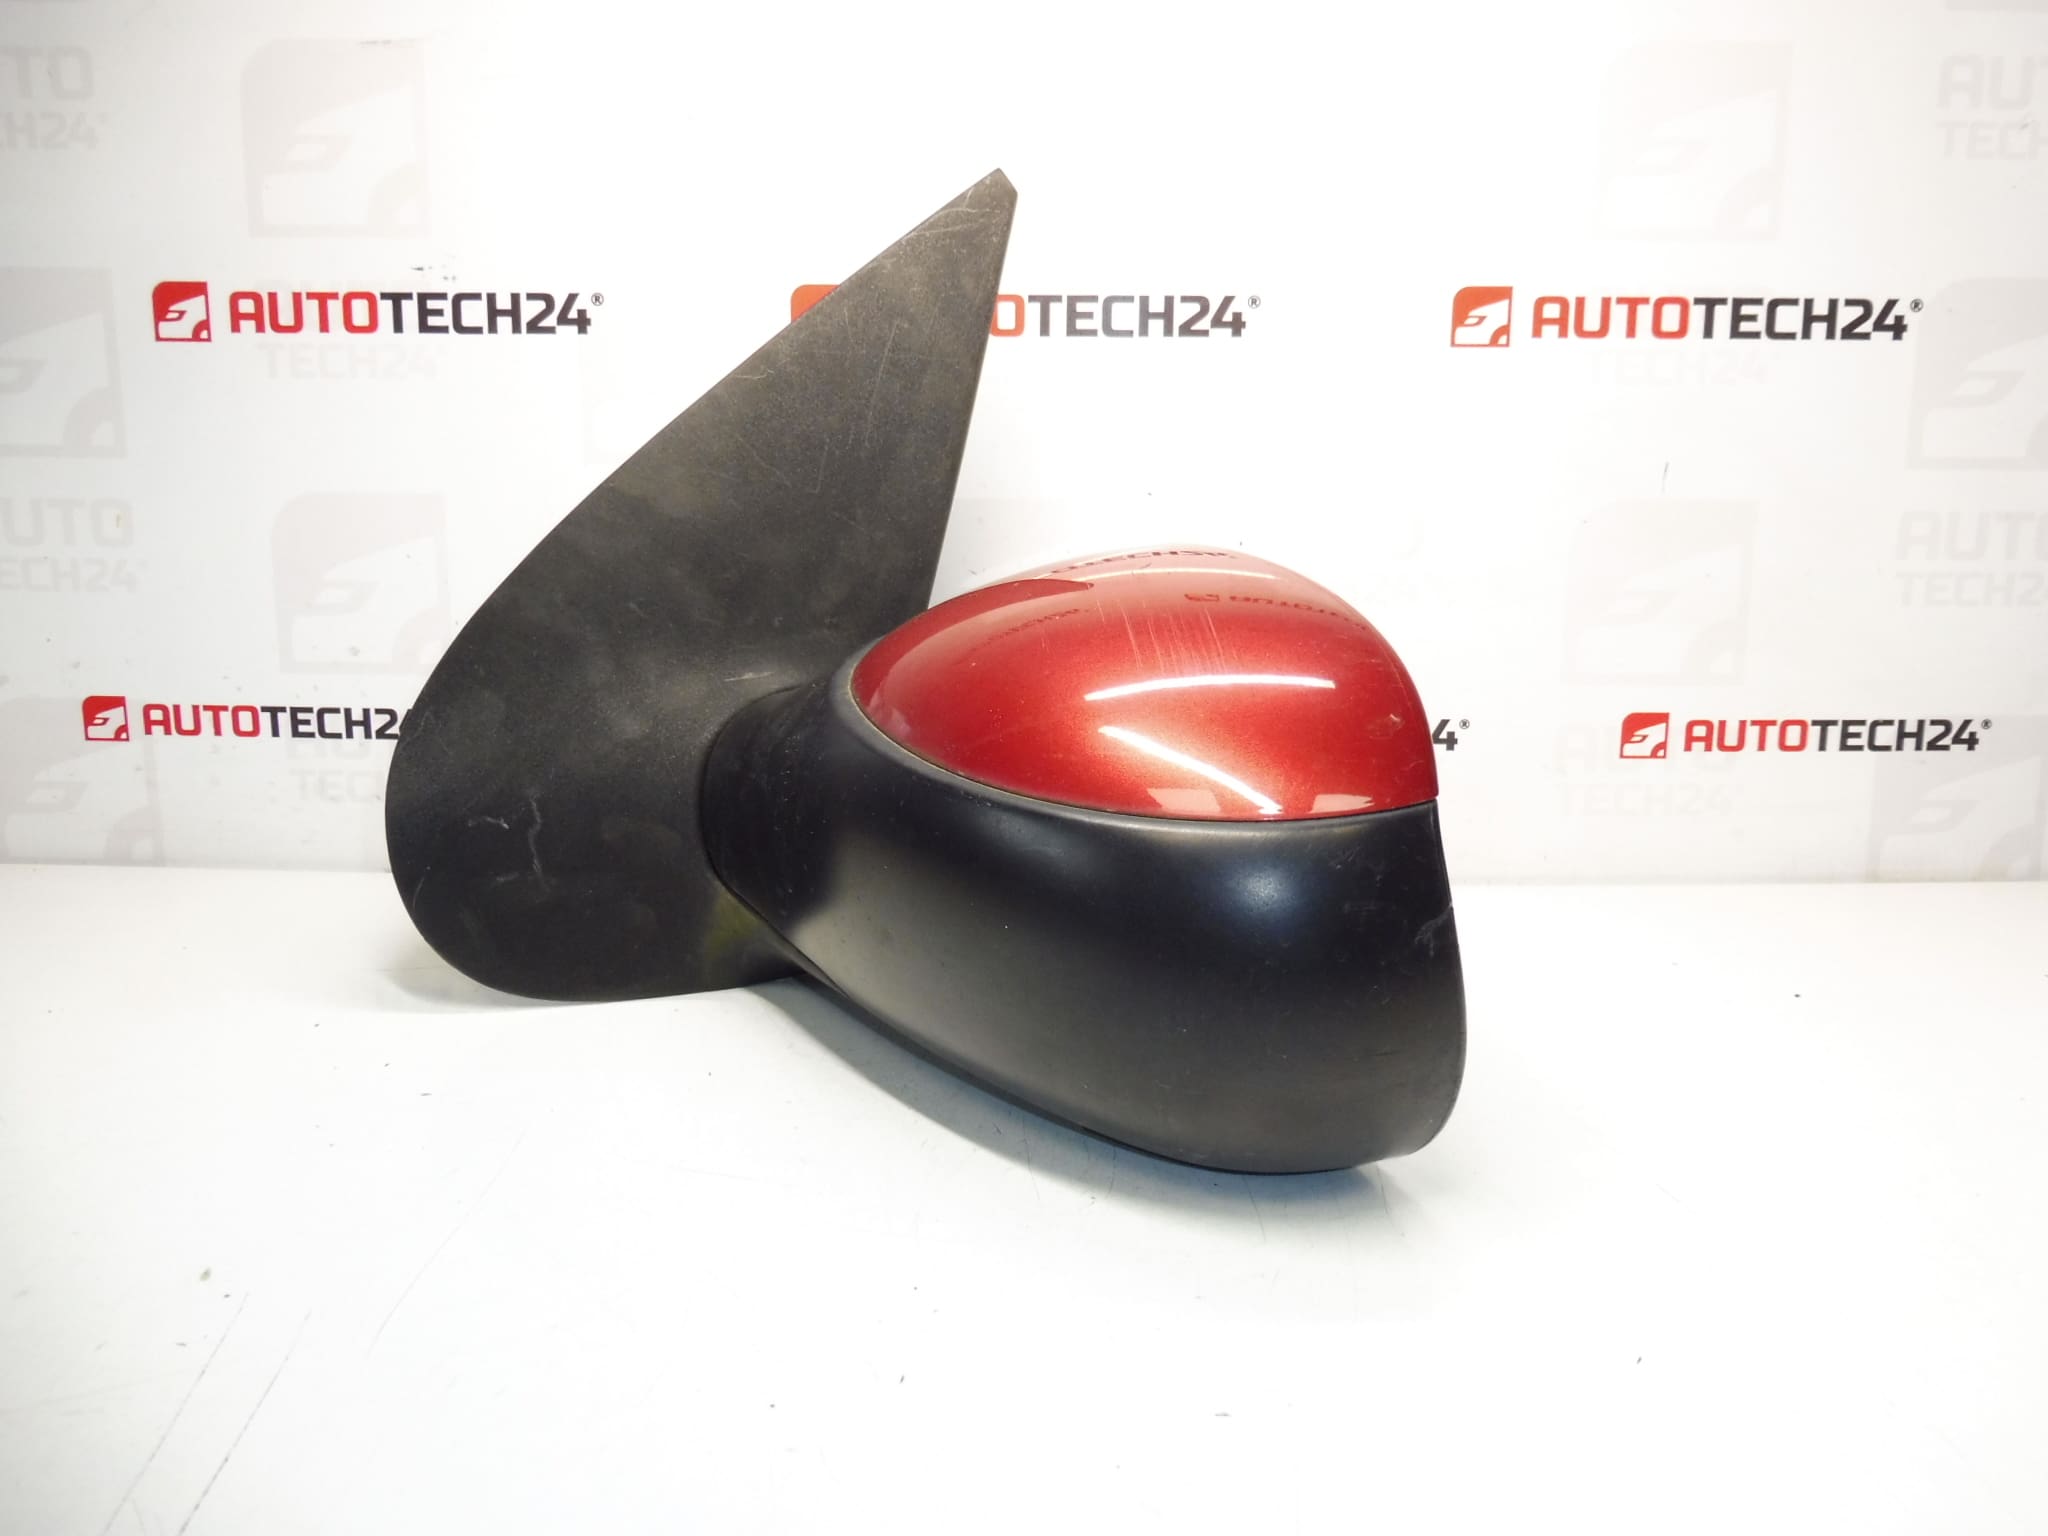
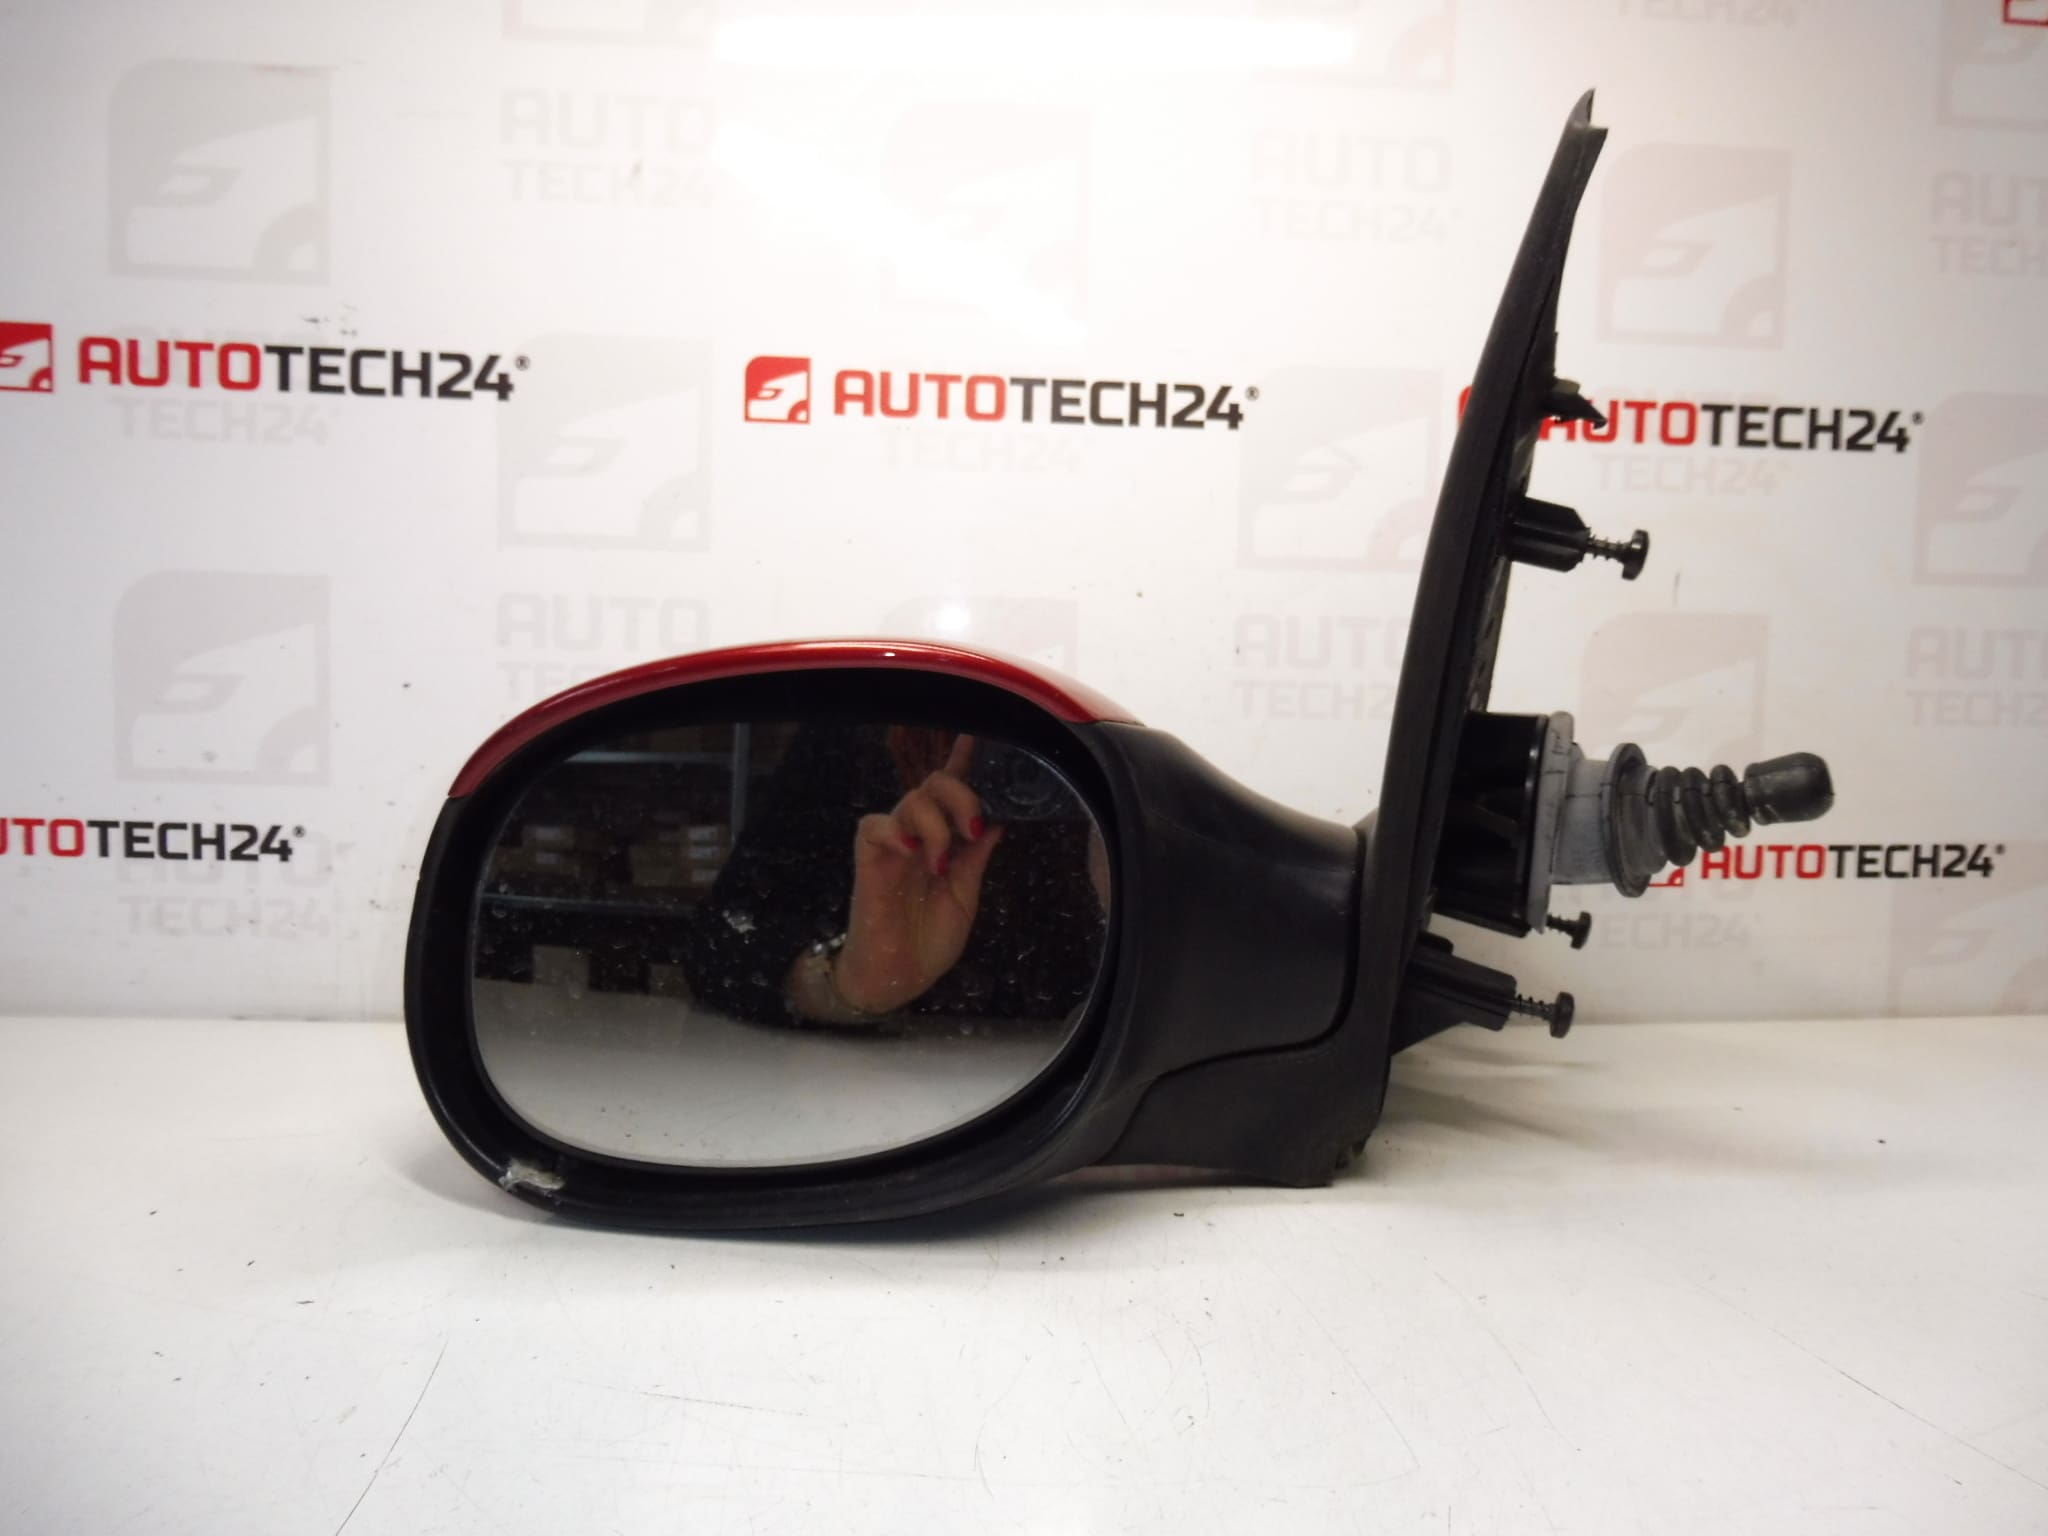
Left driver’s side mirror for PEUGEOT 206 cars
EKQ color – RED LUCIFER LACQUER – we have skald in different colors
Part description
This used left rear view mirror is for Peugeot 206 cars. It is a practical body part that helps ensure a safe overview of the traffic around the vehicle and is important both for normal operation and for the smooth fulfillment of technical requirements for the vehicle.
The mirror is also searched for 96323811XT, 96432630XT and 8148YC. The color EKQ – Lucifer Red Lacquer is also listed. This makes this part a good choice for mechanics and home repairers alike when you need to replace a damaged or malfunctioning original mirror with a genuine used part.
Technical information
- Manufacturer: Stellantis Citroën Peugeot
- Model: Peugeot 206
- Other numbers: 96432630XT, 96323811XT, 8148YC, EKQ
Product codes
- Product codes: 96323811XT, 96432630XT, 8148YC, EKQ
- Models from labels/backgrounds: Peugeot 206, Peugeot 206+
Installation recommendations
Generally/typically for rear-view mirror replacement, the exact procedure may vary depending on the specific design of the car and the type of attachment. Before the assembly itself, it is advisable to compare the used part with the original piece and verify the conformity of the connectors, the shape of the base, the attachment and the overall design.
1) Before assembly
- Check carefully the condition of the mirror body, glass, mounting and any electrical connectors.
- Compare the new and original mirror by product numbers, cover shape, color and mounting method.
- Check for damage to the seating surface, gasket or attachment points.
2) Necessary tools and materials
- Set of common hand tools
- Screwdrivers or bits according to the type of connecting material
- Plastic pry bar for panel removal
- Detergent and clean cloth
- Possibly protective gloves
3) Step-by-step assembly procedure
- Park the vehicle in a safe place and secure it against movement.
- Open access to the inner part of the mirror mount depending on the car design.
- Carefully remove the relevant cover elements or inner lining around the attachment.
- If the mirror is equipped with electric control, carefully disconnect the connector.
- Undo the fasteners of the old mirror and remove the part safely.
- Clean the landing surface of dirt and check its condition.
- Place the used mirror in place and check for proper seating.
- Install the fasteners and tighten them evenly so that the mirror fits properly.
- Connect the electrical connector if present.
- Reinstall all covers and removed interior parts.
- Check that the mirror is firmly attached and does not show excessive play.
- Adjust the mirror to the correct position for the driver.
-
4) Post-assembly checks and function verification
- Check the stability of the attachment during normal handling.
- Verify correct view and mirror positioning.
- If it is part of the electrical control, test its function.
- For a short drive, check that the mirror does not knock and holds the set position.
5) The most common assembly mistakes + how to avoid them
- Exchanging a part – always compare the part numbers and design of connectors and mounts before assembly.
- Panel damage – use suitable plastic tools and proceed without unnecessary force.
- Incorrect seating – check the seat of the mirror base before tightening.
- Insufficient connection of the connector – after connecting, check that the connection is tight.
- Overlooking a damaged gasket – check its condition for leaks or vibrations.
Reasons why the part is damaged
- Damage during parking or contact with another vehicle or obstacle.
- Impacts from passing vehicles, cyclists or pedestrians in narrow spaces.
- A crack or release after a minor collision.
- Wear of the adjustment mechanism due to age and normal use.
- Damage to the cover, glass or attachment due to weather conditions and long-term operation.