Description
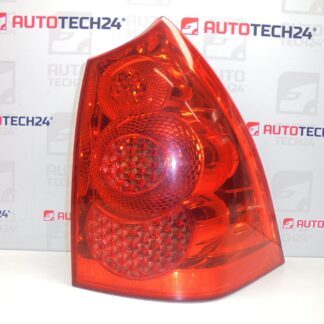
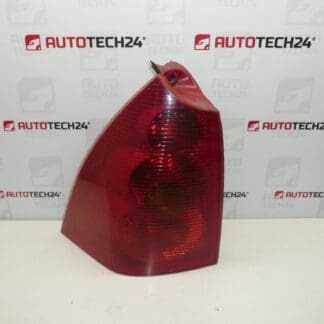
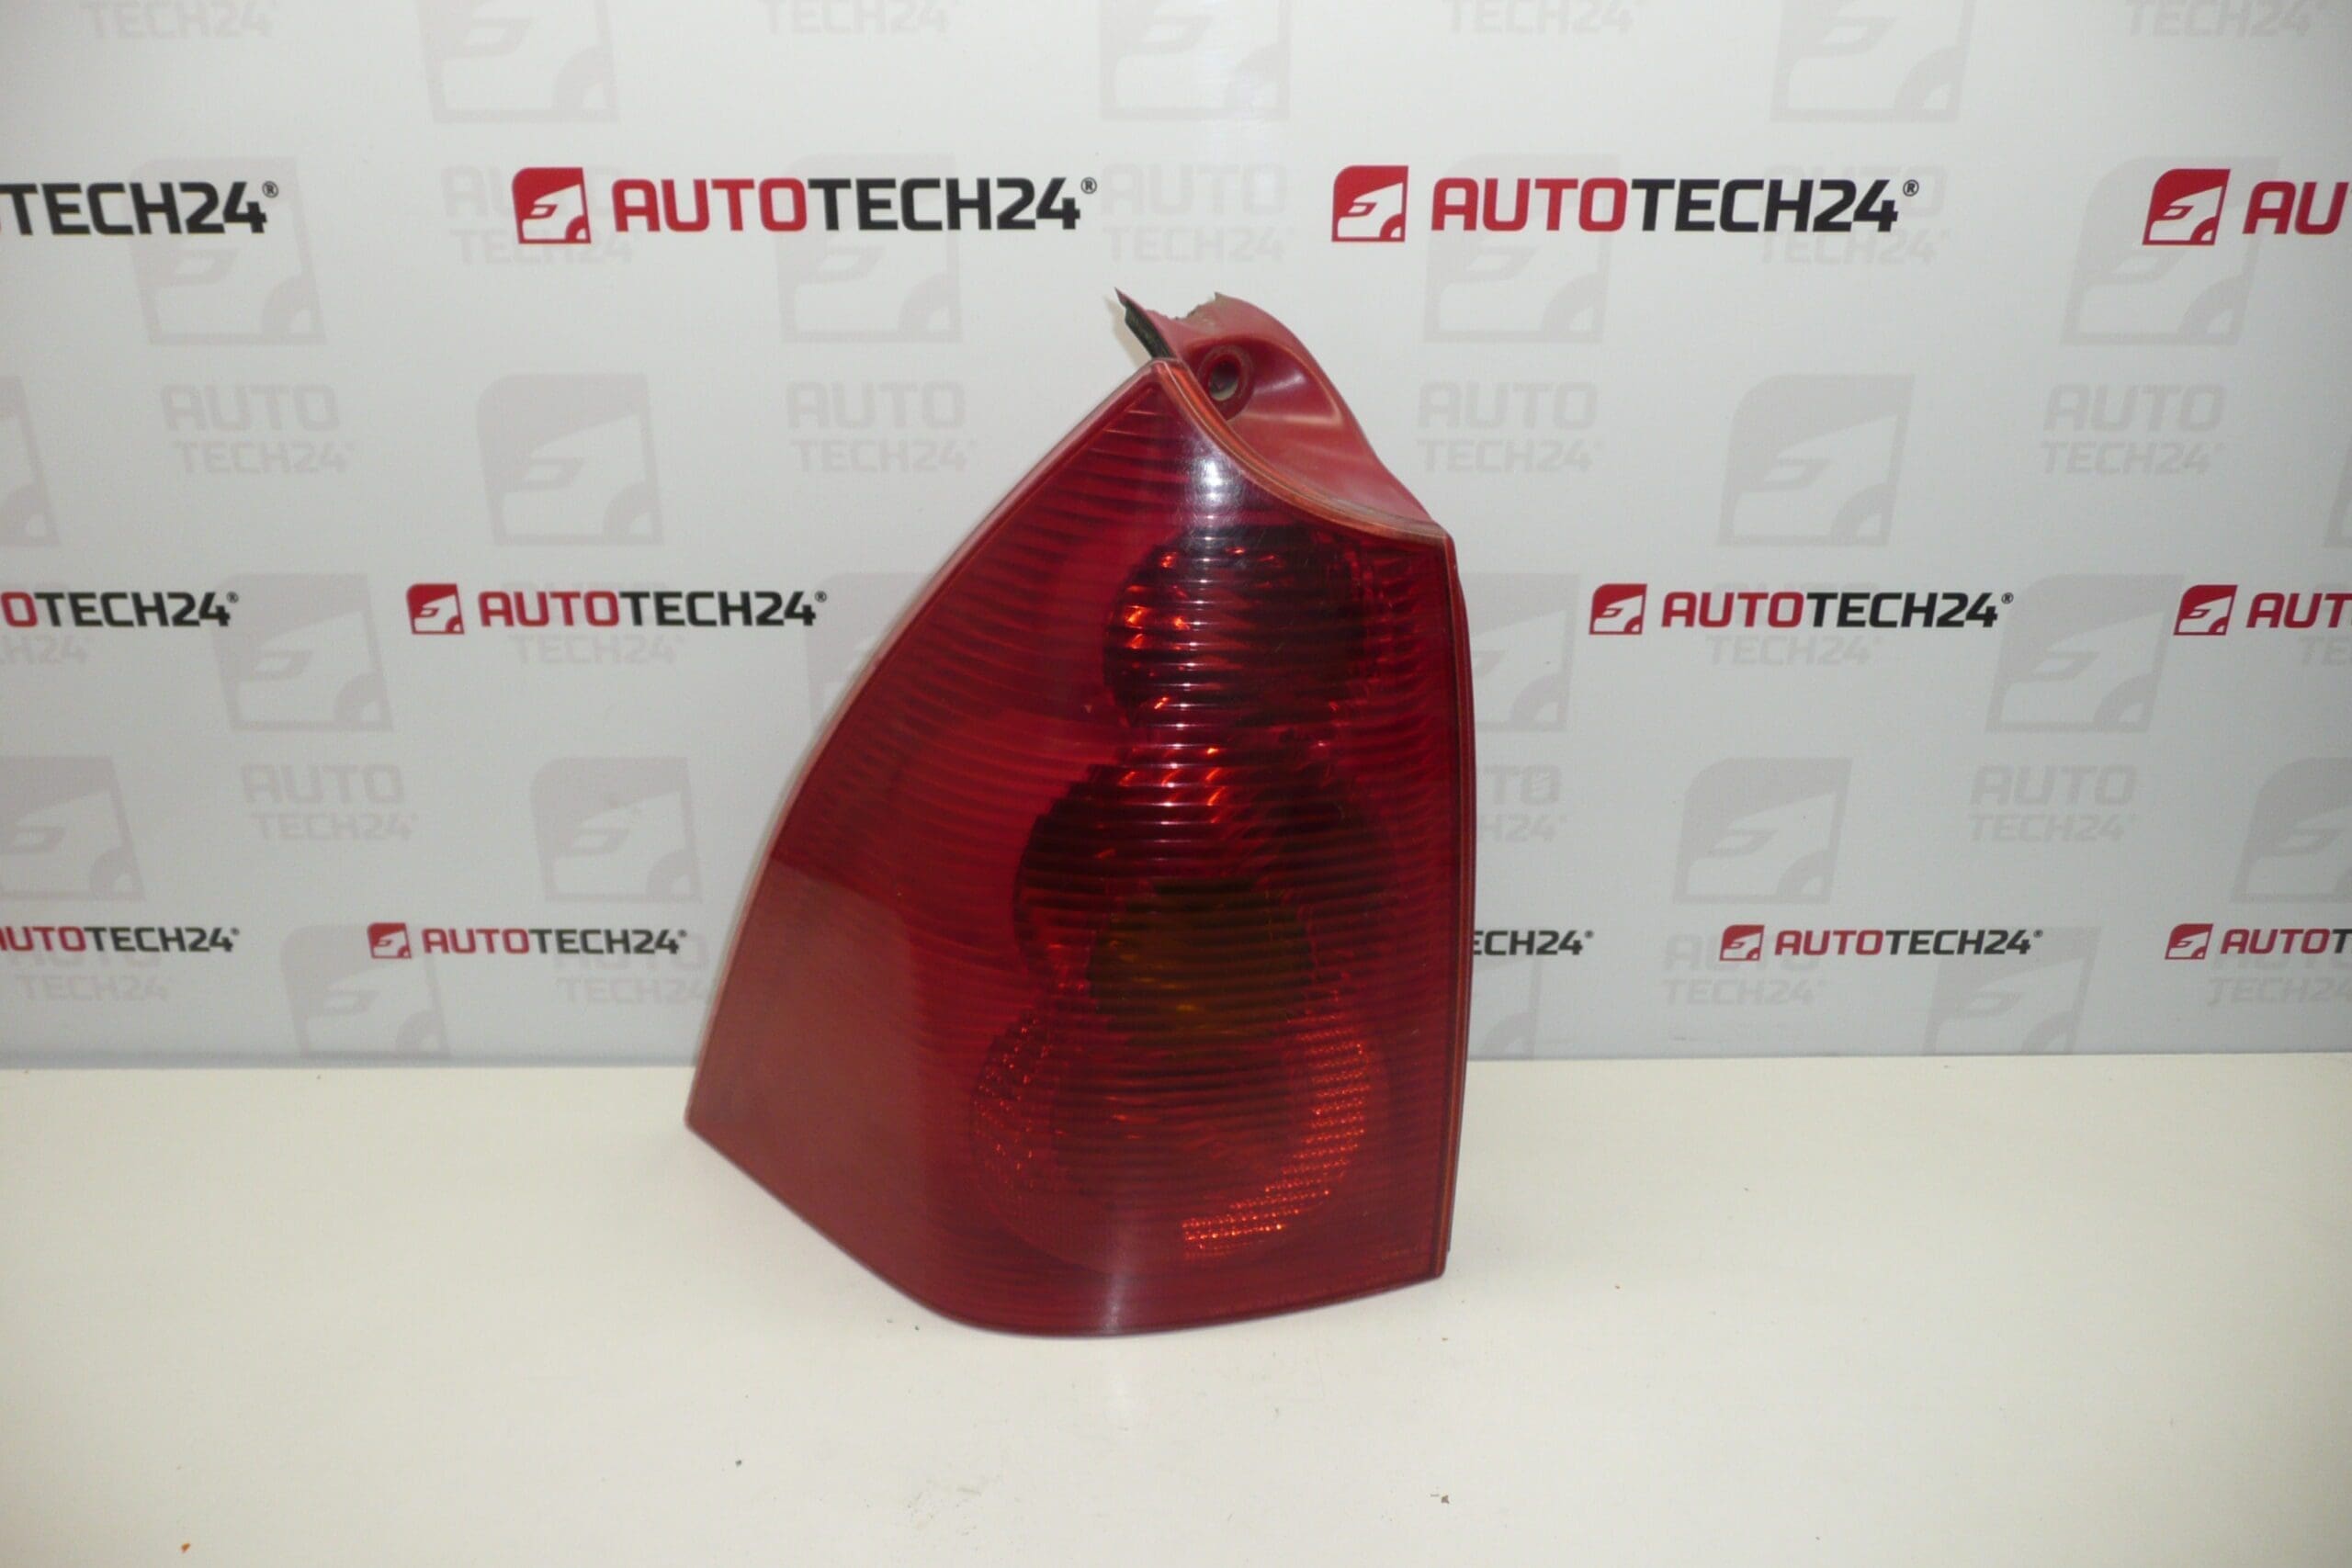
Left rear tail light for Peugeot 307 SW up to 2005. Without bulb holders/sockets; these can be purchased separately. Driver’s side.
This left rear tail light is a direct-fit replacement designed for Peugeot 307 SW owners and professional technicians seeking reliable exterior lighting components. The unit restores rear signalling, brake light and tail light functions to factory specification when installed correctly. Commonly searched by part number, this lamp matches vehicles produced up to 2005 and is ideal for collision repair, corrosion-damaged assemblies or aged, cloudy lenses that reduce visibility.
Technical Information
- Manufacturer: Peugeot (Stellantis)
- Model: Peugeot 307 SW (Estate) – Up To 2005
- Product Codes: 6350Q6 NFP, 6350Q6
- Additional Numbers: Not Available
Compatibility And Fitment
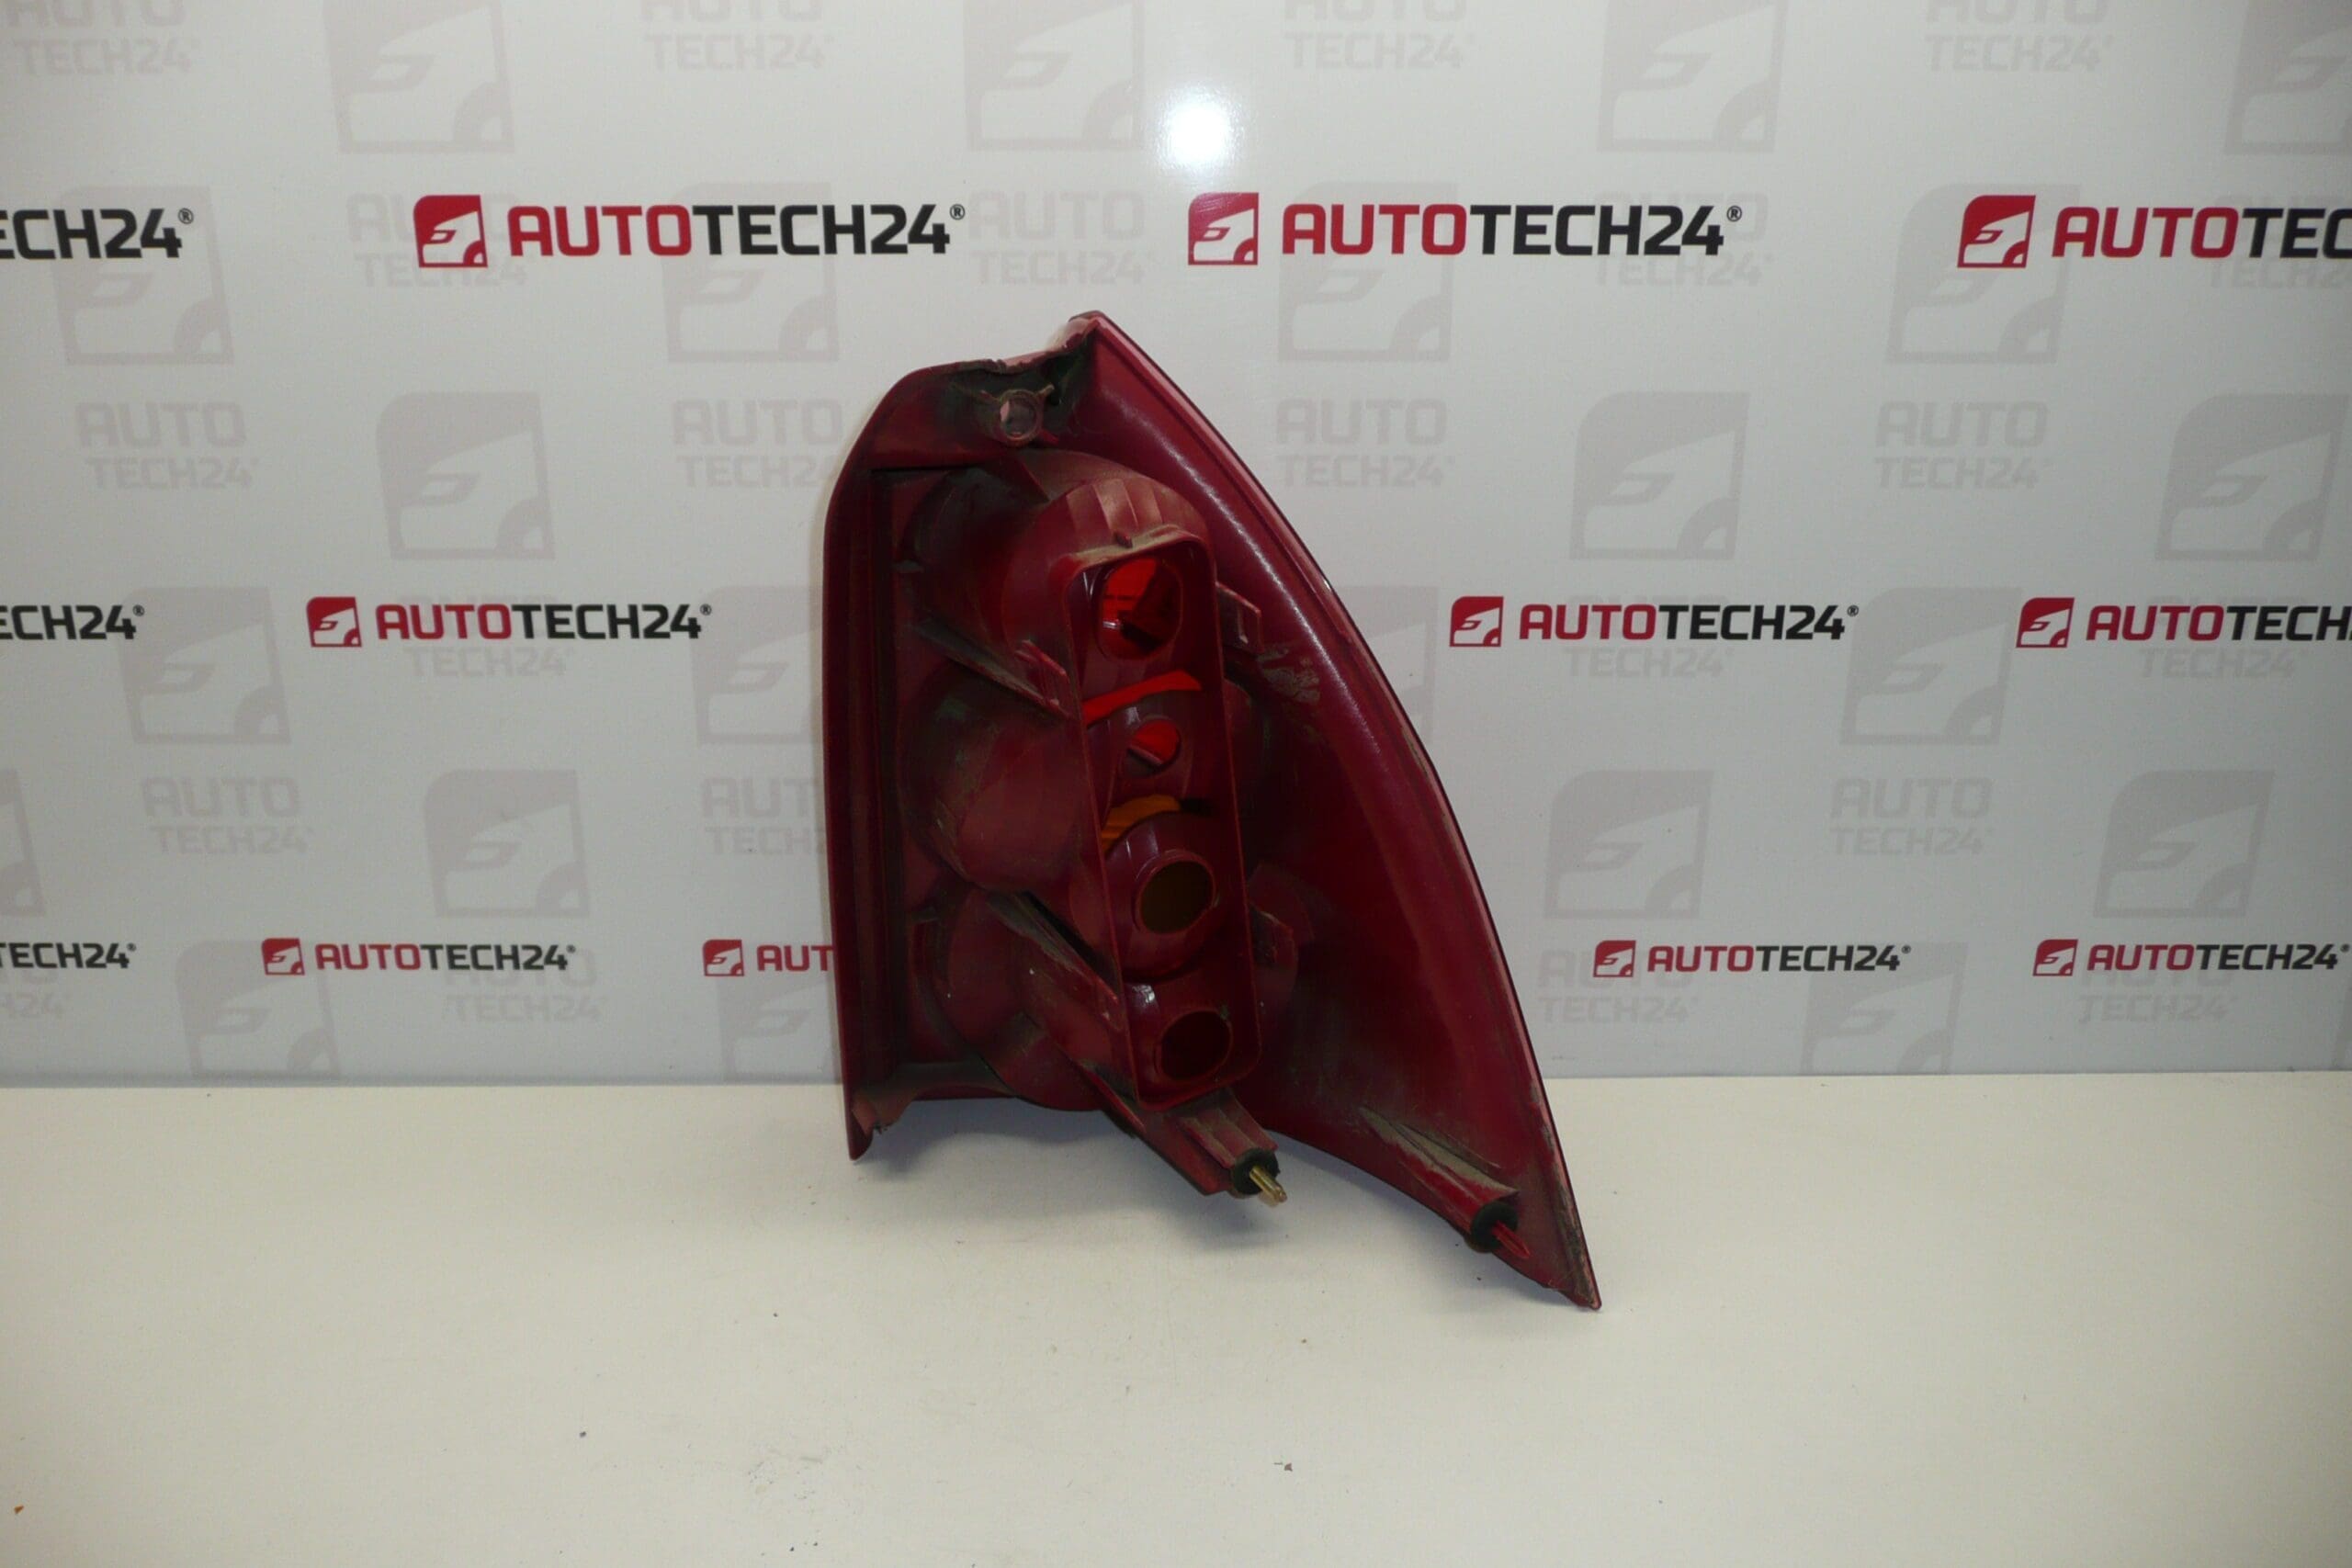
Fits Left Rear (Driver Side) of Peugeot 307 SW estate models built up to year 2005. Confirm fitment by comparing the part number stamped on the original lamp or the mounting points and connector shape. This assembly is supplied without bulb holders/sockets, so check whether your vehicle needs separate holders or replacement bulbs before installation.
Installation
Installation is straightforward for a trained mechanic or an experienced DIYer: remove the trunk/tailgate trim to access the lamp fasteners, undo the retaining screws or nuts, disconnect the wiring harness, and remove the old lamp assembly. Fit the replacement unit, reconnect the wiring, reinstall fasteners and interior trim, then test all light functions (tail, brake, indicator, and reverse if integrated). Replace any damaged mounting clips or sealing gaskets to ensure correct alignment and water tightness.
Recommended Installation Notes
- Use appropriate tools to avoid damaging plastic mounting tabs. Replace broken clips with OEM-type fasteners.
- Inspect and, if necessary, replace bulb holders, bulbs and wiring connectors since this unit is supplied without bulb sockets.
- Ensure sealing surfaces are clean and the gasket is intact to prevent moisture ingress; apply dielectric grease to connectors to reduce corrosion risk.
- After installation, verify operation of all lighting functions and adjust alignment if required.
Common Failure Causes
- Water Ingress: Cracked lenses or degraded seals allow moisture to enter, causing corrosion of contacts and short circuits.
- Impact Damage: Rear-end impacts often break the lamp housing or mounting tabs, necessitating full assembly replacement.
- Connector And Socket Corrosion: Electrical failures frequently originate at corroded bulb holders or wiring connectors.
- Plastic Aging And UV Damage: Discoloured or brittle plastic reduces light output and structural integrity over time.
For a durable repair, replace damaged gaskets and corroded sockets at the time of lamp replacement, and inspect the vehicle harness for heat- or abrasion-related damage.