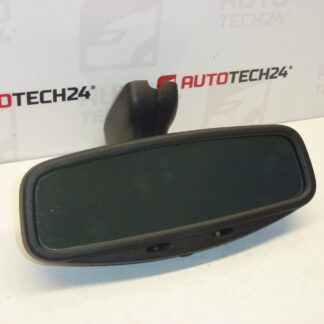
Description
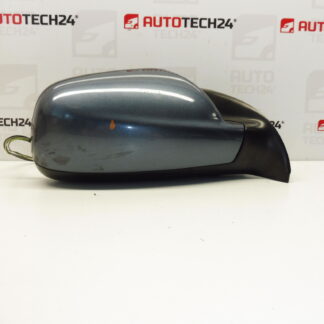
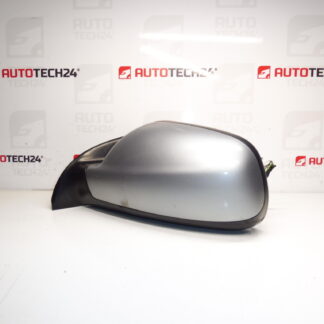
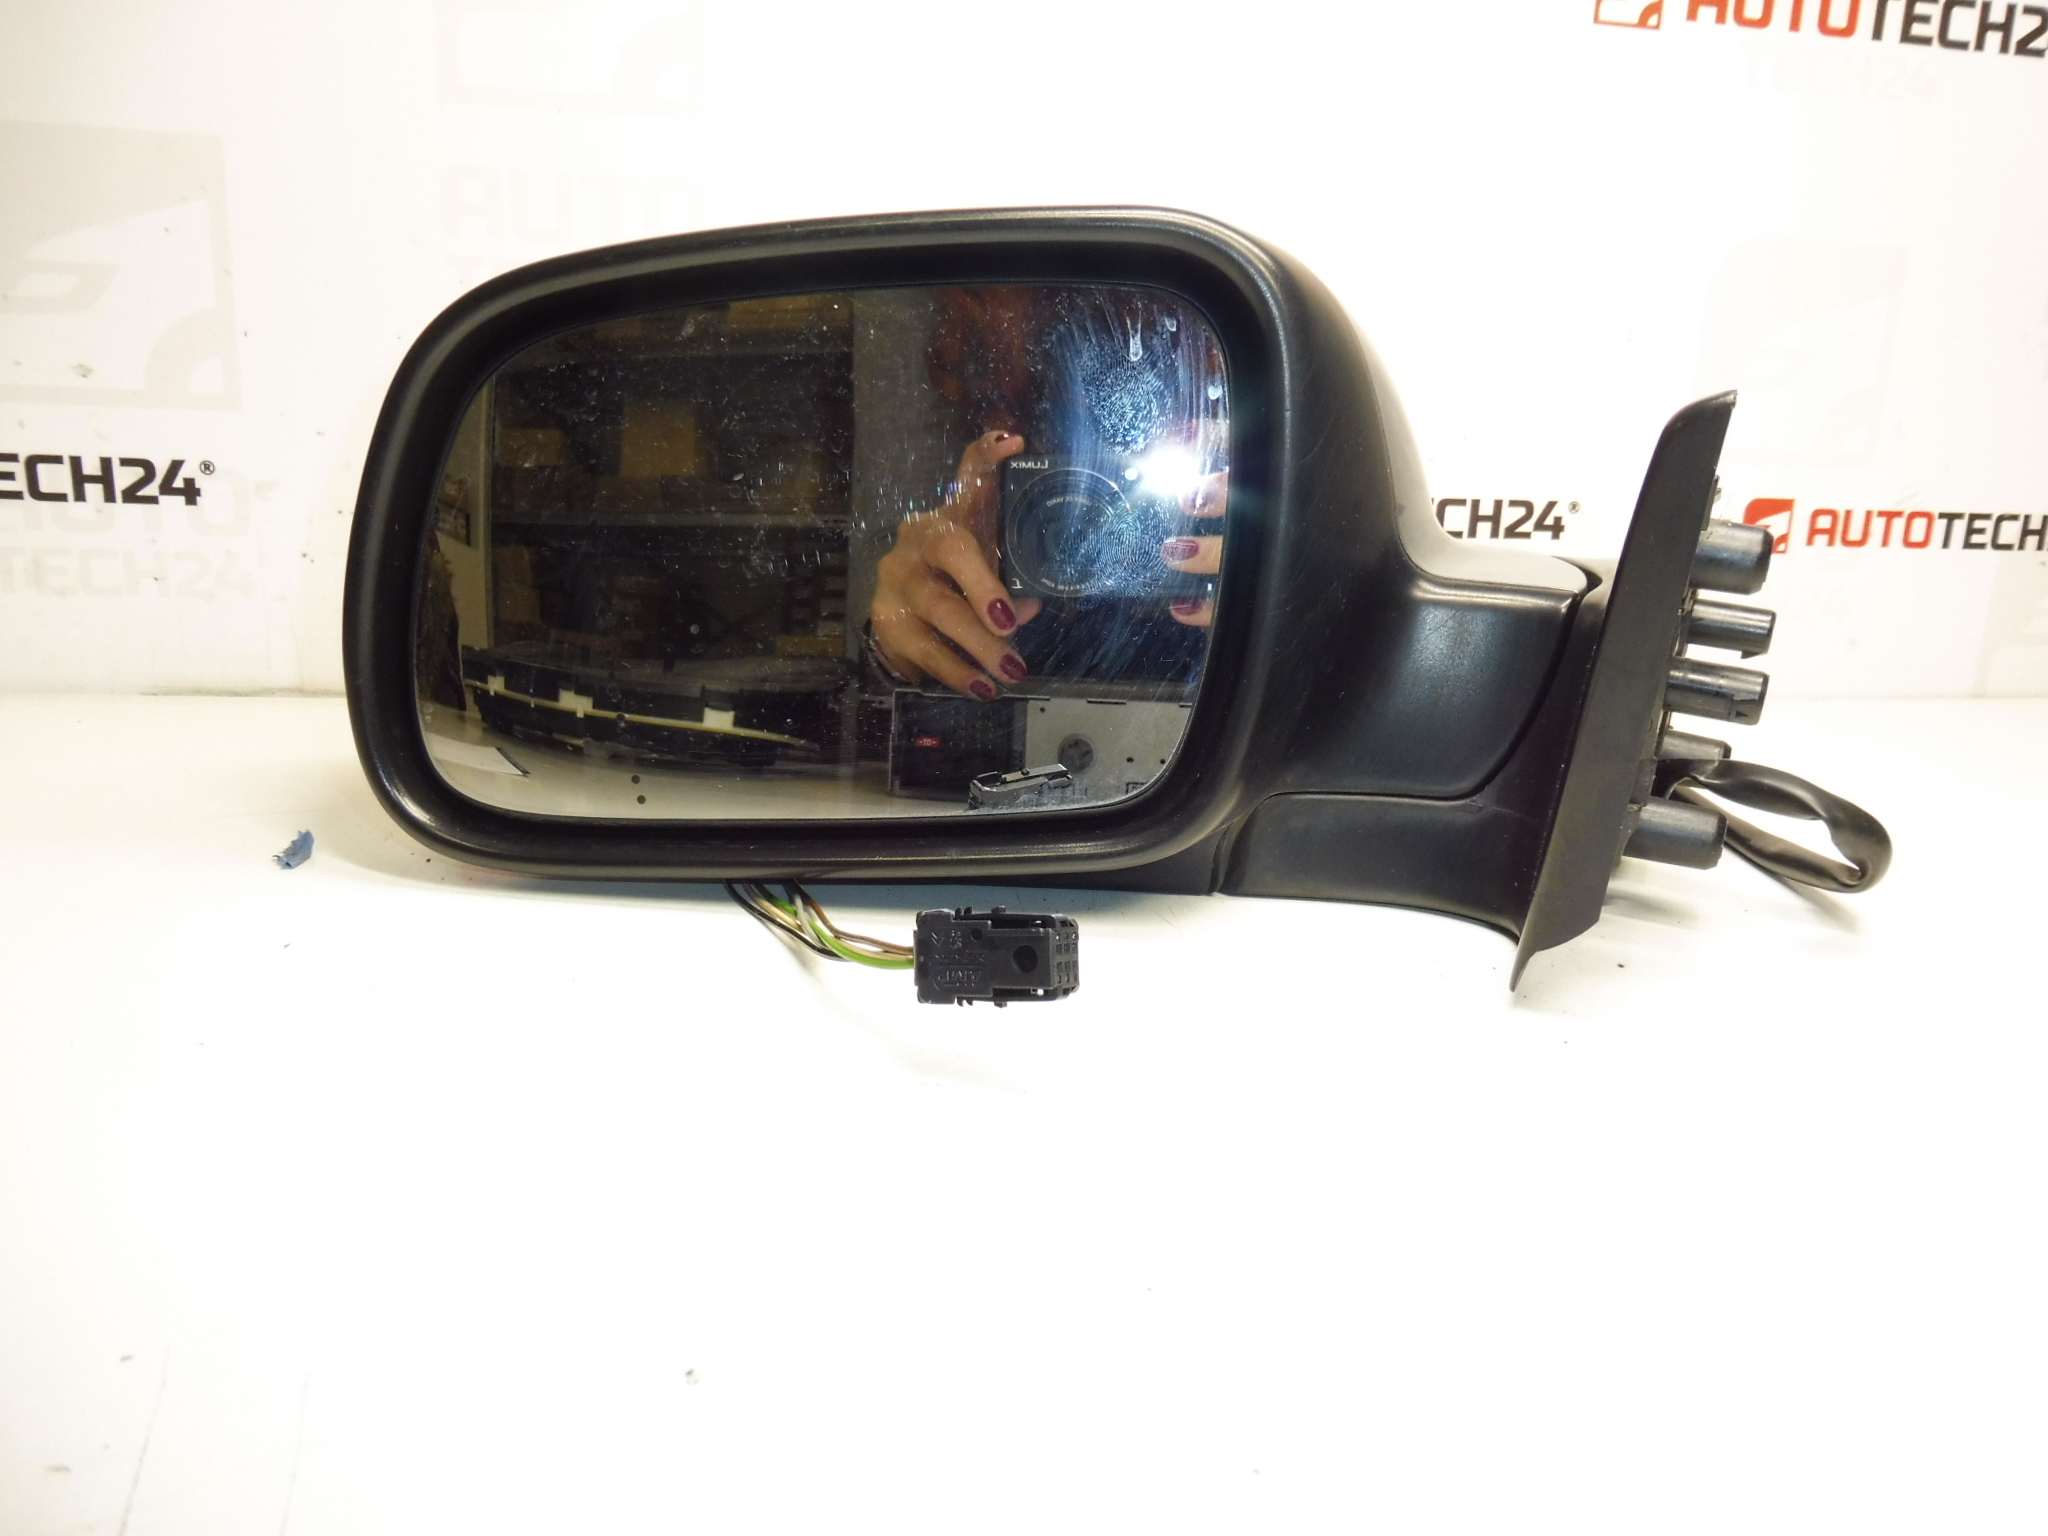
Left side mirror for PEUGEOT 307
cars
Electrically operated – 5 PIN
EZAC COLOR – SILVER GRAY LACQUER
Driver’s side
Part description
We are selling a used left electrically operated mirror for a Peugeot 307 in EZAC – Sidobre gray paint. The mirror has a 5-pin electrical connection, so it is suitable as a replacement for a damaged piece if the cover cracks, the mechanism breaks or the electrical control malfunctions. Thanks to the specified part code, you can also easily find it by number.
Technical information
- Manufacturer: Stellantis Citroën Peugeot
- Model: Peugeot 307
- Other numbers: EZAC
Product codes
- Product codes: 8149AW
Installation recommendations
Generally/typically applies to the replacement of a power rearview mirror; the exact procedure may vary according to the specific car design.
1) Before assembly
- Compare with the old mirror: left side (driver), shape, mounting and most importantly 5 PIN connector.
- Check the condition of the part: uncracked cover, play in the joint, undamaged wiring and connector.
- Check the shade of paint: EZAC – gray Sidobre (expect the normal shade variation for used parts due to age and sun).
2) Necessary tools and materials
- Normal screwdriver and bit/ratchet set
- Plastic crowbar for removing the upholstery (so as not to damage the plastic)
- Contact cleaner (recommended) and cloth
3) Step-by-step assembly procedure
- Turn off the ignition and disconnect the battery to be safe (safer with electrical parts).
- Remove the inner cover/mirror triangle and release part of the door trim to access the connector.
- Disconnect the mirror electrical connector and check that the pins are not bent or oxidized.
- Loosen the mirror mounting screws/nuts and hold the mirror from the outside to prevent it from falling.
- Remove the old mirror and clean the landing area on the door.
- Attach the new mirror, seat it correctly in position and screw the fixing by hand (without crossing the threads).
- Tighten the fastening evenly so that the mirror sits firmly and does not press into the plastic.
- Connect the 5pin connector and make sure it clicks and the cable is not pinched.
- Refit the door covers and trim.
- Connect the battery and turn on the ignition.
-
4) Post-assembly checks and functional test verification
- Verify the operation of the electric controls in all directions.
- Check the stability of the mirror (no unwanted vibrations) and that it fits correctly against the door.
- During a short drive, listen for whistling/humming noises from a badly fitted mirror.
5) The most common assembly mistakes + how to avoid them
- Switching the connector: always verify the 5 PIN and match with the original mirror.
- Upholstery damage: use a plastic pry bar and be careful when releasing the clips.
- Incorrect fit: before tightening, seat the mirror correctly to prevent water from flowing and aerodynamic noise.
- Mechanical damage during parking (impact, breakage, cracking of the cover).
- Backlash or damage to the tilting/hinging mechanism due to impacts.
- Electrical control malfunction (wear, moisture ingress, oxidized contacts in the connector).
- Damage to door wiring (broken wires, pinching after previous repair).
- Aging of material and paint (UV radiation, chemicals from dishwashers, weather effects).