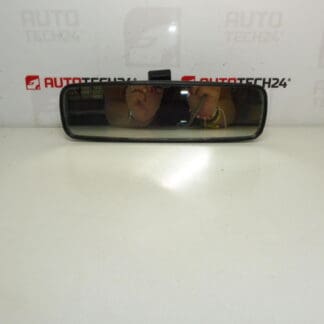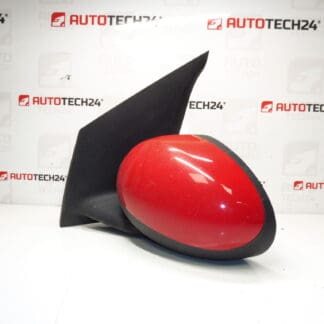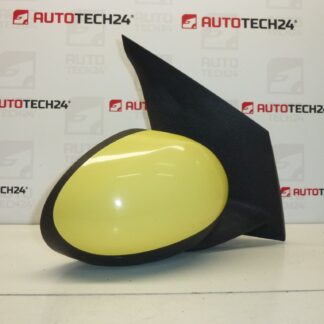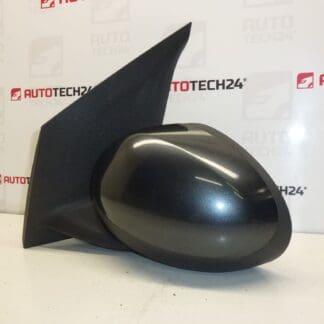
Description
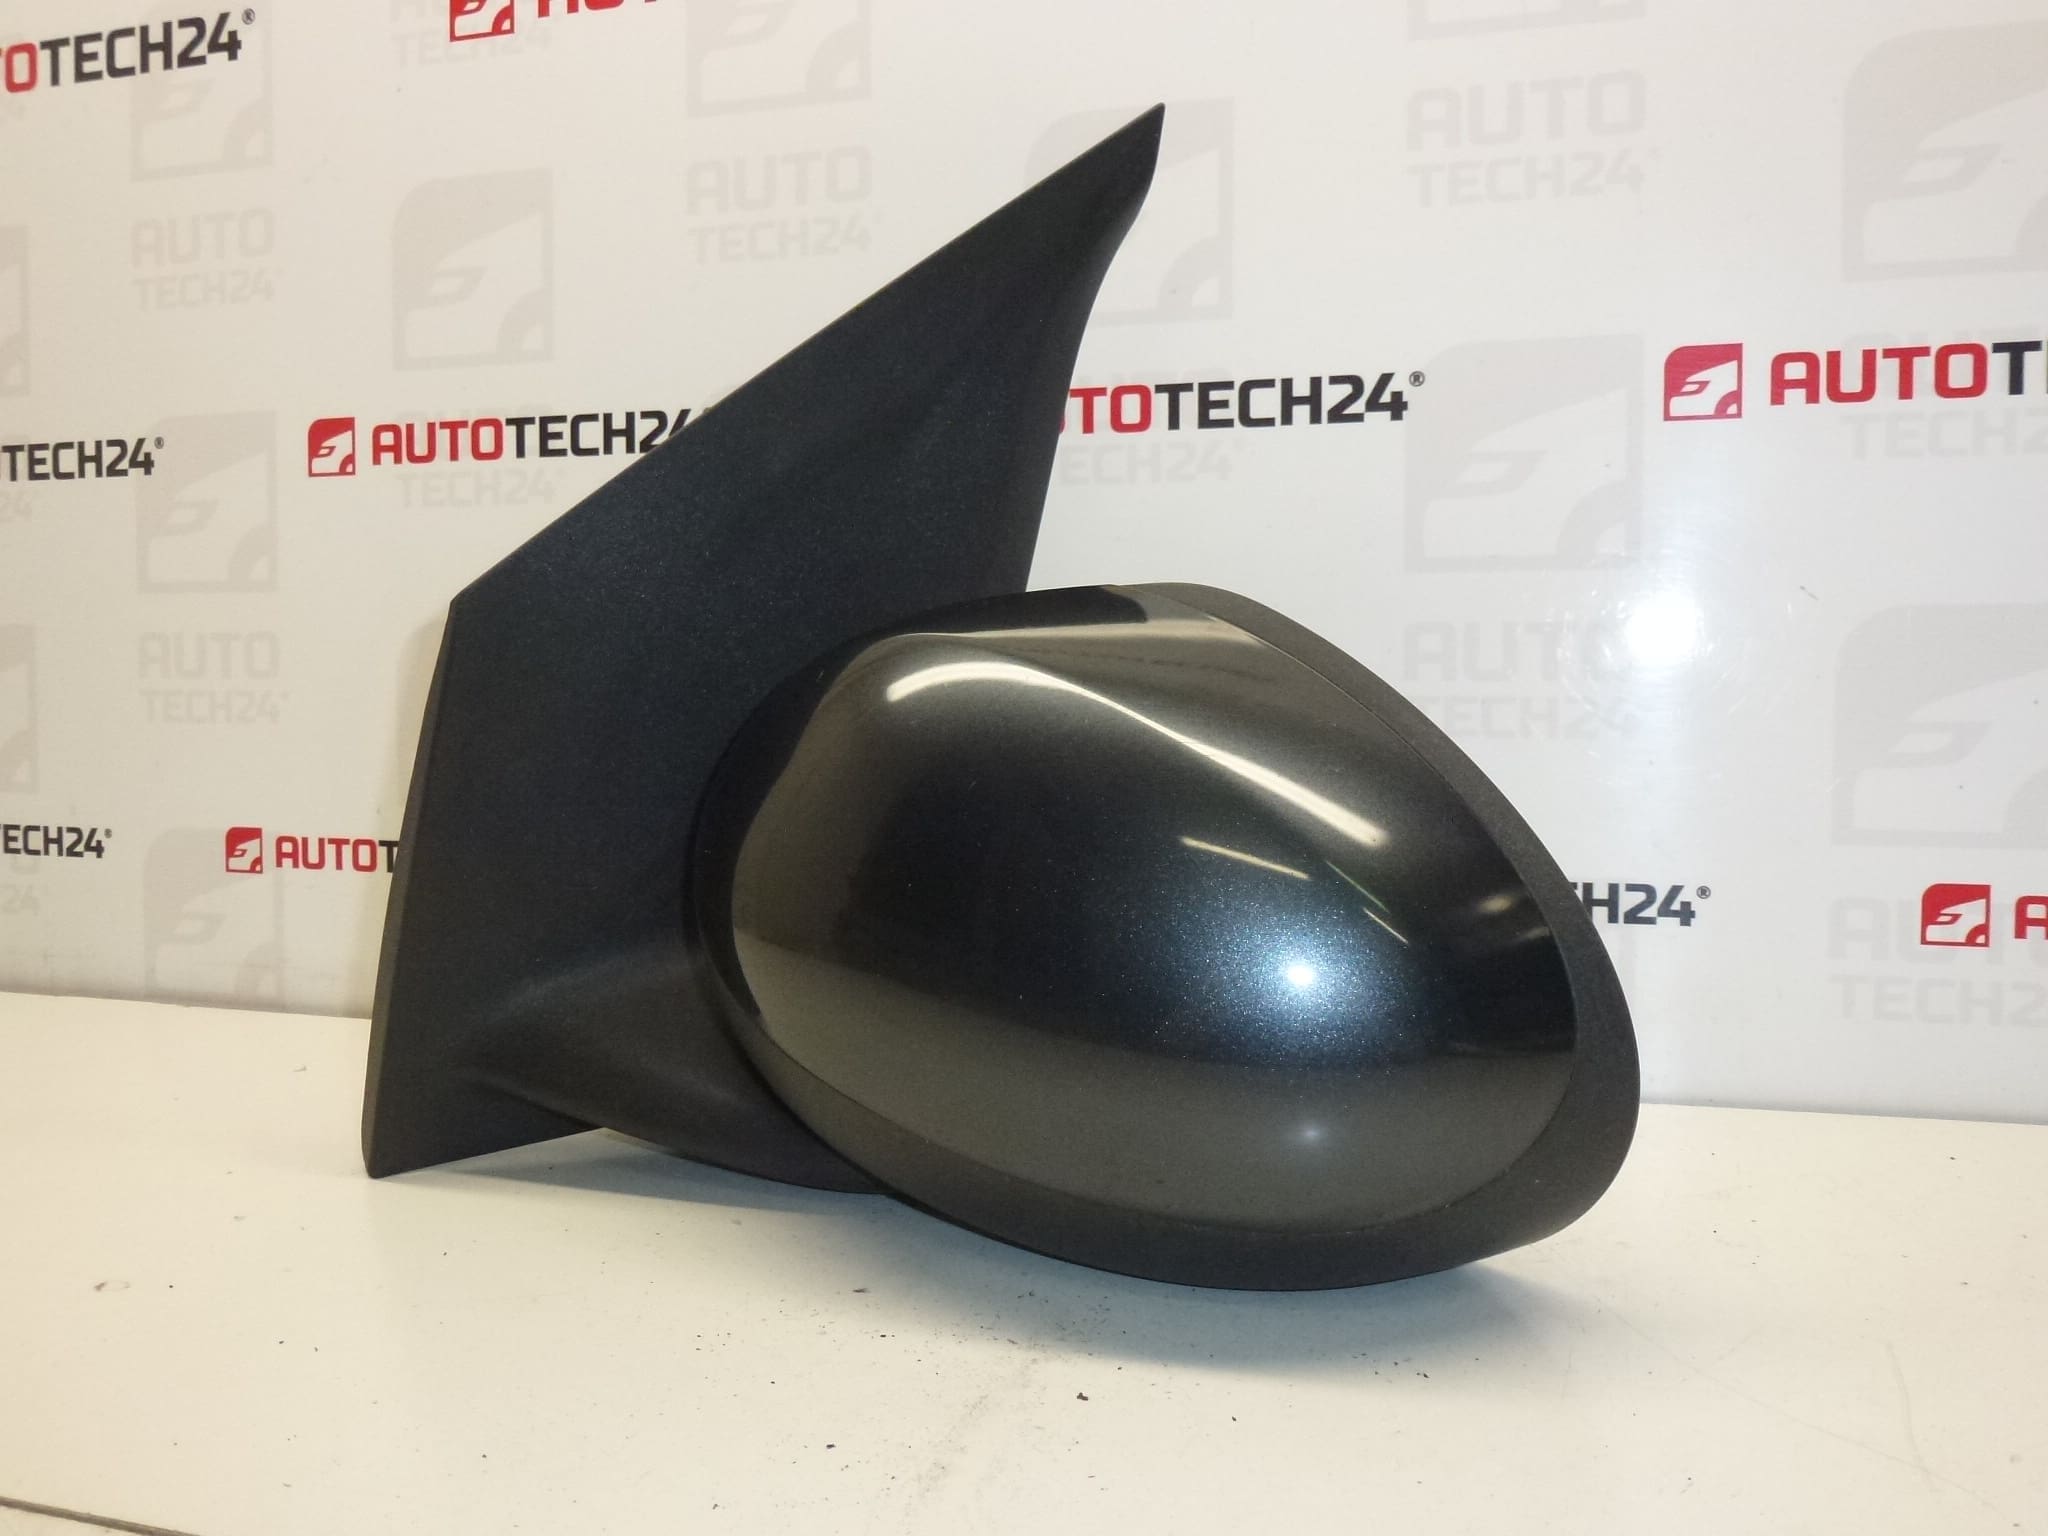
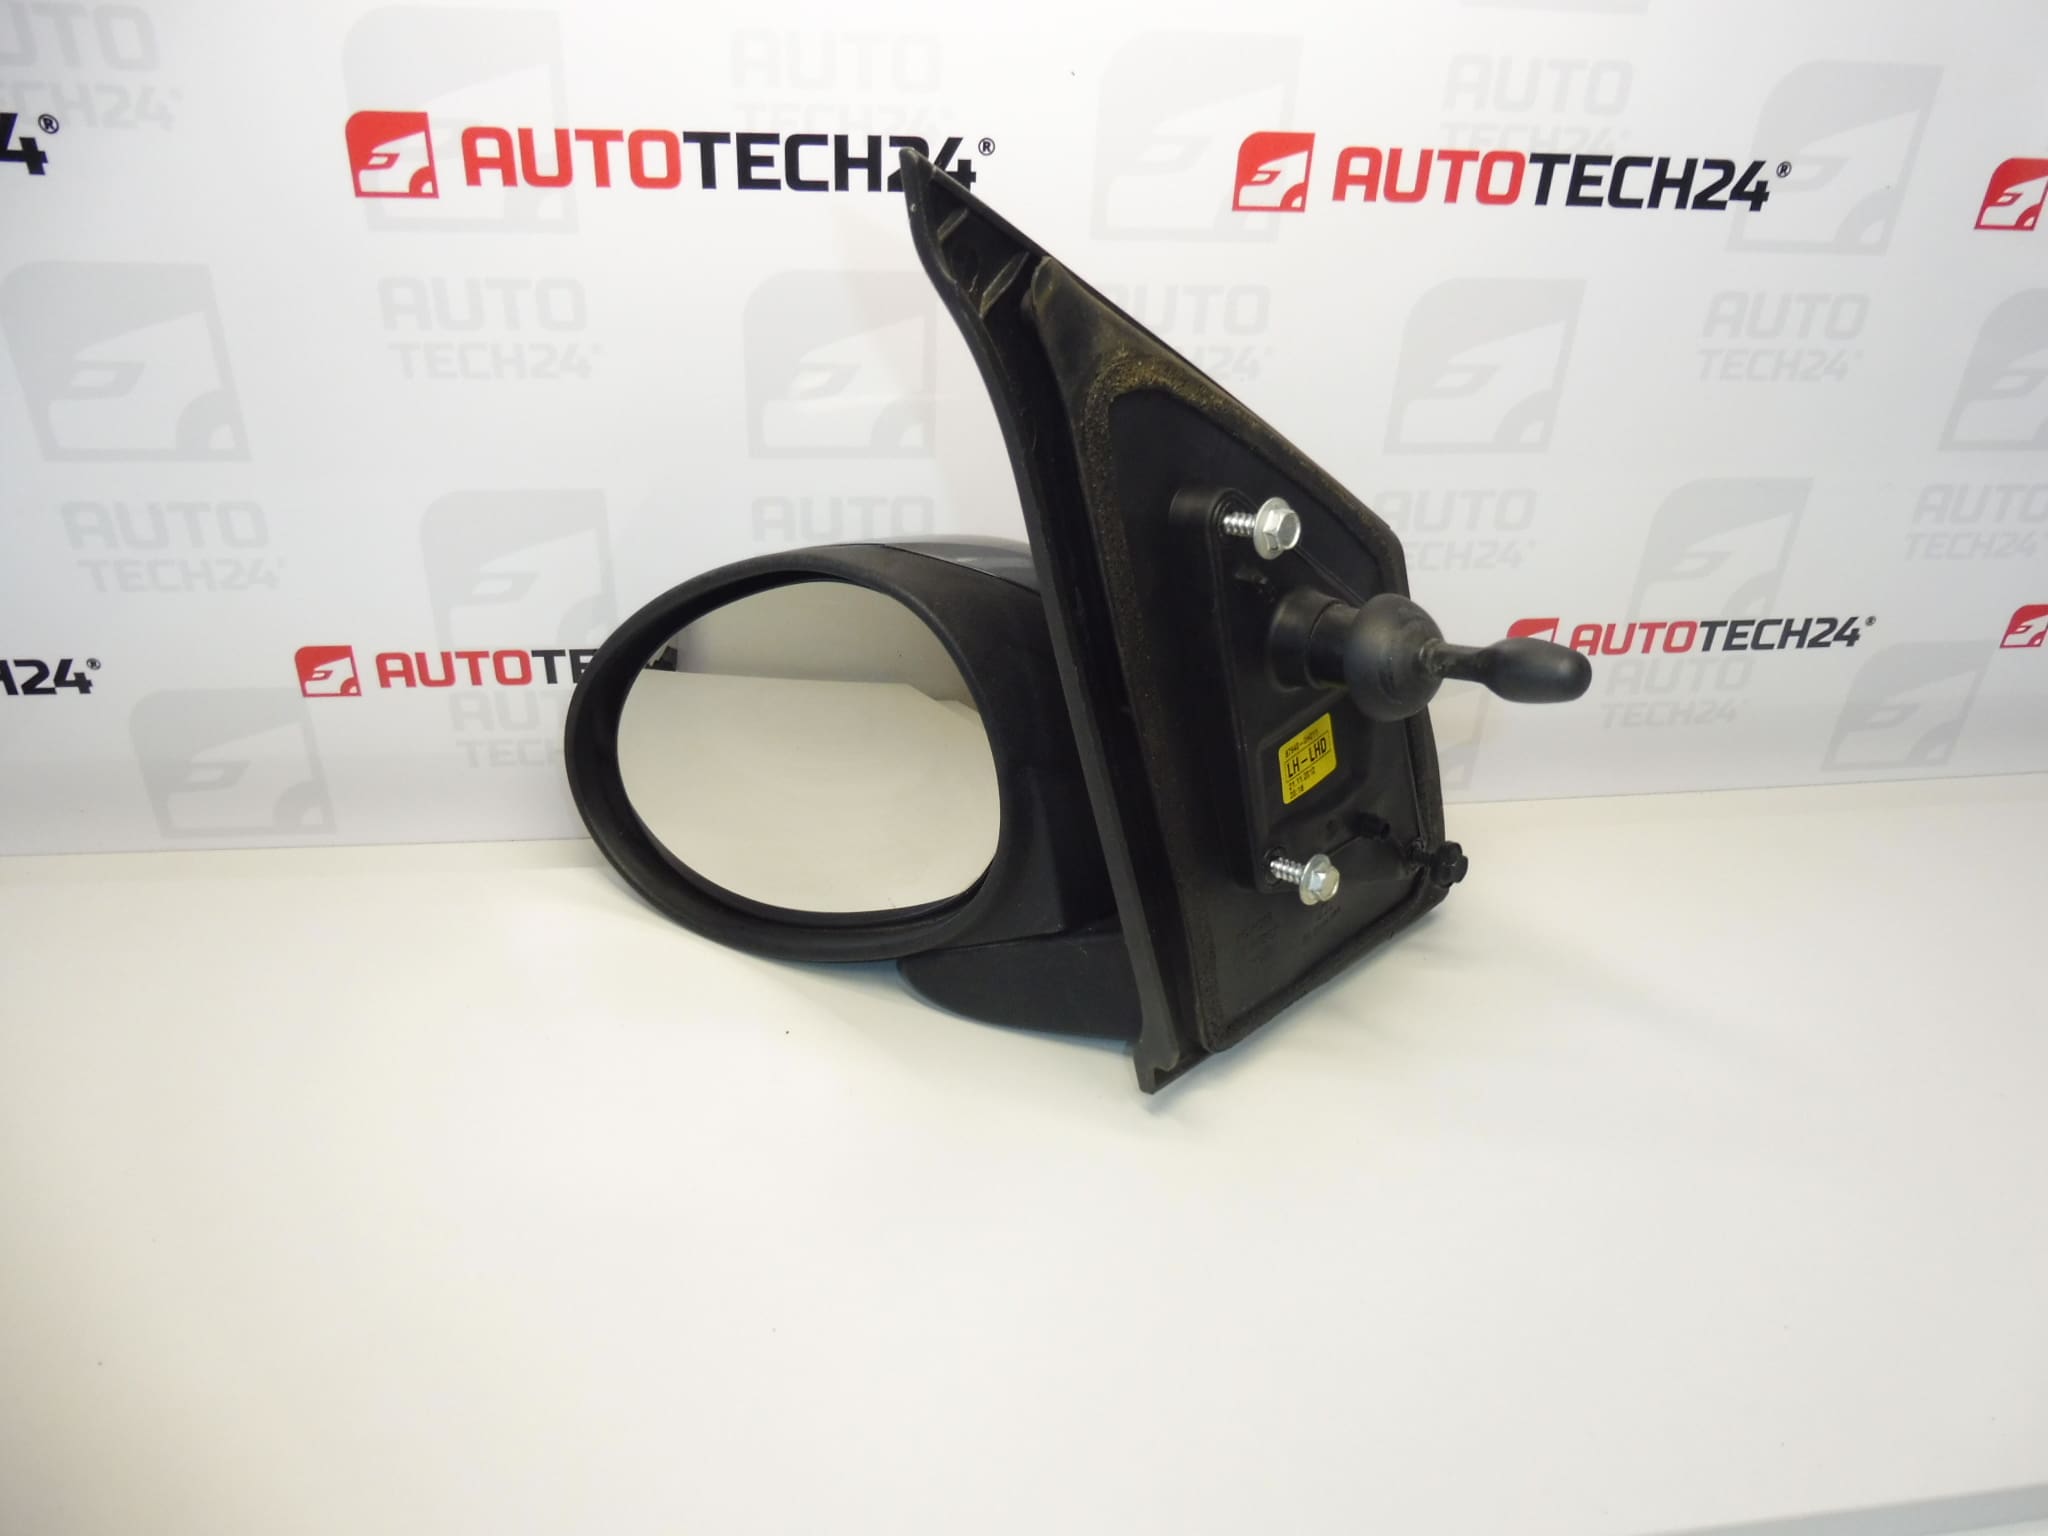
Left side mirror for CITROEN C1 and PEUGEOT 107
KTA color – GRAY CARLINITE LACQUER
Driver’s side
Part description
Used left rearview mirror for Citroën C1 and Peugeot 107 is a suitable replacement for a damaged mirror on the driver’s side. It provides a view behind and into the space next to the car, important when changing lanes, overtaking and parking.
In order to choose the correct design, first of all compare product numbers 87940-0H010 and 87940-0H011, the attachment and the method of operation with the original part. The color marking KTA – gray Carlinite makes it easier to choose a mirror in the corresponding shade. However, the same paint code does not guarantee a completely identical surface appearance for the used part, which can be affected by age and the action of the sun.
Technical information
- Manufacturer: not specified
- Model: Citroën C1, Peugeot 107
- Type of part: outside rear view mirror
- Side: left, driver’s side
- Color: KTA – GRAY CARLINITE LACQUER
- Condition: used part
- Management and equipment: not specified
- Other numbers: 8153YW, 815290
Product codes
- Product codes: 87940-0H010, 87940-0H011, 8153YW, 815290
- Color code: KTA
The given numbers are used to identify the part. When choosing, compare them with the designation of the original mirror and at the same time check the conformity of its design.
Installation recommendations
In general, the following procedure applies to this type of part. The exact steps to remove the trim, access to the fasteners, and possibly connect the controls depend on the specific model and make of the car. The documents do not indicate whether this mirror has mechanical or electrical control.
1) Before assembly
- Compare the markings, left side, base shape, attachment points and control method with the old mirror.
- Inspect the glass, cover, support part and attachment points. Check for cracks or looseness.
- Verify the smoothness of the adjustment without using excessive force and the condition of any connectors or mechanical controls.
- Check the landing surface on the car and the condition of any seals. After an impact, the attachment to the body can also be damaged.
2) Necessary tools and materials
- Ordinary hand tools appropriate to the fasteners used.
- Plastic pry bar for paneling if paneling needs to be loosened.
- Protective gloves, soft mat and container for discarded fasteners.
- A mild detergent suitable for the given surface and a clean cloth.
3) Step-by-step assembly procedure
- Stop the car safely, secure against movement and switch off the ignition.
- If the replacement involves disconnecting the electrical connection, follow the vehicle manufacturer’s instructions to disconnect the battery.
- Protect the surrounding paintwork and carefully loosen the covers or trim needed to access the mirror mount.
- Record the original routing of any wiring or mechanical controls and the position of the sealing elements.
- Depending on the design, disconnect the connector or release the mechanical control. Do not pull on wires or control cables.
- Hold the mirror and loosen its fasteners gradually so that it does not fall off and damage the paintwork when released.
- Remove the original mirror, clean the mounting surface and check that it is not deformed or damaged by corrosion.
- Attach the spare mirror and check the correct fit of the base and any gasket. Route the wiring or controls without pinching them.
- First fit the fasteners by hand and then tighten them evenly according to the manufacturer’s service procedure. Do not force the mirror over an improperly seated base.
- Connect any controls, and if the battery has been disconnected, restore power using the prescribed procedure. Verify the mirror adjustment and then replace the covers and trim.
-
4) Post-assembly checks and function verification
- Check for a tight fit, even fit of the base and correct fitting of the trim.
- From the driver’s seat, set the necessary view and verify that the mirror holds the set position.
- Try out all the features that the specific design is actually equipped with.
- Do a short test drive only after verifying a secure fit and visibility. Watch for unwanted image vibrations and unusual airflow noise.
5) The most common assembly mistakes and how to avoid them
- Pulling the fastening: can damage the base or the threads. Follow the manufacturer’s service procedure.
- Pinched wiring or controls: check their routing and free movement before tightening.
- Poorly seated gasket: can cause leakage or aerodynamic noise. The contact surfaces must be clean and the seals must be installed correctly.
- Damage to trim tabs: release covers with a suitable tool, not brute force.
- Impact when parking or passing an obstacle – the cover, glass and supporting part of the mirror can crack.
- Forcible adjustment or manipulation of a frozen mechanism – can damage the adjustment or folding parts, if the mirror is equipped with them.
- Long-term vibrations and loose mounting – can lead to backlash and deterioration of image stability.
- Moisture, frost and dirt – they can limit the movement of the mechanism and damage the contacts in electrical versions.
- Aging of materials and exposure to UV radiation – gradually reduce the resistance of plastic parts and affect the appearance of the paintwork.
- Incorrect previous installation – overstretched fixing or poor seating can stress the base of the mirror.
Reasons why the part is damaged
In the case of external rear-view mirrors, the following influences are the main causes of damage. It is not a description of the condition of the offered piece.