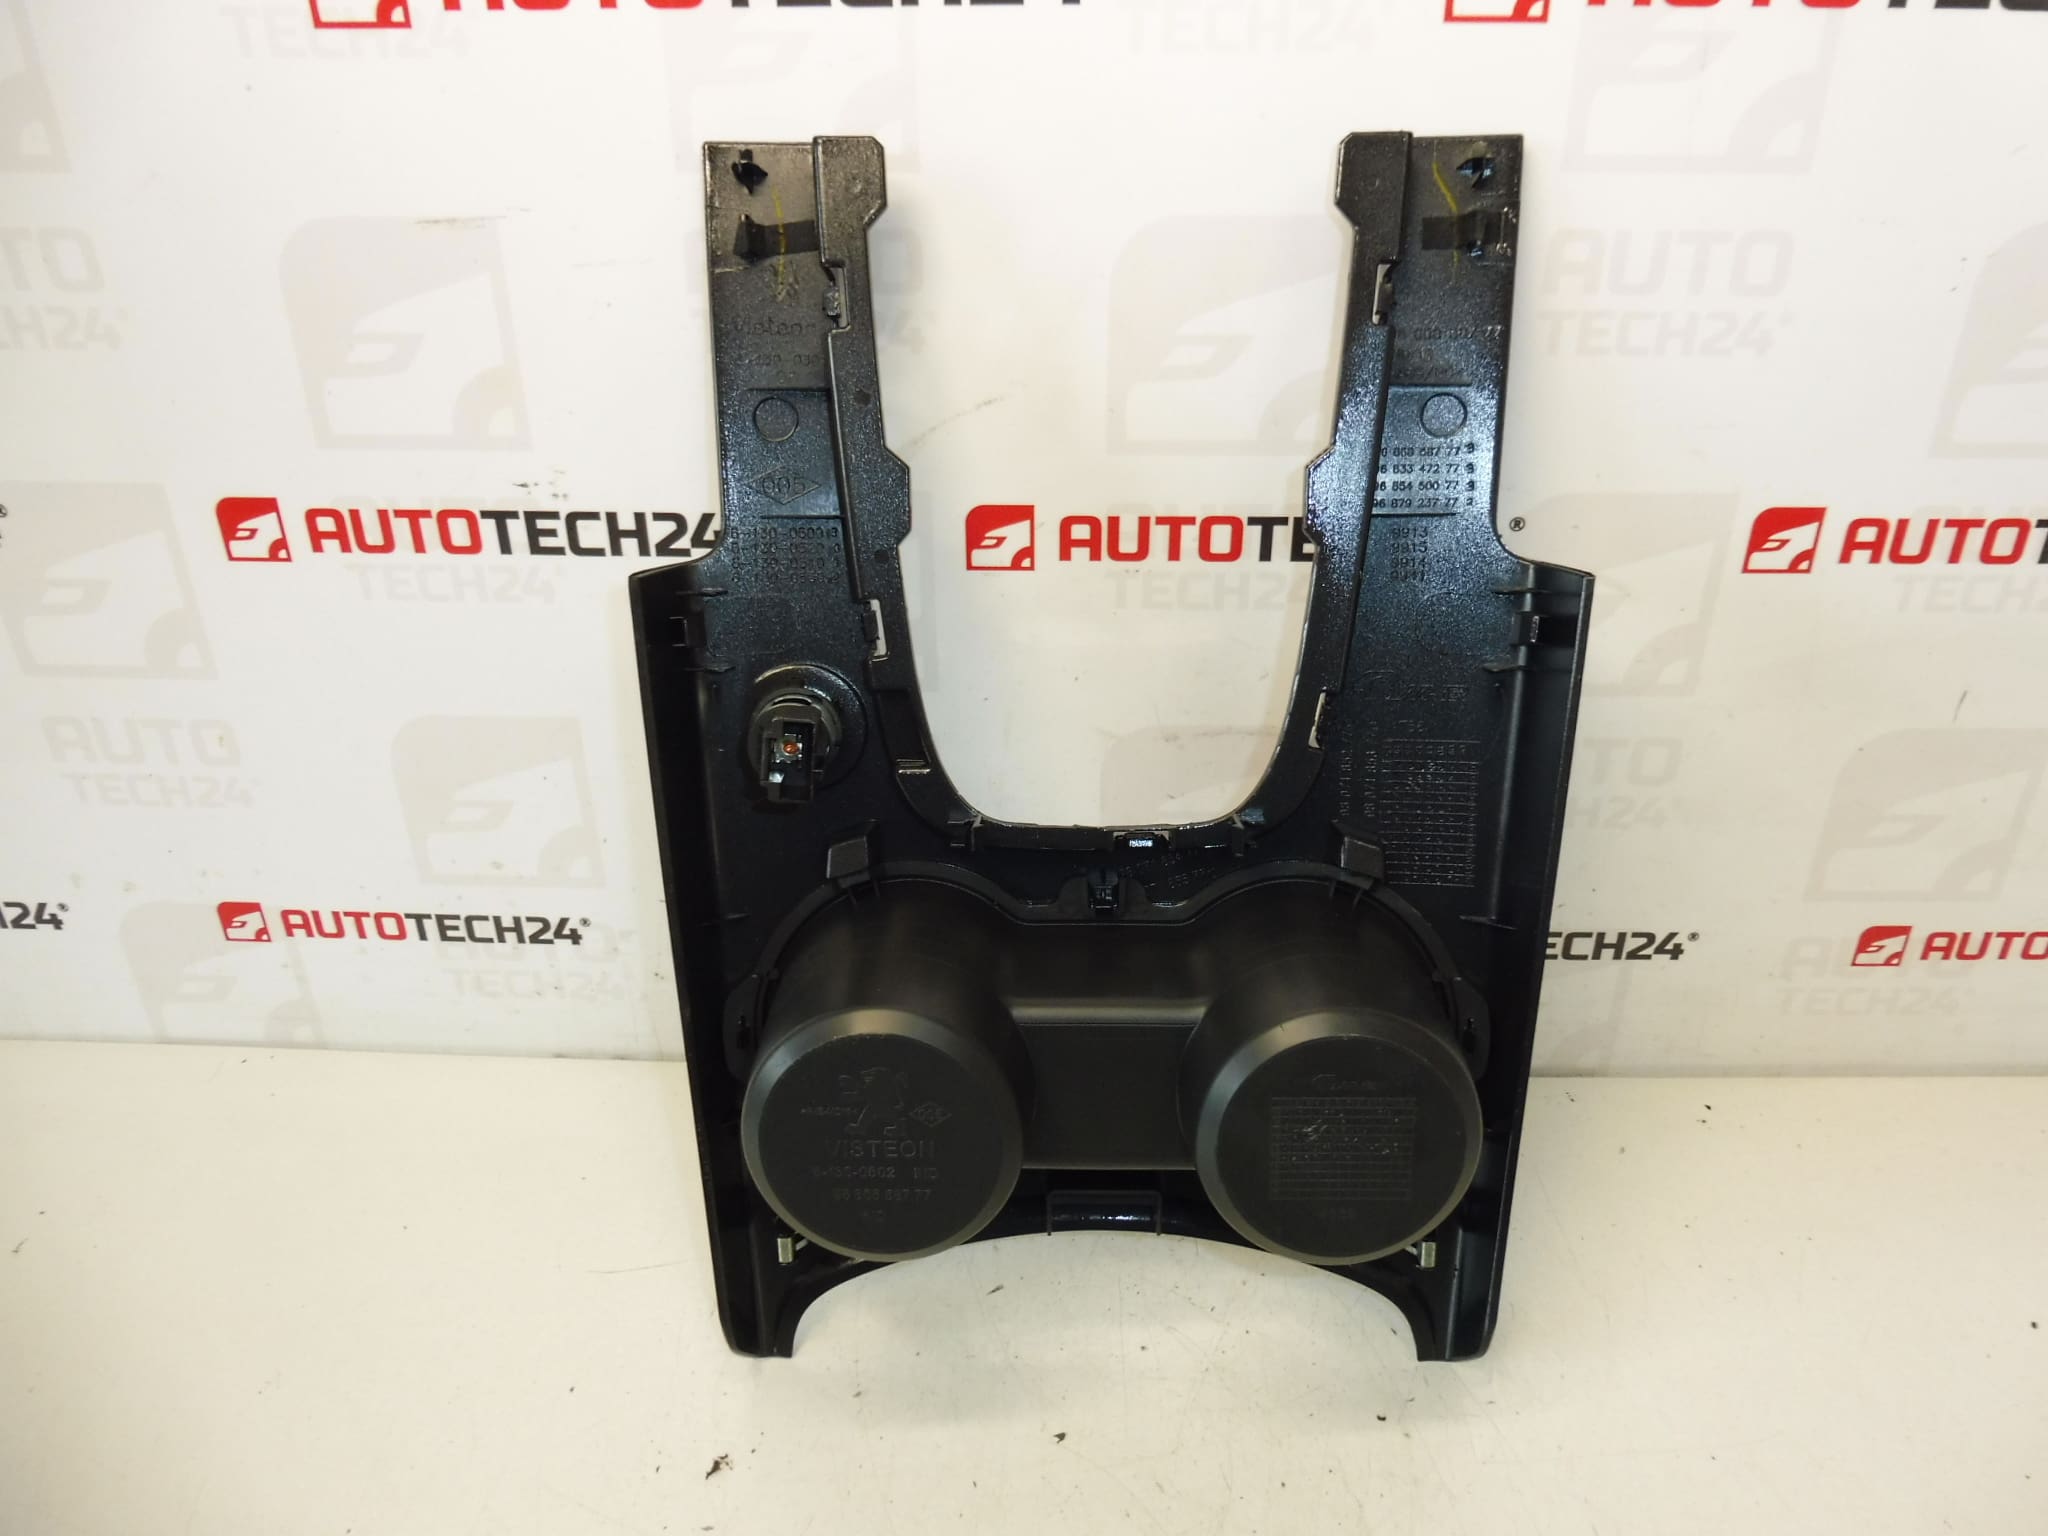
Description
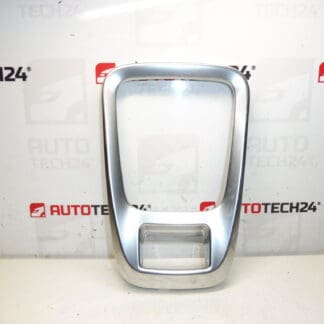
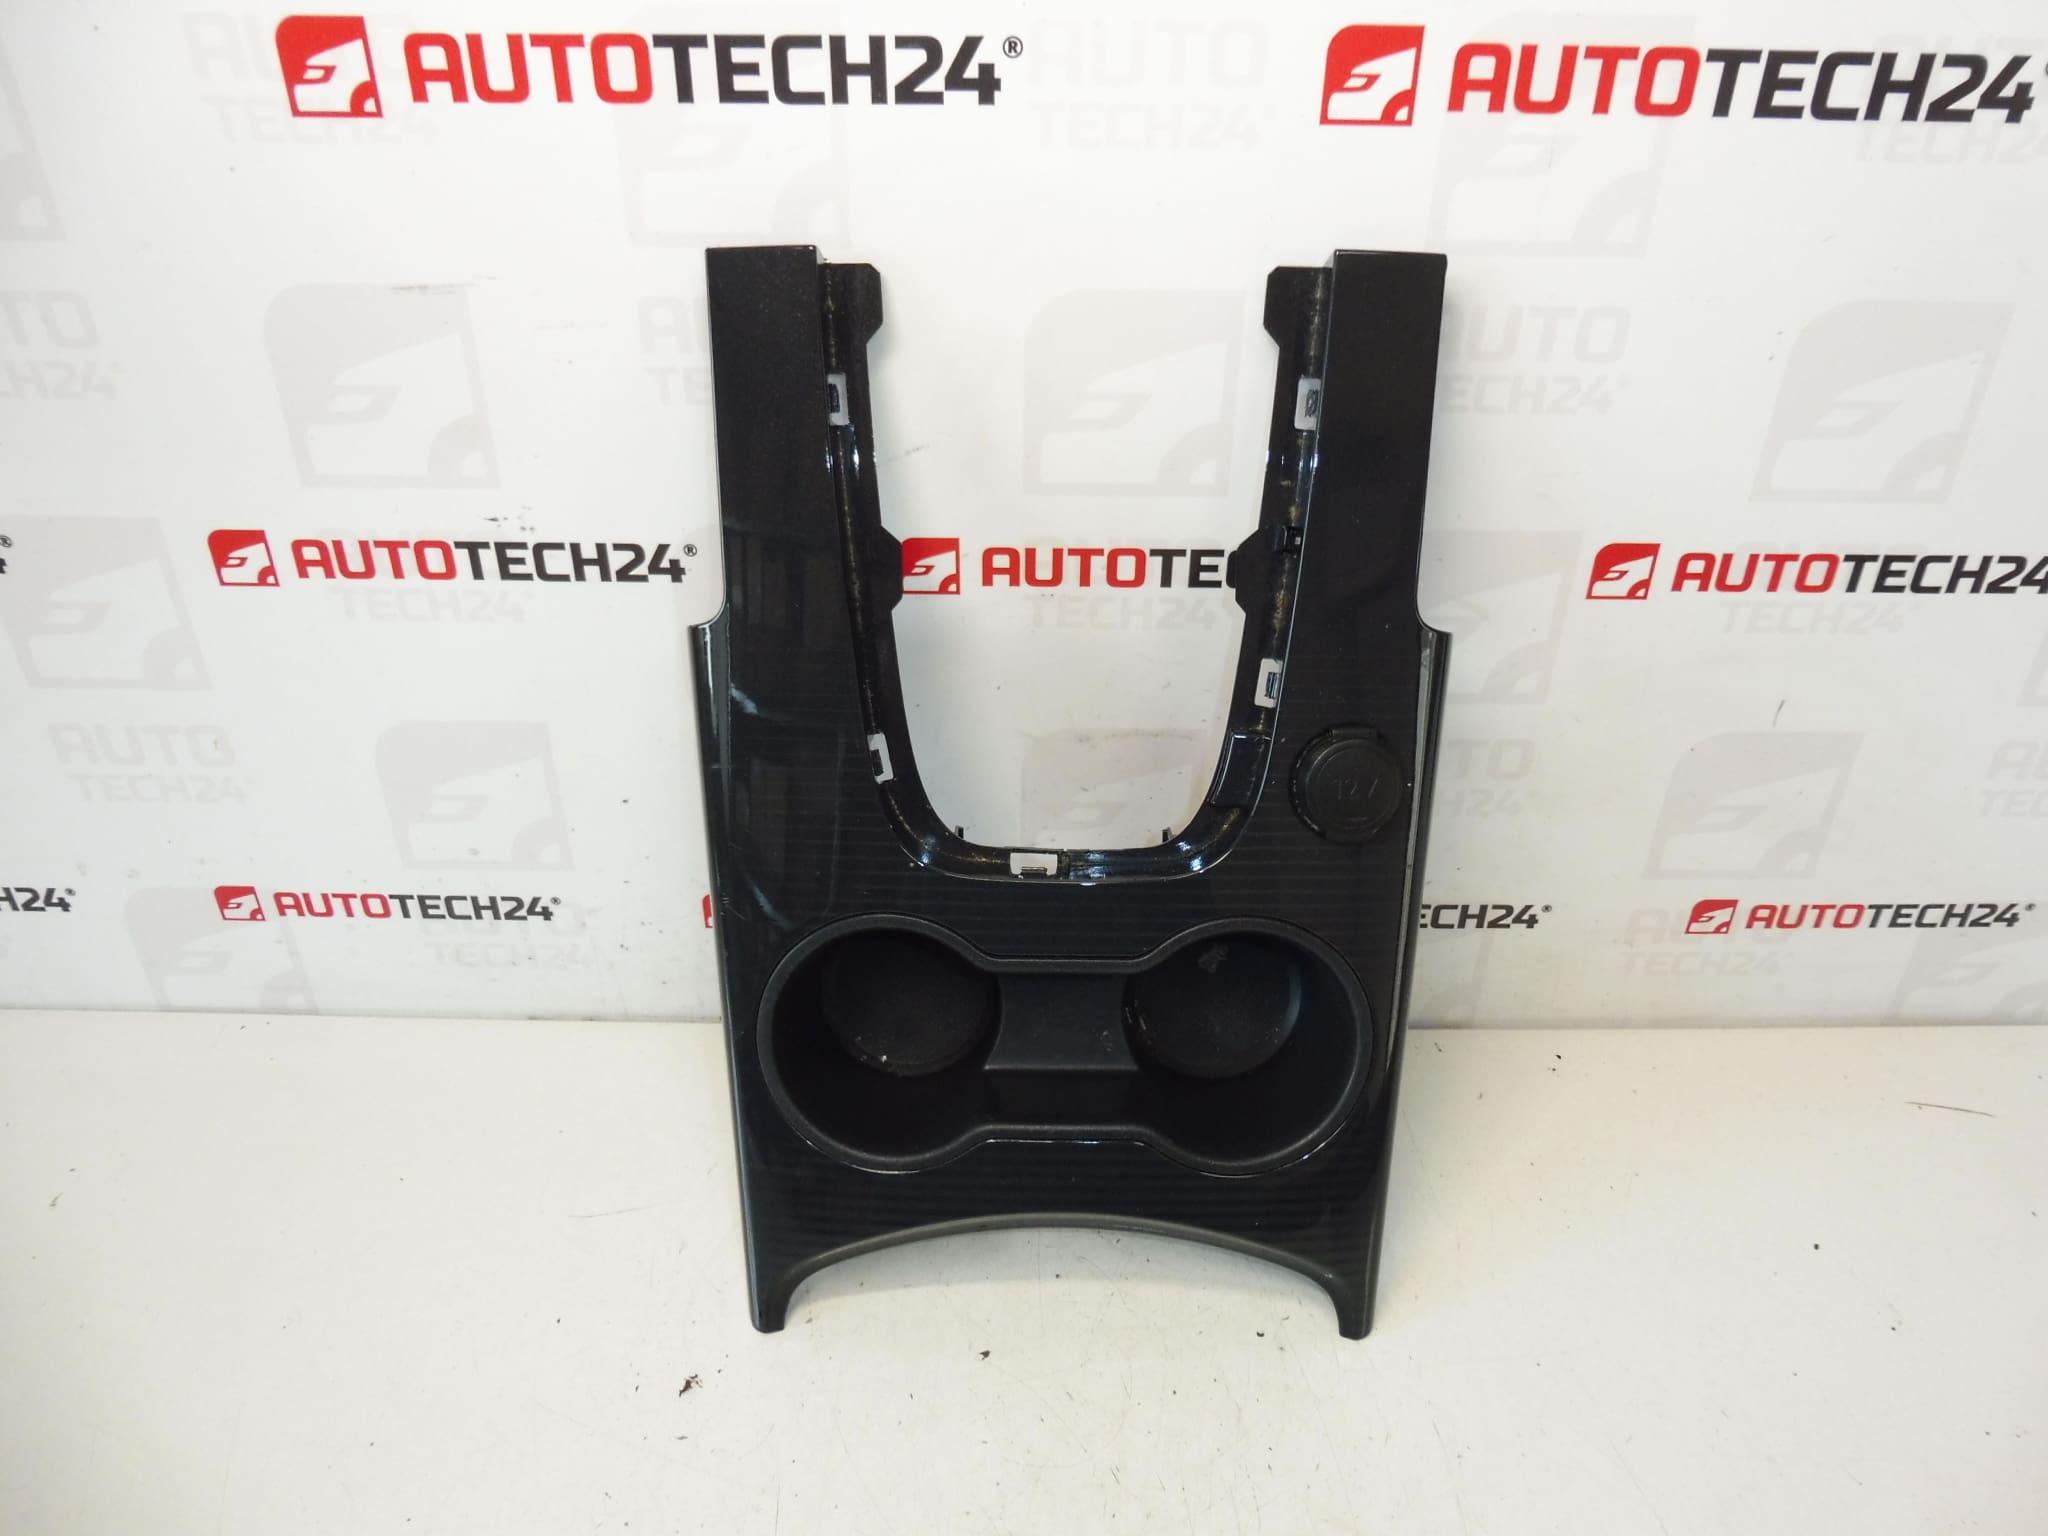
Floor console panel for PEUGEOT 3008 and 5008 first series
Color HYC – NIXON
Part description
This used gear stick panel / floor console panel is for Peugeot 3008 I and Peugeot 5008 I cars. It is an interior part that forms an important visual and functional part of the center console in the vicinity of the shifter. Thanks to the original design, it fits well into the interior of the car and maintains its original appearance and seating.
The shade HYC – NIXON is especially important when replacing a damaged or worn part, when the goal is to harmonize the appearance of the interior without the need for further modifications. The product is also searched according to the original numbers, so we also list the exact designations 98071852YC and 9807185277.
Technical information
- Manufacturer: Stellantis Citroën Peugeot
- Model: Peugeot 3008 I, Peugeot 5008 I
- Other numbers: 98071852YC, 9807185277
- Color: HYC – NIXON
- Category: Interior, dashboards and their parts
Product codes
- Product codes: 98071852YC, 9807185277
- Model names: PEUGEOT 3008 I, PEUGEOT 5008 I
Installation recommendations
Generally and typically for this type of interior part, the exact replacement procedure may vary depending on the specific car design and equipment. Below is a practical general procedure for replacing the console panel around the shifter.
1) Before assembly
- Check whether the new used part corresponds to the original part in terms of shape, attachment, cut-outs and surface treatment.
- Compare all attachment points, guide lugs and any openings for controls or covers.
- Check the condition of the plastic, especially cracks, broken brackets, abrasions and deformations from previous disassembly.
- Check the color match HYC – NIXON if the appearance of the interior is important.
2) Necessary tools and materials
- Set of plastic pry bars for removing interior tiles
- Common hand tools for removing fasteners
- Clean cloth or soft cloth
- Preparation for gentle cleaning of contact surfaces
- Container or bowl for delayed fasteners
3) Step-by-step assembly procedure
- Secure the vehicle against movement and prepare a clean work space in the interior.
- Carefully dismantle the subsequent cover or decorative parts that prevent access to the panel.
- Using a plastic pry bar, release the panel so as not to damage the surrounding tiles or fixtures.
- If fasteners are present, remove them and store them safely.
- Remove the old panel and check the condition of all seating surfaces and fixings in the console.
- Remove dirt, dust residues and any loose parts from the assembly area.
- Compare the old and new part side by side, especially the shape of the edges, latches, cutouts and panel guides.
- Place the new panel first on a clean surface without applying force and verify proper seating.
- Once properly seated, press the panel evenly into all fixing points.
- Reassemble all the removed fixing and cover parts in the reverse order.
- Check that the panel does not stick out anywhere, does not vibrate and matches the surrounding parts of the interior.
-
4) Post-assembly checks and function verification
- Check the firmness of the panel seat by pressing lightly in several places.
- Check that downstream controls or movement around the shift are not restricted.
- Verify that all surrounding covers and trims fit properly.
- While driving, watch for hums or vibrations coming from the console area.
5) The most common assembly mistakes + how to avoid them
- Using excessive force – leads to cracking of plastic or breaking of lugs; always place the panel on a clean surface first.
- Mounting on dirty seating surfaces – dirt can cause poor seating and subsequent noises.
- Damage to surrounding trim – use plastic pry bars instead of metal tools.
- Insufficient post-assembly inspection – always check fit and firmness of fit after completion.
- Normal wear and tear of the interior during long-term use of the car
- Scratches and abrasions from hands, objects or careless cleaning
- Cracking or breakage of handles during unprofessional disassembly
- Mechanical damage around the shift lever
- Plastic deformation due to age and interior thermal stress