Description
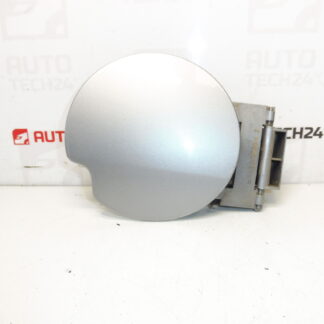
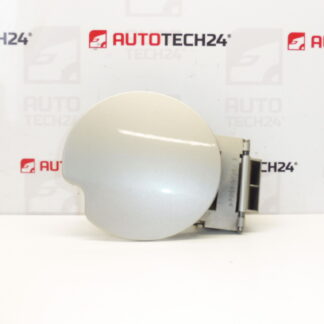
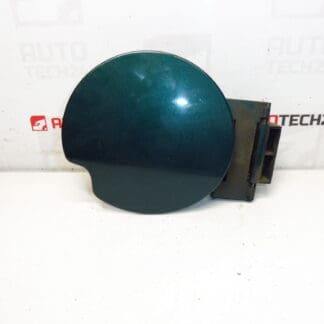
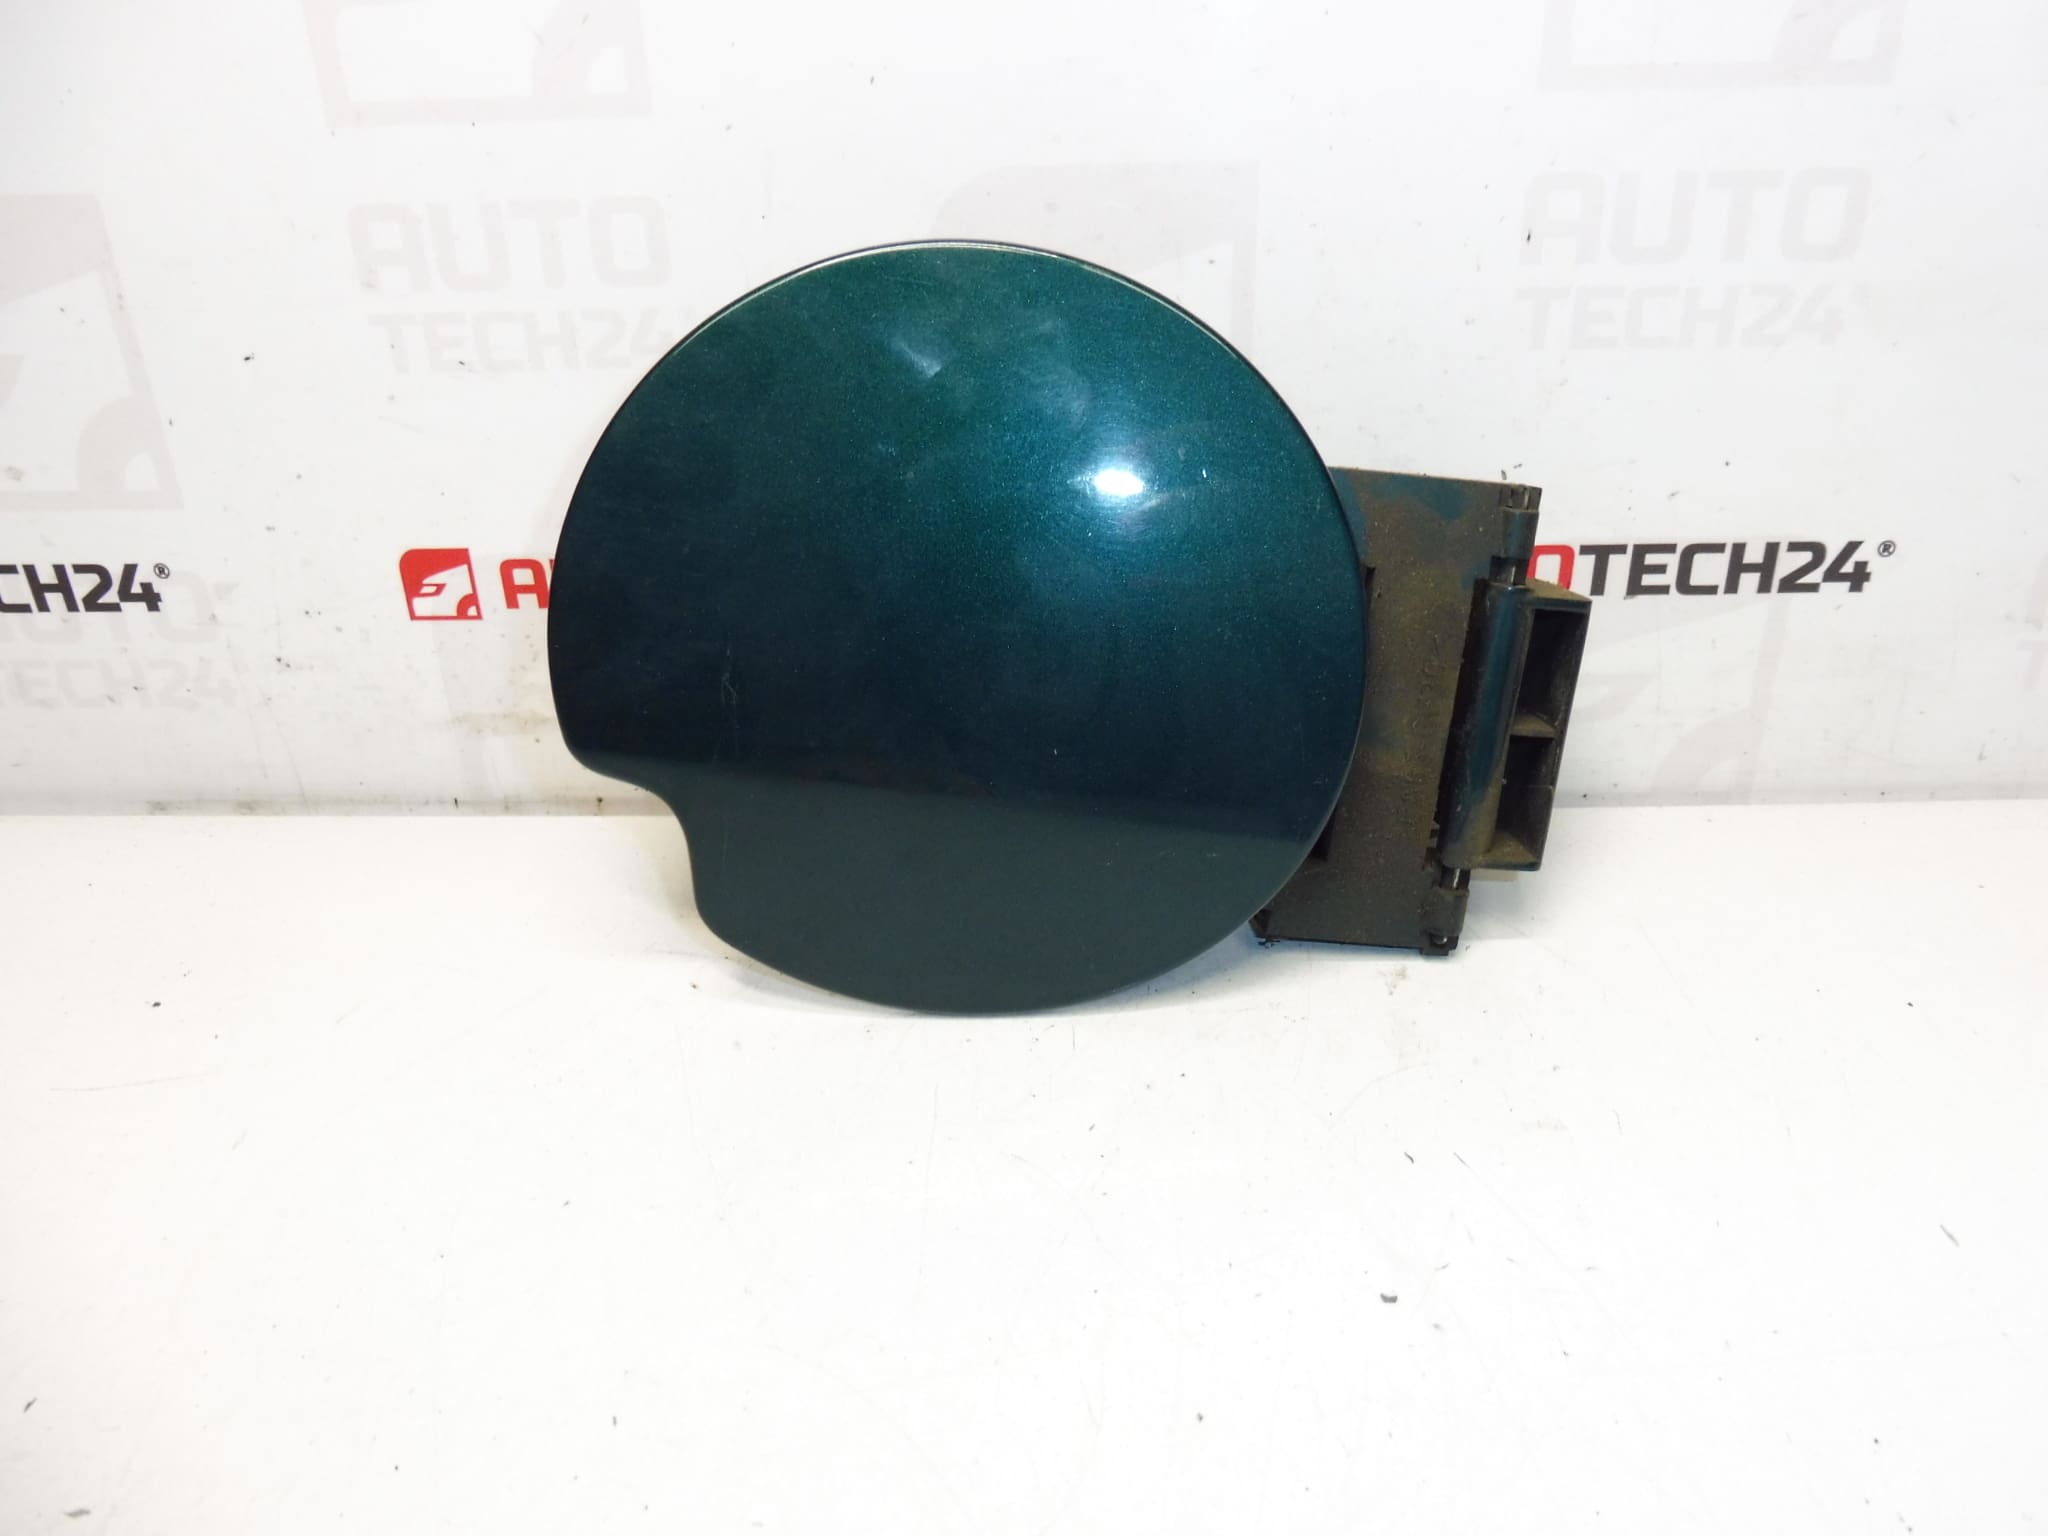
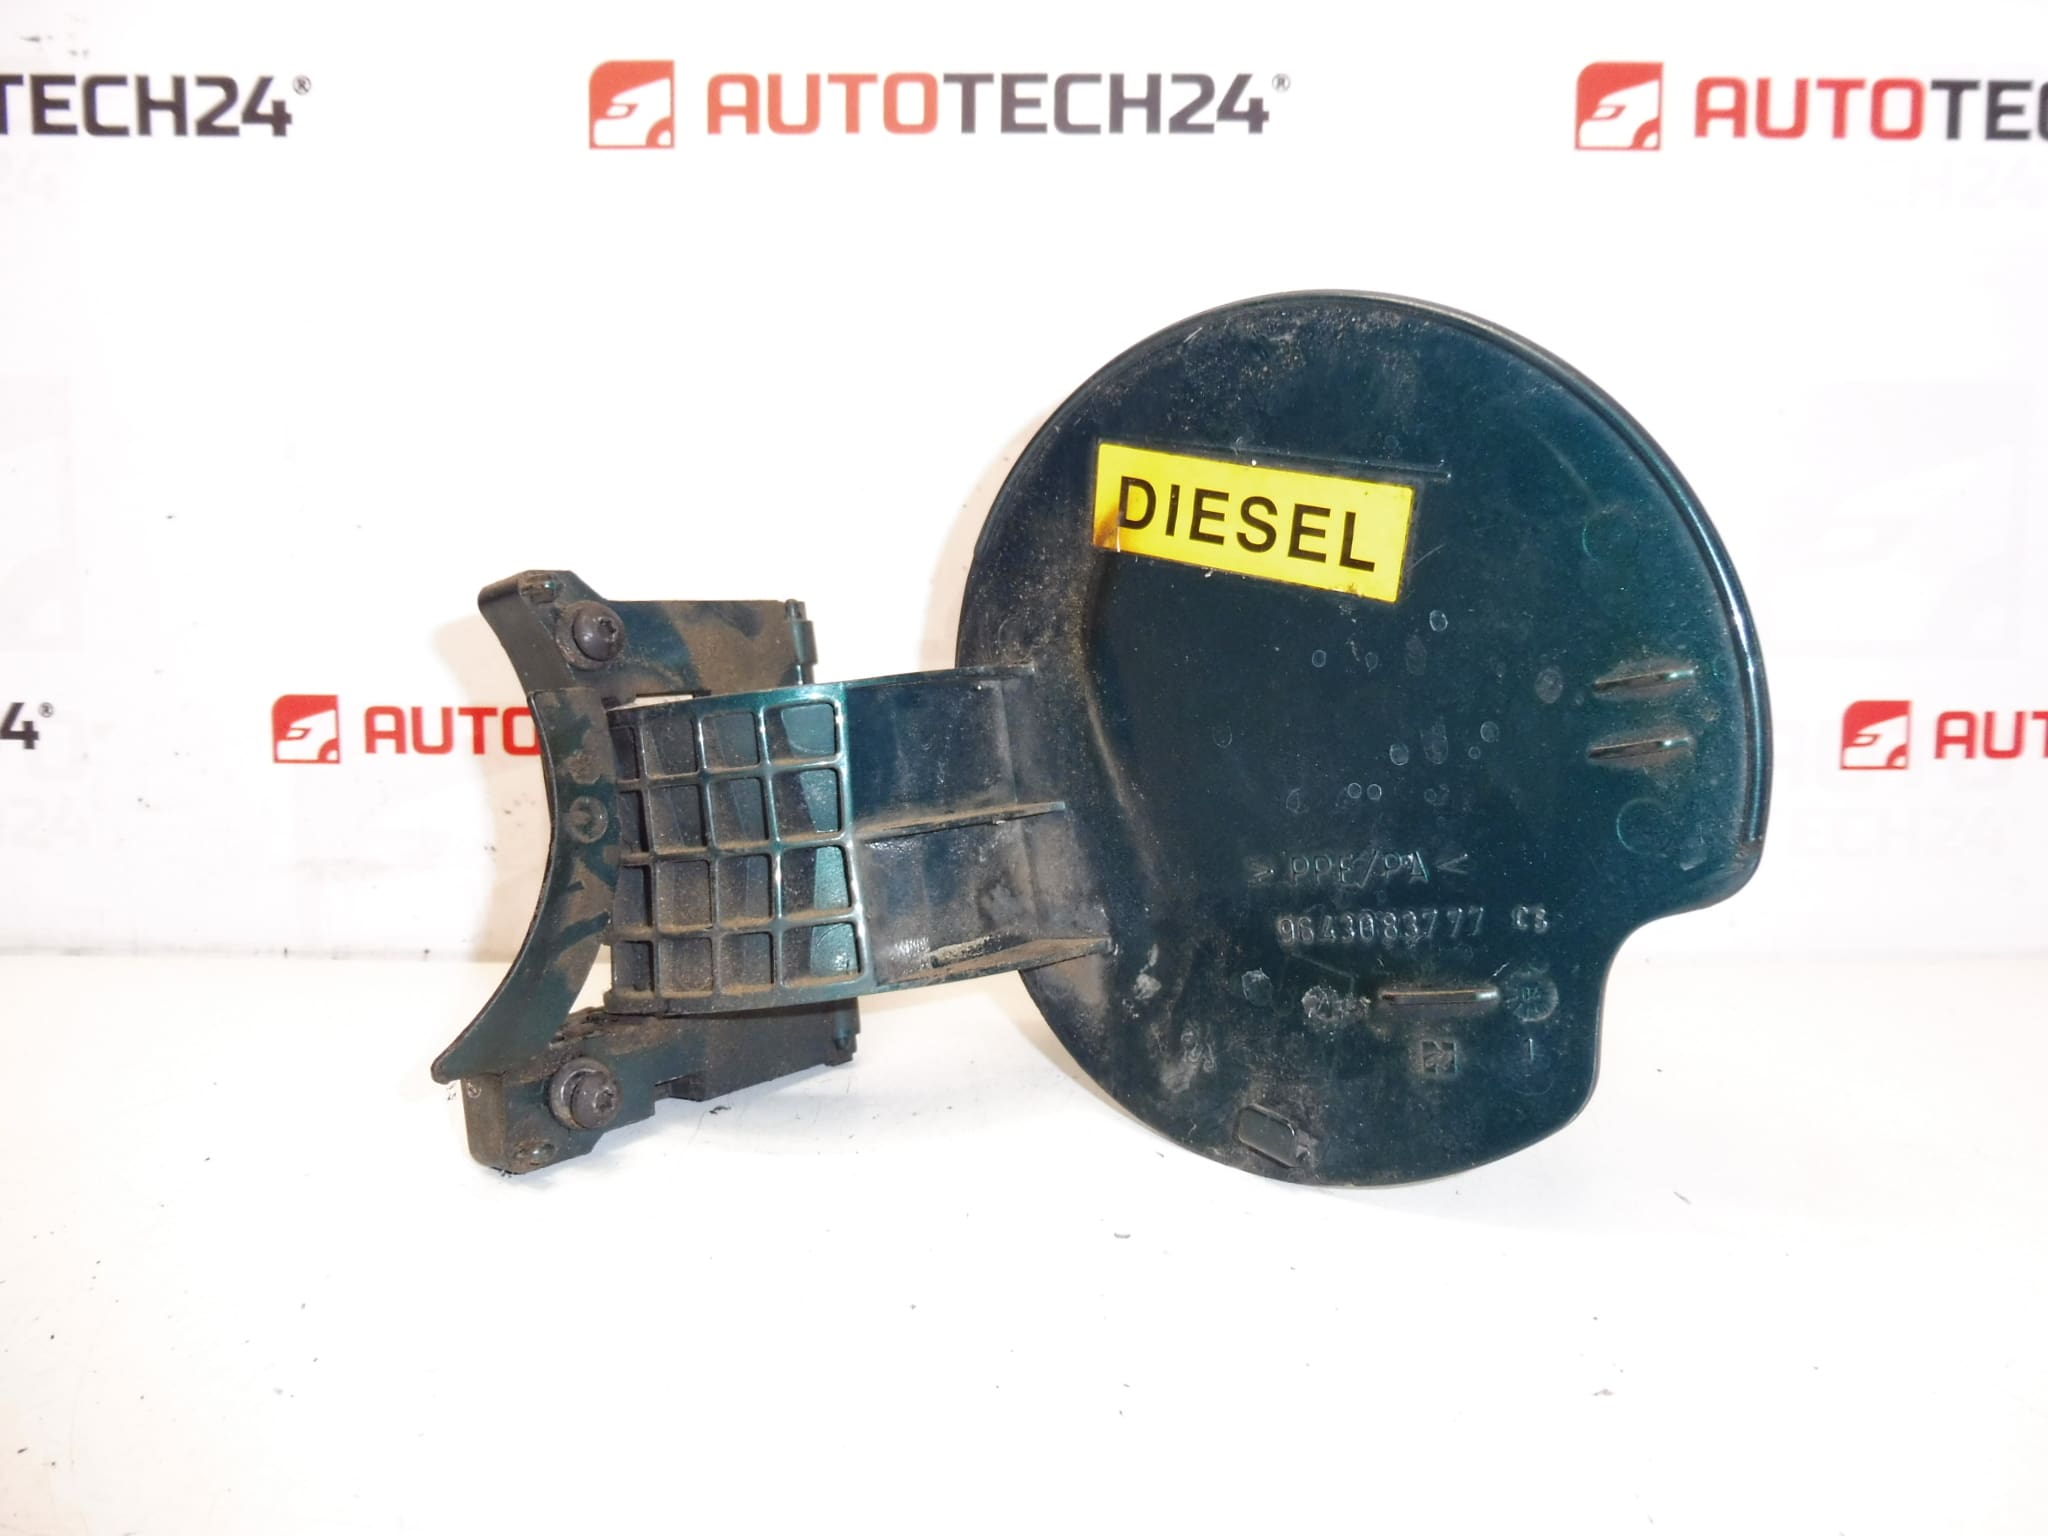
Tank cover PEUGEOT 307 I and II
KSU color – OAKLAND GREEN PAINT
We have different colors
Part description
Used tank cap/cover for Peugeot 307 cars. It serves to cover the filling space and to preserve the original appearance of the bodywork. Thanks to the specified color KSU (Oakland green paint), it is particularly suitable where you are dealing not only with function, but also with matching the color of the body.
The part is identifiable by the original PSA numbers, which makes it easier to find the correct version in the catalog even when comparing with the old part.
Technical information
- Manufacturer: Stellantis (Citroën / Peugeot)
- Model: Peugeot 307 I and II
- Other numbers: KSUD (KSU color – Oakland green paint)
Product codes
- Product codes: 9643083777, 151799, KSUD
Installation recommendations
Generally/typically for the tank cap/cover it is a simple replacement, but the exact procedure may vary depending on the design (attachment, cable, hinge/joint, locking type). Take the procedure below as a general recommendation.
1) Before assembly
- Compare the new part with the old one: shape, attachment method, any cable/harness, lock or stops.
- Check the condition of the paintwork and edges – for cracks, broken handles or deformations.
- Verify match by part numbers: 9643083777 / 151799 (or KSUD designation).
2) Necessary tools and materials
- A basic set of hand tools (typically screwdrivers/bit attachments depending on the attachment)
- Plastic pry bar for disassembly (if you need to loosen covers/upholstery in the area)
- Cleaning agent and cloth for contact surfaces
3) Step-by-step assembly procedure
- Secure the car against movement and work in a clean, well-lit area.
- Open the tank lid/cover area.
- If the lid/cover is attached with a cable, first note its routing and method of attachment.
- Remove the fastening of the original part (typically screws, pin/pin or hinged attachment – depending on the design).
- Carefully remove the old part so as not to damage the surrounding paint and the edges of the bodywork.
- Clean the mating surfaces and check that nothing prevents proper mating (dirt, adhesive residues, etc.).
- Place the new part in the correct position and check the fit.
- Fix it in the same way as the original part.
- If a cable/lanyard is present, reattach it and check that it does not pinch anywhere.
- Open/close several times and verify smooth operation without rubbing.
-
4) Post-assembly checks and function verification
- Check that the part fits correctly, does not stick out anywhere and does not make contact that could damage the paintwork.
- Verify that the opening/closing is smooth and the handles hold without play.
5) The most common assembly mistakes + how to avoid them
- Conversion of design (different mounting/dimension): always compare with the old part and follow the numbers 9643083777 / 151799.
- Paint scratches during disassembly: use a plastic pry bar and work carefully.
- Bad routing or cable pinching: check movement and free passage before tightening.
- Not landing due to dirt: clean the landing surfaces before assembly.
Reasons why the part is damaged
- Mechanical damage during refueling (impact, careless handling).
- Broken handles due to repeated stress or careless opening.
- Paint damage (scratches, peeling) from dirt and friction.
- Aging of plastic – brittleness of the material due to UV radiation and weather effects.