Description
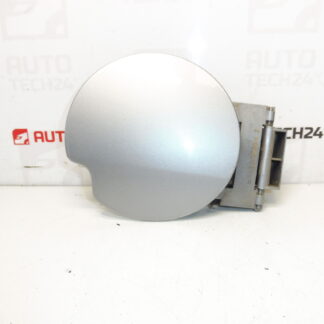
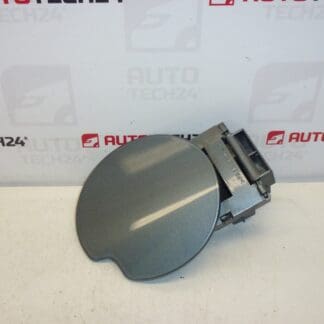
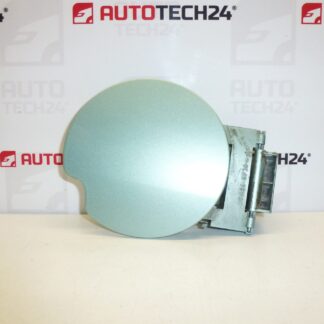
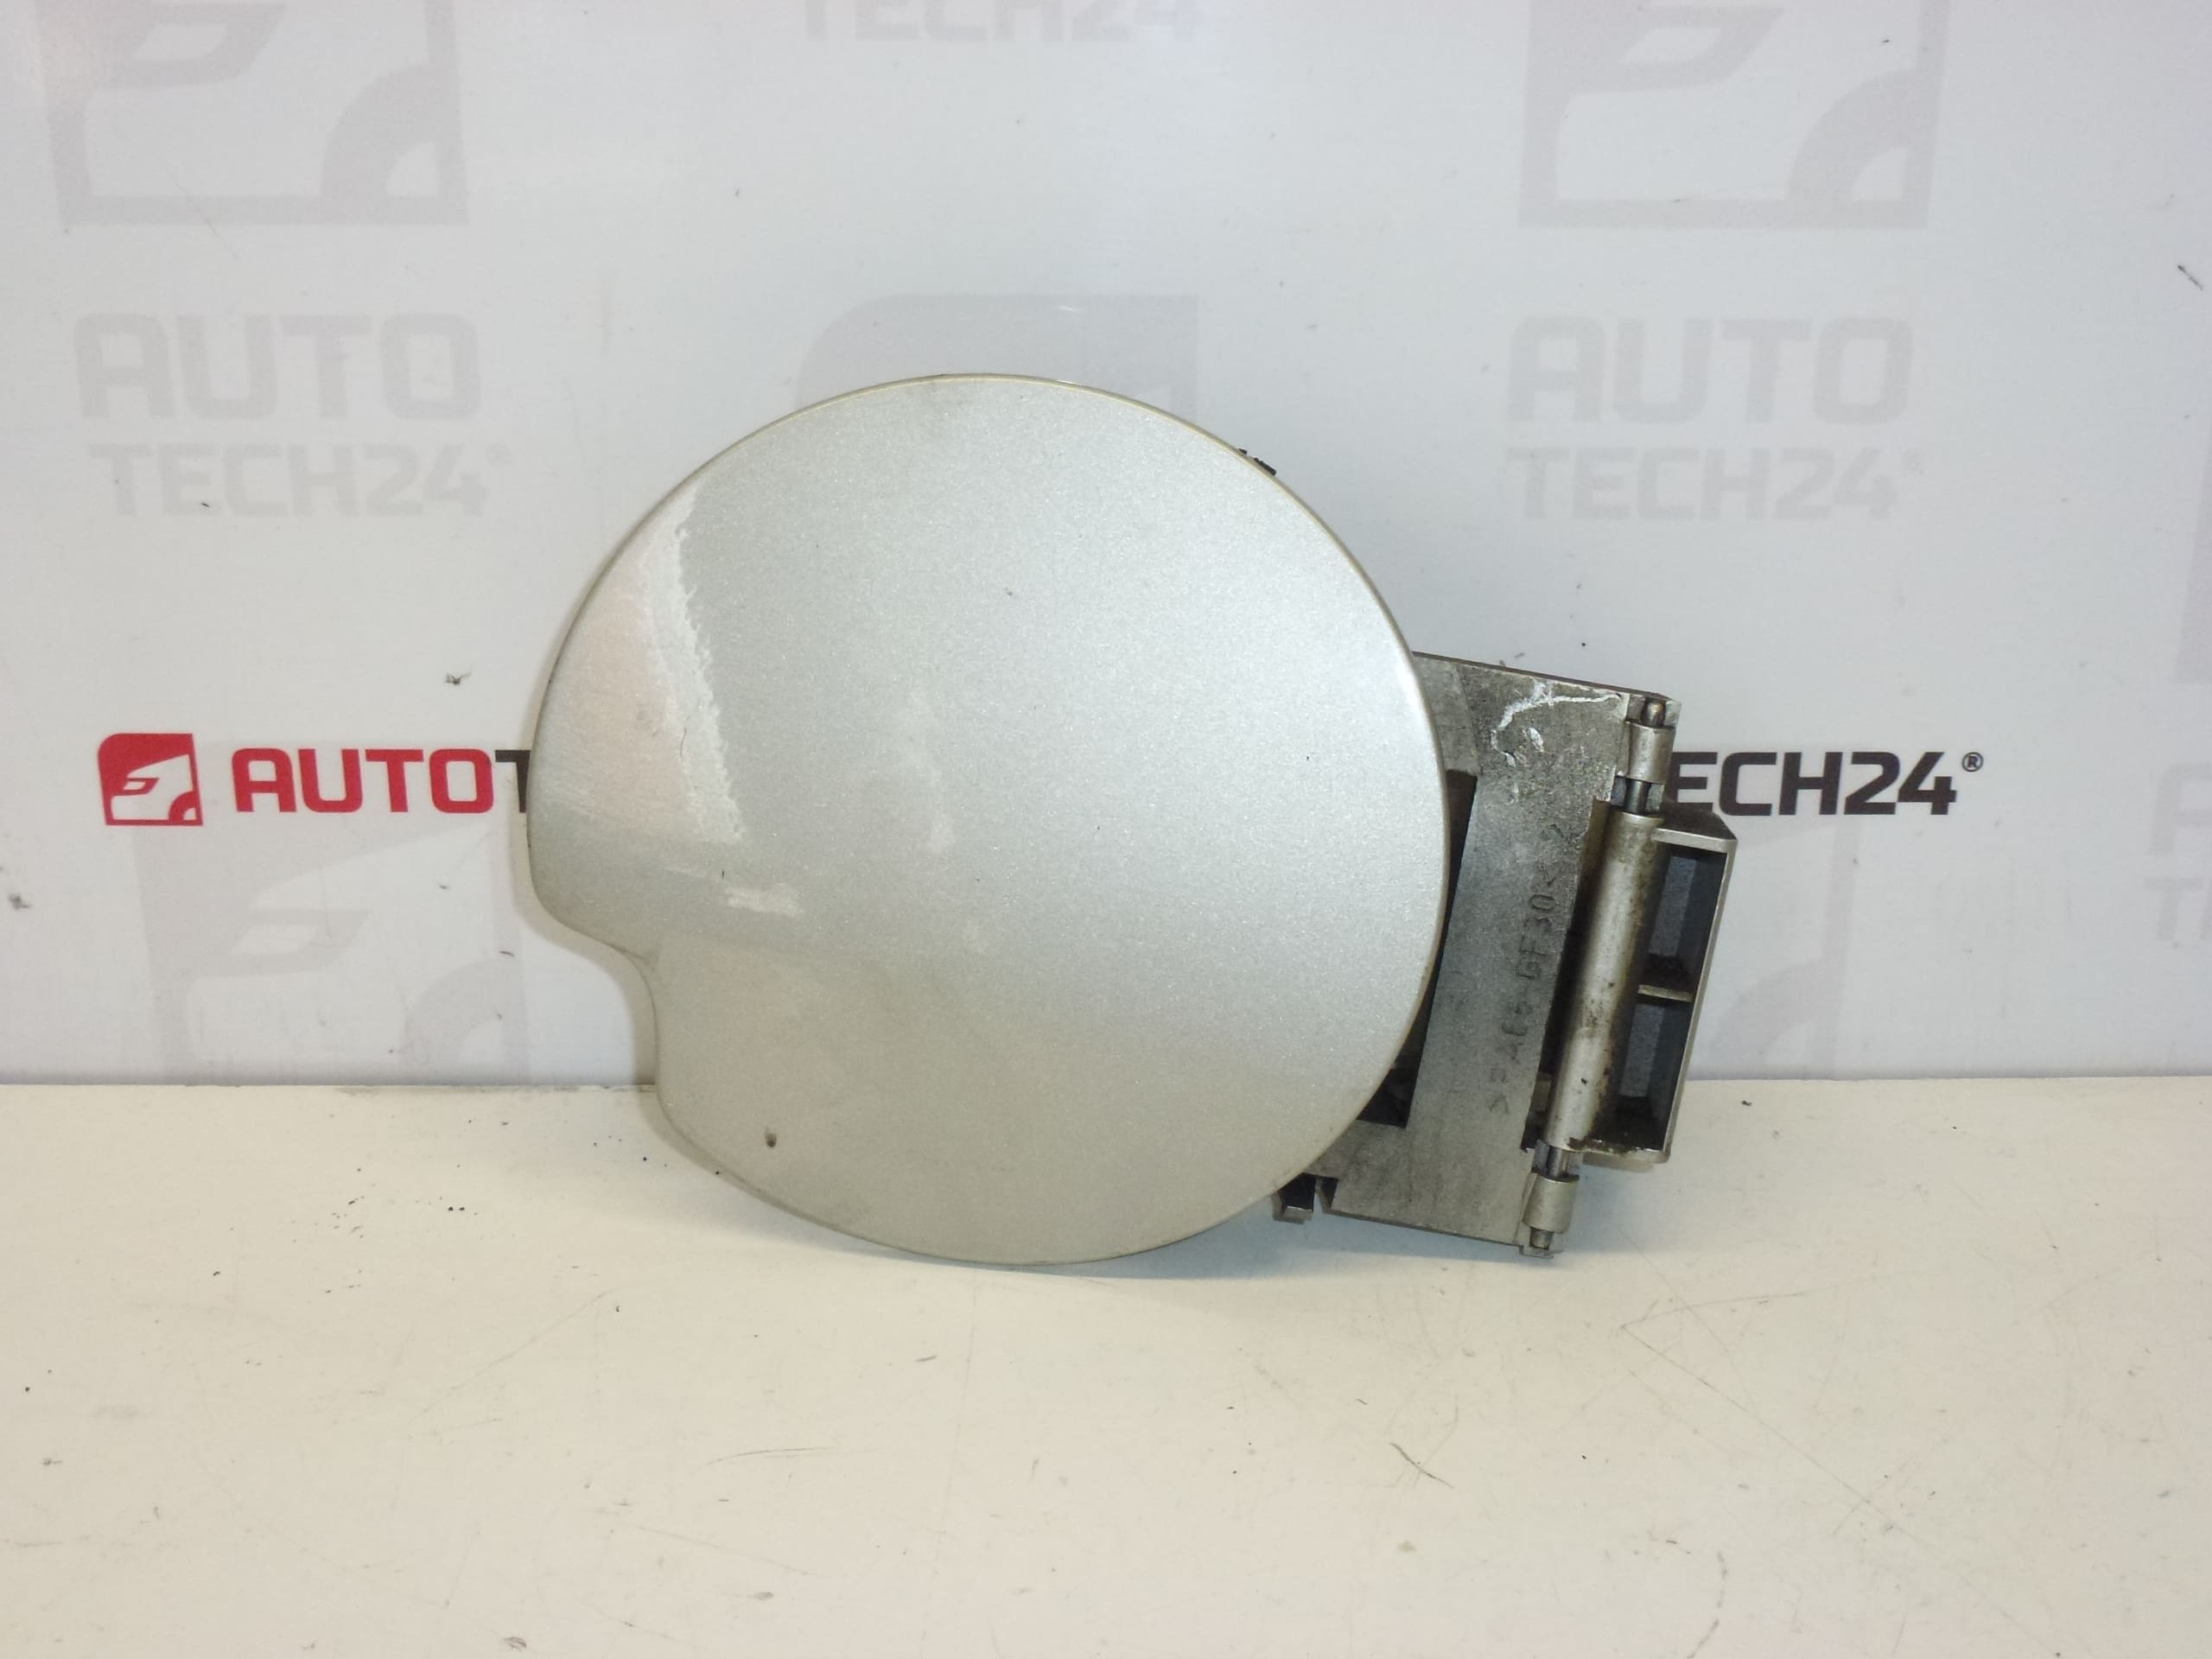
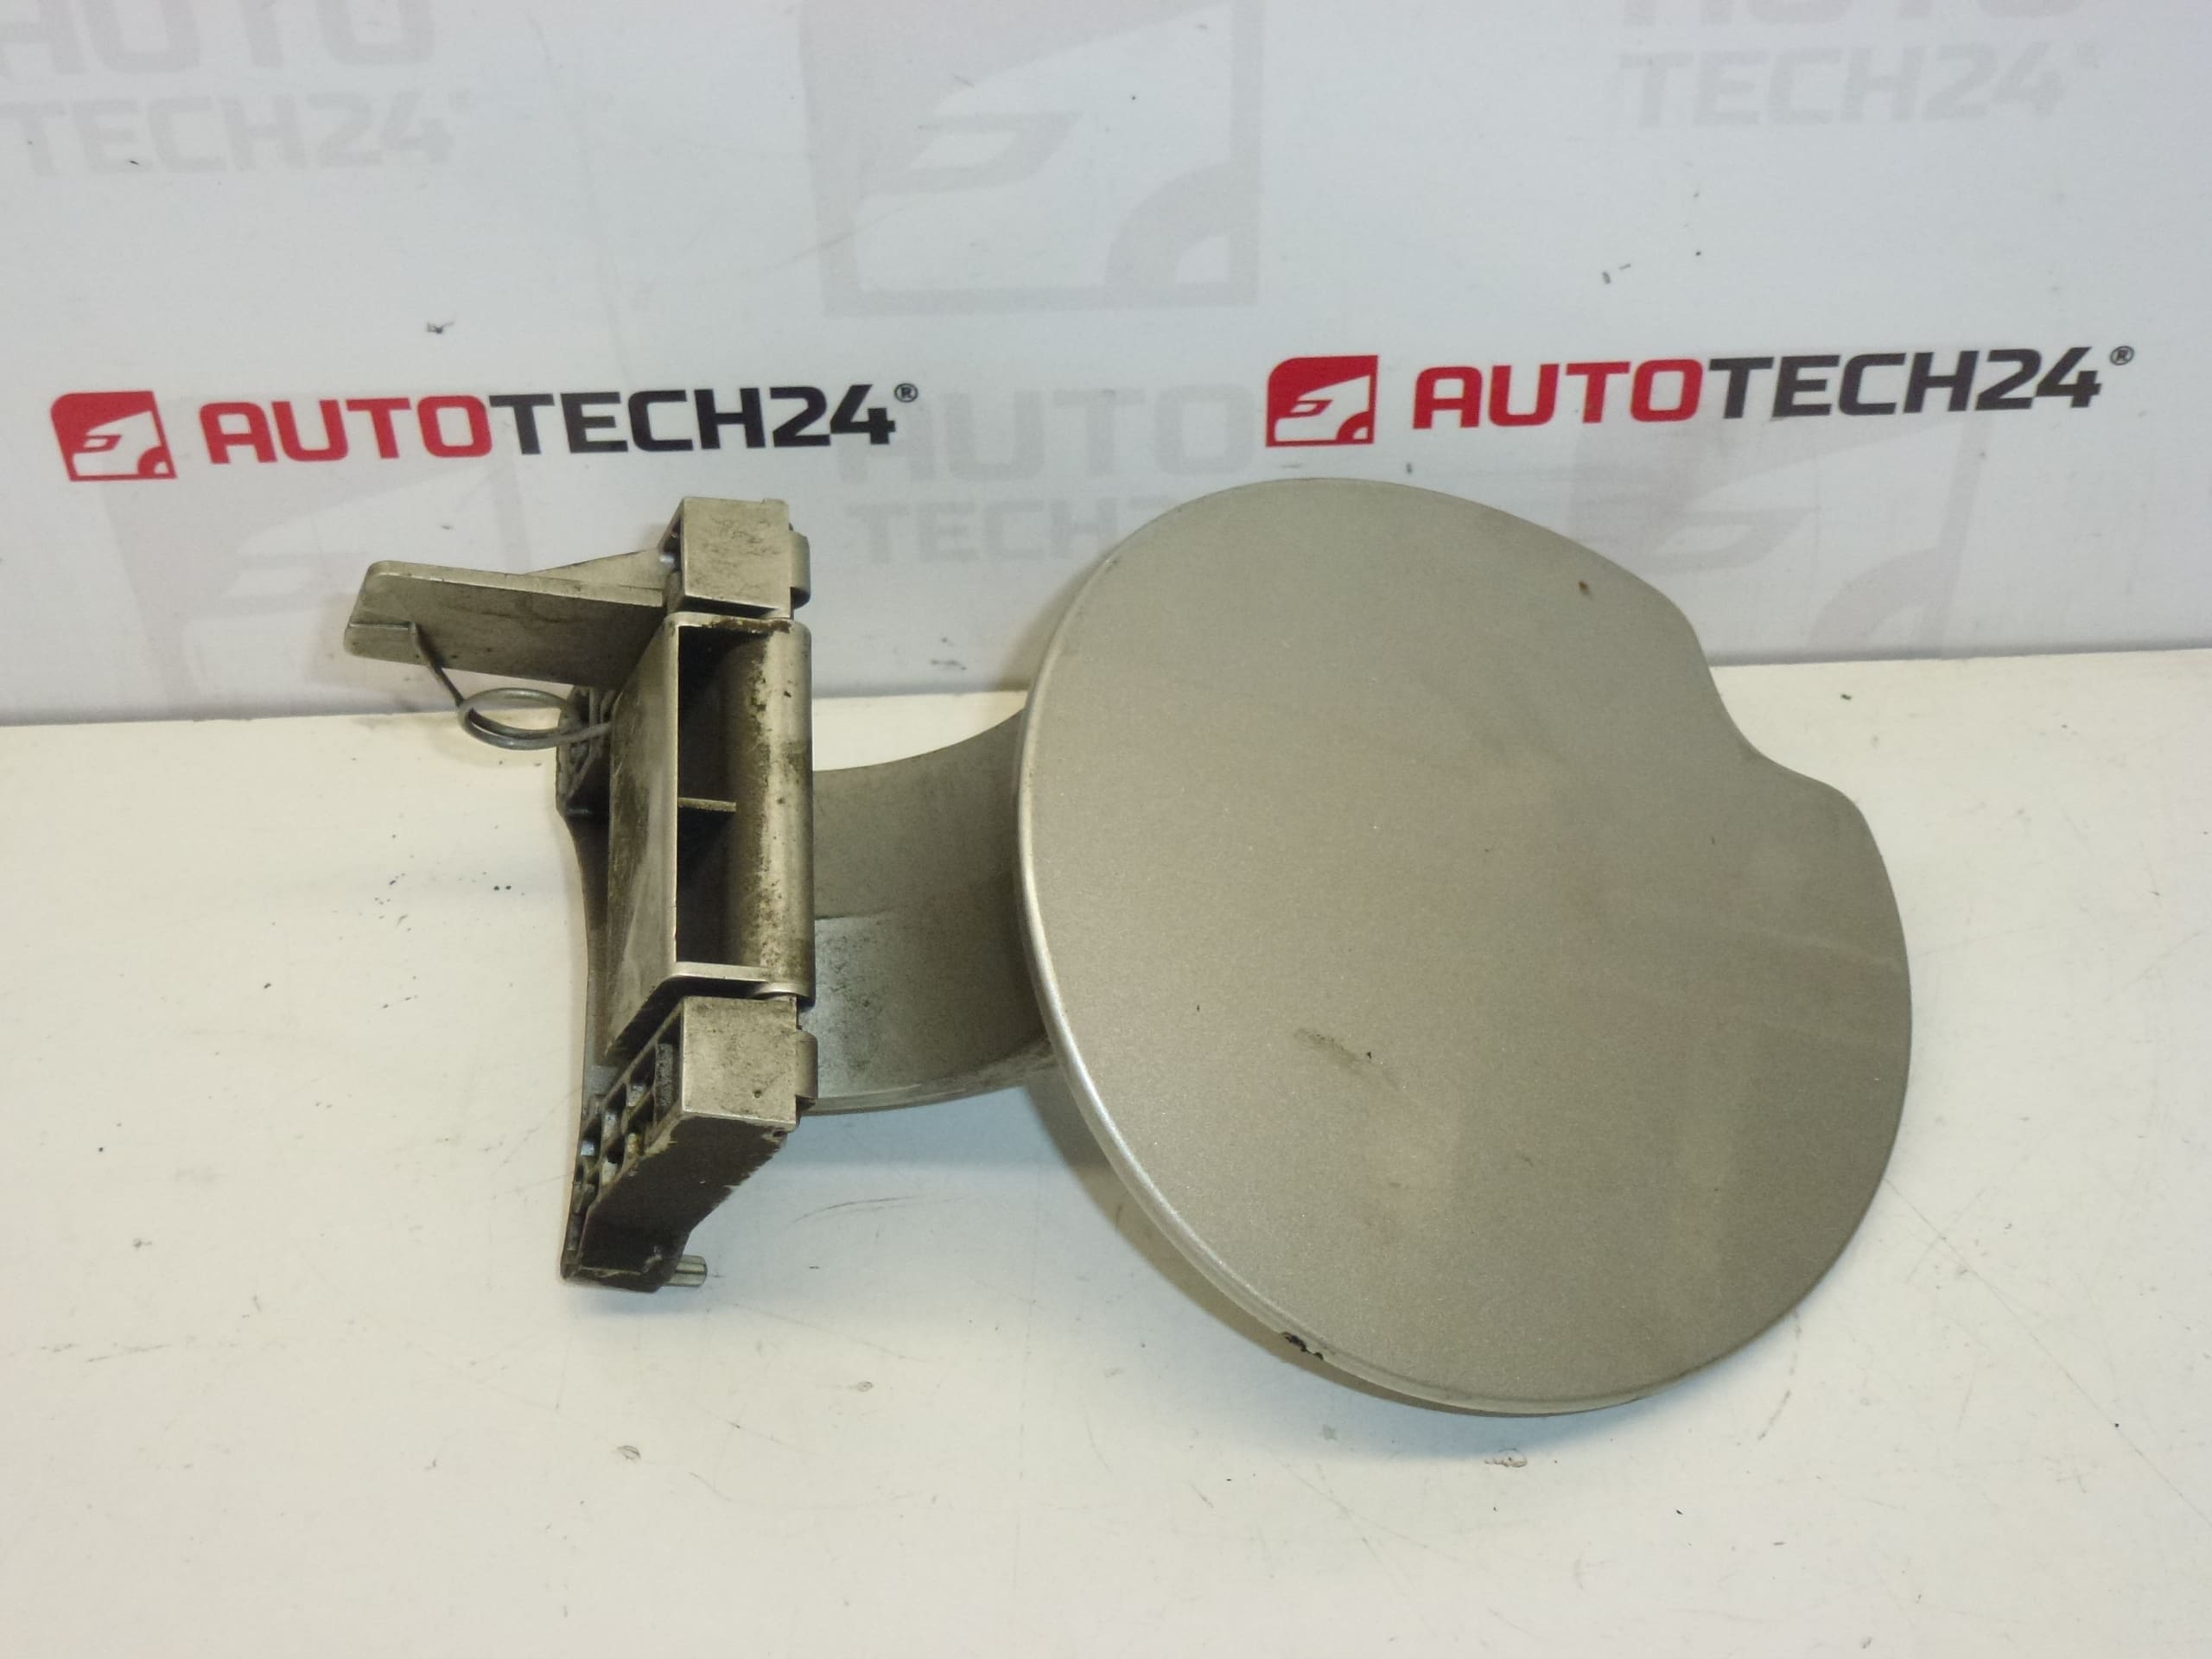
Cap tank cover for PEUGEOT 307 cars
ETS color – CENTRE GRAY PAINT
We have different colors in stock
Part description
Used tank cover intended for Peugeot 307. It serves to close the space of the filler neck and at the same time completes the appearance of the body. This piece is in ETS – Cendre Gray Lacquer, which is handy when replacing a damaged or lost lid.
The advantage is the availability according to the product number (OEM), which will speed up the search for the right part during the repair.
Technical information
- Manufacturer: Stellantis (Citroën/Peugeot)
- Model: Peugeot 307
- Other numbers: 151799, ETSC
Product codes
- Product codes: 9643083777
Installation recommendations
Generally/typically for the fuel cap, it is a simple replacement without special equipment, but the exact procedure may vary depending on the design and equipment of the car.
1) Before assembly
- Compare the new cap to the old piece: shape, fit, hinge/axis, latch and overall fit profile.
- Check the condition of the paintwork and edges (scratches, cracks, broken handles).
- Verify that the codes on the part correspond to the desired design: 9643083777, or 151799, ETSC.
- Inspect around the tank/body opening for deformation or dirt (could prevent proper closing).
2) Necessary tools and materials
- A clean cloth and a mild cleaner to remove dirt from the contact surfaces
- Plastic pry bars (if it is necessary to carefully release the cover/handle without damaging the paintwork)
- Gloves
3) Step-by-step assembly procedure
- Secure the vehicle against movement and work in a clean, well-lit area.
- Open the tank cover.
- If the original cap is still present, check how it is attached (hinge, pin, clip).
- Carefully remove/unclip the old cap so as not to damage the surrounding paintwork.
- Clean the contact surfaces and the attachment area from dust and dirt.
- Place the new cap in the holder in the same position as the original part.
- Snap/seat the mount gently (without force); the lid must close smoothly.
- Try opening and closing several times, observe the smoothness of the movement and the seating of the edges.
- Check the fit with the body – the cap should not protrude or be “sunk”.
-
4) Post-assembly checks and function verification
- Check that the lid is firmly in place and does not open by itself.
- Make sure it doesn’t rub against the bodywork or scratch the paint.
- After the first ride, check again that the attachment is still tight and the cap fits correctly.
5) The most common assembly mistakes + how to avoid them
- Forcible snapping → first align the position of the hinge/pin, only then install it.
- Paint scratches → use a plastic pry bar and work over a cloth.
- Bad fit → check if there is no bent bracket/handle or dirt in the contact areas.
- Ignoring cracked mounts → carefully check all locking elements before assembly so that the lid holds securely.
Reasons why the part is damaged
- Mechanical damage during refueling (impact, careless handling, resting the gun).
- Breaking of the handles due to the age of the plastic and repeated opening.
- Paint damage due to scratches, stones or inappropriate cleaning.
- Vandalism or loss of the piece (torn off, stolen, misplaced and then dropped).