Description
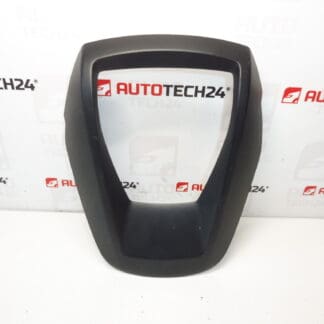
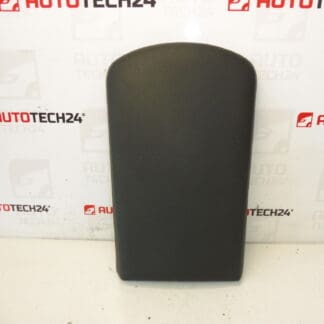
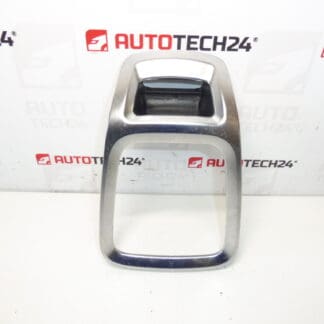
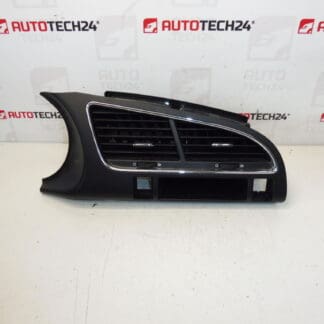
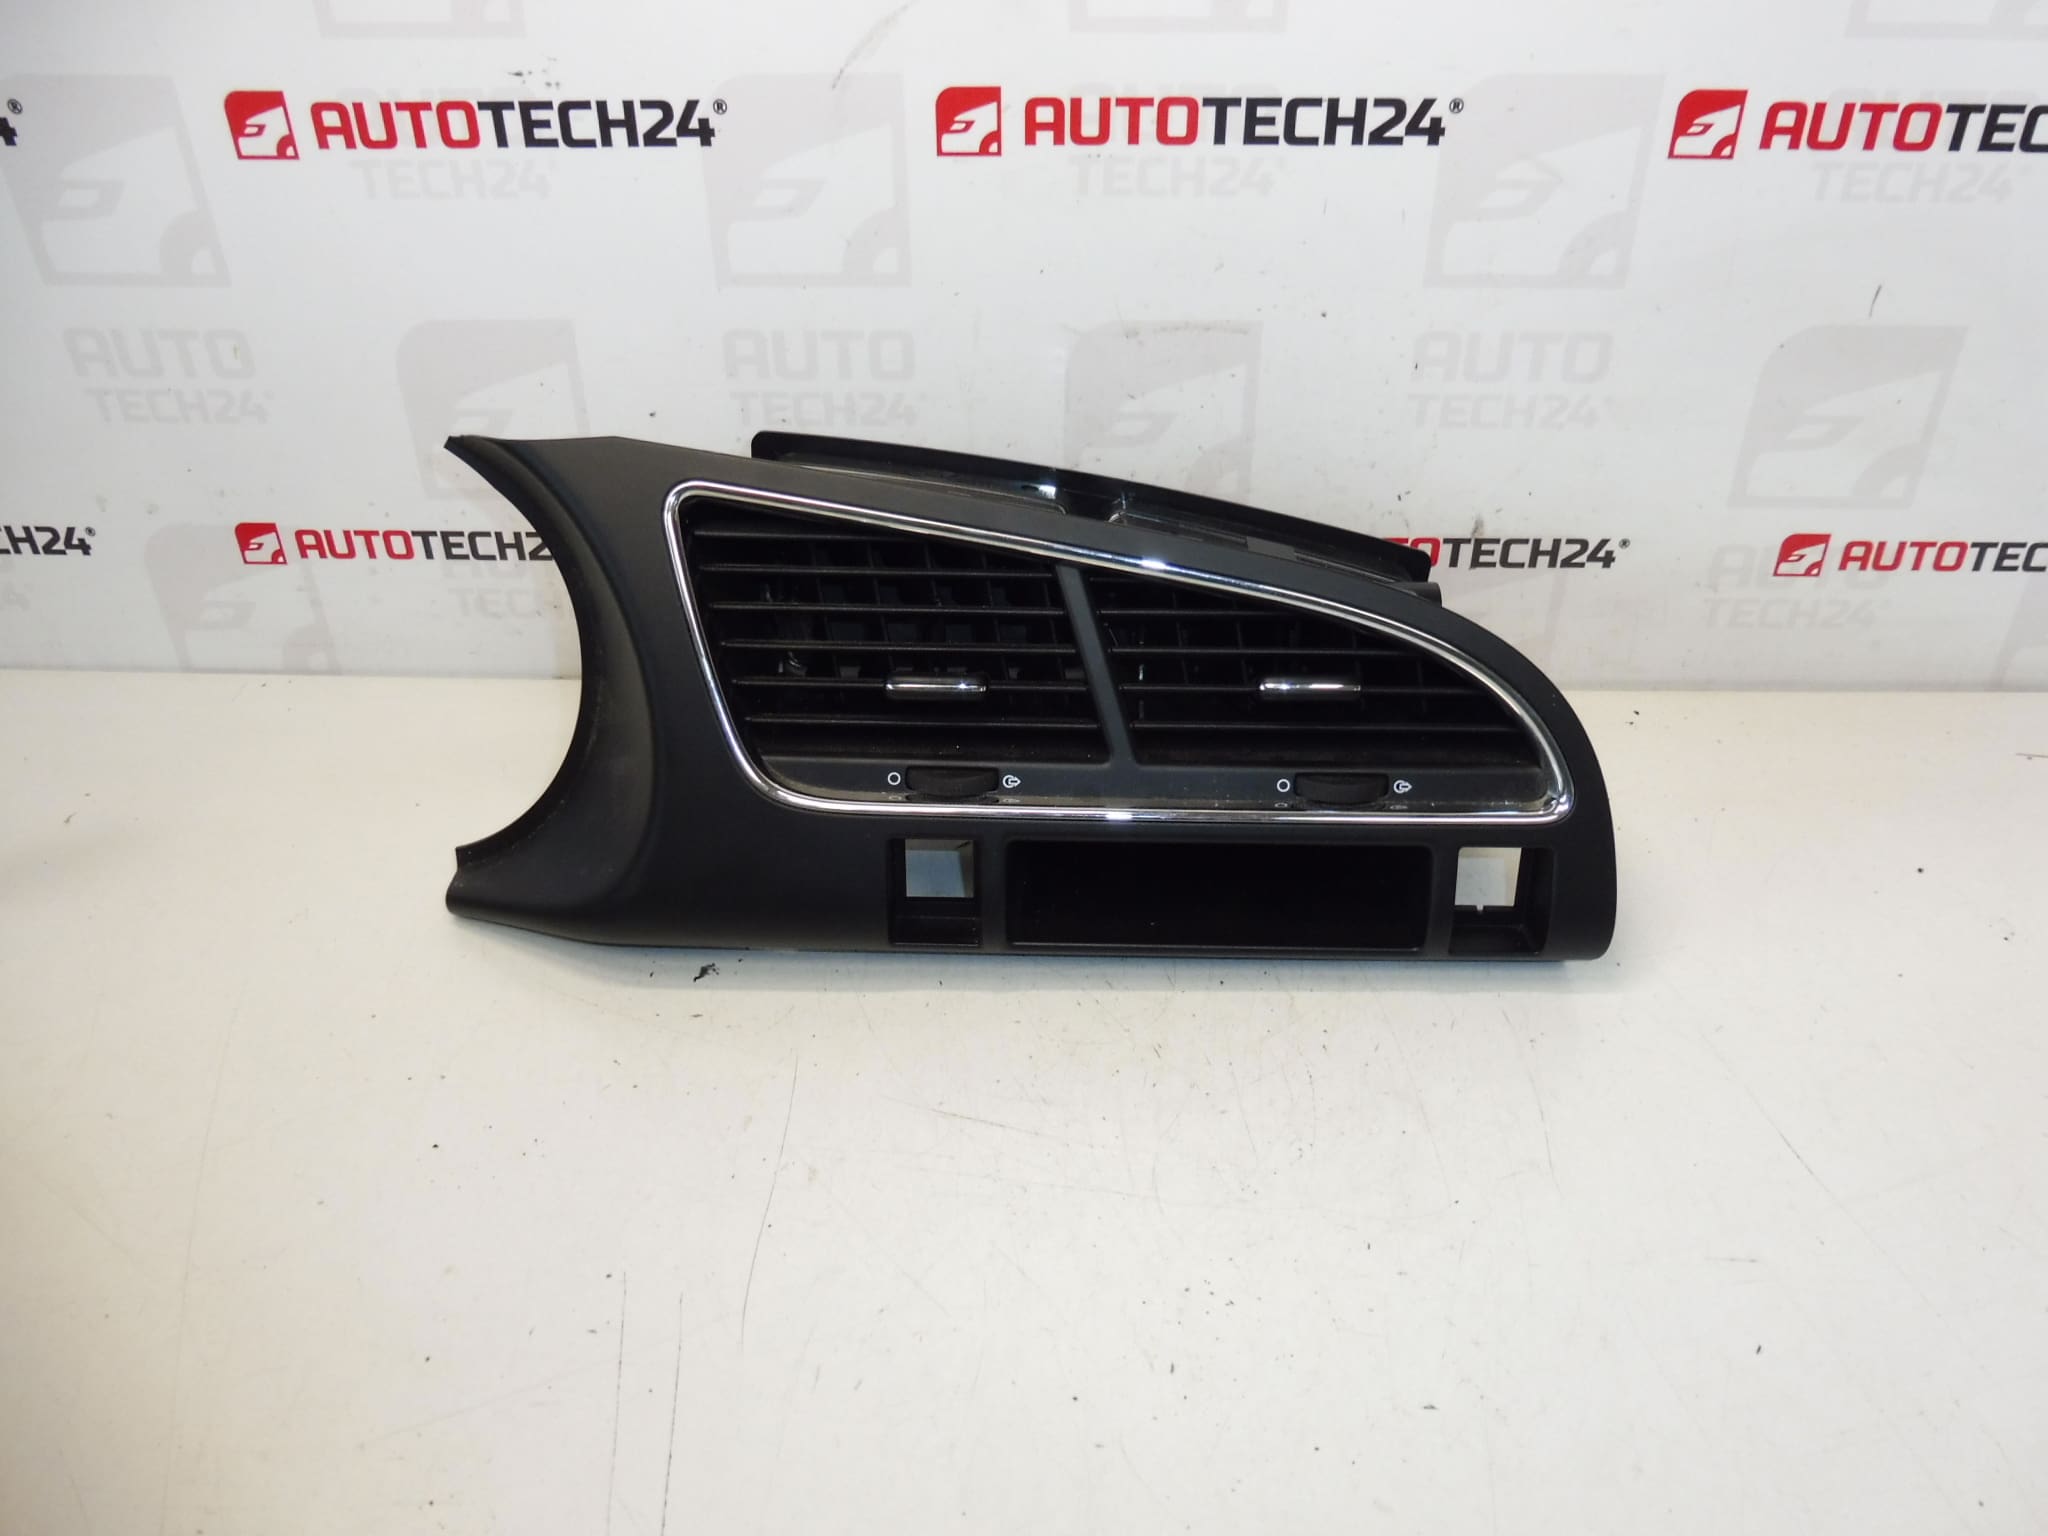
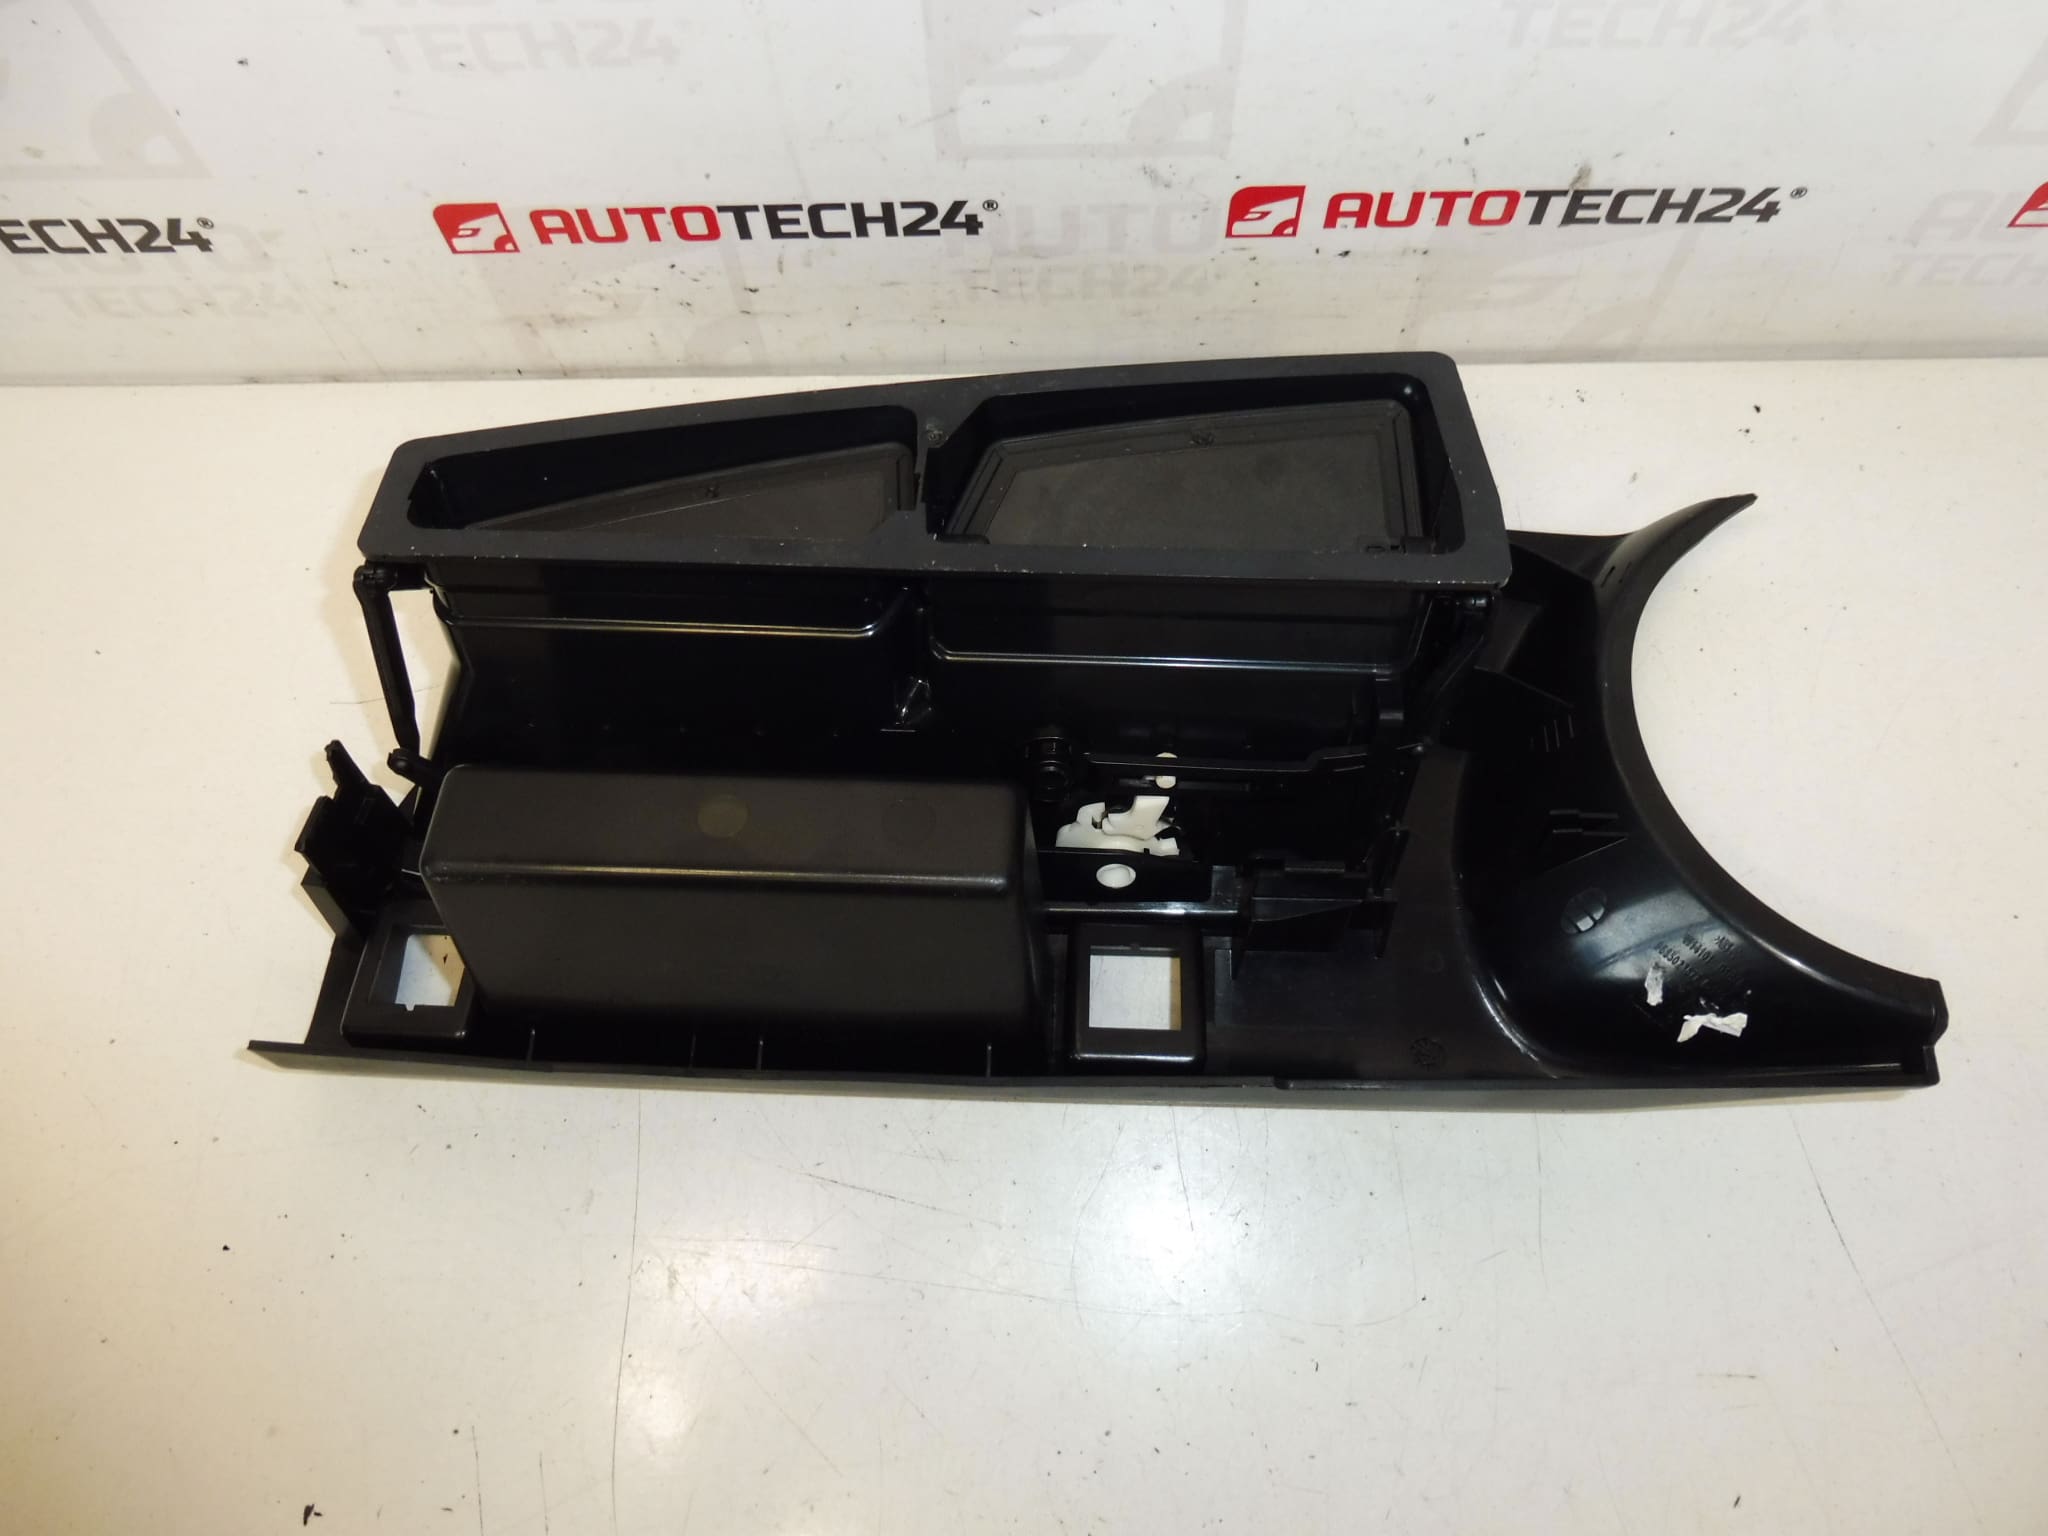
Center Panel With Air Vents For Peugeot 3008 And 5008 First Series FXT – Black Cornelie
This center panel with integrated air vents is a direct-fit interior trim piece designed for first‑generation Peugeot 3008 and 5008 models. It restores the factory look of the dashboard, directs airflow from the HVAC system, and provides mounting locations for switches and trim elements. Frequently searched under part number 823114, this Black Cornelie finish offers an OEM‑style appearance suitable for professional workshops and DIY car owners.
Made to match original interior lines and vent geometry, the panel helps maintain proper airflow distribution to front passengers while concealing ductwork and mounting points. Installation is straightforward for trained technicians and experienced DIYers; the part is intended to replace worn, cracked or faded center trim that affects both aesthetics and vent operation.
Technical Information
- Manufacturer: Stellantis (Peugeot)
- Model: Peugeot 3008 I, Peugeot 5008 I (First Generation)
- Product Codes: 823114
- Other Numbers: FXT, Black Cornelie
Installation Recommendations
- Work With Proper Tools: Use plastic trim removal tools to avoid scratching surrounding surfaces and to protect mounting clips.
- Removal Steps: Carefully pry off adjacent trim bezels, release retaining clips, and remove any screws securing the center panel. If the panel contains electrical switches (e.g., hazard or ventilation controls), disconnect their connectors before full removal.
- Fitment: Align retaining clips and ensure all tabs engage before pressing the panel into place. Reinstall screws and adjacent trims in reverse order.
- Check Function: After fitting, verify vent louvers move freely and any integrated switches operate correctly.
- Safety Tip: When working near airbags or electronic components, follow vehicle manufacturer procedures; disconnecting the battery before work is recommended as a precaution to avoid accidental deployment or electrical damage.
Why This Part Most Commonly Fails
- Sun and Heat Exposure: Prolonged UV and temperature cycling cause plastic to fade, become brittle, and develop cracks.
- Mechanical Damage: Impact or improper removal with metal tools can break mounting clips or vent components.
- Wear From Use: Repeated adjustment of louvers and contact with objects can loosen or fracture internal mounting points.
- Aesthetic Degradation: Scratches, discoloration, and worn finish that reduce interior appearance, prompting replacement.
Tips for Longevity
- Clean with mild interior cleaners and a soft cloth; avoid aggressive solvents that can damage finishes.
- When removing the panel, inspect and replace broken clips to ensure secure refitment.
- Store spare panels away from direct sunlight and extreme temperatures to prevent premature aging.
This center panel is ideal for restoration projects or routine interior repairs on Peugeot 3008 and 5008 first‑generation vehicles. Its OEM‑style fit and finish make it a practical choice for workshops and enthusiasts aiming to bring the cabin back to factory condition. Part number 823114 is commonly used when searching for this specific replacement panel.