Description
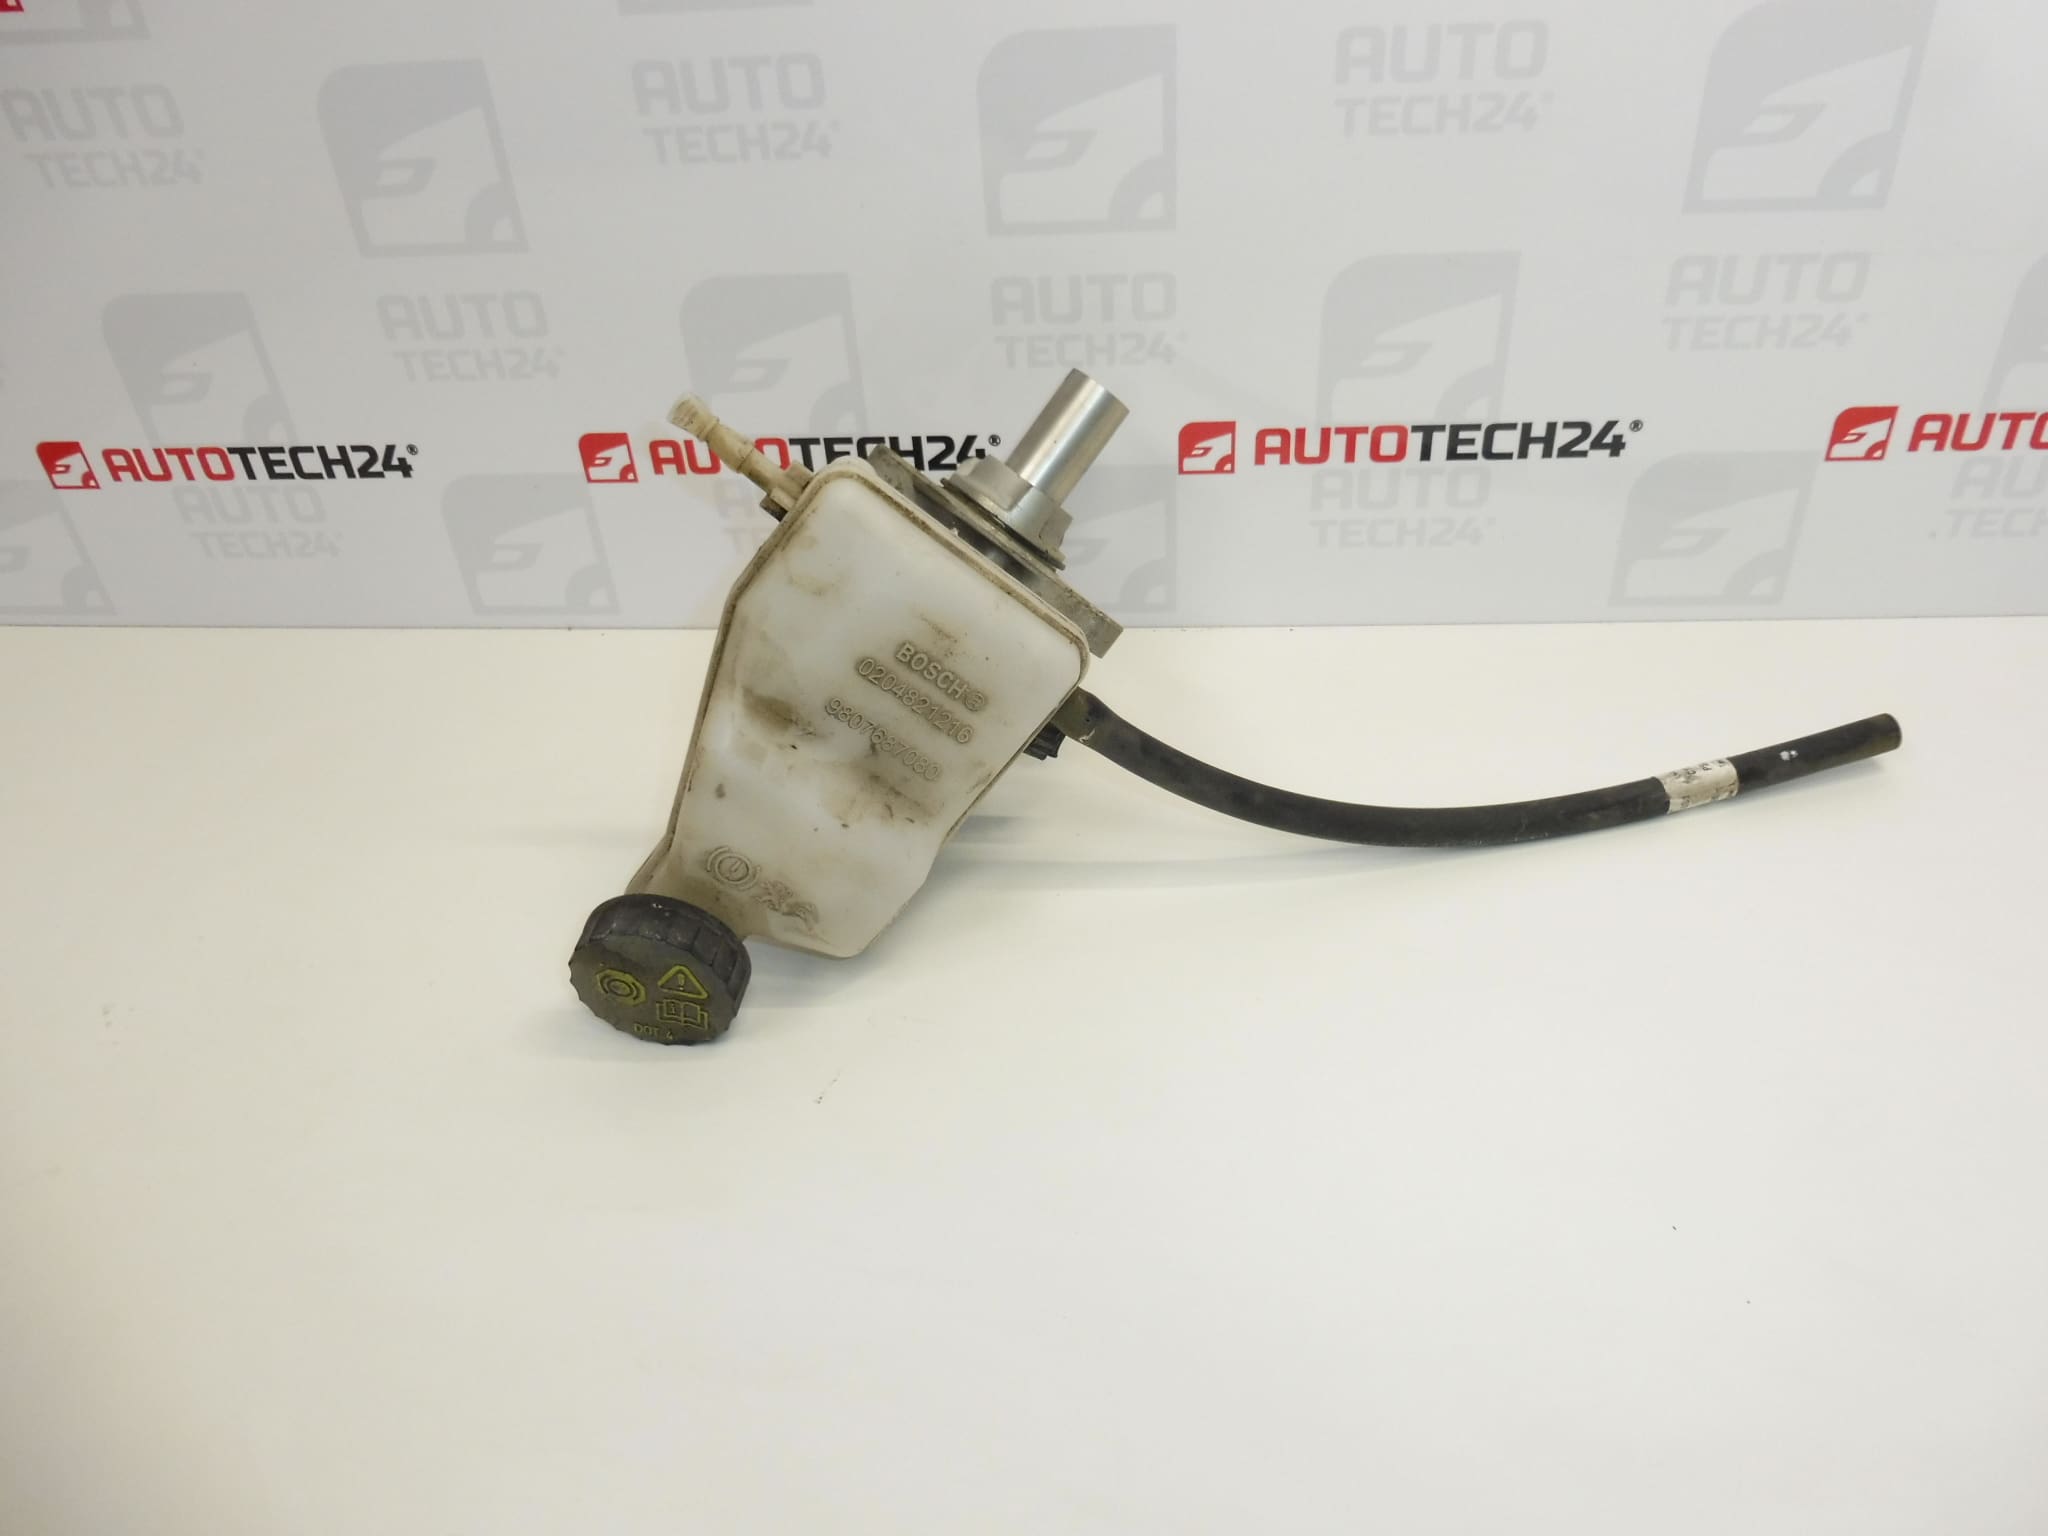
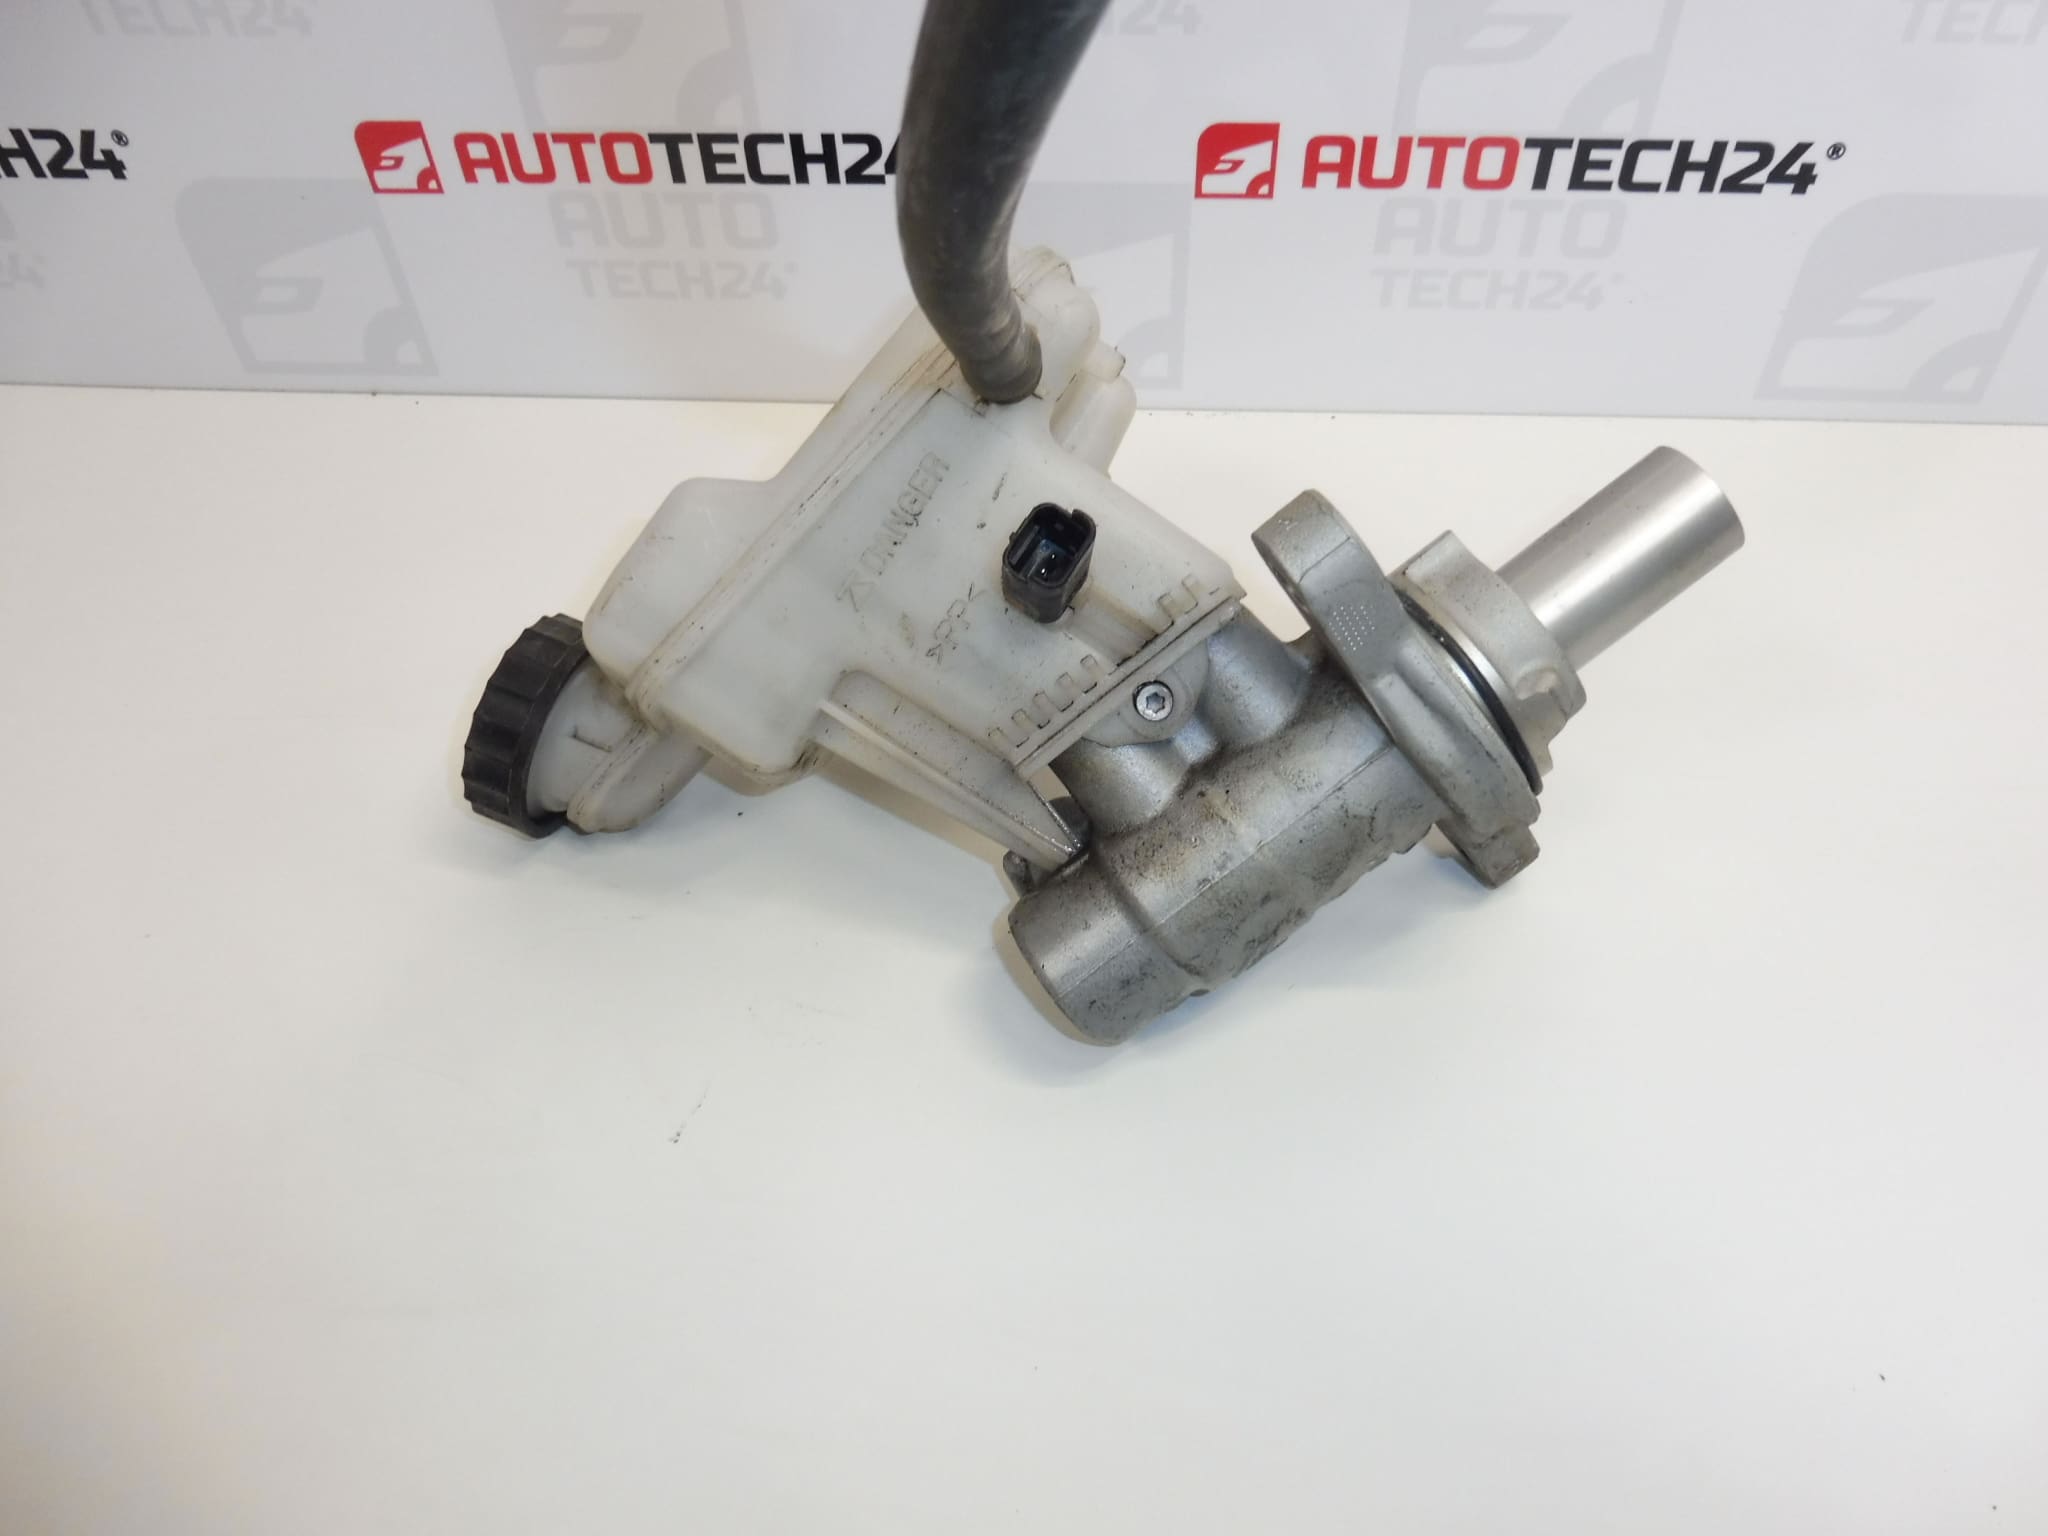
BOSCH brake master cylinder for Stellantis vehicles
From a vehicle with 33,000 km mileage
Part description
Used BOSCH brake master cylinder for Citroën, Peugeot and other models listed in the documentation. In the braking system, it converts the force applied to the pedal into the hydraulic pressure required to operate the brakes. Its proper function is essential for safe and reliable braking.
The part comes from a vehicle with the stated mileage of 33,000 km and offers an option for replacing a faulty cylinder when repairing the braking system. The following markings are important when selecting the part: 321372, 1616905480 and 1638051480. Before ordering, compare the numbers and design with the original part; the model name alone does not guarantee that the braking system design matches.
Technical information
- Manufacturer: BOSCH
- Model: Citroën Berlingo K9, FIAT DOBLO III, OPEL COMBO E K9, PEUGEOT PARTNER III, PEUGEOT RIFTER
- Other numbers: 321372, 1616905480, 1638051480
- Part type: brake master cylinder
- Condition: used part
- Donor vehicle mileage: 33,000 km
- Model years and engine versions: not specified
Product codes
- Product codes: 321372, 1616905480, 1638051480
When looking for a replacement brake master cylinder, compare the codes listed with the markings on the removed part and with the vehicle’s technical documentation.
Installation recommendations
The following procedure is a general guide to replacing a brake master cylinder. The exact steps, bleeding method and required installation conditions depend on the specific vehicle model and version. This is a safety-critical component; have it installed by a qualified mechanic if you do not have the necessary experience and equipment.
1) Before installation
- Compare the markings, body shape, mounting points, number and type of hydraulic connections, and connection to the reservoir with the original cylinder.
- Inspect the body, threads and connection surfaces. The part must not have cracks, damaged threads, significant corrosion or obvious signs of leakage.
- Check that the openings are clean and protected from dirt. A visual inspection alone does not confirm the cylinder’s internal sealing or function.
- Verify the cause of the fault before replacement. A soft or sinking pedal may also be caused by another leak or air in the system.
2) Tools and materials required
- Standard installation tools, suitable brake line wrenches and a torque wrench.
- Equipment for safely collecting fluid and protective caps for hydraulic openings.
- Equipment for bleeding the braking system in accordance with the vehicle’s service procedure.
- Clean, lint-free materials, protective gloves and eye protection.
- Brake fluid and any seals specified by the manufacturer of the particular vehicle; their specifications are not provided in the documentation.
3) Step-by-step installation procedure
- Secure the vehicle against movement and prepare the work area. Protect painted surfaces from contact with brake fluid.
- Following the service documentation, gain access to the cylinder and carry out the prescribed safety measures for working on the braking system.
- Clean the area around the cylinder and all connections to be disconnected to prevent dirt from entering the hydraulic circuit.
- Record the routing and connections of each fitting. Handle the fluid in the reservoir according to the manufacturer’s procedure and prevent it from leaking out uncontrollably.
- Carefully disconnect the brake lines using a suitable wrench. Do not bend or strain the pipes, and immediately protect their open ends with clean caps.
- Disconnect any other components that prevent removal, release the fasteners and remove the original cylinder without force.
- Inspect the mating surfaces and adjacent components. Any traces of fluid around the connection to the brake booster should be assessed by a professional, and the cause of the leak should be fixed.
- Prepare the replacement cylinder according to the vehicle manufacturer’s instructions. If pre-filling or preliminary bleeding is specified, carry it out as directed. Transfer the reservoir, if applicable, only when the design is compatible.
- Position the cylinder without applying strain and secure it in accordance with the service specifications. Connect the hydraulic lines; start threading the fittings by hand to avoid cross-threading.
- Reconnect all disconnected connections, add the specified fluid and bleed the system in the sequence specified by the manufacturer. Do not allow the reservoir to run dry during bleeding. If the procedure requires diagnostic activation of the hydraulic unit, use the appropriate equipment.
- Check all connections for leaks, check the fluid level and verify pedal operation. Reinstall any covers and other components that were removed.
4) Post-installation checks and function verification
- With the vehicle stationary, check for appropriate pedal resistance and make sure the pedal does not gradually sink abnormally when constant pressure is applied.
- With the pedal depressed, inspect the connections and the area around the cylinder again. There must be no fluid leaks.
- If the pedal feels soft, sinks, or a braking system fault appears, do not drive the vehicle and fix the fault first.
- After the static checks are successful, verify braking performance on a test bench and, if appropriate, take a short test drive at low speed in a safe location. Then check the connections for leaks and recheck the fluid level.
5) Common installation errors and how to avoid them
- Fitting the wrong cylinder version: compare the codes, mounting points and all connections before installation.
- Contaminating the circuit with dirt: work cleanly and keep open lines capped throughout the procedure.
- Damaging threads or brake pipes: use suitable wrenches, start fittings by hand and do not force the lines into the wrong position.
- Insufficient bleeding: follow the procedure for the specific vehicle, including any diagnostic operations required.
- Using incorrect or contaminated fluid: use only fluid that meets the manufacturer’s specifications, and do not return collected fluid to the system.
- Replacing the part without fixing the actual cause of the fault: also check the other parts of the braking system and their seals.
Reasons why the part may fail
Brake master cylinders generally develop faults due to aging seals, wear of internal surfaces or contamination of the hydraulic system. The causes listed below do not describe the known condition of the item offered for sale.
- Aging and wear of seals: may cause an external fluid leak or internal pressure bypass.
- Neglected brake fluid maintenance: moisture in the fluid promotes corrosion of the system’s internal components.
- Dirt in the hydraulic circuit: may damage sealing surfaces and impair the cylinder’s proper function.
- Incorrect fluid or contamination: may damage the seals and cause leakage.
- Incorrect installation or handling: excessive strain on the connections, damaged threads or dirt entering the system may render the part unusable.
- Improper storage: unprotected openings allow moisture and dirt to enter.