Description
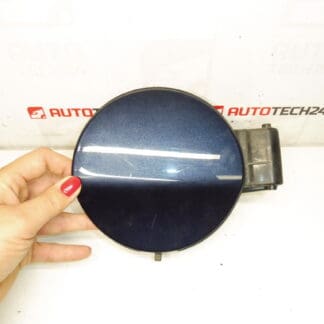
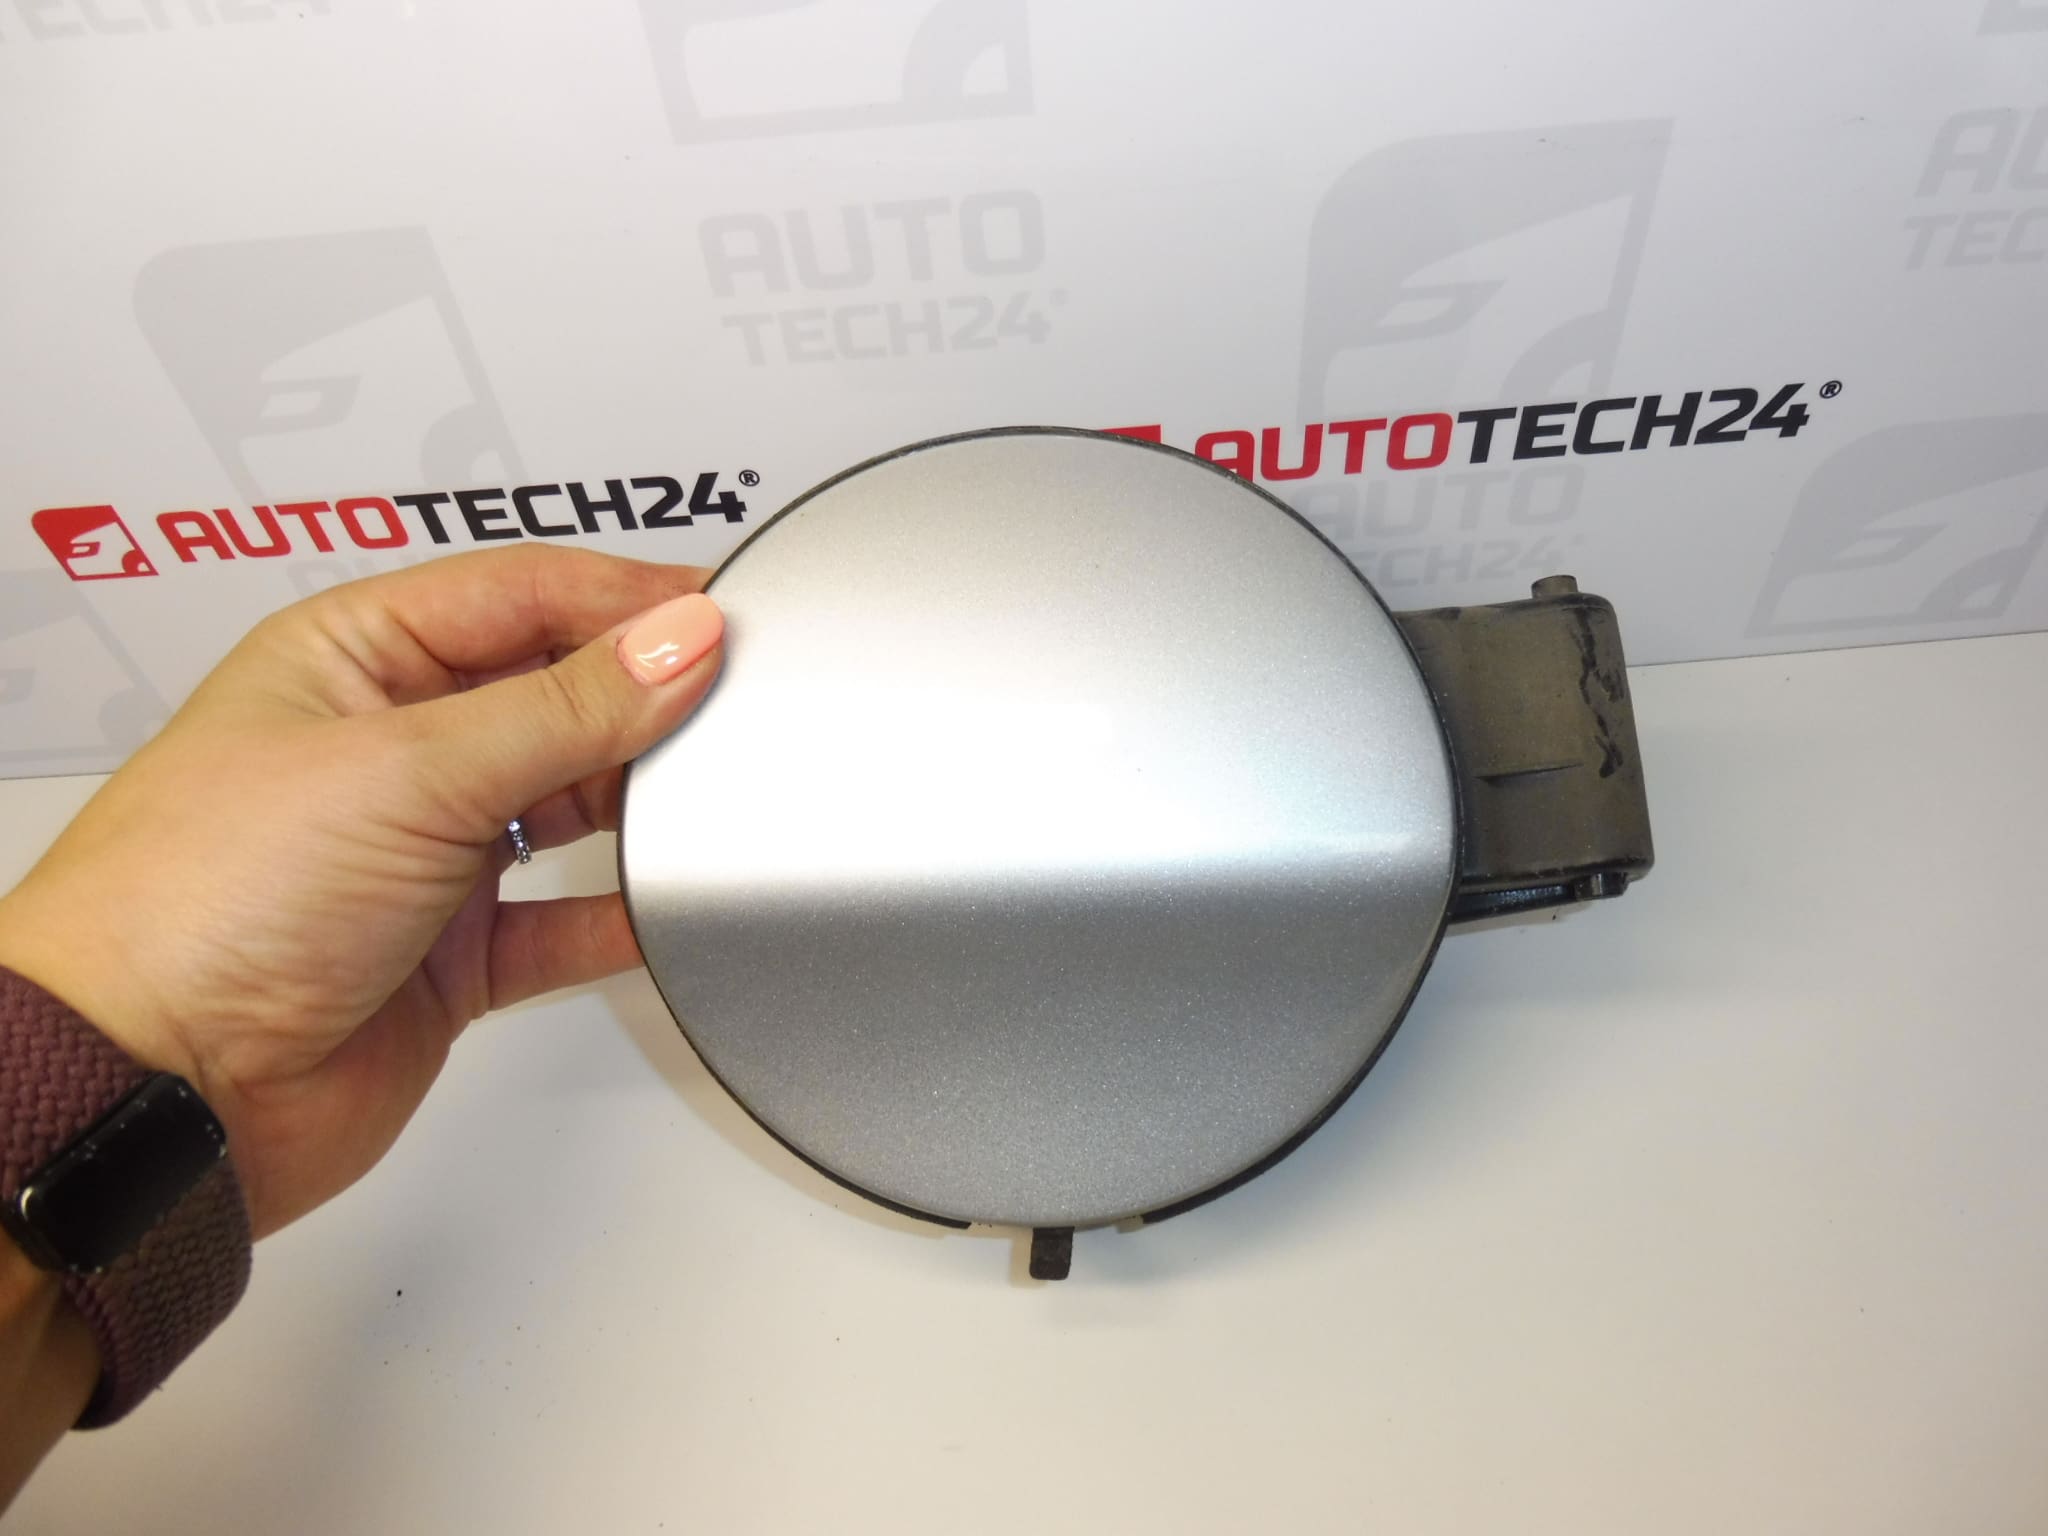
Tank cover cap for CITROEN C4 II B7 cars
EZR color – GRAY ALUMINUM PAINT
Part description
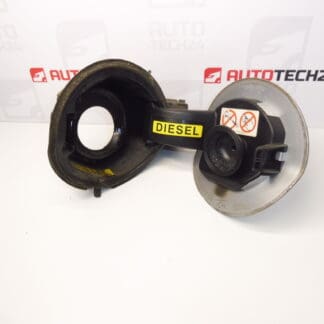
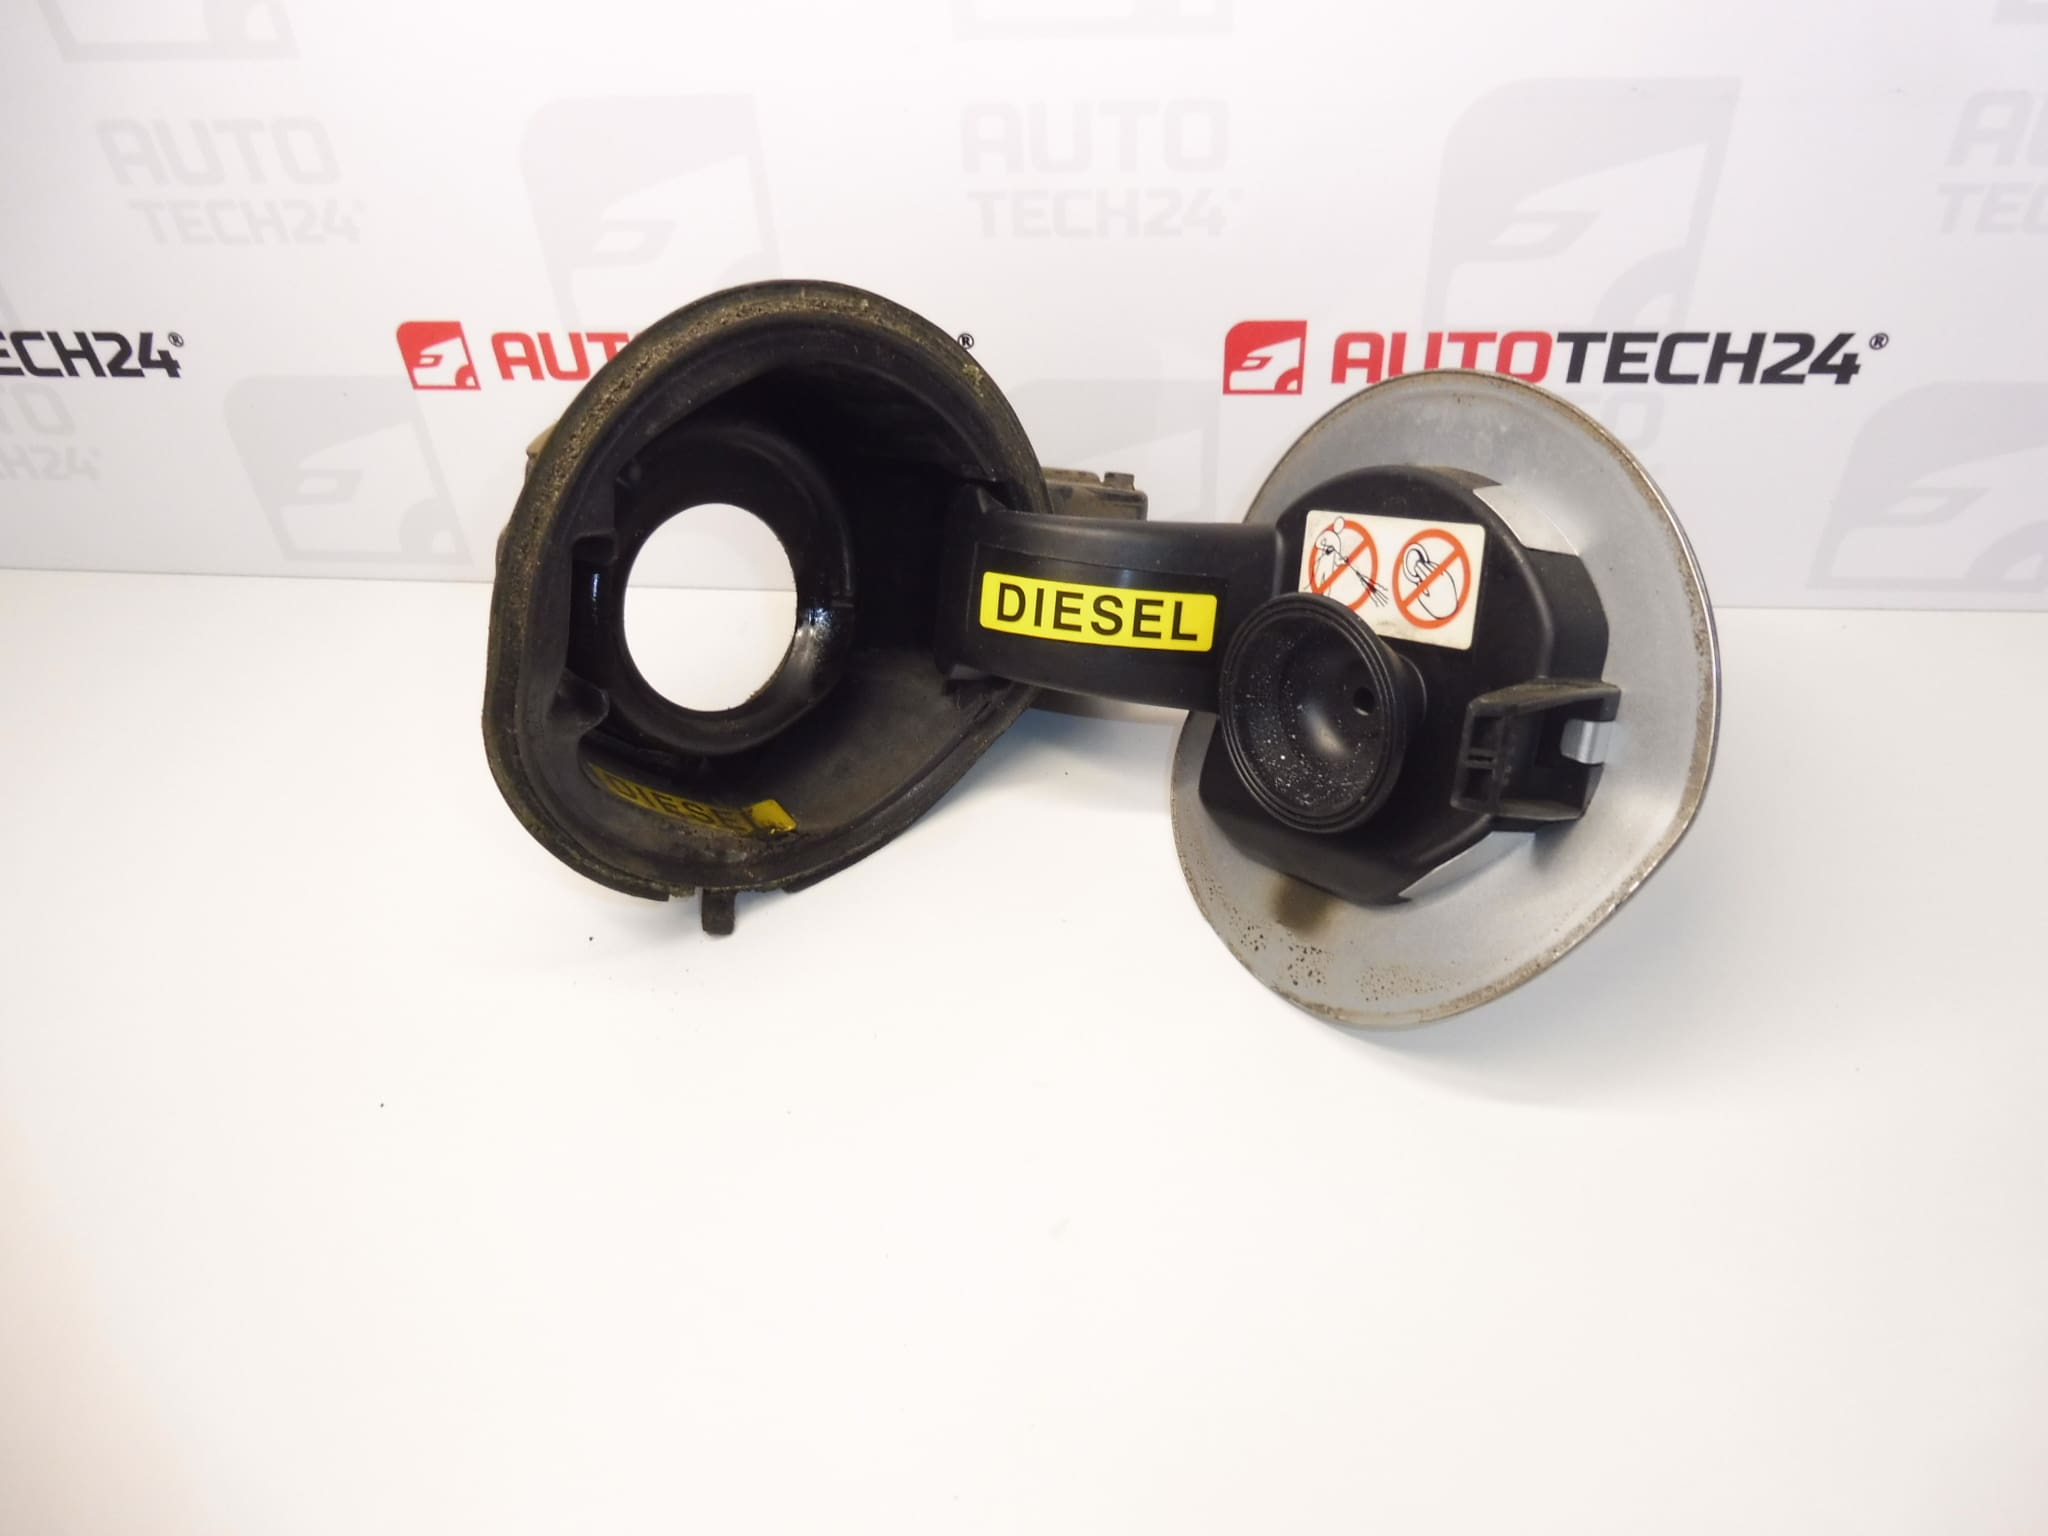
The used tank cover for Citroën C4 II B7 is designed to replace the damaged outer cover of the fuel tank. It helps maintain the overall appearance of the bodywork and covers the space of the filler neck. It is a body cover, not the tank neck sealing cap itself.
The part is marked in the documents with the codes 9687310880, 1517J1 and 1518F9 and the color marking EZRC / EZR – gray aluminum. Matching color markings can facilitate repair without the need to change the color of the part; however, the resulting shade may vary with the lacquered parts used due to age and exposure to the sun. Before choosing, compare the numbers and the design of the attachment with the existing cover.
Technical information
- Manufacturer: Stellantis / CITROEN PEUGEOT mentioned in the documents.
- Model: Citroen C4 II; execution in the long description CITROEN C4 II B7.
- Type of part: outer cap / tank cover, body part.
- Condition: used part.
- Color: EZR – GRAY ALUMINUM LACQUER; in the EZRC product label.
- Other numbers: not listed beyond the product codes below.
Product codes
- Product codes: 9687310880, 1517J1, 1518F9.
- Color designation: EZRC / EZR.
- Model: Citroen C4 II.
Product numbers are used to locate the part. When choosing, also take into account the shape, method of attachment and range of components on the original part; color matching alone is not enough.
Installation recommendations
The following is a general procedure typical for replacing the outer cover of the tank. The exact steps depend on the specific design of the car and the design of the mount. The documents do not indicate whether a hinge or a closing mechanism is also part of the delivery.
1) Before assembly
- Compare the shape, dimensions, fasteners and markings of the used cover with the old piece.
- Inspect the edges, paint and fixing points. Focus on cracks, deformations and damaged latches if the cover uses them.
- Find out if the fault is also in the opening mechanism or in the counter on the vehicle. Replacing the cover itself may not remove such a defect.
- Compare the shade on a clean surface in daylight.
2) Necessary tools and materials
In general, prepare plastic disassembly tools, hand tools corresponding to the actual fixing, a soft cloth and protective tape suitable for the paintwork. Inappropriate metal tools can easily damage the cover and the surrounding bodywork.
3) Step-by-step assembly procedure
- Park the vehicle in a safe place, secure it against movement and turn off the ignition. Do not smoke or use open flames in the vicinity of the refueling area.
- Clean the area around the cover and protect the adjacent paint from scratches.
- Open the cover in the normal way. If it’s stuck, don’t force it; first follow the service instructions for the design.
- Inspect the attachment and record its original position, for example with a photograph. Before disassembly, find out the correct release method.
- Support the old cover and carefully release the appropriate fasteners. Do not disassemble the sealing cap or filler neck to replace the outer cover itself.
- Check exposed seating and fastening points. Remove dirt so that it does not enter the filler neck.
- Attach the replacement cover without using force and check that the attachment is continuous. If it does not fit, do not proceed with latch adjustments or force tightening.
- Fix the cover according to its construction. Carefully test the movement, closing and continuity with the surrounding bodywork.
-
4) Post-assembly checks and function verification
Open and close the cover several times. It must move without rubbing, be securely held in the closed position, and not touch the surrounding paint. If the car uses a hood lock, check its function as well. A test on a stationary vehicle is usually sufficient for a basic check of this type of part.
5) The most common assembly errors and how to avoid them
- Prying over the painted edge: protect the paintwork and release only the designated fixing points.
- Force deployment: first verify proper orientation and fit of attachment.
- Overlooked damaged mechanism: also check the parts that remain on the vehicle before assembly.
- Sudden closing without seat check: perform the first closing slowly and observe against the surrounding bodywork that the cover does not catch anywhere.
Reasons why the part is damaged
Common causes of damage to external tank covers generally include:
- Impacts and capture of the open cover while refueling.
- Force opening when the mechanism is stuck or frozen.
- Wearing of fasteners and any latches due to repeated use.
- Abrasions and paint damage due to improper cleaning or careless disassembly.
- Deformation after a minor collision or loading of the cover due to incorrect seating.