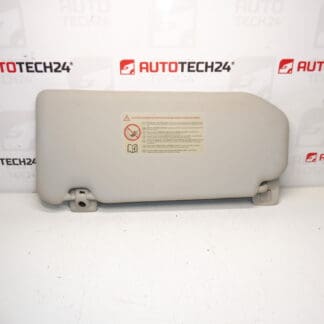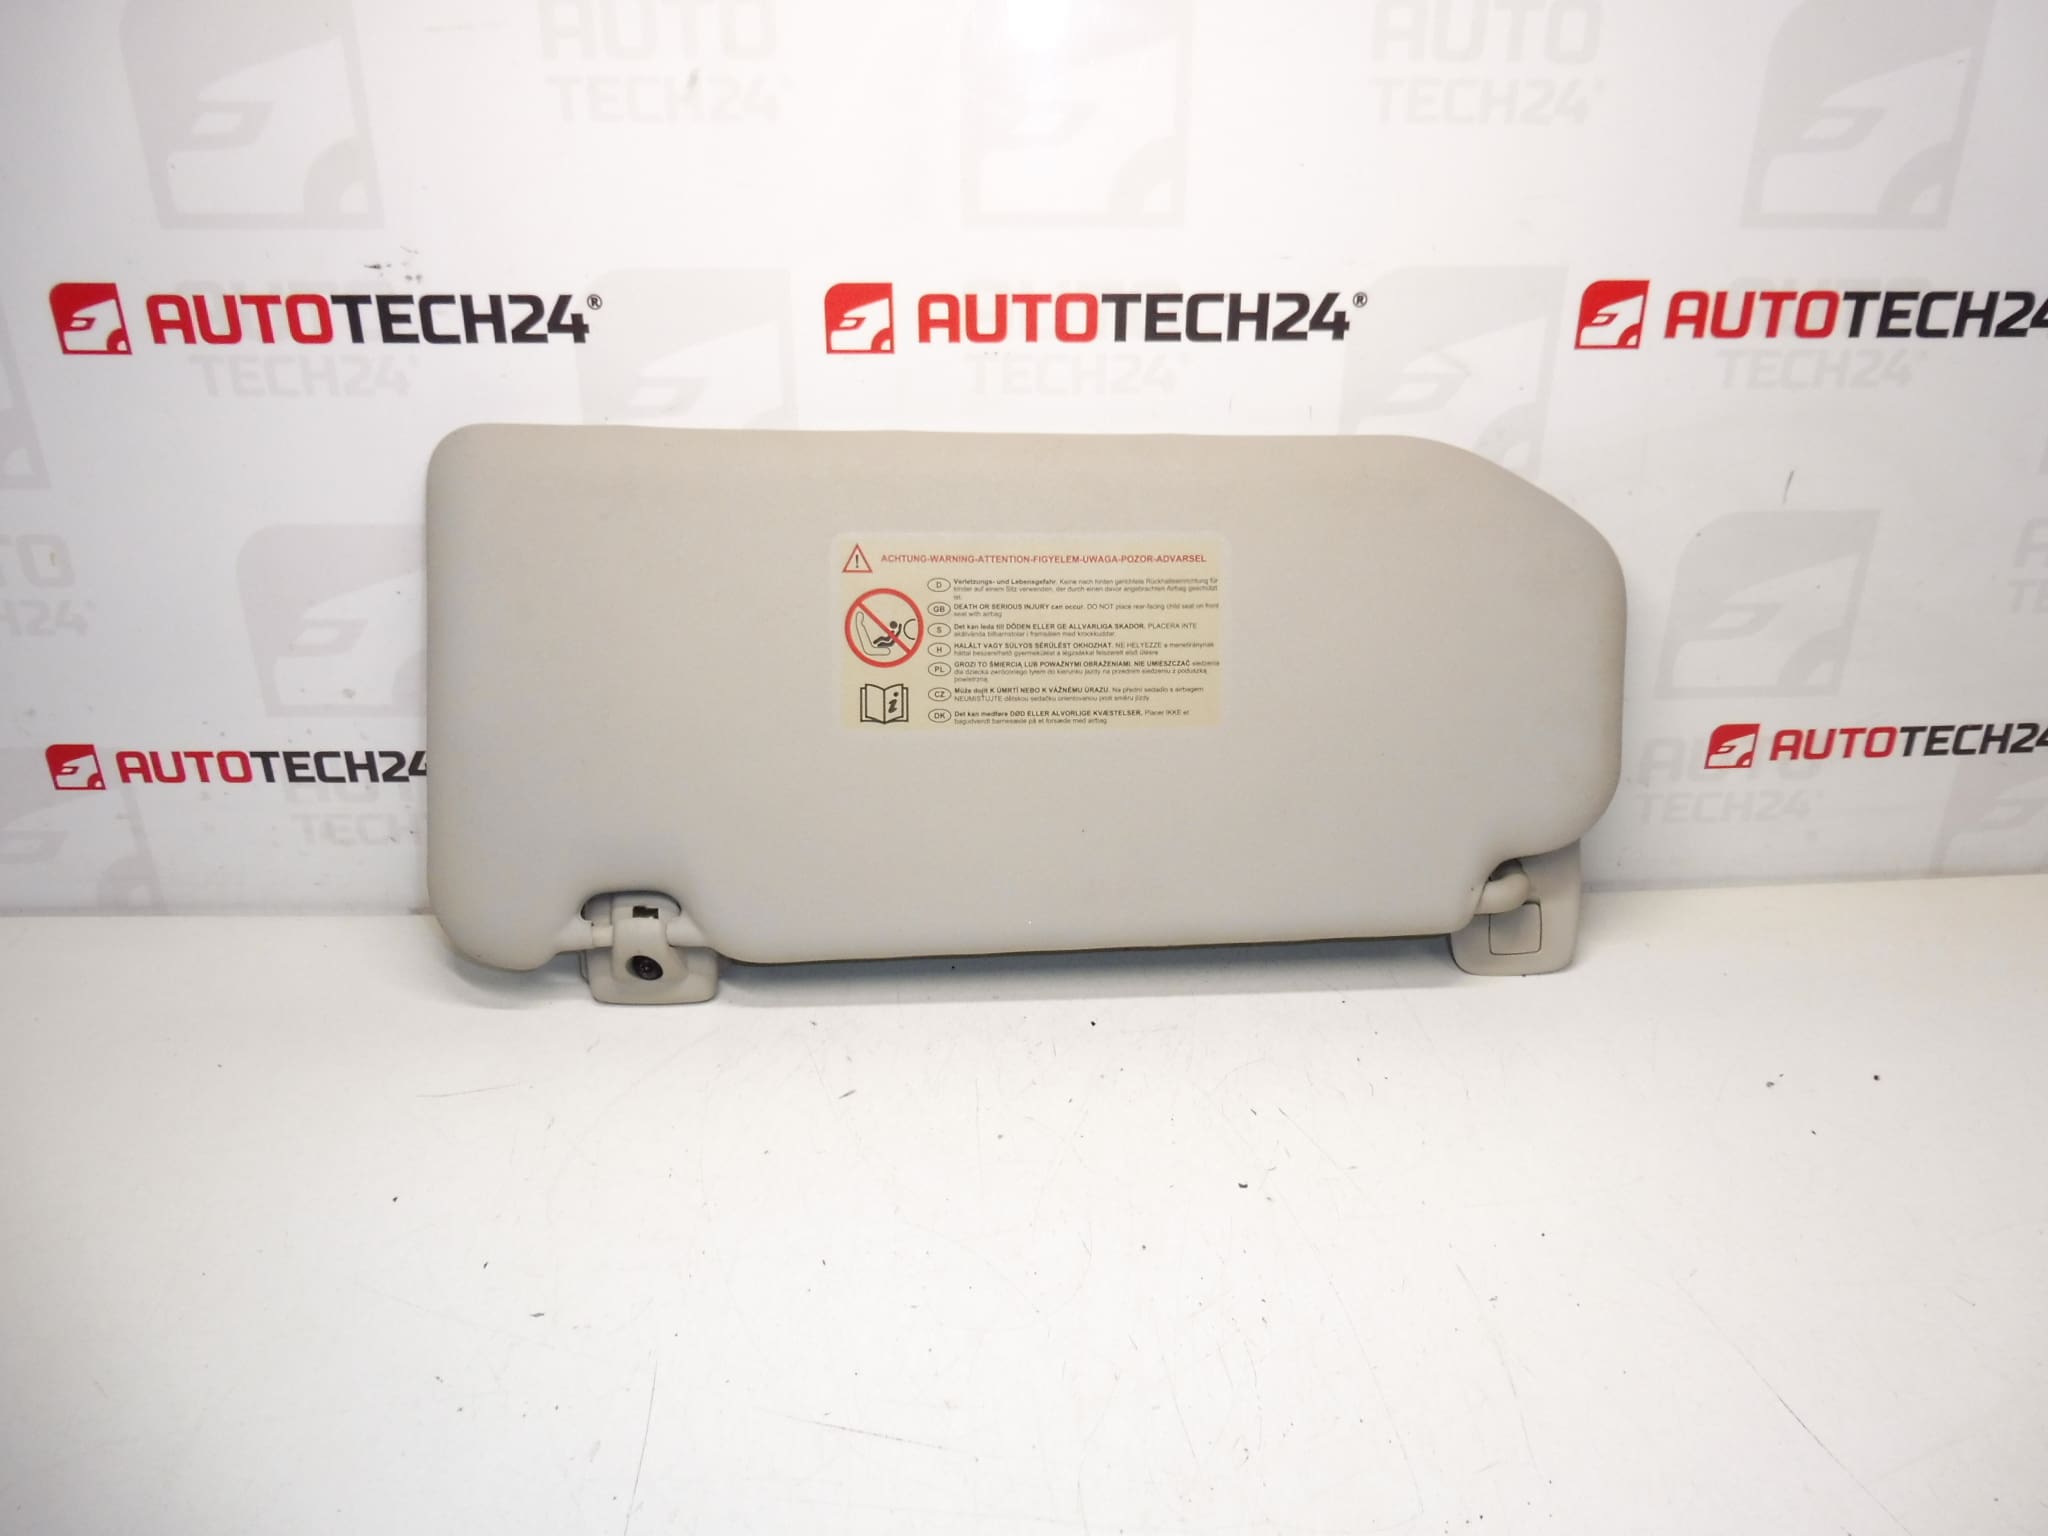
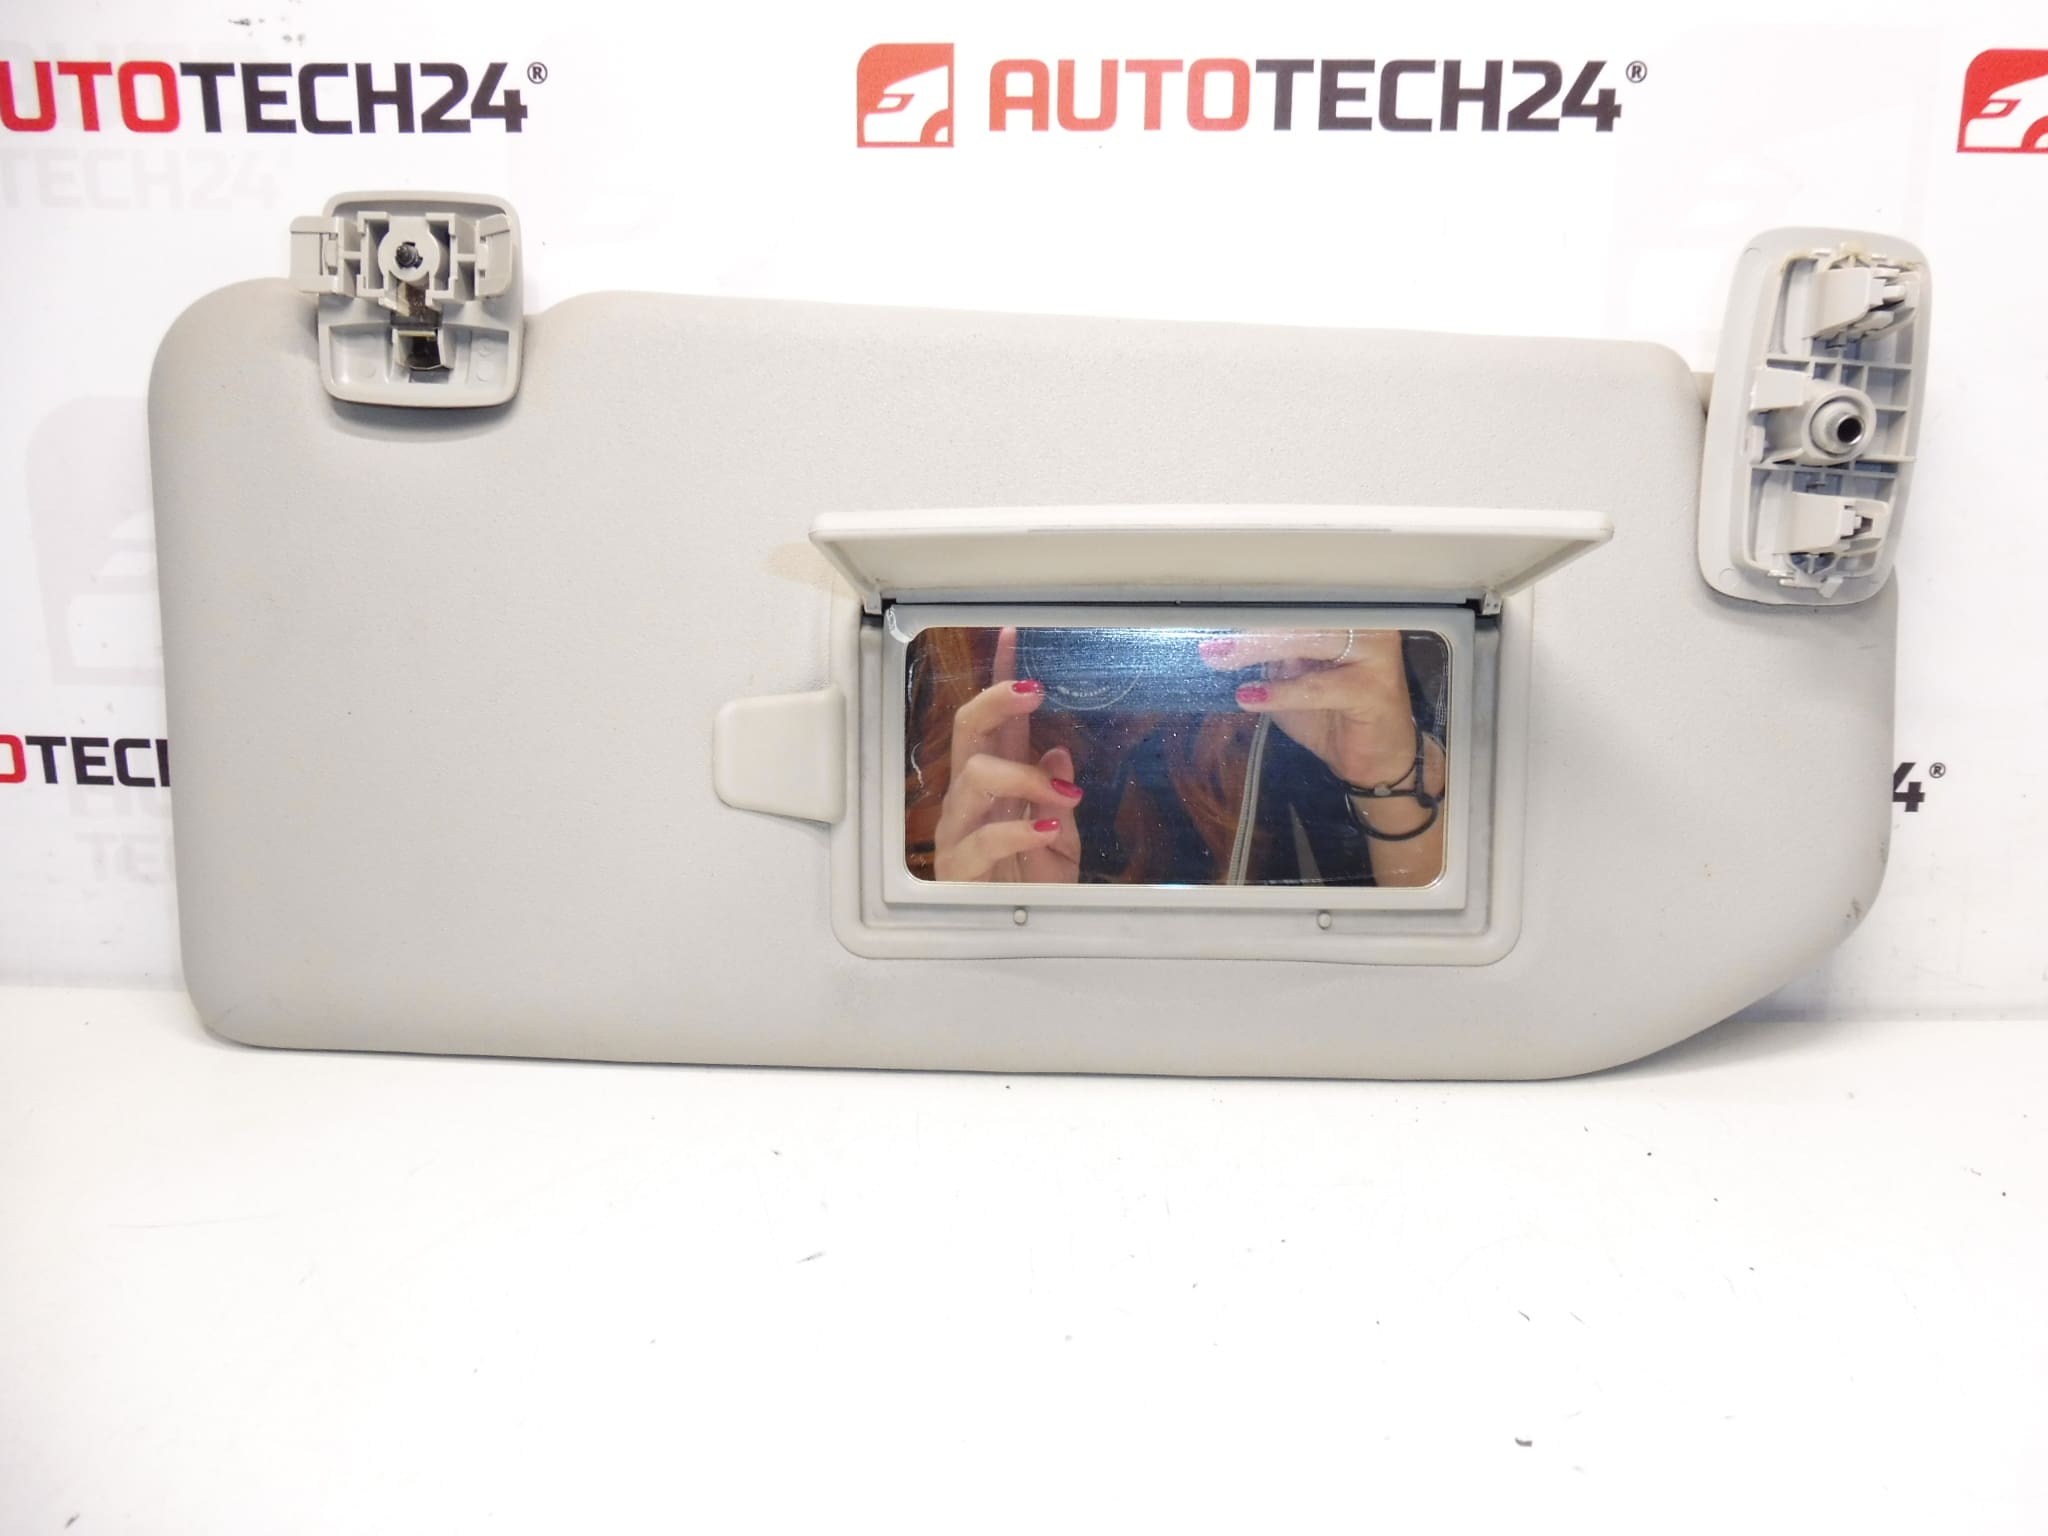
Description
Sun visor with vanity mirror for CITROËN C4 B7 vehicles. Color FBJ – LAMA. Passenger side.
This replacement sun visor is designed for Citroën C4 II (B7) interiors and provides a direct-fit solution for workshops and DIY mechanics. It combines OE-style appearance with durable materials to restore function and cabin aesthetics. Many customers search using the part numbers 8163EP or 16128919BJ — include these codes when looking up fitment or ordering.
Features And Benefits
- Vanity Mirror: Integrated mirror provides convenience for passengers and maintains factory look.
- Exact Fit: Manufactured to match original mounting points and trim lines for a clean installation.
- Color-Matched: FBJ – LAMA finish ensures consistent interior appearance with original headliner and trims.
- Durable Construction: Built to withstand repeated use and exposure to cabin temperatures and sunlight.
- Mechanic And DIY Friendly: Straightforward replacement procedure suitable for professional workshops and competent hobbyists.
Installation Recommendations
Replacement typically requires basic tools: trim pry tool, Torx or Phillips screwdriver depending on clip/screw type. General steps:
- Carefully remove the trim cover or retaining cap to access the mounting screws or clips.
- Unscrew or unclip the visor from the roof bracket and lower the unit.
- If the visor has illumination (some variants), disconnect the electrical connector before full removal.
- Install the new visor by aligning the bracket, fastening screws or clips, and refitting any trim caps.
- Check operation for smooth rotation and secure fixing; ensure the mirror cover (if present) opens and closes correctly.
Use plastic trim tools to avoid damaging the headliner and interior trim. Follow manufacturer torque recommendations where available and avoid overtightening fasteners.
Technical Information
- Manufacturer: Citroën / Stellantis
- Model: Citroën C4 II (B7)
- Product Codes: 8163EP, 16128919BJ
- Other Numbers: Passenger Side (Right)
Why This Part Most Commonly Fails
Sun visors most often fail due to mechanical wear rather than cosmetic issues. Common causes include:
- Worn or Broken Hinge/Bracket: Repeated use and stress can loosen or fracture the mounting hinge, causing the visor to droop or detach.
- Damaged Clips or Retainers: Plastic clips that secure the visor can become brittle and break, especially after long-term exposure to heat and sunlight.
- Fabric Or Trim Deterioration: Prolonged UV exposure and humidity may cause covering materials to delaminate or stain.
- Mirror Damage: The vanity mirror or its cover can crack or the retaining clips can fail with frequent use.
Additional Notes For Buyers
This part is suitable for professionals and competent DIYers looking to restore interior function and appearance. When searching or ordering, reference the product codes 8163EP and 16128919BJ to improve chance of correct fitment. If the original visor included lighting, ensure electrical connectors are handled with care during removal and installation.