Description
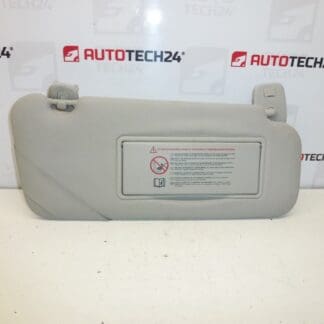
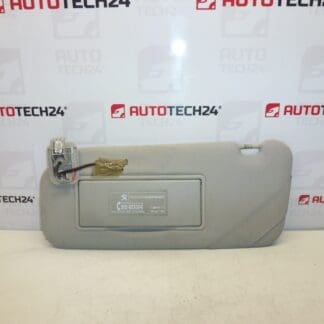
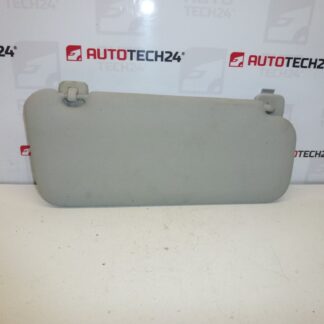
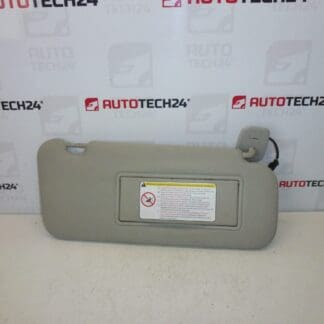
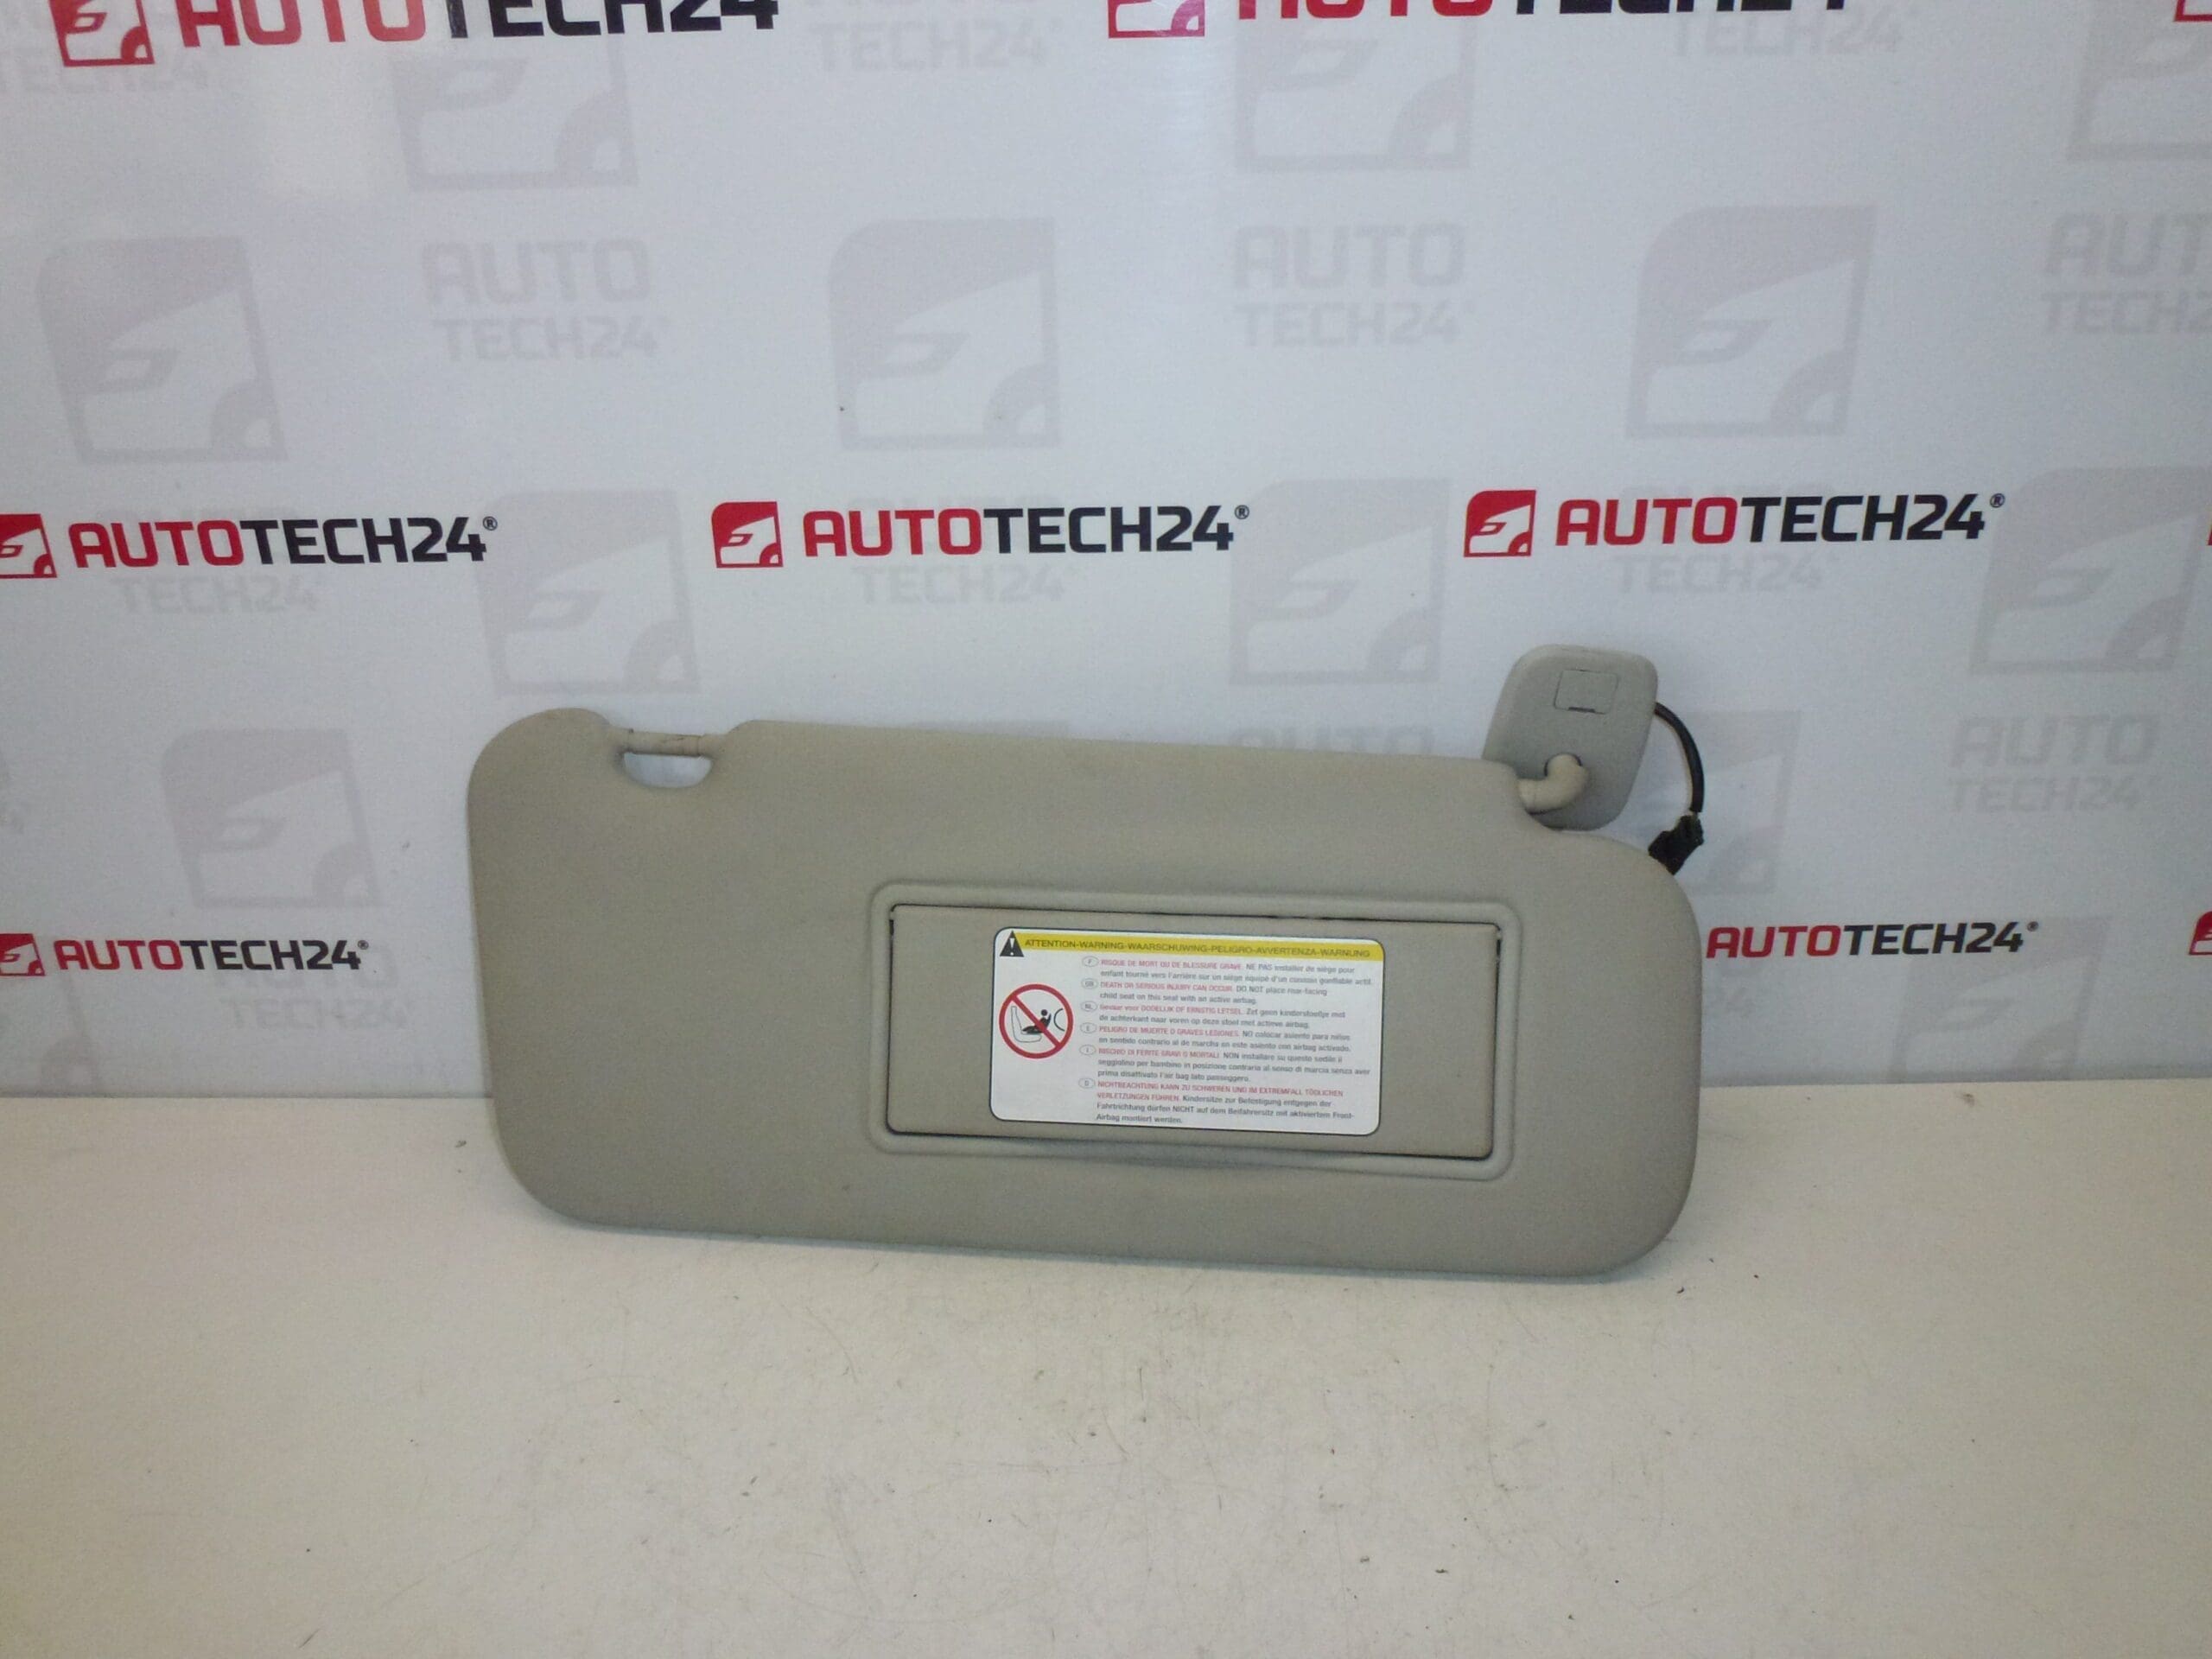
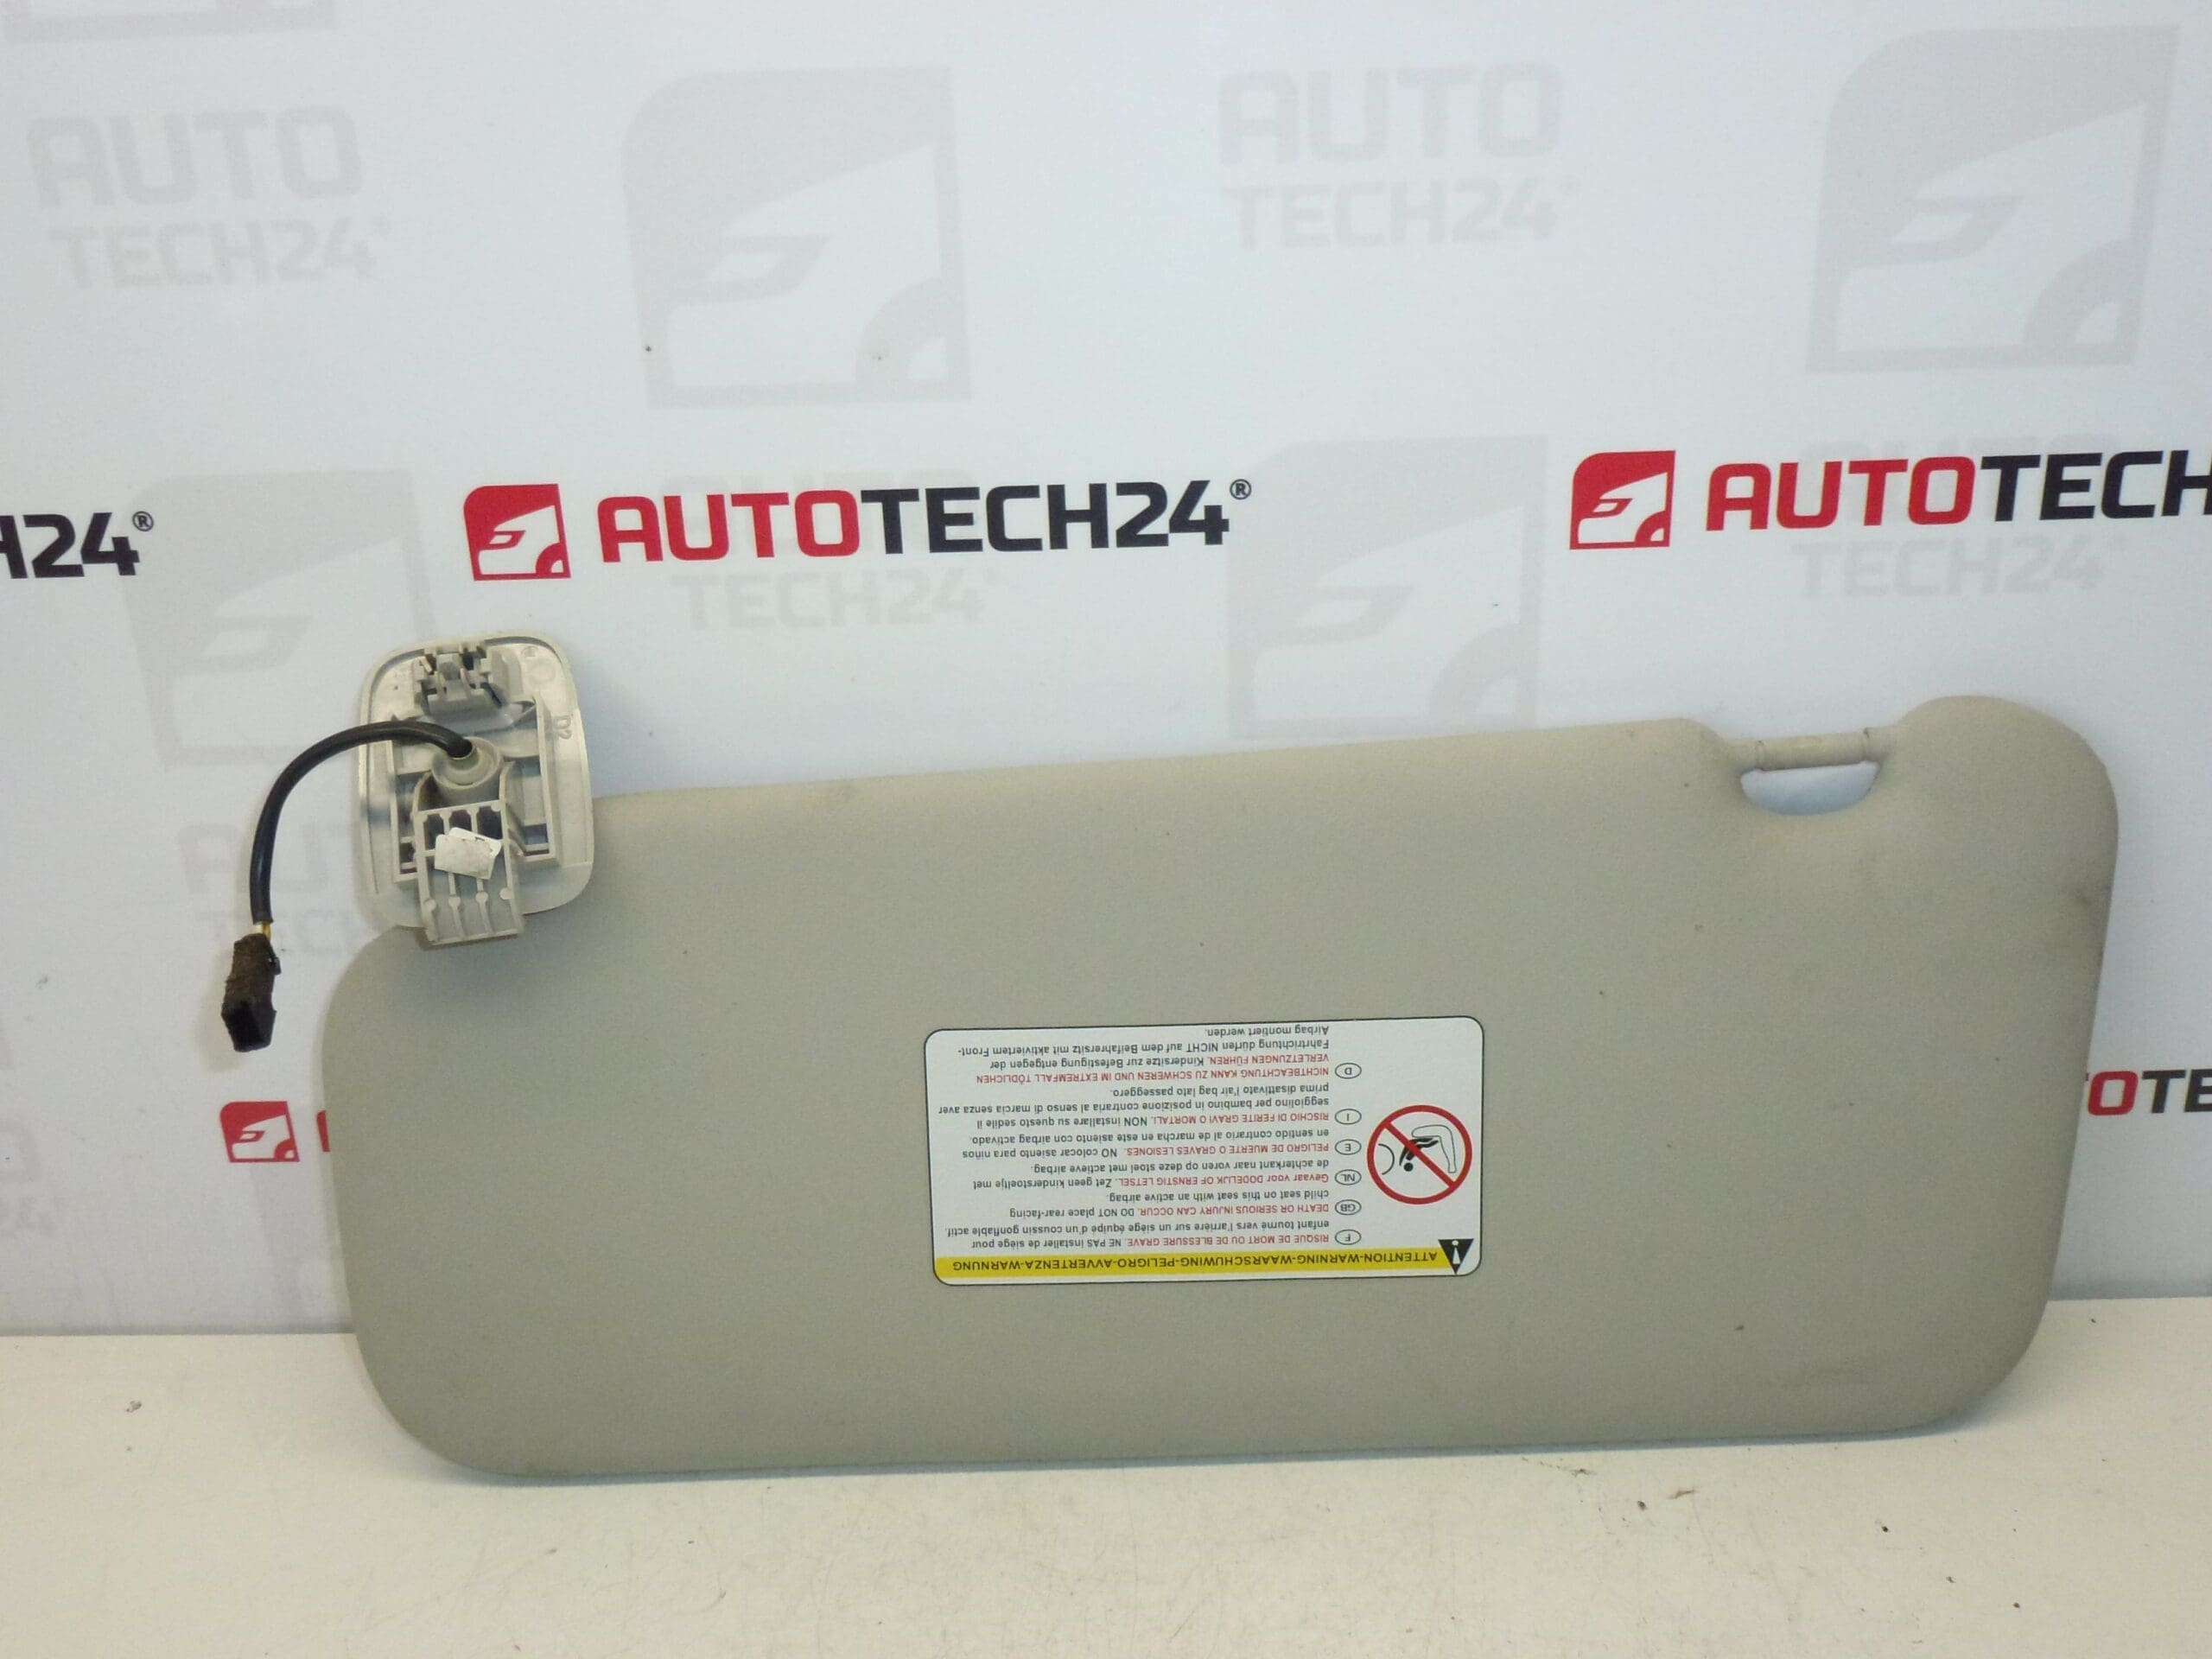
Sun Visor PEUGEOT 407 With Light And Mirror. Passenger Side. Shade FBJ – LAMA
Upgrade or replace your worn passenger sun visor with this original-style Peugeot 407 sun visor fitted with a vanity mirror and integrated lighting. Designed for mechanics and DIY enthusiasts, this part restores interior functionality and comfort while matching the original shade FBJ – LAMA for a precise visual fit. Frequently searched under product code 8143NZ, this visor is an efficient repair solution when the mirror light or hinge becomes faulty.
Technical Information
- Manufacturer: Stellantis / Peugeot
- Model: Peugeot 407
- Product Codes: 8143NZ
- Other Numbers: NFP
Features And Function
This passenger sun visor includes a vanity mirror with an integrated light circuit to improve visibility when using the mirror at low ambient light. The visor assembly mounts to the roof headliner via a pivot bracket and retaining clip and folds away when not in use. The part provides both glare protection and convenience for the front passenger.
Installation Recommendations
- Always disconnect the battery before working on interior electrical components to prevent short circuits or airbag system interference.
- Remove the surrounding trim carefully to access the visor mounting screws and wiring connector. Keep all fasteners for reinstallation or replace with equivalent hardware if damaged.
- Unscrew the pivot bracket, support the visor to avoid dropping it, and disconnect the electrical connector for the mirror light.
- Fit the replacement visor, reconnect the wiring, secure the pivot bracket and trim, then reconnect the battery and verify the mirror light operation.
- Do not over-tighten plastic fasteners. If clips or mounting points are damaged, replace them to ensure a secure fit and avoid rattles.
Common Failure Causes
- Mechanical Wear: Repeated folding and pressure can wear the pivot or break plastic clips and hinges.
- Electrical Faults: The mirror light may stop working due to a burned bulb, failed LED, wiring damage, or a corroded connector.
- Sun And Heat Exposure: Prolonged UV exposure can cause plastic embrittlement, discoloration or softening of the visor material.
- Impact Or Misuse: Excessive force when stowing or pulling on the visor can deform the bracket or mounting points.
This Peugeot 407 passenger sun visor is a straightforward interior replacement that restores comfort and convenience. Search for product code 8143NZ when ordering to ensure you receive the correct passenger-side unit in the FBJ – LAMA shade.