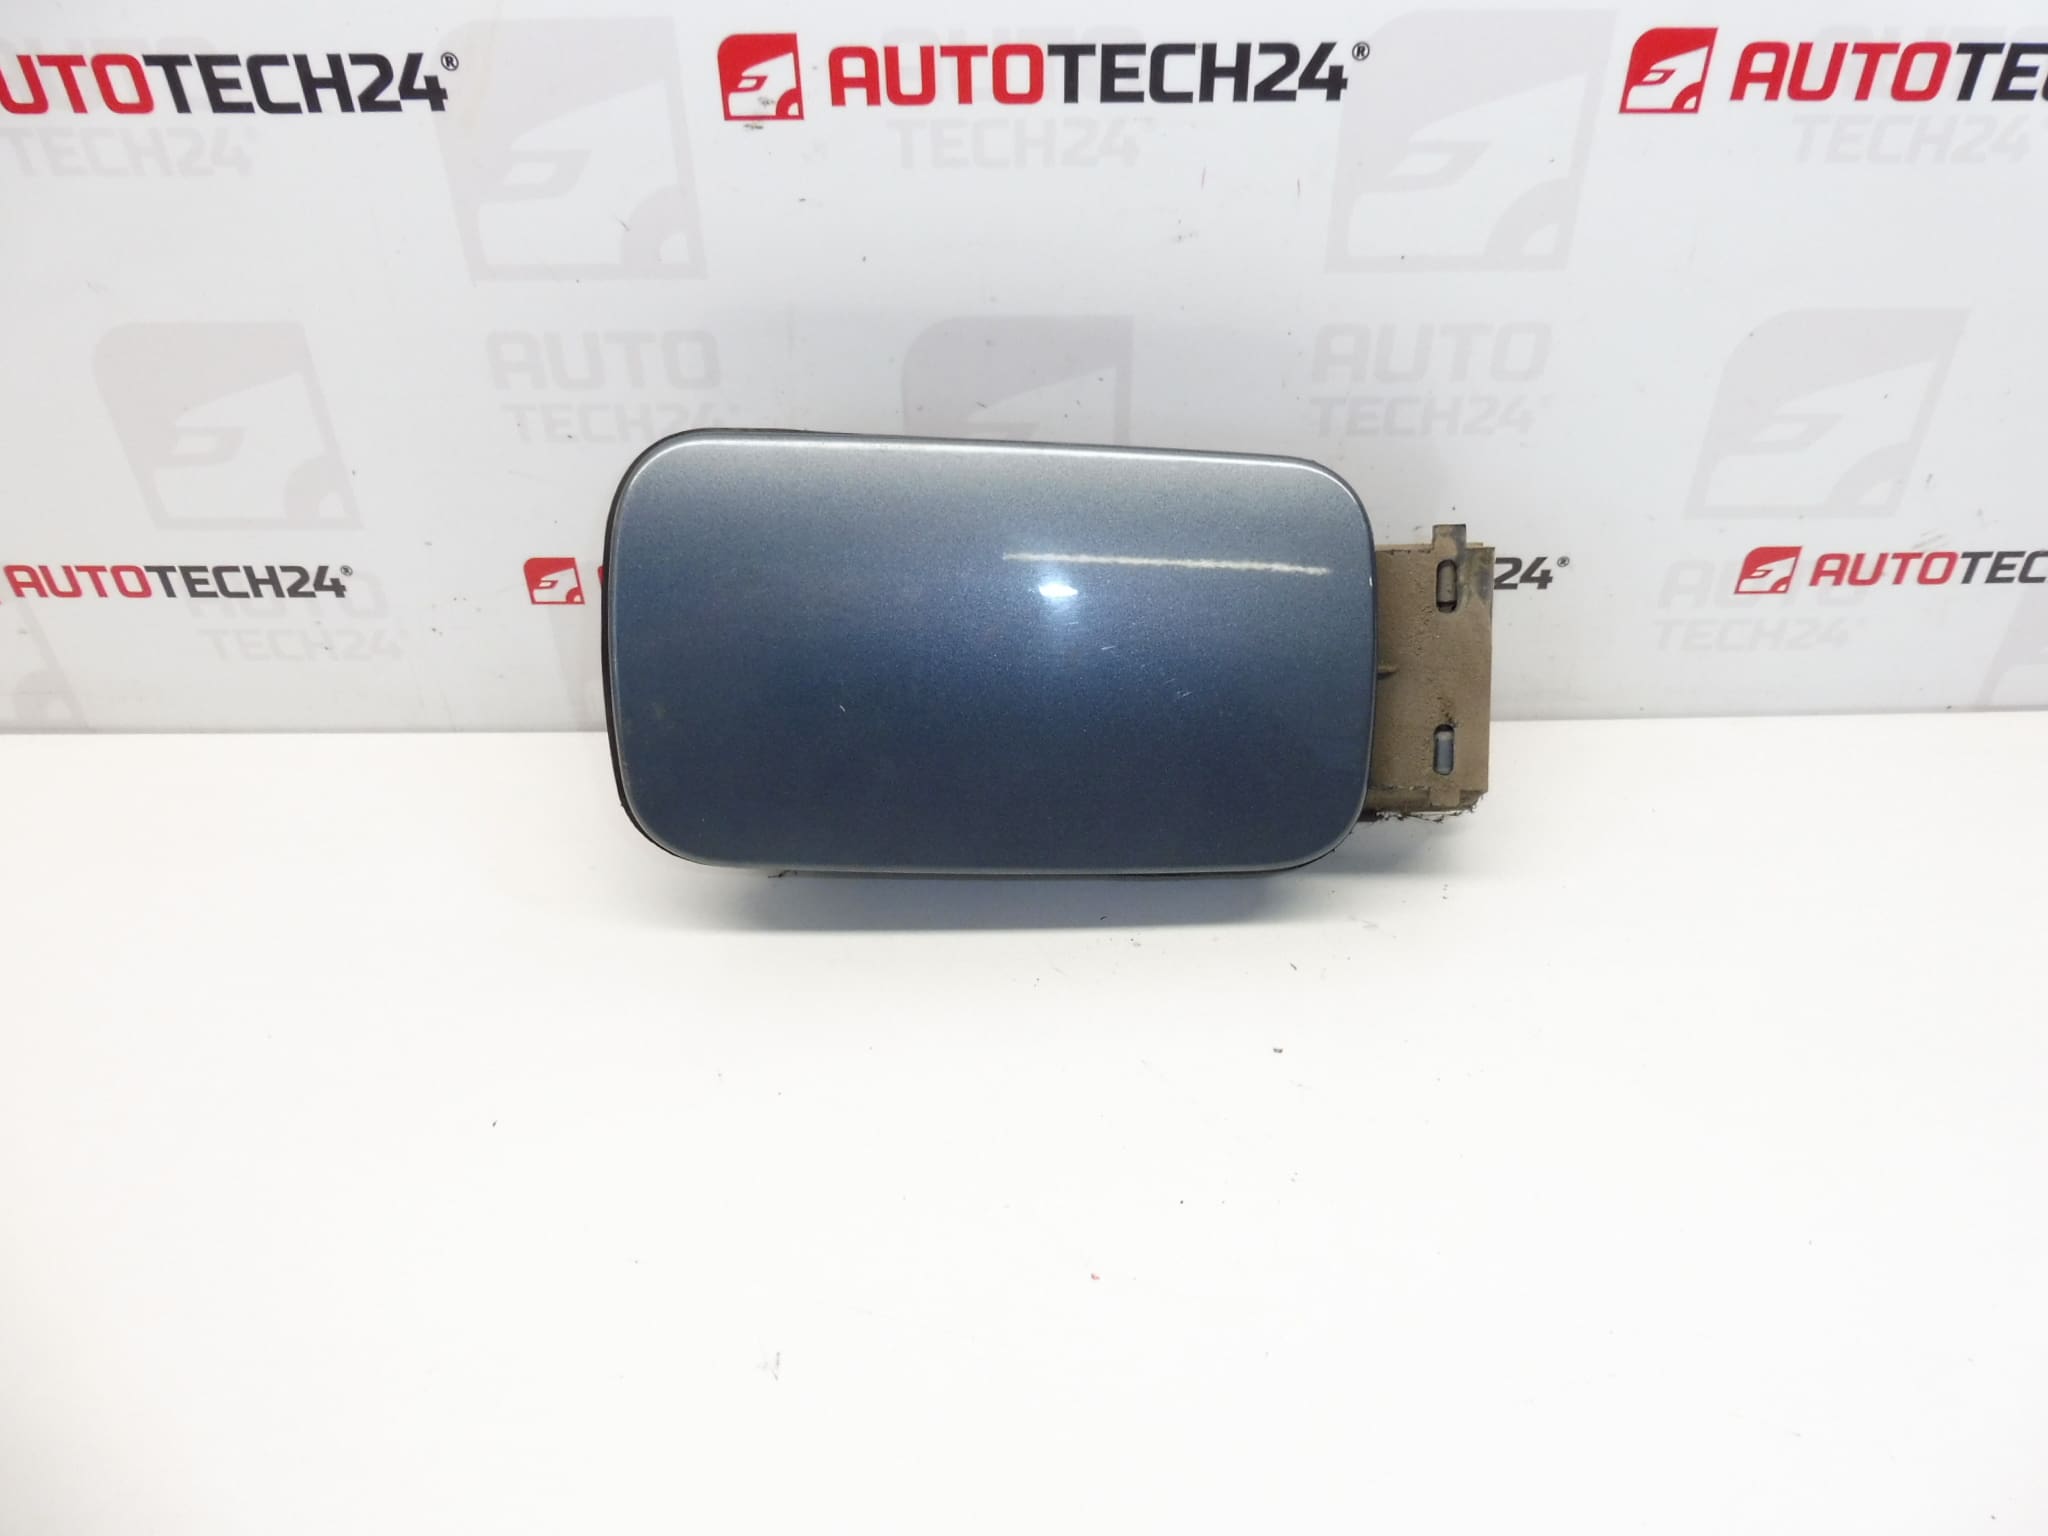
Description
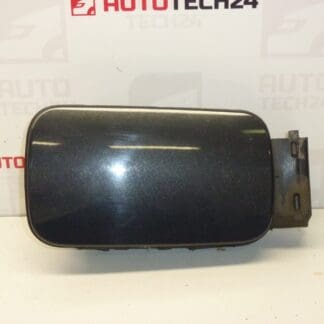
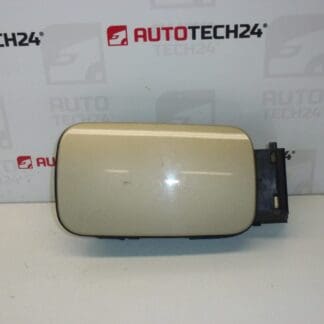
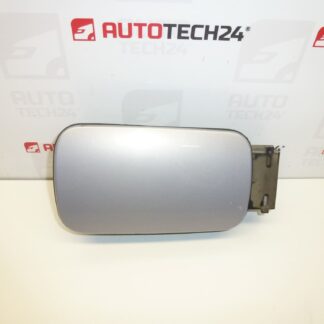
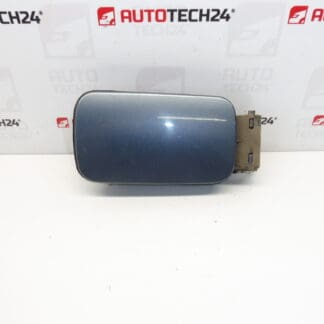
Fuel filler neck cap for CITROËN C5 First Series. Color EZW – Paint Grey FER.
This replacement fuel filler cap/cover is designed for Citroën C5 (First Generation) vehicles and is supplied with original part references to help you find an exact match. Ideal for professional workshops and DIY mechanics, the part restores a neat, factory-correct appearance to the fuel filler area while protecting the filler neck from dirt, moisture and road damage. The neutral grey finish (EZW/EZWD) matches factory paint codes used on many early C5 models.
Compatibility
Intended For: Citroën C5 First Generation (C5 I). Often Searched By Part Numbers: 9633284180, 151784, 151874. Colour Code: EZW / EZWD.
Technical Information
- Manufacturer: Stellantis (Citroën / Peugeot)
- Model: Citroën C5 (First Generation)
- Product Codes: 9633284180, 151784, 151874
- Other Numbers: EZW, EZWD (Colour Codes)
Installation Recommendations
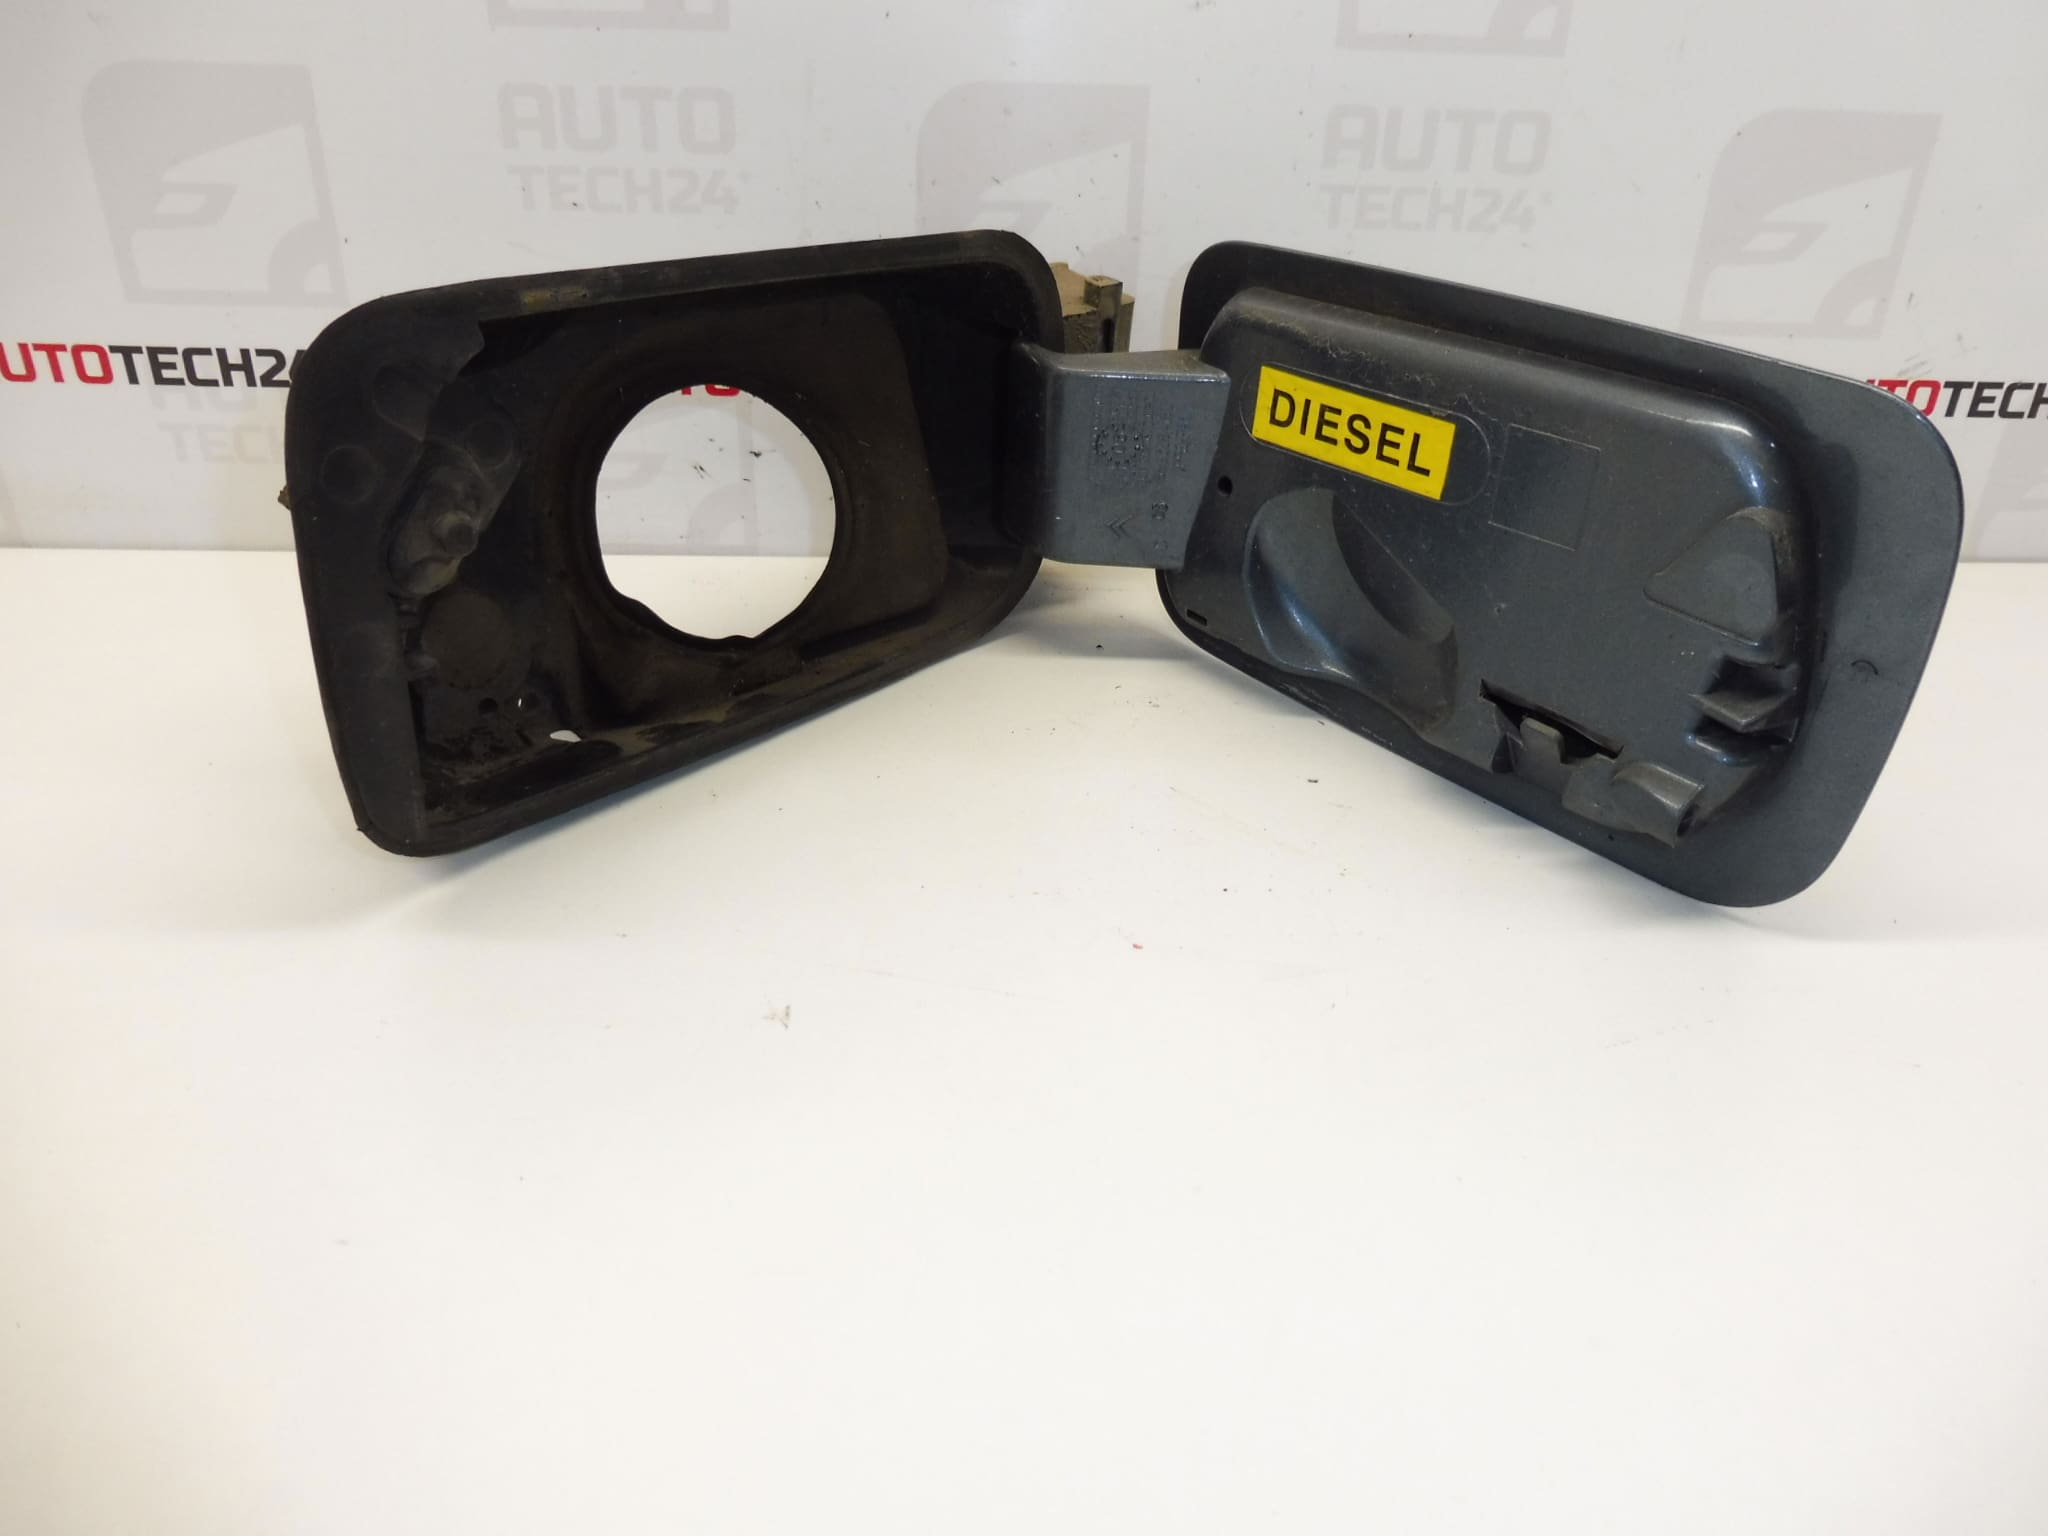
Installation Is Straightforward For Experienced Mechanics: Remove The Old Cap Or Cover By Releasing The Retaining Clips Or Unscrewing Any Fasteners (Depending On Variant). Clean The Mating Surfaces And Check For Damaged Clips Or Broken Hinges—Replace Them If Necessary. Align The New Cap With The Hinge Or Mounting Points And Snap Or Fasten It Securely Into Place. Ensure The Fuel Flap Opens And Closes Smoothly And That Any Locking Mechanism Operates Correctly. Use Basic Hand Tools; No Special Calibration Is Required.
Most Common Failure Reasons
Failure Typically Occurs Due To Impact Damage (Minor Collisions Or Fuel-Station Bumps), Plastic Fatigue Of Hinges Or Clips From Repeated Use, UV Fading And Paint Wear, Or Corrosion/Seizure Of Any Metal Fasteners. Cosmetic Damage Does Not Usually Affect Function, But Broken Mounting Points Or A Compromised Seal Can Allow Dirt Or Moisture Into The Filler Neck.
When Replacing The Cap, Match The Part Numbers Or Colour Code To Ensure Proper Fit And Appearance. This Part Is A Practical, OEM-Referenced Solution For Restoring The Fuel Fill Area To Factory Condition And Preventing Further Wear.