Description
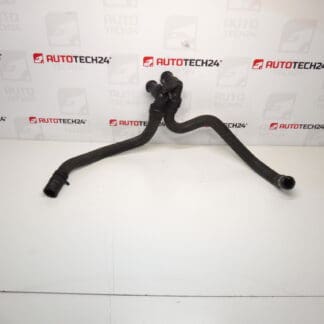
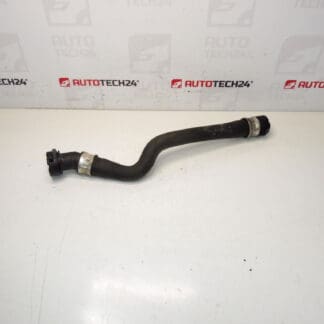
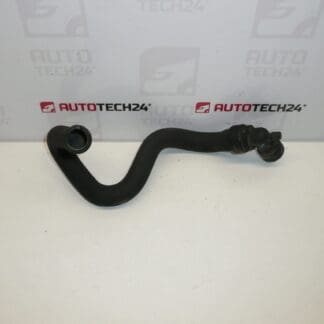
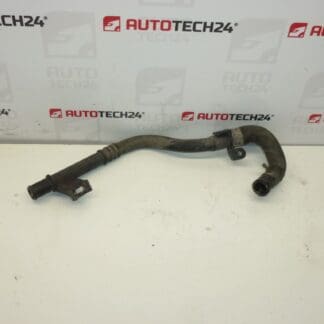
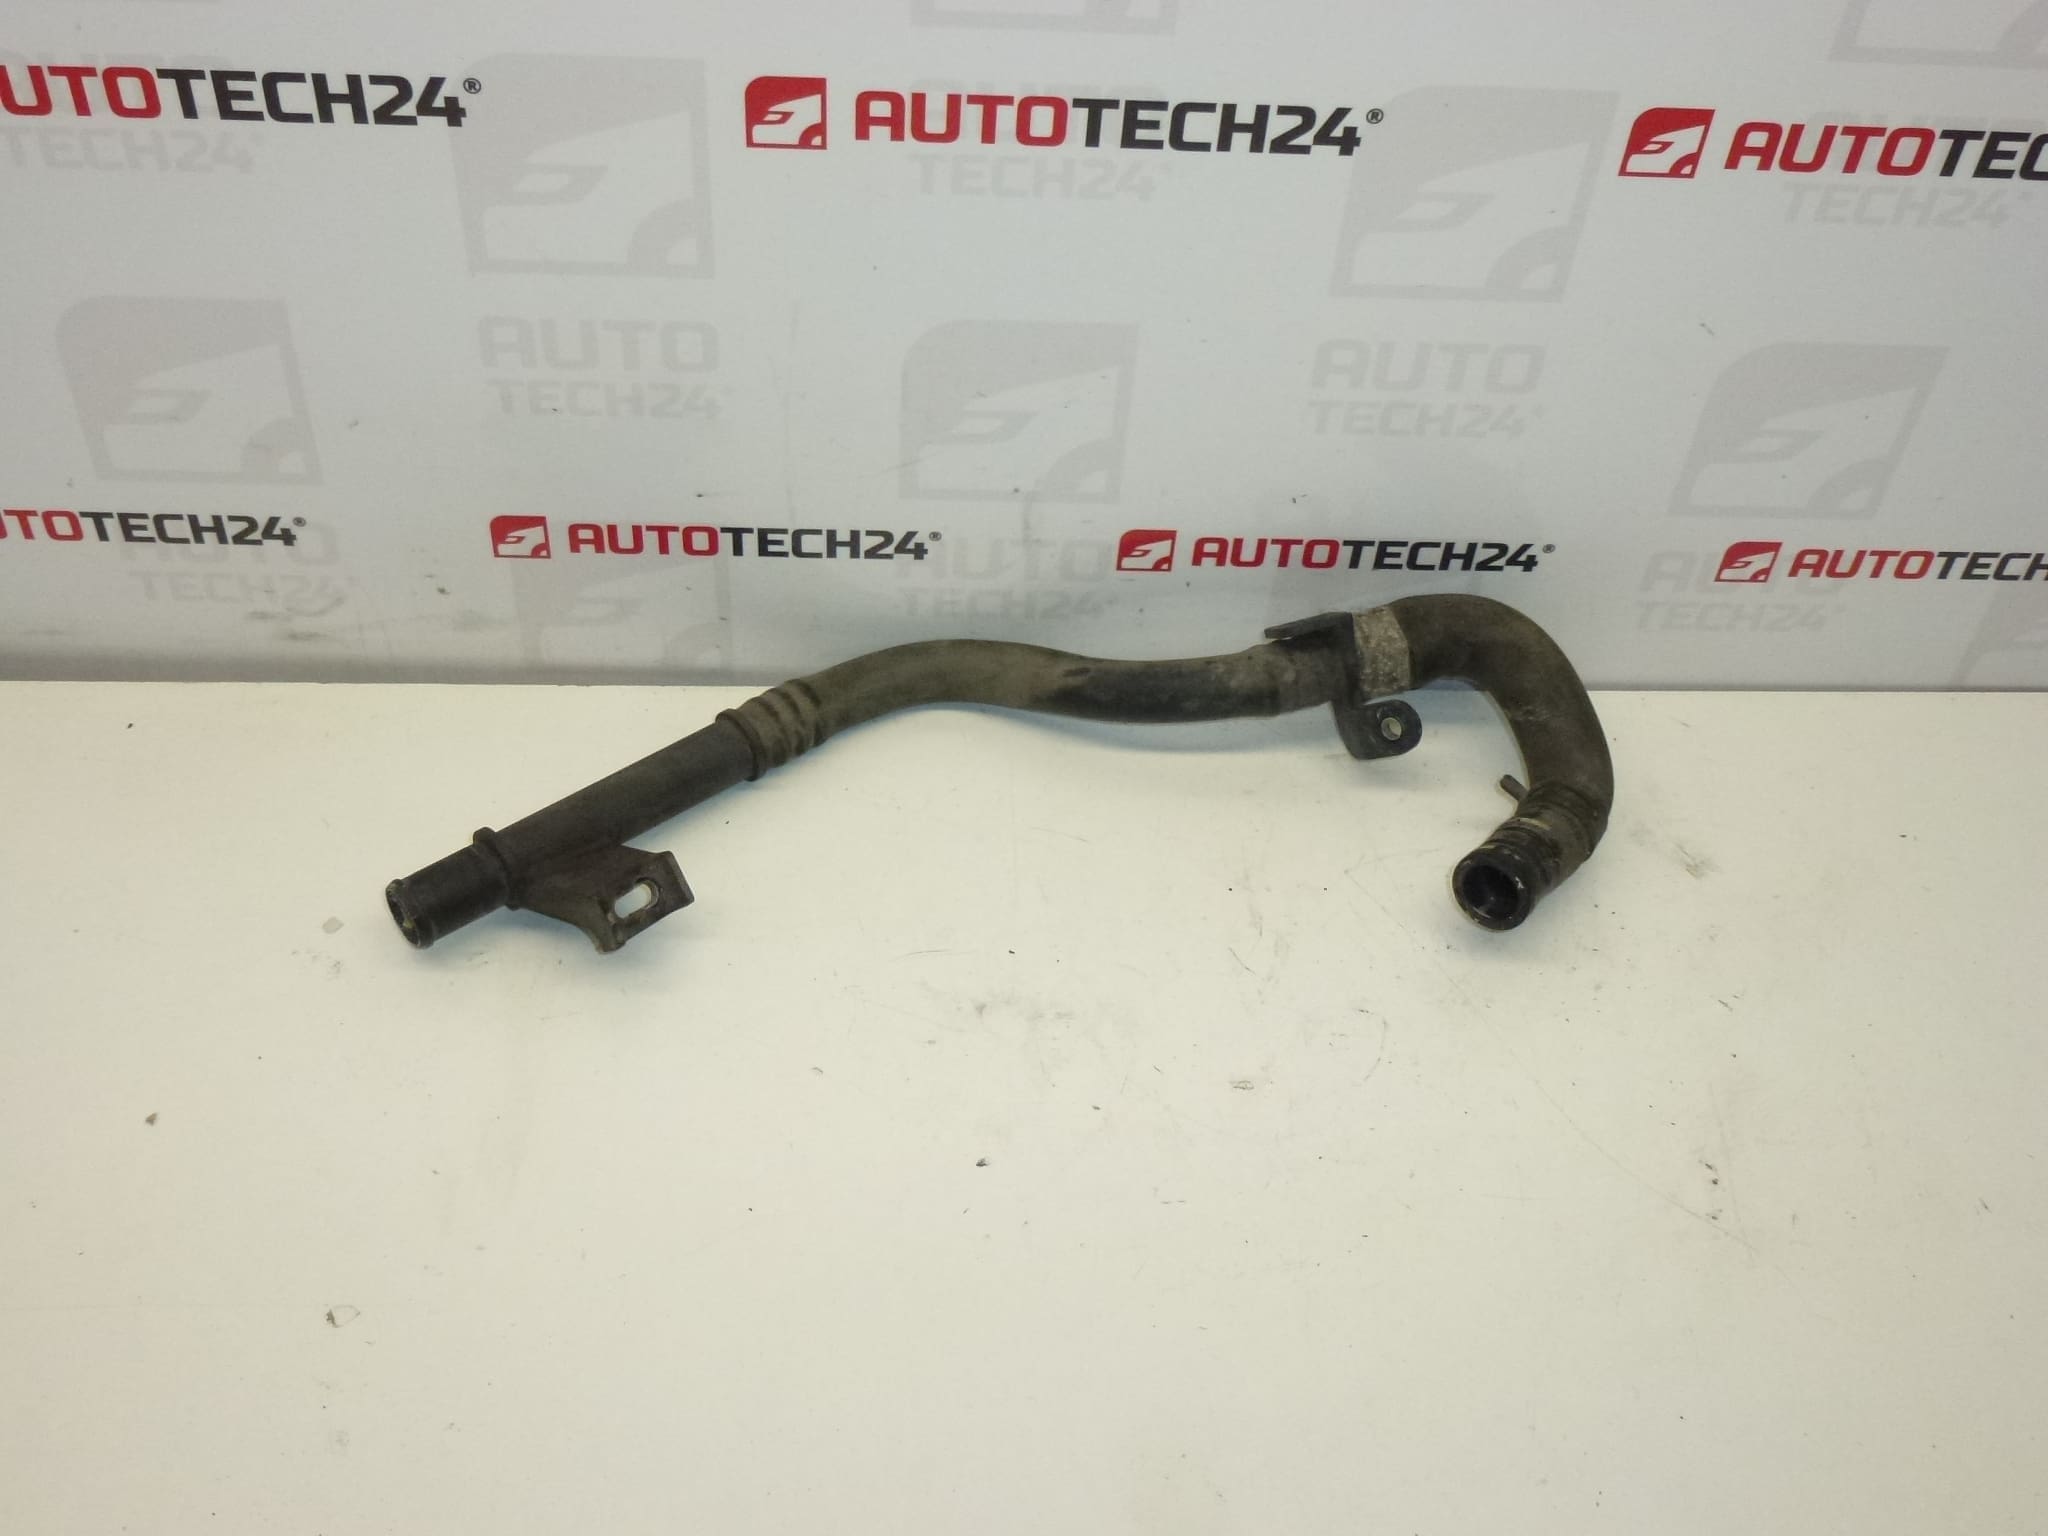
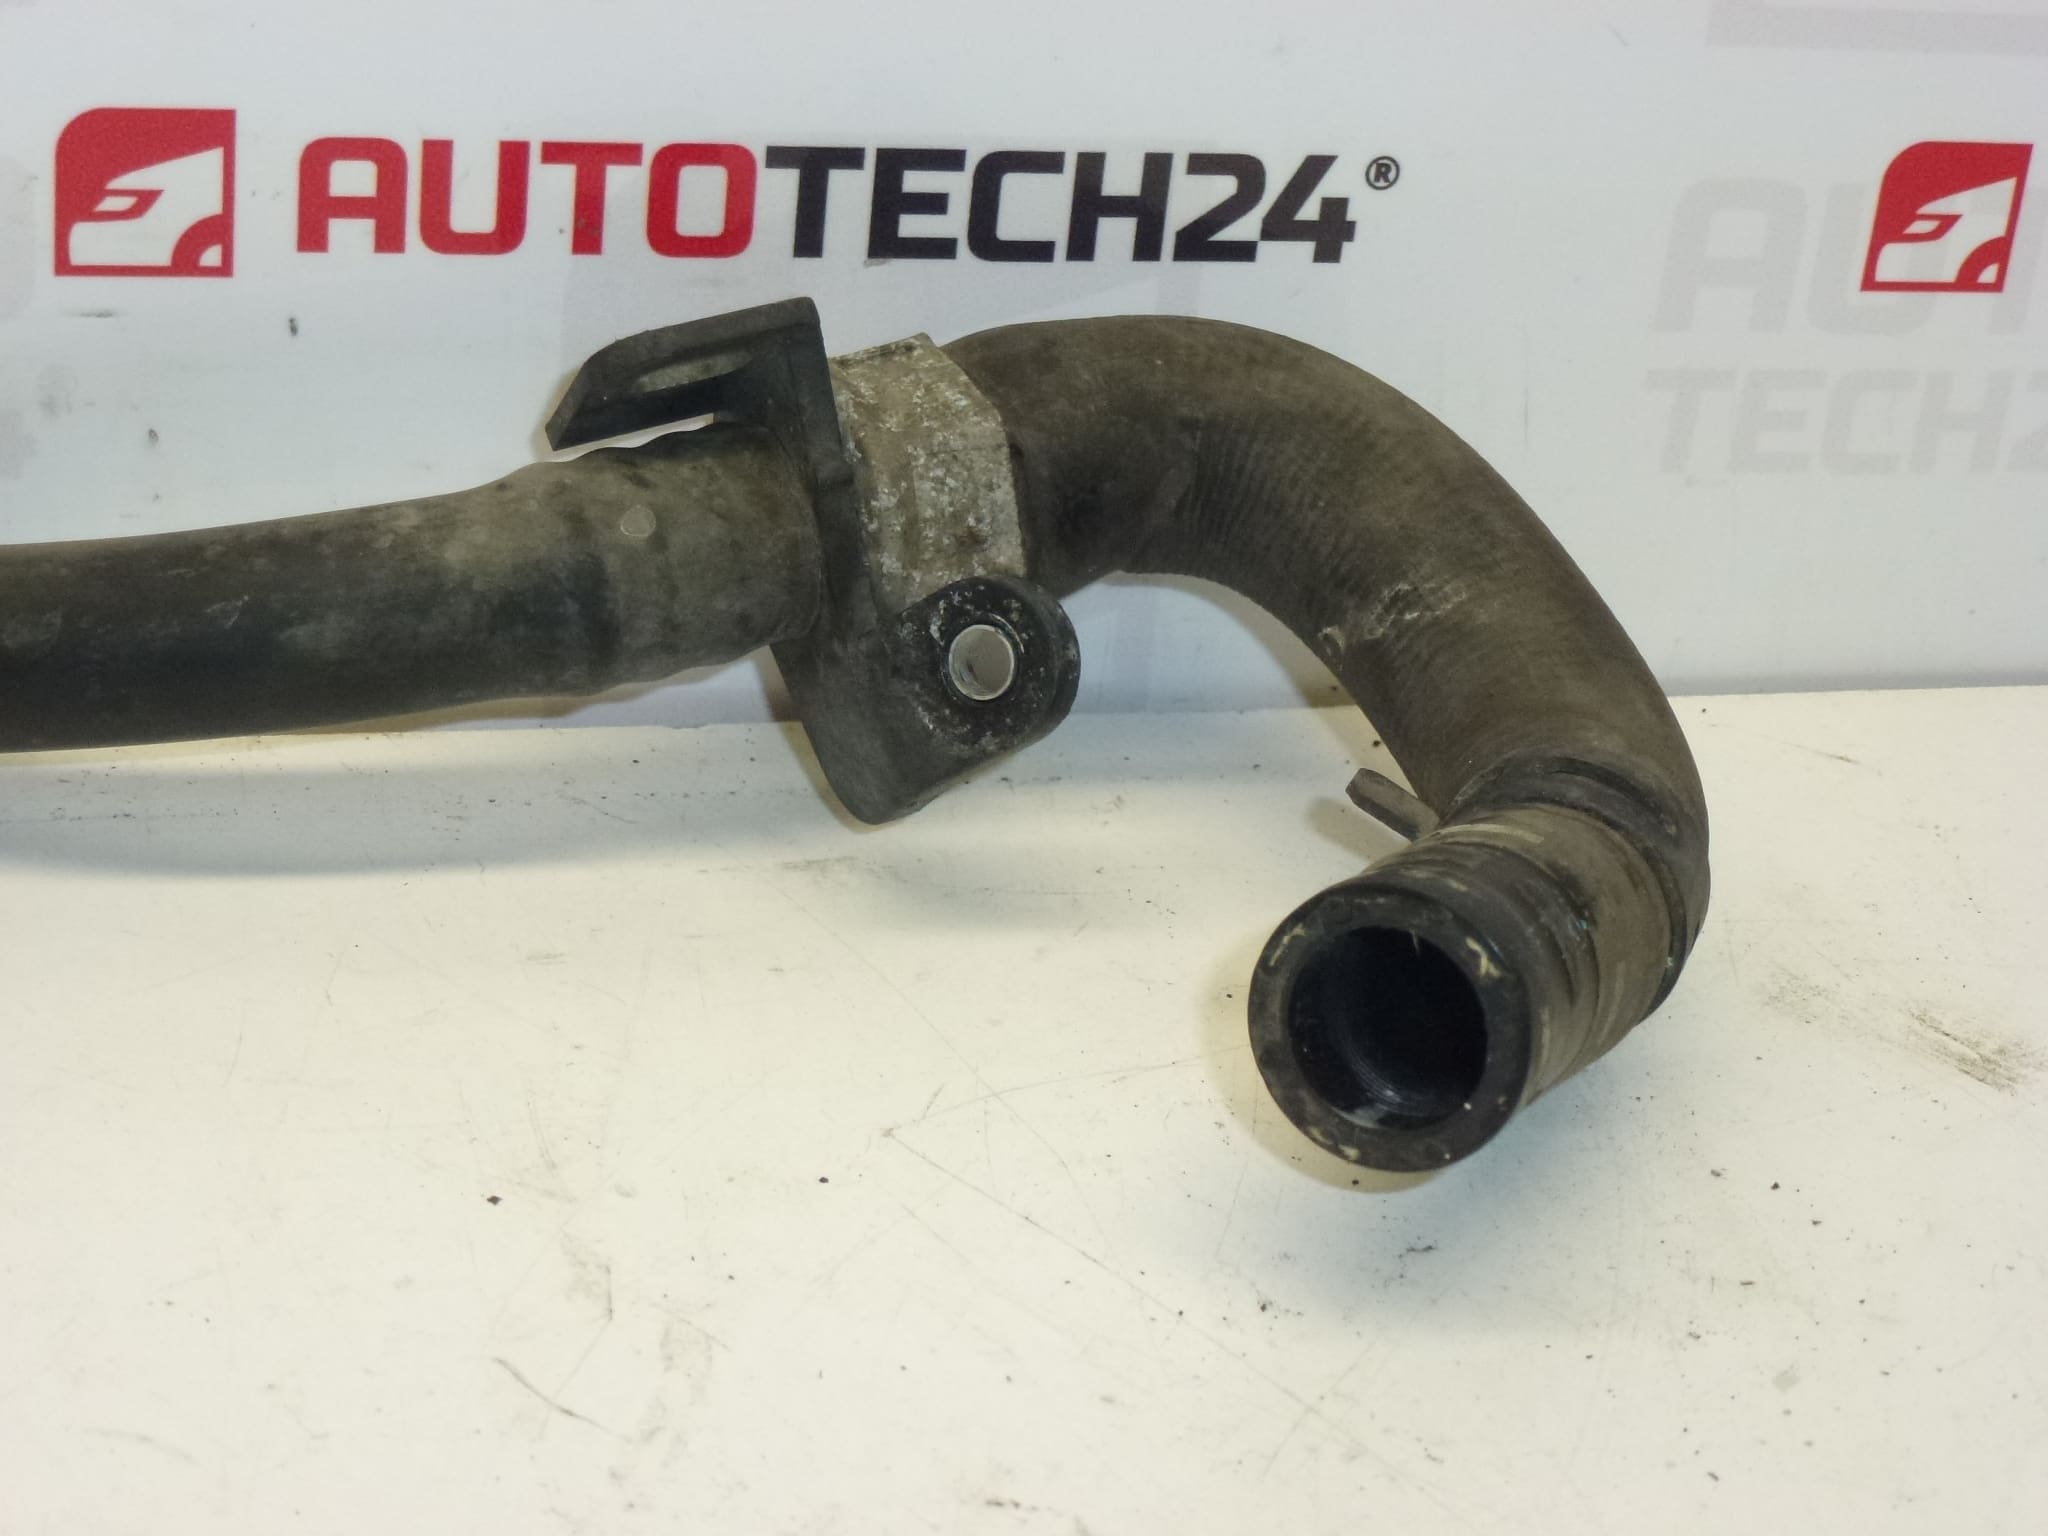
Water hose for Citroën and Peugeot vehicles with 1.4 HDi 16V (8HY) and 1.6 HDi engines.
This replacement coolant hose is a direct-fit part commonly used on a range of Citroën and Peugeot models equipped with the 1.4 HDi (16V, 8HY) and 1.6 HDi engines. Supplied under part numbers 9681299480 and 1317R8, the hose is designed to restore proper coolant circulation, prevent leaks, and maintain stable engine operating temperature. Ideal for professional workshops and DIY mechanics, the hose offers OEM-style fitment and material resistance to coolant and heat cycling to ensure long-term service life.
Applications
Fits the following models (when equipped with the specified engines):
- Citroën Berlingo
- Citroën C3
- Citroën C4
- Citroën C5
- Citroën Xsara Picasso
- Peugeot 1007
- Peugeot 308
- Peugeot 407
- Peugeot Partner
Technical Information
- Manufacturer: Stellantis / Citroën / Peugeot
- Model: 1.4 HDi 16V (8HY), 1.6 HDi
- Product Codes: 9681299480, 1317R8
- Other Numbers: 1.6 HDi | Cooling, Heating, Climate | Water Hose
Installation Recommendations
- Work Only When Engine Is Cold: Allow the engine and cooling system to cool completely before starting.
- Drain Coolant: Partially or fully drain the coolant to below the level of the hose connection points to avoid spillage.
- Remove Clamps Carefully: Loosen and remove existing clamps. Inspect hose connections, thermostat housing, and pipe fittings for corrosion or damage.
- Replace Hose And Fasteners: Fit the new hose in the correct orientation. Use new clamps or OEM-style spring clamps where appropriate; do not overtighten worm-drive clamps to avoid damaging the hose.
- Refill And Bleed System: Refill with the correct type and concentration of coolant for the vehicle and properly bleed the cooling system to remove trapped air pockets.
- Check For Leaks And Test Drive: After installation and warm-up, inspect all joints for leaks and verify stable operating temperature during a short test drive.
Common Failure Causes
Coolant hoses age and fail for several predictable reasons: prolonged exposure to high temperatures and pressure cycles causes rubber degradation; contamination from oil or incorrect coolant accelerates softening and swelling; clamps left loose or overtightened can create stress points that lead to cracks; and poor coolant maintenance allows corrosive deposits that degrade hose interfaces. Typical symptoms include visible cracks or bulges, coolant loss, low coolant level warnings, and engine overheating.
Replace hoses showing any signs of wear, soft spots, external cracking, or persistent leaks. For reliability, inspect all cooling-system hoses during routine service intervals and consider replacing adjacent hoses or clamps if they show similar aging.
Search by part numbers 9681299480 or 1317R8 to find this exact fitment quickly and ensure you order the correct water hose for Citroën and Peugeot vehicles with 1.4 HDi (8HY) and 1.6 HDi engines.