Description
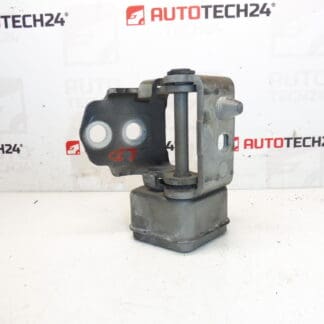
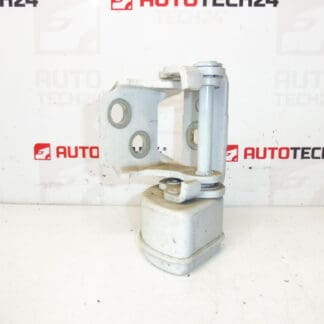
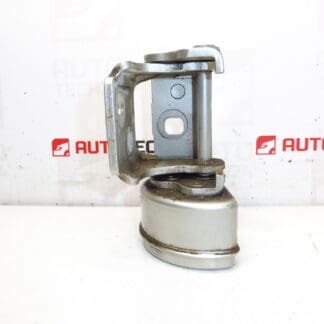
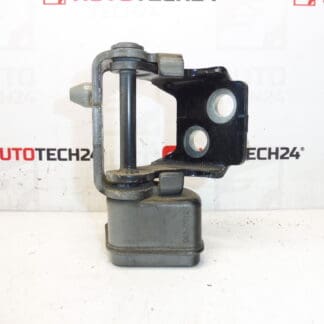
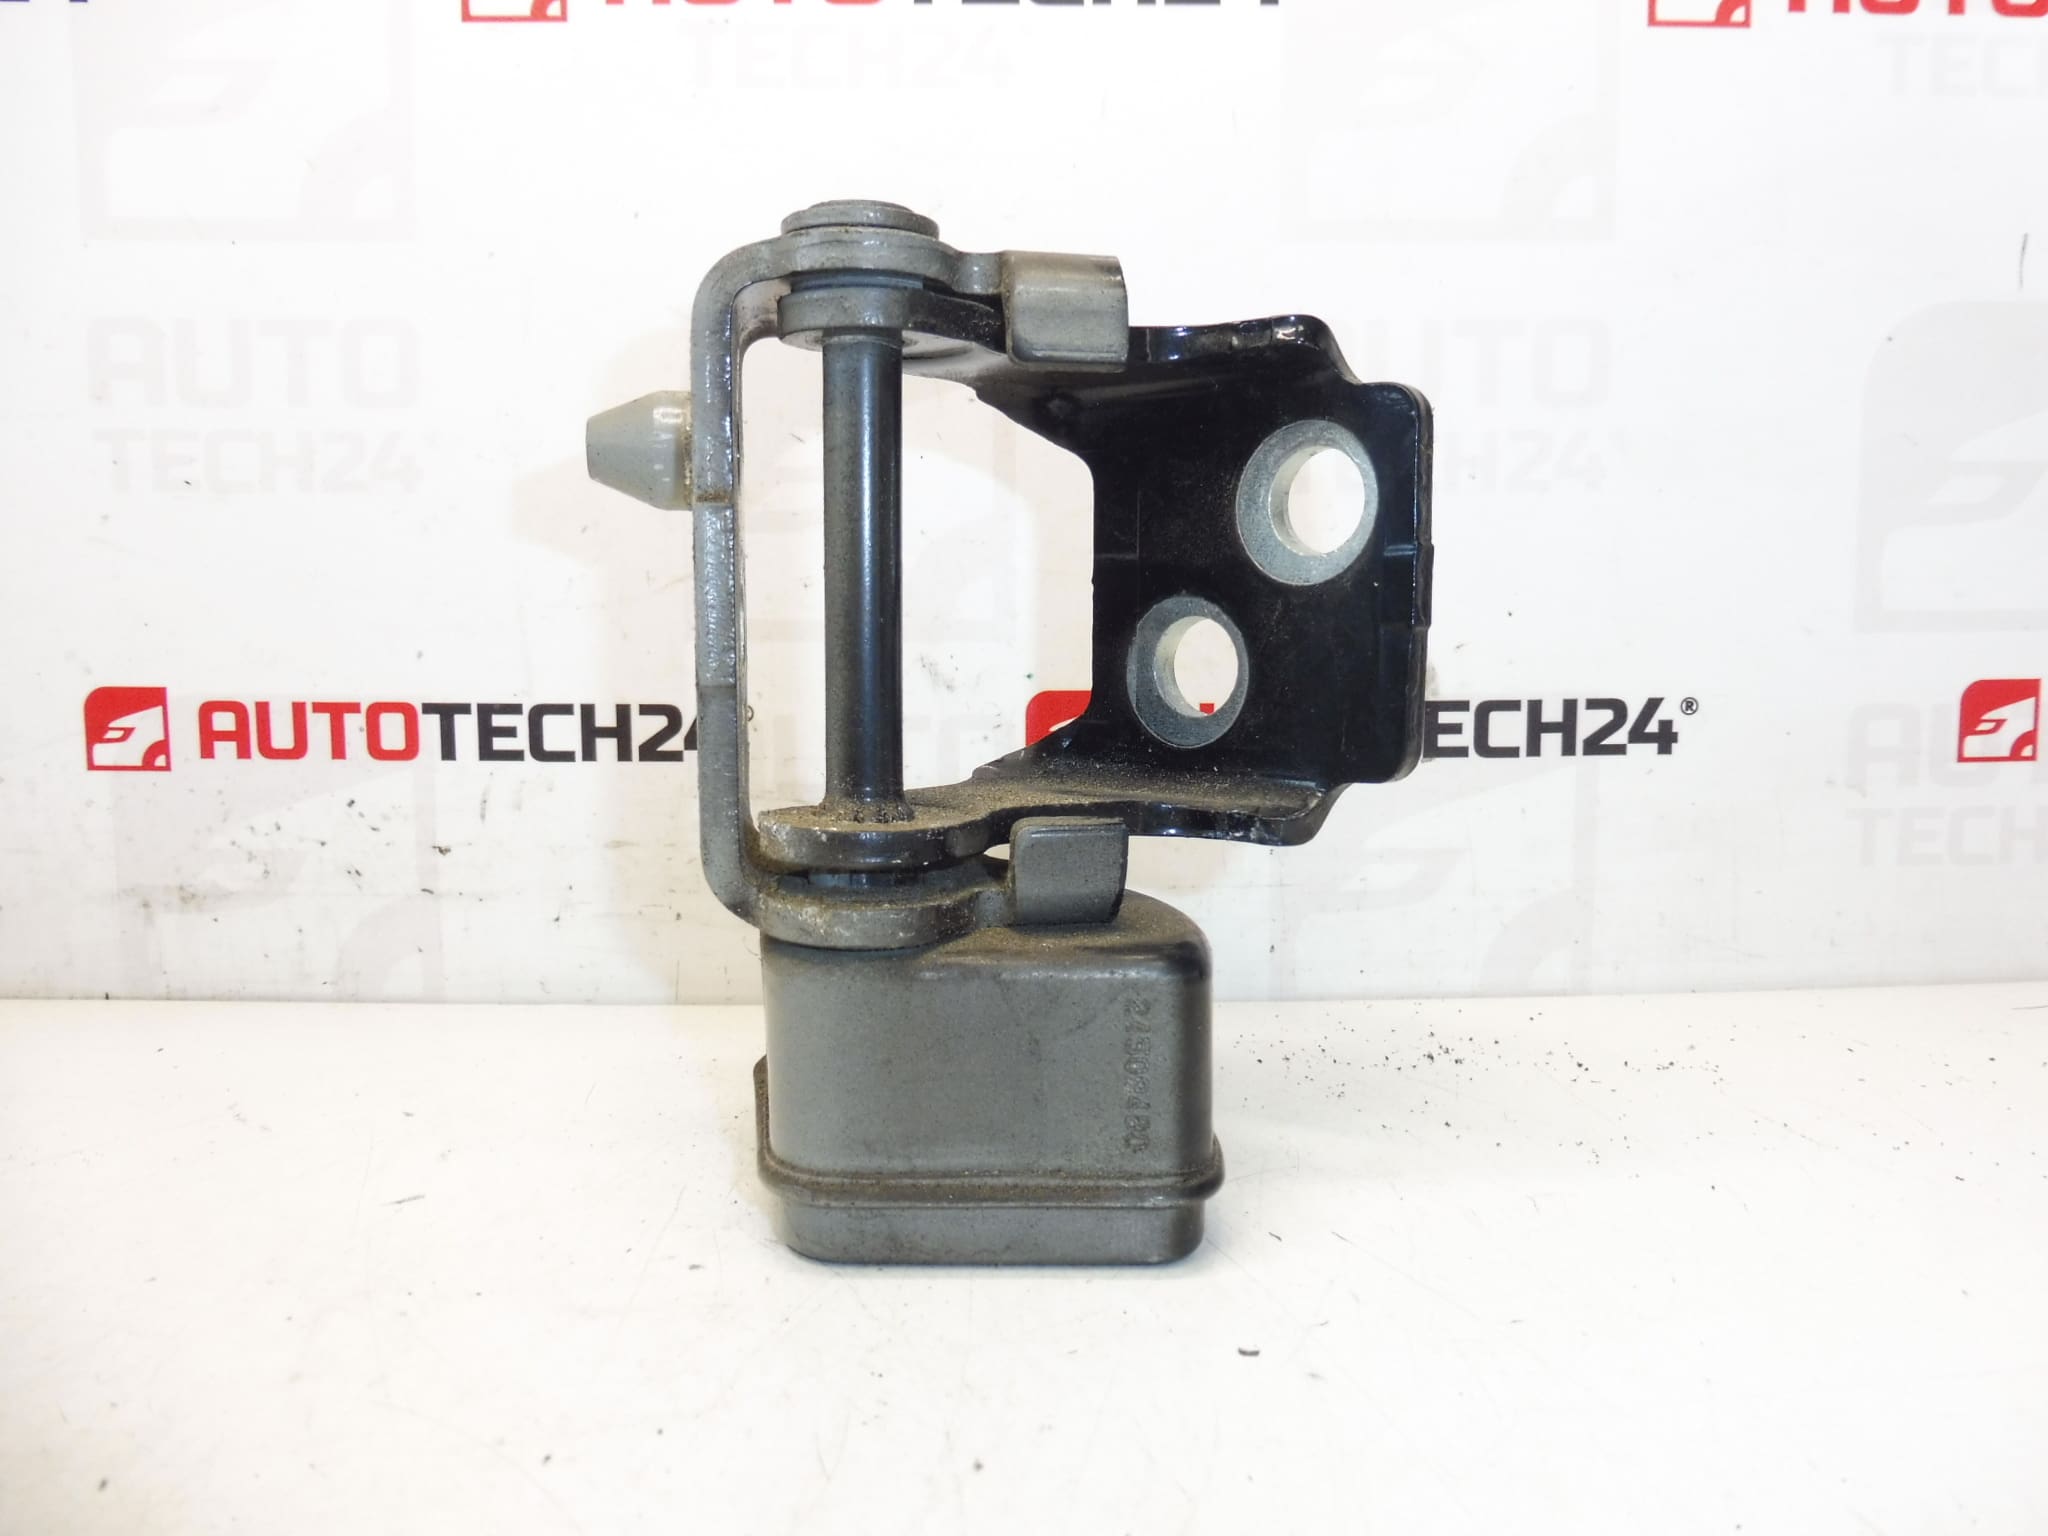
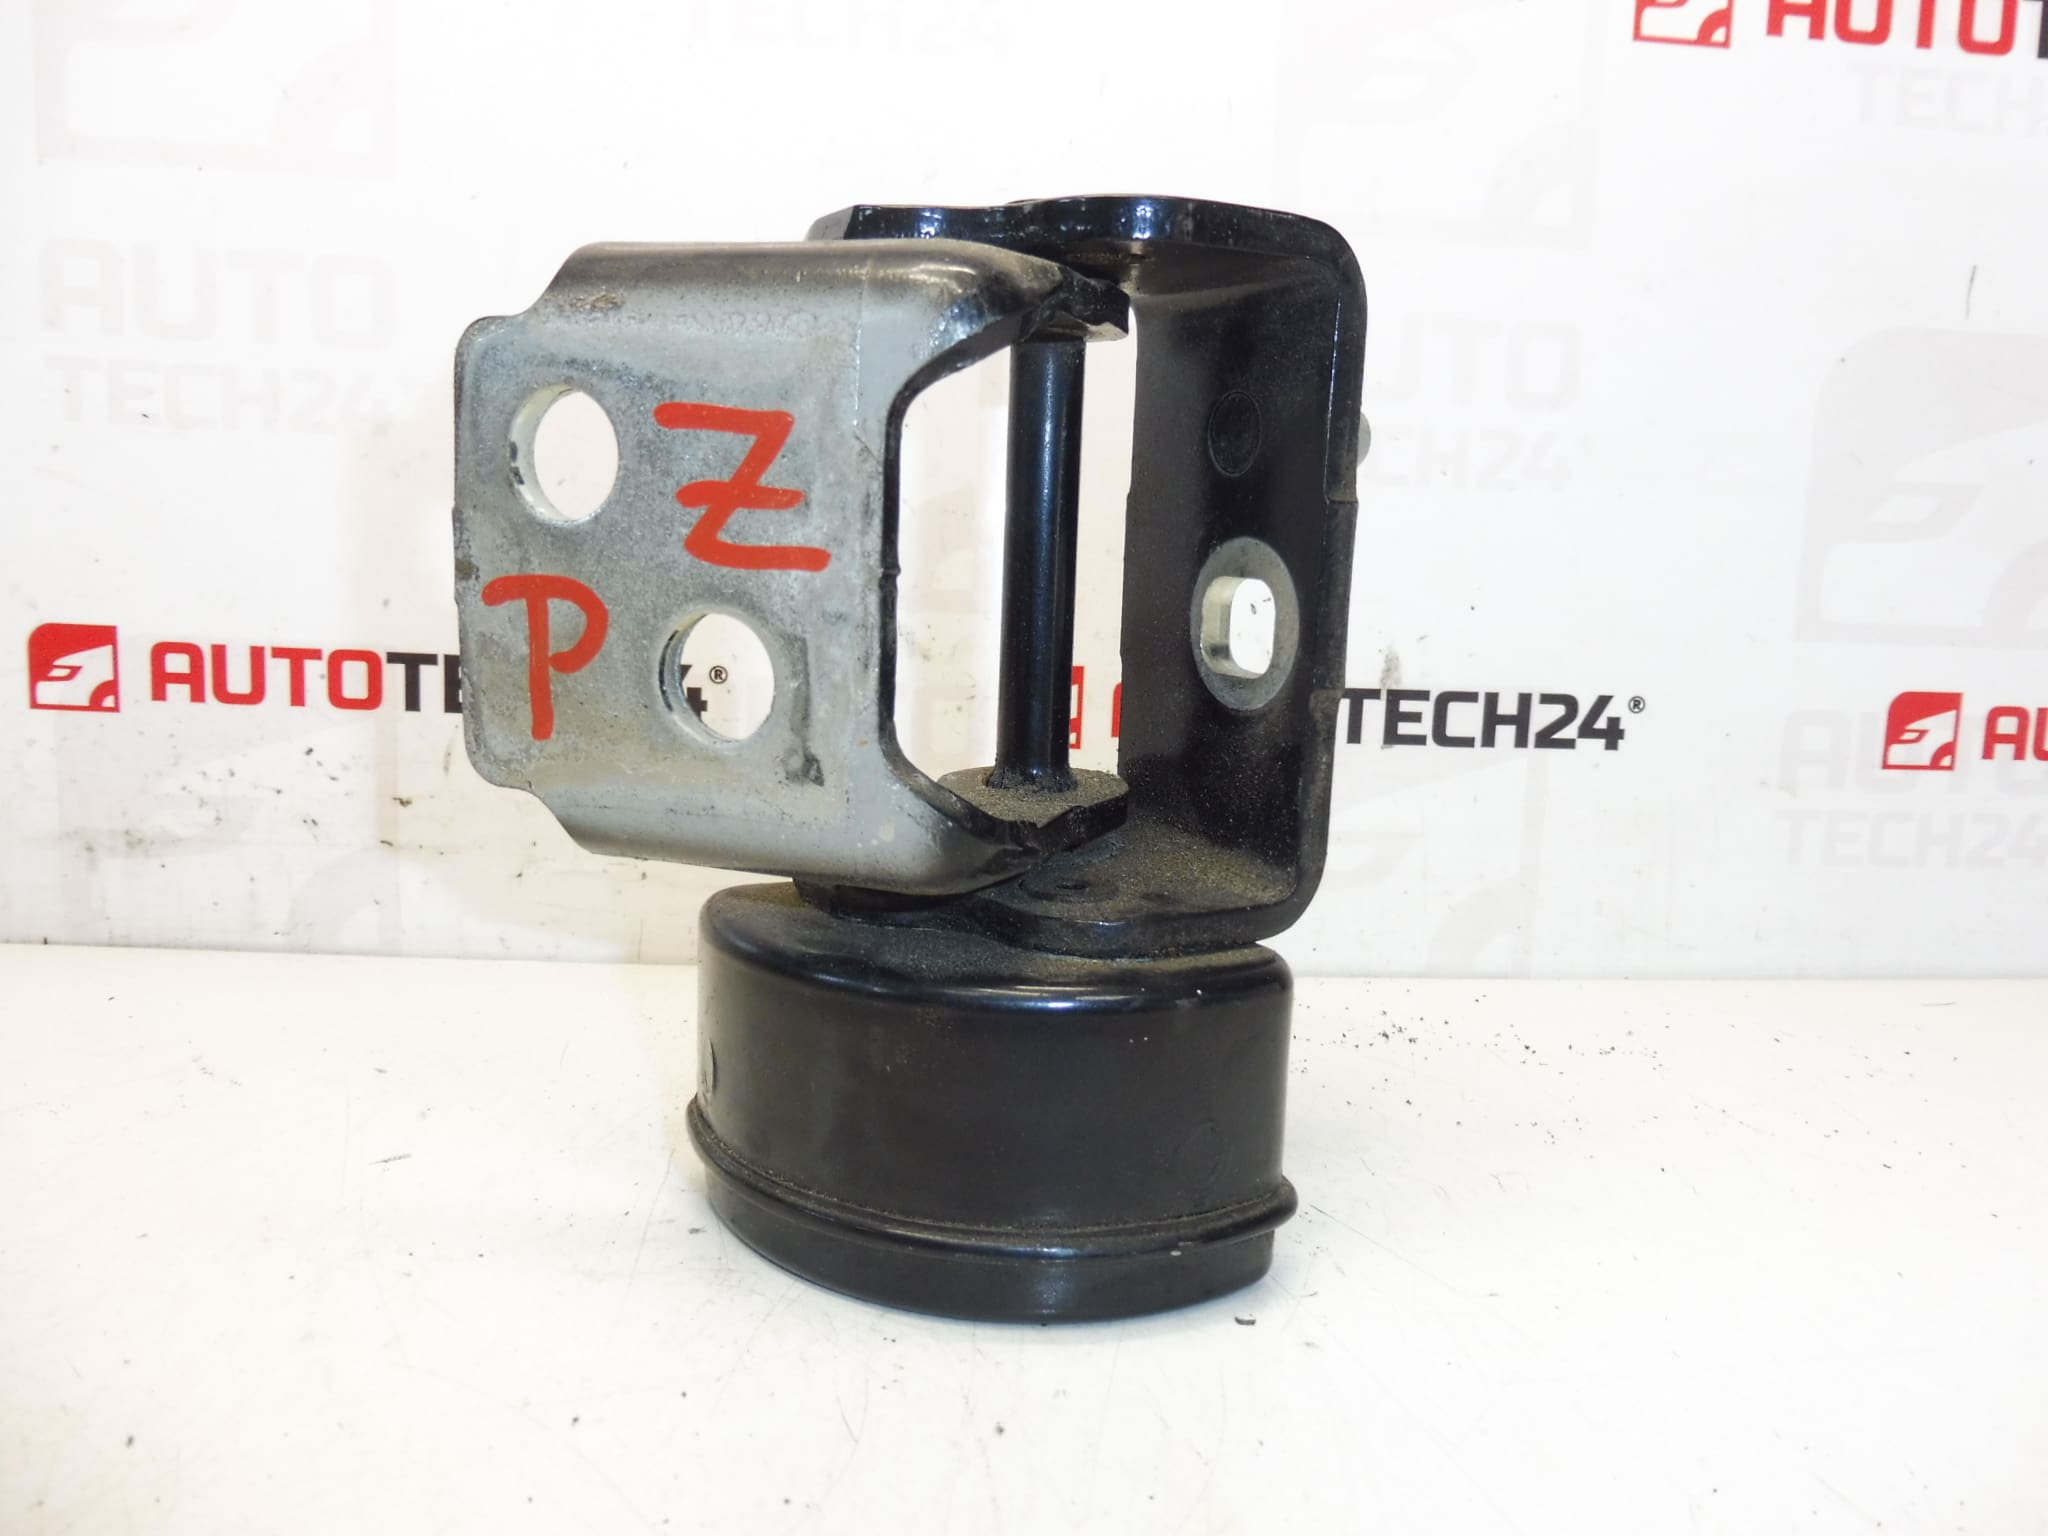
Door limiter, hinge for the right rear door for PEUGEOT 207. Color EXL – Obsidian Black Paint. Rear door behind the front passenger.
Product Overview
This genuine-style door check strap and hinge assembly is designed for the right rear door of the Peugeot 207. It controls door travel, keeps the door in defined open positions and prevents over‑opening that can damage the hinge or bodywork. Commonly searched by part number 9037C0, this unit is supplied in Obsidian Black paint finish (EXL/EXLD) and fits the passenger side rear door on Peugeot 207 models. Ideal for professional workshops and DIY mechanics looking for a direct-fit replacement to restore correct door operation and safety.
Technical Information
- Manufacturer: Stellantis (Citroën / Peugeot)
- Model: Peugeot 207
- Product Codes: 9037C0
- Other Numbers: EXLD / EXL (Paint Code – Obsidian Black)
Fitment
Fits Right Rear Door (Passenger Side) on Peugeot 207. Suitable for the rear door located behind the front passenger. Always match the part number 9037C0 with the vehicle requirements to ensure correct fitment.
Installation Recommendations
Installation is straightforward for a trained technician or competent DIYer with basic tools. Recommended procedure:
- Support the door to prevent sagging and relieve strain on the hinge during work.
- Remove any interior trim or fasteners that obstruct access to the door check strap mounting points.
- Unbolt the old limiter/check strap from the door and body; on riveted units, drill out the rivets and replace with appropriate fasteners.
- Clean mating surfaces and lightly lubricate pivot points with suitable grease to prevent noise and wear.
- Install the replacement unit, tighten fasteners to the vehicle manufacturer specification where available, and check door alignment and smooth operation across all opening positions.
- Verify that the door holds in detented positions and does not bind or overrotate.
Most Common Failure Reasons
Door check straps typically fail due to mechanical wear, corrosion of pivot points or mounting hardware, damage from impacts (e.g. hitting obstacles when opening the door), or fatigue of internal components. Symptoms include the door not staying open in detents, excessive play or looseness in the hinge area, unusual noises when opening or closing, or visible damage to the limiter arm. Replacing the part restores safe, controlled door movement and prevents additional stress on hinges and door seals.
Notes For Professionals And Enthusiasts
This replacement part is aimed at workshops and independent mechanics performing bodywork or door repairs. Using the correct part number (9037C0) and paying attention to mounting hardware and lubrication ensures a long-lasting repair. If the original mounting used rivets, plan to replace them with the correct type or bolts as appropriate for the vehicle repair standard.