Description
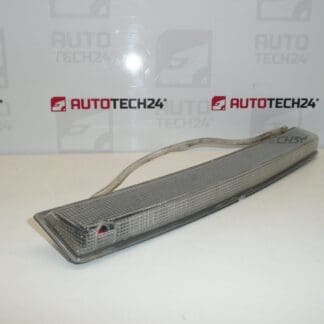
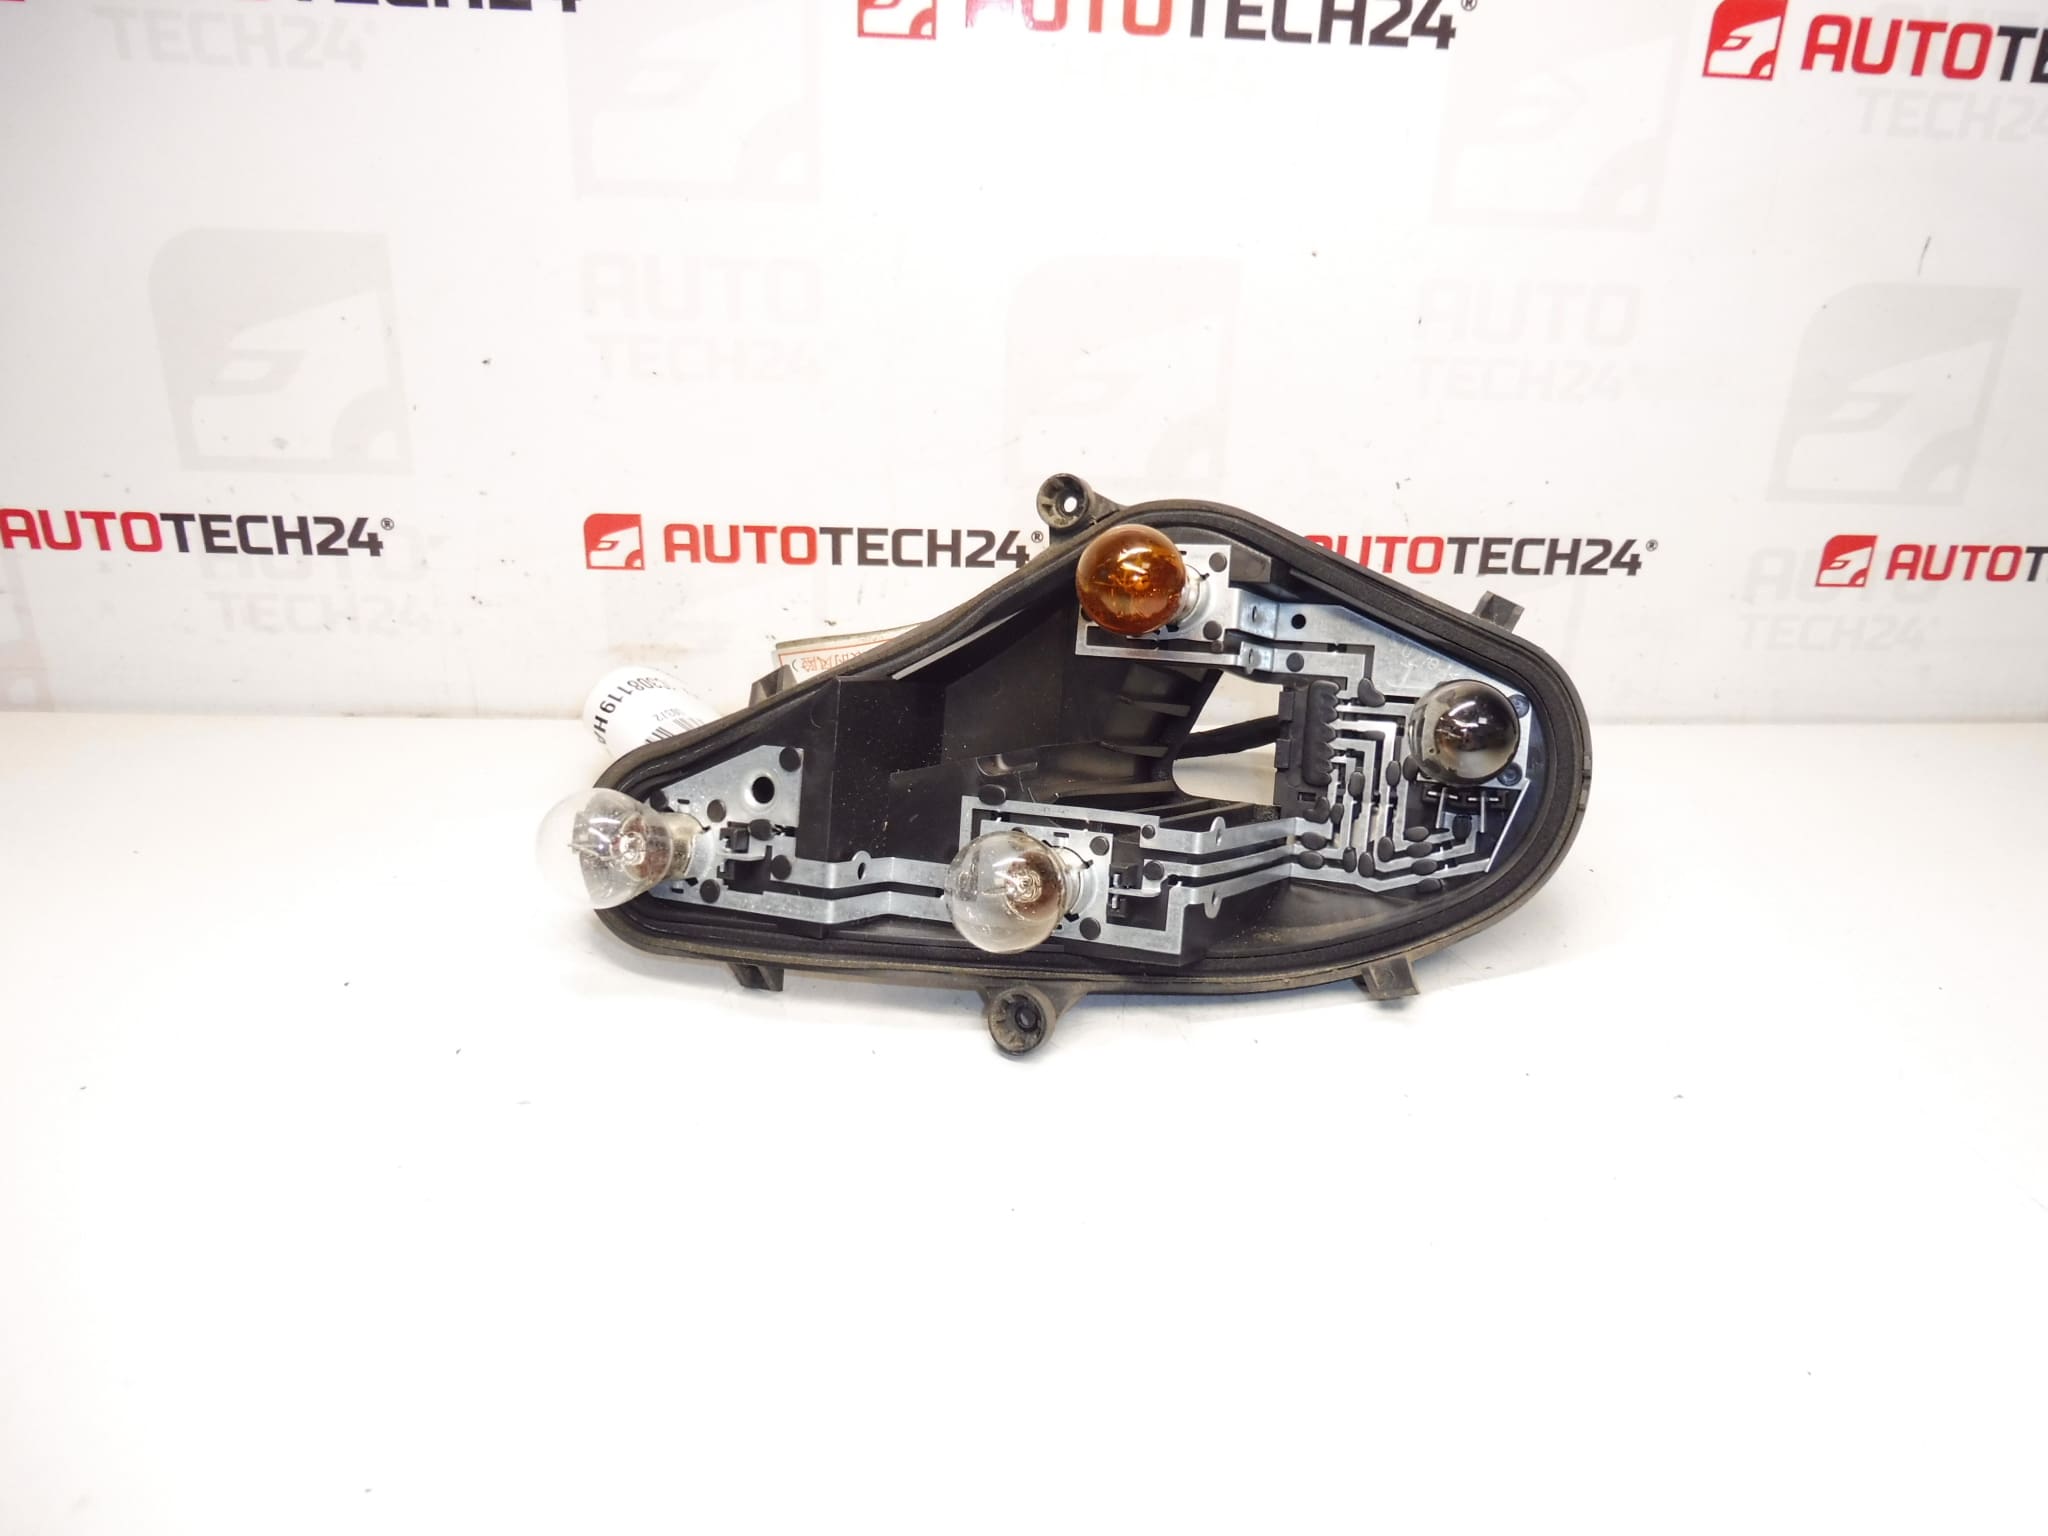
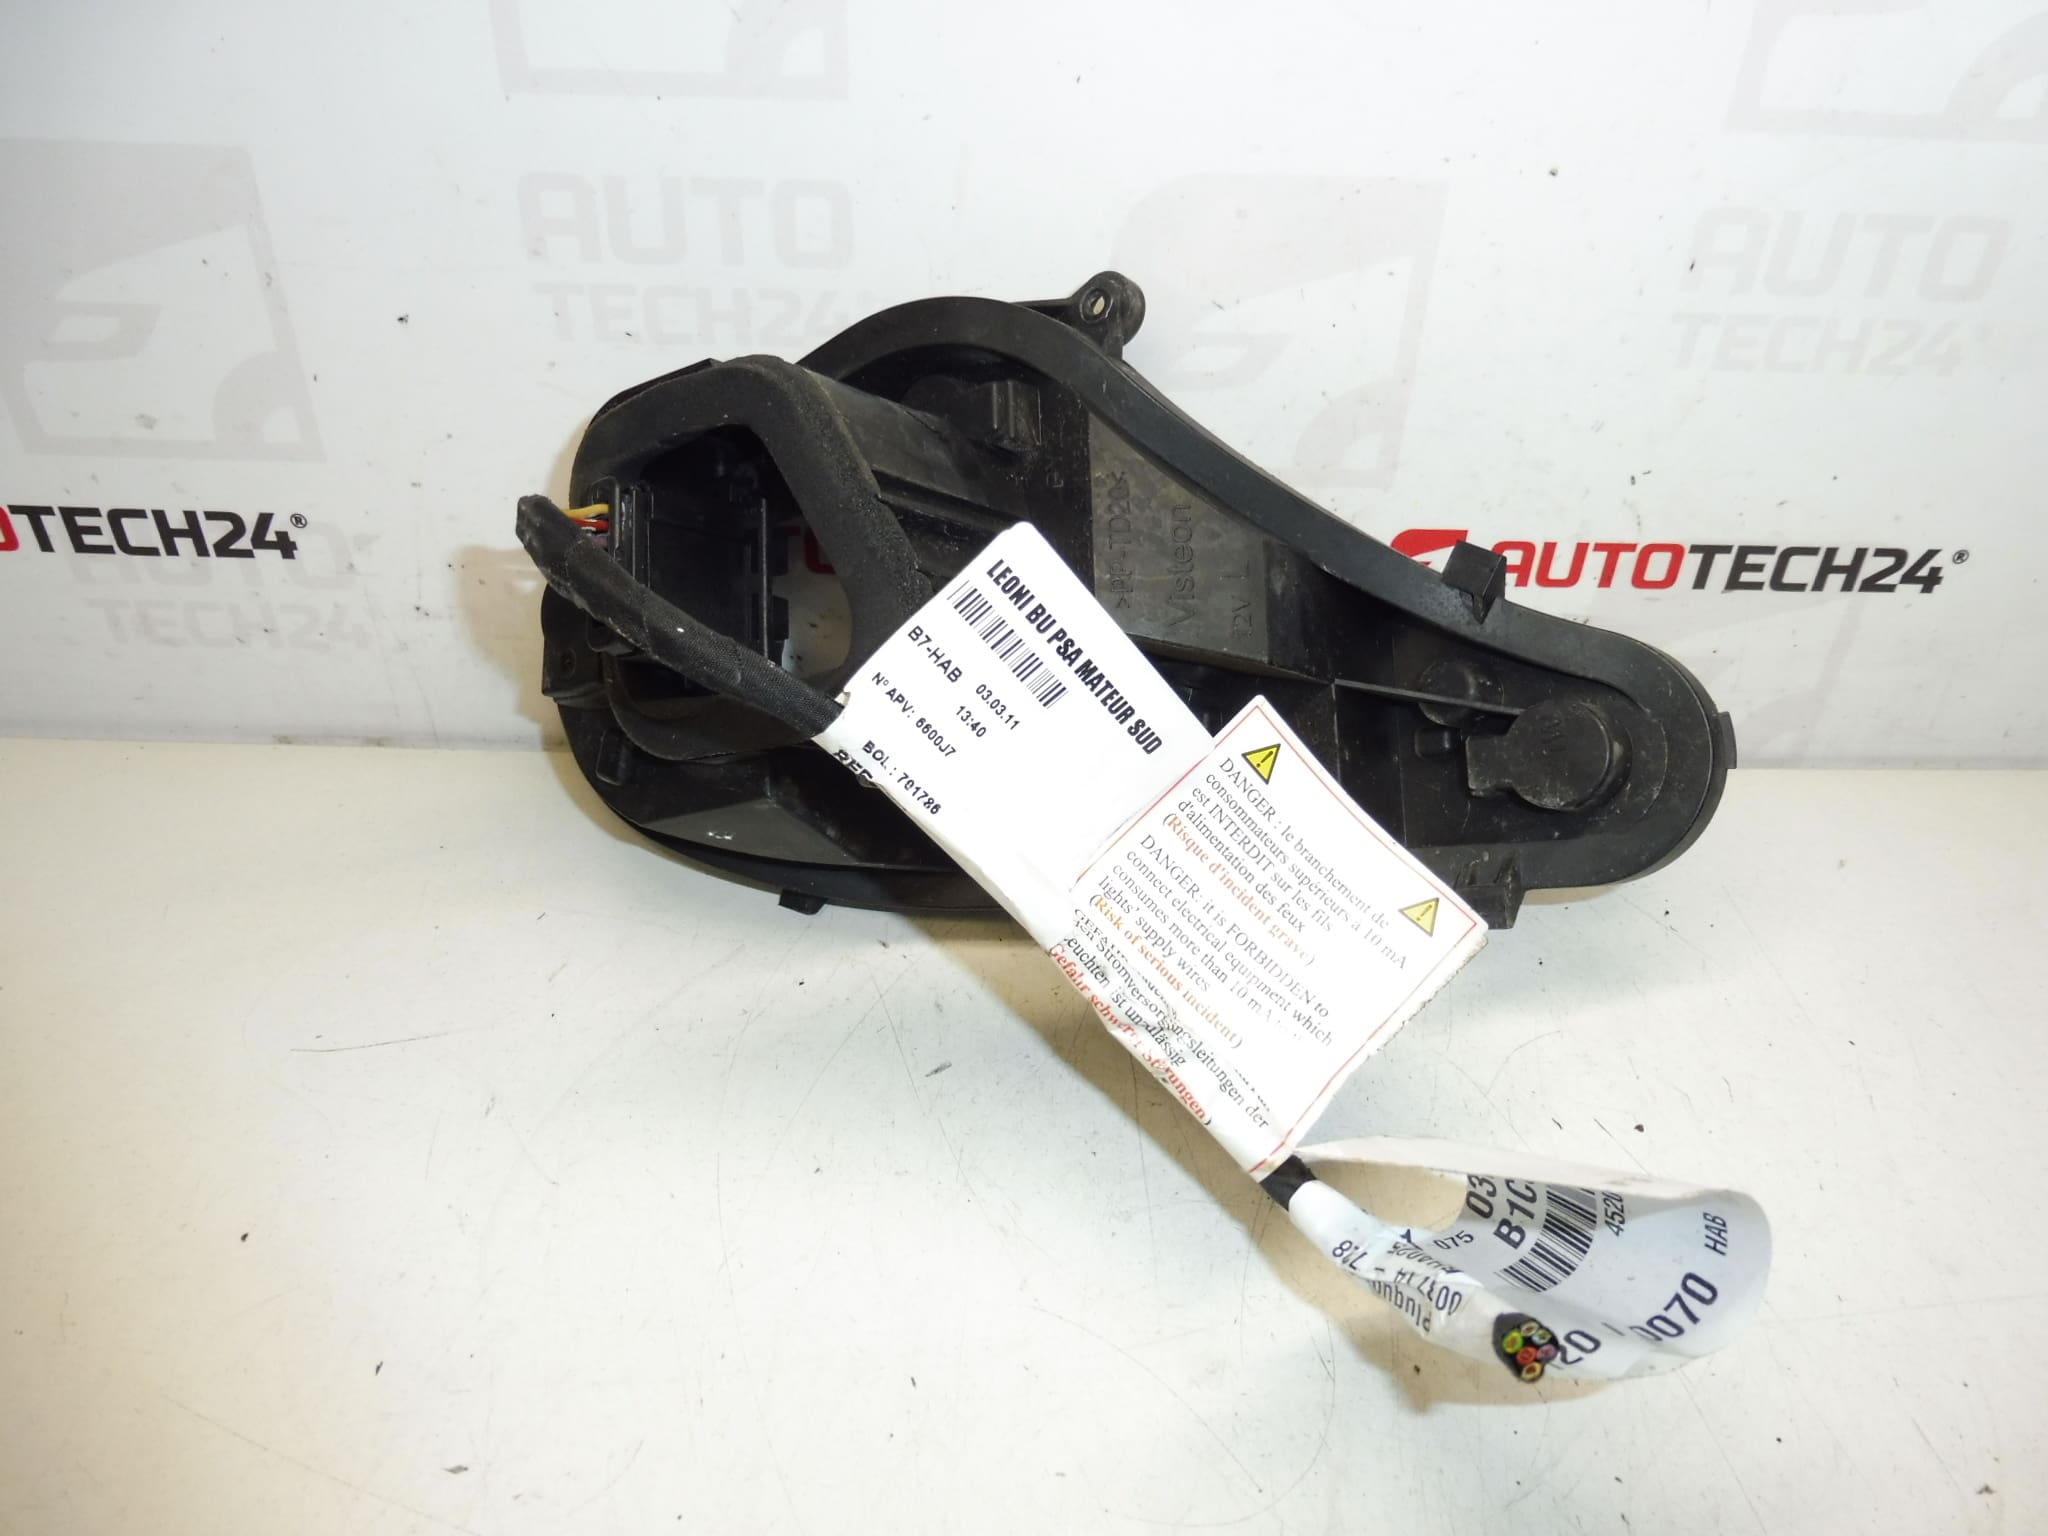
Socket with bulbs for the left rear external lamp CITROEN C4 B7 of the second generation
With a piece of wiring
Part description
This left rear exterior light socket is intended for Citroën C4 II (C4 B7, 2nd generation) cars. It includes a bulb fitting as well as a piece of wiring, which will facilitate replacement in the event of a damaged connector or shorted harness.
The socket is key to the proper functioning of the rear lighting – it ensures reliable contact of the bulbs, their seating and the transmission of power to the individual light circuits. It is suitable as a replacement for burned-out contacts, bent lamp sockets or after leakage into the lamp.
Technical information
- Manufacturer: Stellantis (Citroën / Peugeot)
- Model: Citroën C4 II (B7, 2nd generation)
- Other numbers: not specified
Product codes
- Product codes: 6350KS
Installation recommendations
Generally/typically for a tail light socket, replacement is quick, but it is important to check compatibility by socket shape, connector and bulb placement. The exact steps may vary depending on the specific design of the lamp.
1) Before assembly
- Compare the new socket with the old one: shape, latch, position of bulbs, connector and length of included wiring.
- Check the condition of the socket contacts – they must not be charred, oxidized or squeezed.
- Check for leaks (traces of moisture/oxidation) in the lamp. If so, resolve the cause or the error will return.
- If a bulb socket is included, inspect the bulbs visually (filament, socket, bulb blackening).
2) Necessary tools and materials
- Basic set of screwdrivers / bits (according to the design of the covers in the case)
- Plastic crowbar for upholstery (for gentle release of covers)
- Gloves, clean cloth
- Contact cleaner (optional, in case of slight oxidation of the connector)
3) Step-by-step assembly procedure
- Turn off the ignition and lights.
- To be safe, disconnect the battery (especially if you are dealing with a short/brown connectors).
- Access the rear lamp from the luggage compartment side (remove cover/upholstery depending on design).
- Disconnect the electrical connector from the socket (gently loosen the fuse, do not pull on the cables).
- Release the socket from the lamp – typically by twisting/unlocking the latch and pulling it out.
- Check the inside of the lamp and the contact surfaces: they must not be damp, dirty or damaged.
- Insert the new socket into the lamp in the correct position and lock it in place.
- Connect the connector; make sure it is snapped and the wiring is not stretched or pinched.
- Put back the covers/upholstery.
- Connect the battery (if disconnected).
-
4) Post-assembly checks and functional test verification
- Verify the function of all the rear light modes that the given lamp contains (typically contour, brake, direction, or fog/reversing depending on the design).
- Check that the bulbs light up steadily (without flickering) and that the sockets are firmly in place.
- After driving for a short time, visually check again that the connector is not loose and that the lamp does not heat up abnormally.
5) The most common assembly mistakes + how to avoid them
- Incorrect seating of the base → insert the base in the correct position and always tighten/turn it all the way to the stop.
- Pull on the cables when disconnecting → always release the connector by the body of the connector, not the wires.
- Ignoring moisture in the lamp → leakage causes oxidation and overheating of the contacts; remove the cause first.
- Using unsuitable bulbs → stick to the type that was installed in the lamp; a bad bulb can damage the contacts or cause a malfunction.
Reasons why the part is damaged
- Leaking into the rear lamp and subsequent oxidation of the contacts.
- Overheating of the contacts (higher transition resistance, loose bulb seat, burnt surfaces).
- Incompetent handling when changing light bulbs (bent contacts, cracked latches, damaged connector).
- Aging of the material (plastic brittleness, tired flexible contacts).