
Description
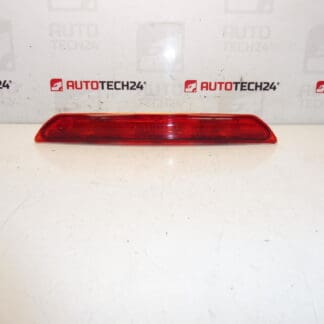
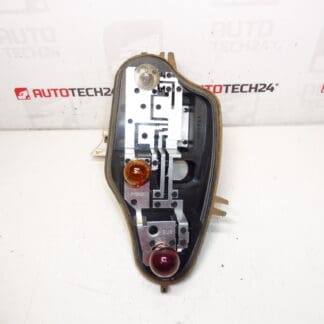
Bulb socket for the right rear lamp in the fender for Citroën C3 II A51 cars
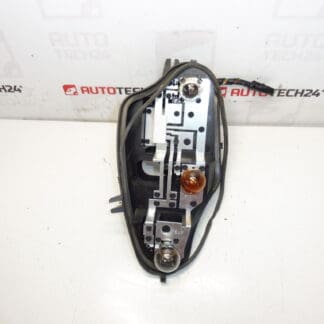
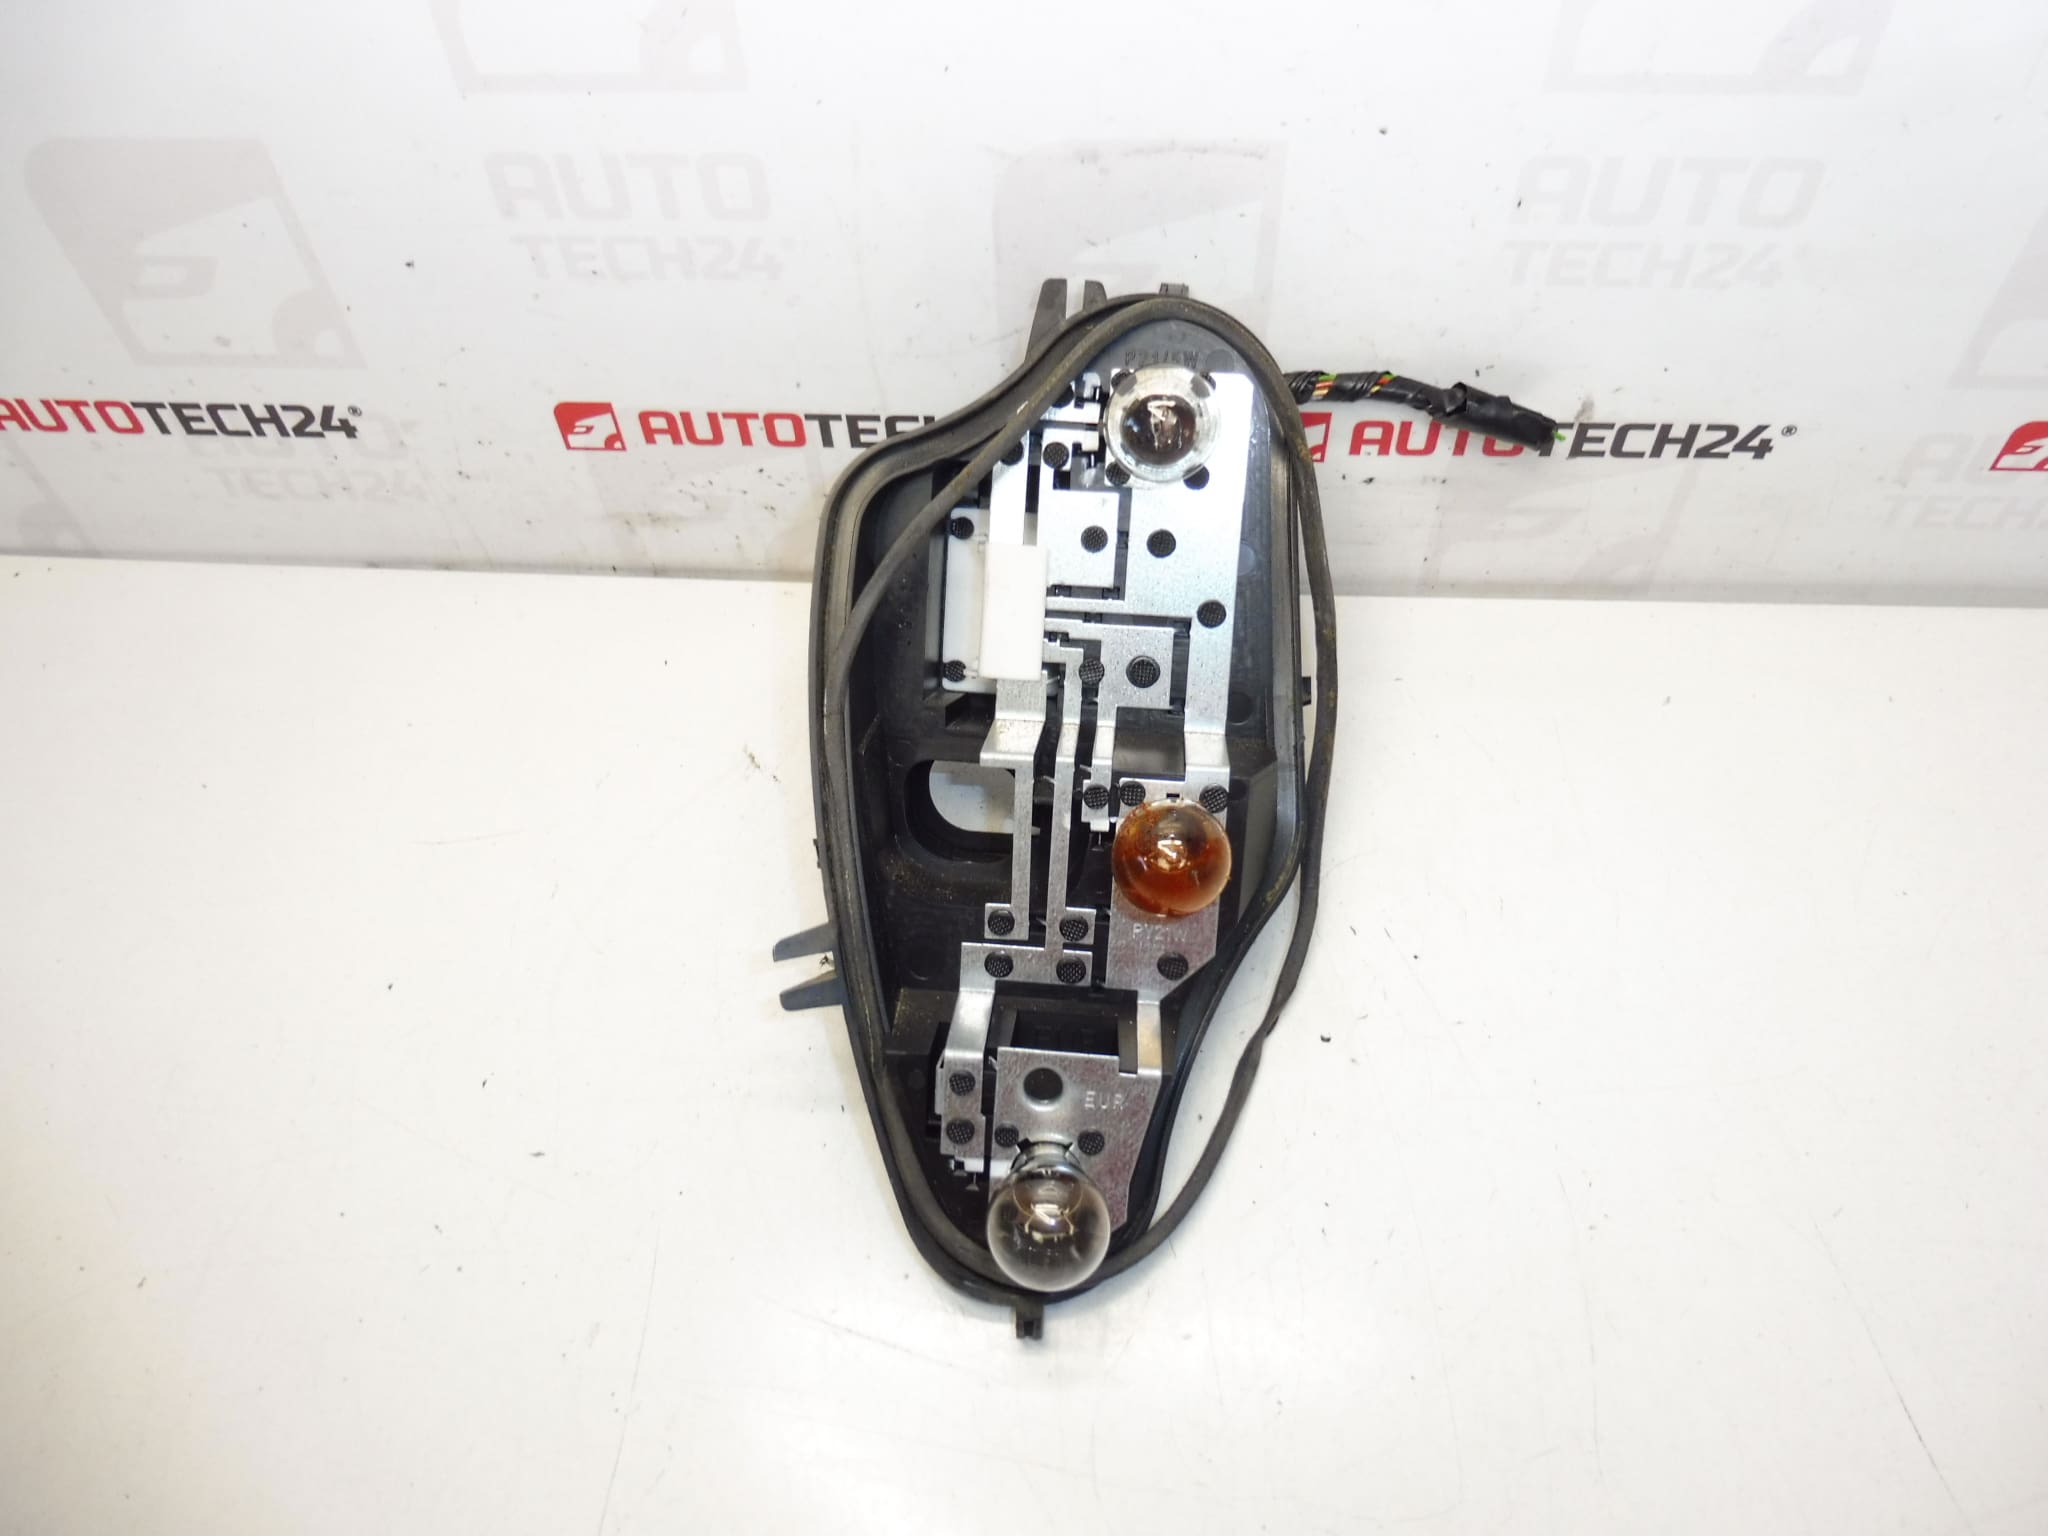
With a piece of wiring
Part description
This bulb socket 6351KQ is intended for the right rear fender lamp and is suitable for Citroën C3 II A51 cars. This is a used original Stellantis Citroën Peugeot group car part which comes with a piece of wiring which can facilitate the replacement of a damaged or non-functional original part.
The rear light socket is an important part of the lamp wiring. It ensures the correct seating of the bulbs and their electrical connection, so it has a direct effect on the reliable function of the rear lighting. If the original socket shows signs of overheating, oxidized contacts or damaged connectors, replacing it with a well-preserved original part is a practical solution.
Technical information
- Manufacturer: Stellantis Citroën Peugeot
- Model: Citroën C3 II A51
- Other numbers: 6351KQ
Product codes
- Product codes: 6351KQ
- Models: Citroën C3 II
Installation recommendations
Generally/typically for rear lamp bulb socket replacement, the exact procedure may vary depending on the specific design of the car and the lamp.
1) Before assembly
- Check that the new used part matches the old socket in terms of shape, fit, contact layout and connector type.
- Compare the length and condition of the attached piece of wiring.
- Inspect the contacts for burnt, corroded or mechanically damaged contacts.
- Check the lamp itself for damage where the base fits.
- If original bulbs are used, check their condition and undamaged sockets.
2) Necessary tools and materials
- Basic set of hand tools
- Screwdriver or plastic crowbar depending on type of access
- Work gloves
- Electrical contact cleaner
- Clean cloth
- Or a multimeter for basic power and contact checks
3) Step-by-step assembly procedure
- Turn off the ignition and secure the vehicle against movement.
- Access the rear lamp compartment according to the normal procedure for the given car model.
- Carefully disconnect the electrical connector from the original socket.
- Remove the old socket from the lamp so as not to damage the plastic locks or the seating surfaces.
- Compare the old and new part including connectors, contacts and fasteners.
- If necessary, gently clean the connector and contact surfaces with electrical contact cleaner.
- If you install the bulbs in a new socket, check that they are properly seated and undamaged.
- Insert the new socket into the lamp and seat it evenly without force.
- Connect the electrical connector so that the connection is tight and free of play.
- Make sure the wiring is not pinched, broken or stretched.
- Reinstall any removed covers or access parts.
- When finished, turn on the lights and verify the operation of all light modes of the tail lamp.
-
4) Post-assembly checks and test drive/function verification
- Check that the lights work stably without dropouts.
- Verify that the socket in the lamp is properly seated and does not move.
- Watch that the connector or contacts do not get excessively hot during operation.
- After a short ride, visually inspect the seat of the part and the condition of the wiring again.
5) The most common assembly mistakes + how to avoid them
- Part exchange – always carefully compare the part number and socket design before assembly.
- Insufficiently inserted connector – check for a firm click after connection.
- Damage to plastic mounts – during disassembly and assembly proceed without excessive force.
- Leaving oxidized contacts – clean and check contacts before final assembly.
- Pinched wiring – after assembly, check that the cable is not pinched or kinked anywhere.
Reasons why the part is damaged
- Tanning or overheating of contacts due to long-term electrical load
- Oxidation of contacts caused by moisture
- Mechanical damage when changing bulbs or handling the lamp
- Loose connectors and subsequent transition resistance
- Age of material and fatigue of plastic parts
- Cabling damage in the downstream part of the bundle