Description
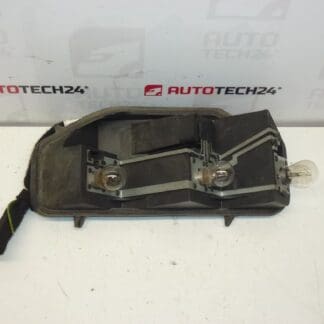
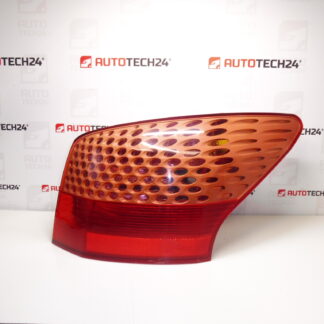
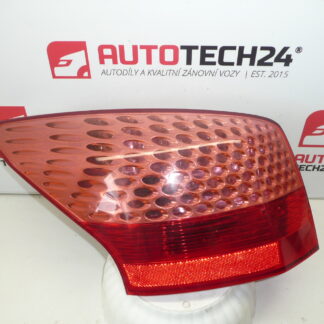
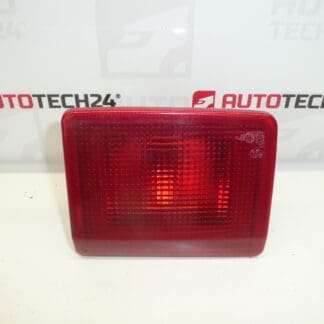
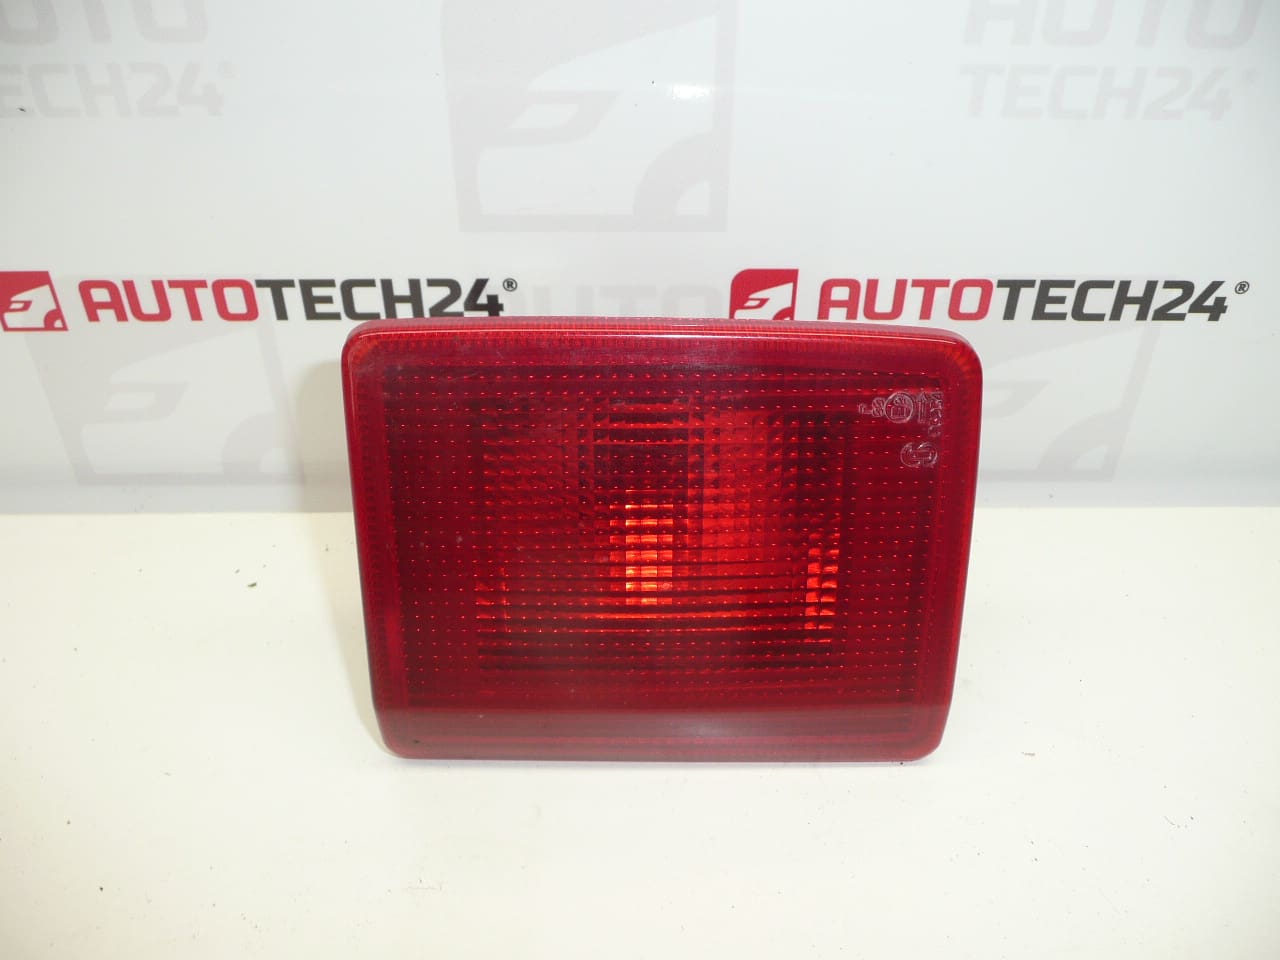
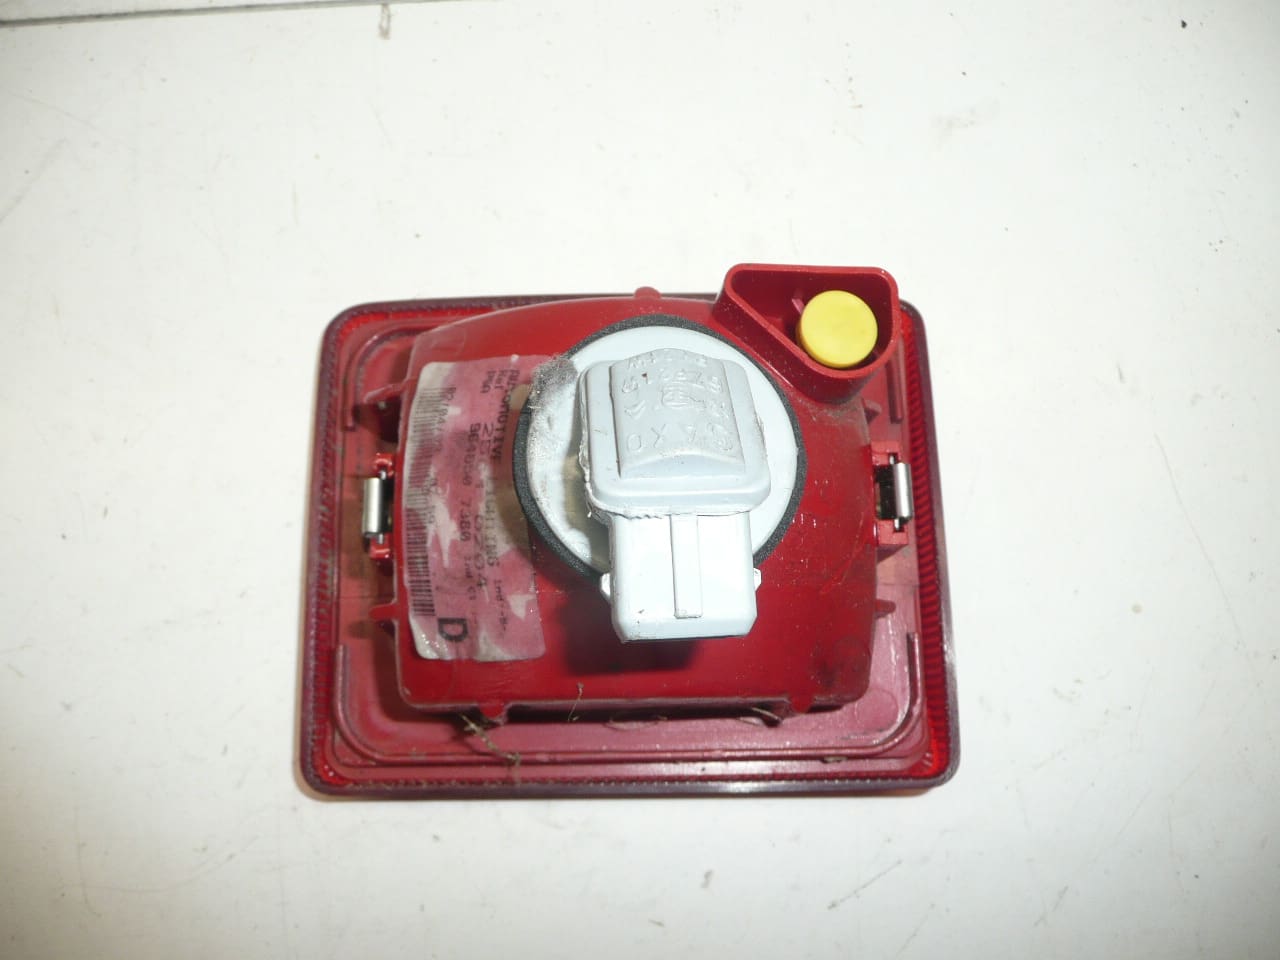
Right rear fog light for Peugeot 407 SW. Complete with socket; bulb functionality not guaranteed.
This right rear fog light assembly is designed for the Peugeot 407 SW estate and is supplied as a complete unit including the lamp holder. It is a direct replacement part often sought by mechanics and DIY enthusiasts by OE numbers, making repair and sourcing faster. The unit restores rear fog light function after damage or failure and ensures compliance with road visibility requirements when fitted correctly.
Technical Information
- Manufacturer: Stellantis / Peugeot
- Model: Peugeot 407 SW
- Product Codes: 9646507380; 6351T4
- Other Numbers: No additional numbers provided
Installation Recommendations
Installation is straightforward for a trained mechanic or an experienced DIYer. Typical steps:
- Access the rear lamp area from the luggage compartment by removing the trim or cover.
- Unscrew the retaining bolts/clips securing the fog lamp housing and carefully pull the unit out.
- Disconnect the electrical connector and remove the old assembly (or socket) from the vehicle.
- Fit the replacement unit, connect the socket, and secure the housing. Ensure gaskets and seals sit correctly to prevent water ingress.
- Test the fog lamp function before reassembling interior trim. Check polarity and connector condition if the lamp does not illuminate.
Use basic hand tools, wear gloves to protect the lens, and inspect the connector for corrosion. If seals are damaged, replace them or apply suitable sealant to maintain watertight integrity.
Common Failure Causes
- Water Ingress: Moisture entering the housing causes corrosion of contacts or short circuits.
- Corroded Connectors: Road salt and condensation lead to poor electrical contact and intermittent function.
- Bulb Failure: Filament burnout is common; note that bulb functionality is not guaranteed with this unit.
- Physical Damage: Rear impacts or road debris can crack the lens or break mounting points.
- Wiring Harness Faults: Chafing or connector damage can interrupt power supply to the lamp.
Durability And Replacement Advice
Rear fog lamp assemblies typically last many years but are vulnerable to moisture, vibration and impact. Replace the assembly if the lens is cracked, mounting points are damaged, or if electrical faults persist after checking connectors and fuses. Because the part is often searched by OE number, use the listed product codes to speed up identification and ensure you order the correct unit.
Suitable for professional workshops and competent DIYers who perform exterior light replacements. The item is supplied complete with socket for quick swap; verify bulb condition after installation and replace the bulb if required.