Description
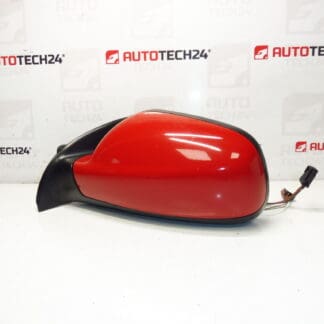
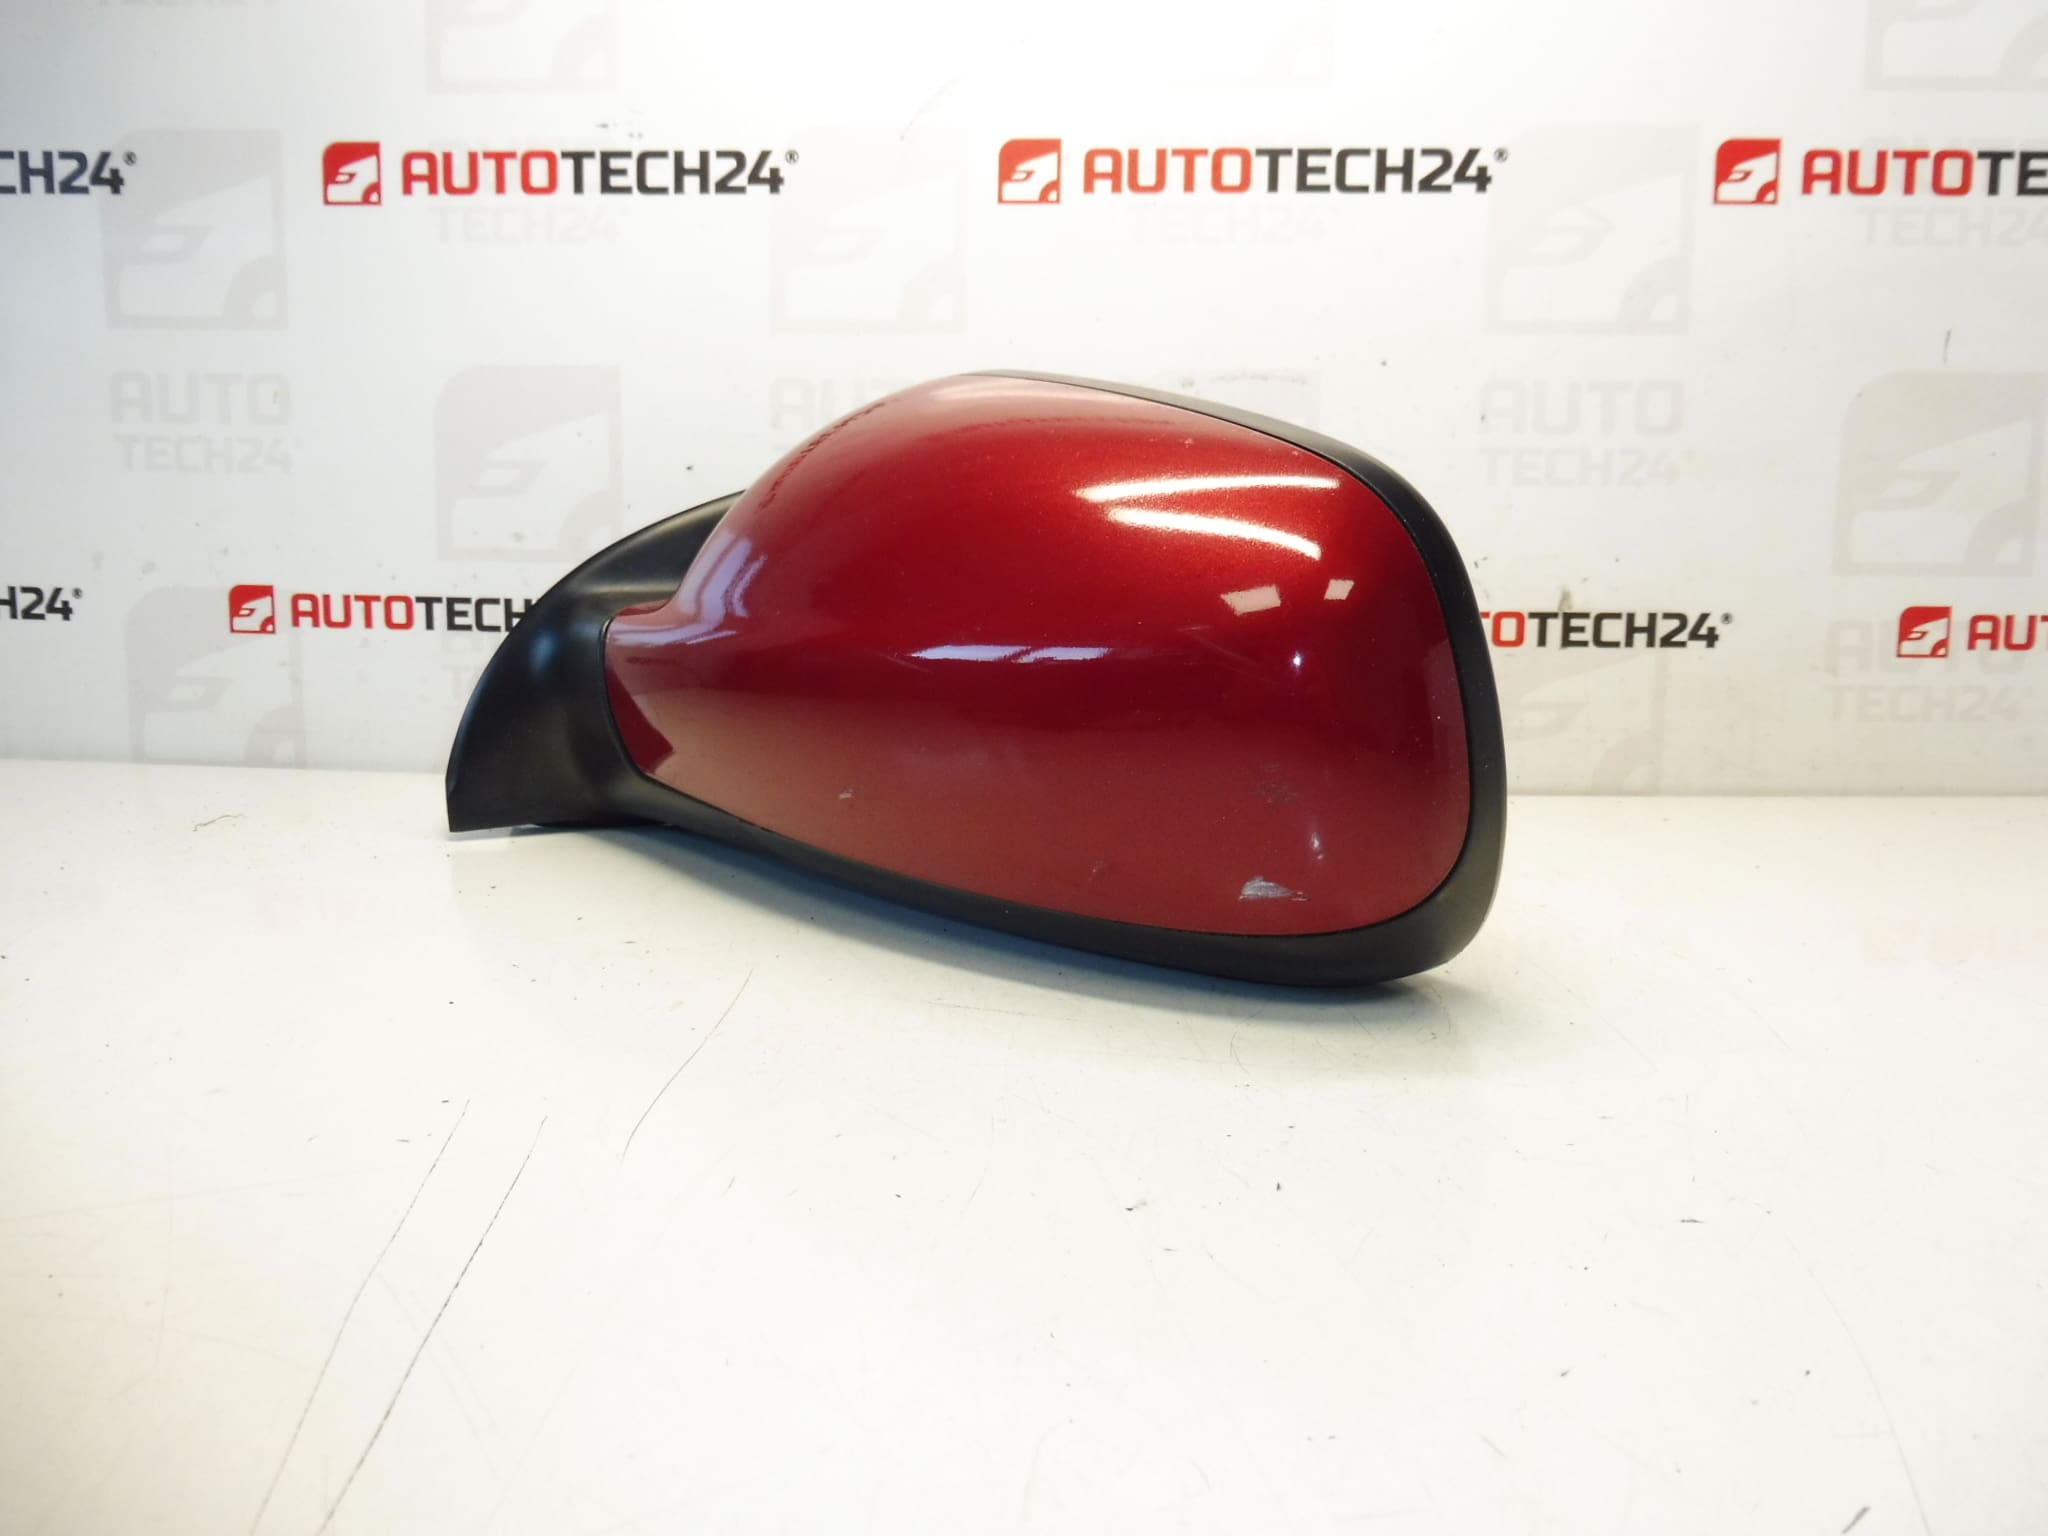
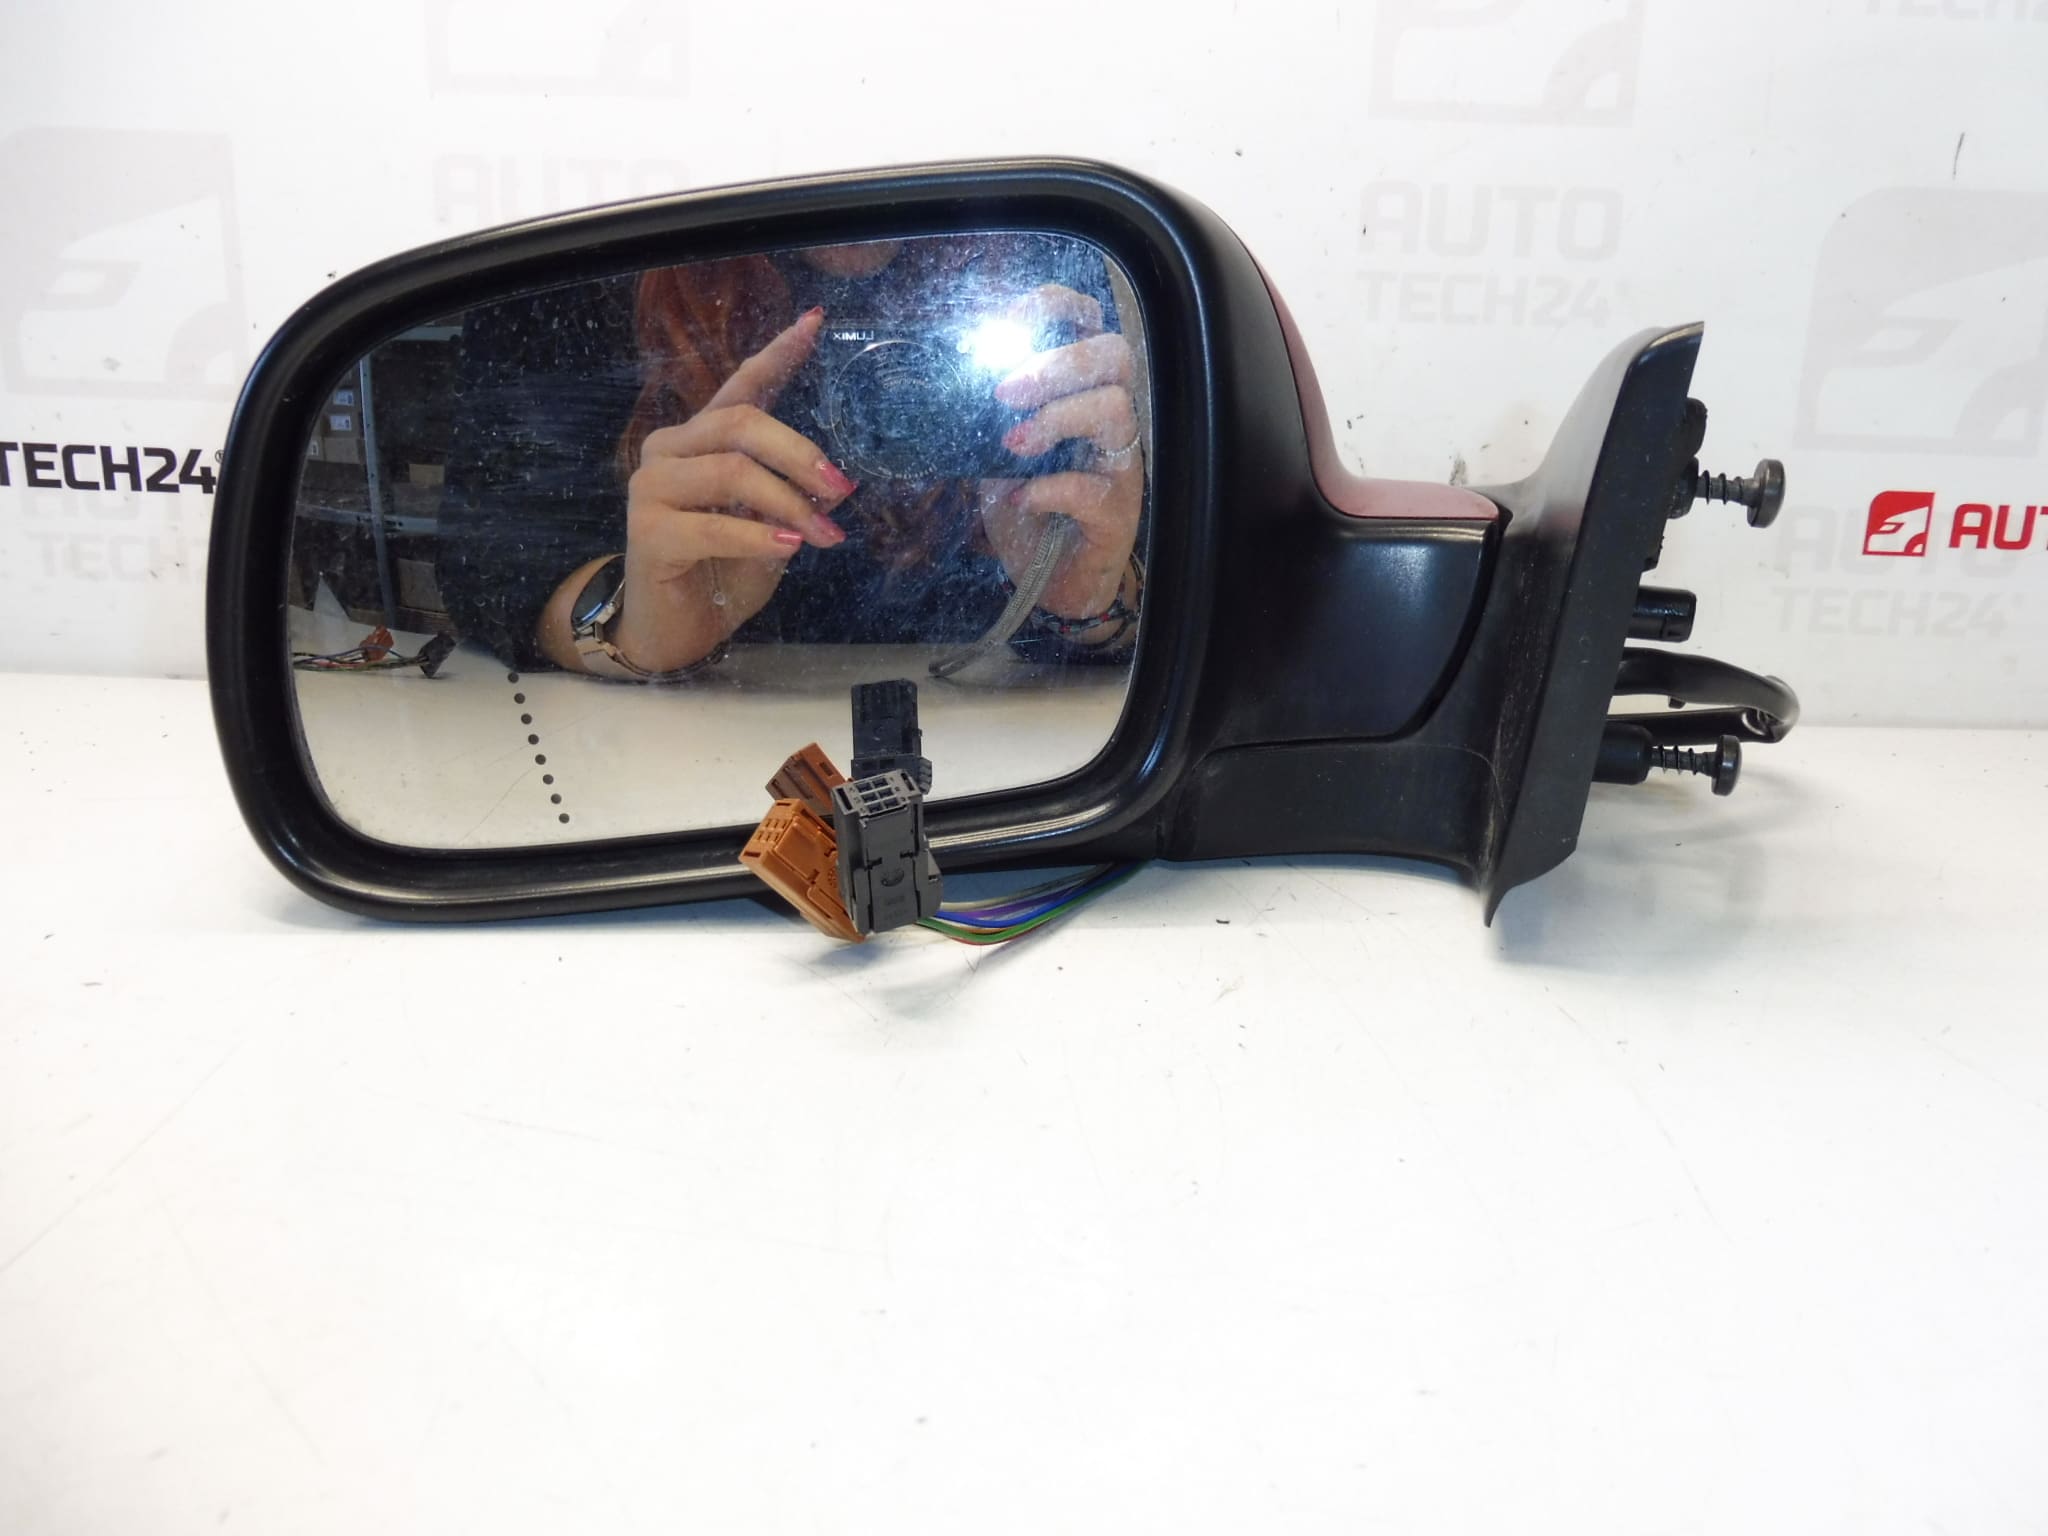
Passenger’s right rear view mirror for PEUGEOT 307 cars
Electrically controlled and heated, electrically foldable to the car, temperature sensor.
Color LKR – BABYLONE RED LACQUER
8 PINS (6+2)
Part description
This used Peugeot 307 right mirror is suitable for repairing a damaged or non-functioning original part without having to look for a new spare part. The advantage is the preservation of the original design, including electric control, heating, electric folding and an integrated temperature sensor. This makes it a practical solution for auto mechanics and DIYers who are looking for a part with the designation 8149VT.
The mirror is in the passenger’s right design and has an 8 PIN (6+2) connector. The paintwork is LKR – Babylon Red, which can make it easy to change without the need for additional bodywork if it matches the car.
Technical information
- Manufacturer: Stellantis Citroën Peugeot
- Model: Peugeot 307
- Other numbers: LKRD, LKR, 8 PIN (6+2)
Product codes
- Product codes: 8149VT
- Models: Peugeot 307
Installation recommendations
Generally/typically for this type of part, the exact replacement procedure may vary depending on the specific car design and equipment. In the case of an electrically operated and heated folding mirror, it is important to carefully compare the connectors, mountings and equipment of the original and new piece.
1) Before assembly
- Check that this is the right mirror.
- Compare the number of connector pins: 8 PIN (6+2).
- Verify the compatibility of functions with the old part: electric control, heating, electric folding and temperature sensor.
- Compare the shape of the base, attachment, cap and cable routing.
- Before assembly, check the condition of the connector, cables, glass and folding mechanism.
2) Necessary tools and materials
- A common set of hand tools
- Screwdrivers and a plastic crowbar to remove the trim
- Gola set or keys of corresponding size
- Contact cleaner
- Cloth or protective mat against damage to paintwork and trim
3) Step-by-step assembly procedure
- Park the vehicle in a safe place and turn off the ignition.
- It is generally recommended to disconnect the battery, especially when working with electrical connectors.
- Remove the inner cover or part of the trim in the mirror mounting area so that the fasteners and connector can be accessed.
- Disconnect the electrical connector of the original mirror and check its condition.
- Unfasten the old mirror and hold it during removal so that it does not fall and damage the paintwork or the door.
- Compare the disassembled part with the replacement part – especially the mounting, connector, number of pins and equipment.
- Place the replacement mirror in place and align it correctly with the landing surface.
- Install and tighten fasteners evenly without excessive force.
- Connect the electrical connector and make sure it is properly secured.
- Before fully assembling the trim, check the basic functions of the mirror.
- If everything works correctly, refit the covers and the removed trim.
- Perform a final check on the seating, stability and appearance of the part.
-
4) Post-assembly checks and test drive/function verification
- Test electric mirror position adjustment in all directions.
- Verify electric folding function.
- Check the heater function if it can be safely verified.
- Check if the connector shows dropouts when the mirror moves.
- After a short ride, check that the mirror is holding firmly and does not vibrate more than the original part.
5) The most common assembly mistakes + how to avoid them
- Swap the side – always check that it is the right passenger mirror before fitting.
- Connector mismatch – compare pin count and connection arrangement before fixing.
- Overview of different equipment – check the presence of heating, tilting and a temperature sensor.
- Door trim damage – use appropriate plastic tools and proceed with caution.
- Insufficient seating – after installation, check the fit and strength of the attachment.
Reasons why the part is damaged
- Mechanical damage during parking, contact with an obstacle or another vehicle.
- Damage to the folding mechanism due to repeated stress.
- Defective or tired electrical part of control and heating.
- Corrosion or oxidation of contacts in the connector and wiring.
- Cracking of cover, holder or glass due to age, vibration and weather.
- Damage to the temperature sensor or its wiring.