Description
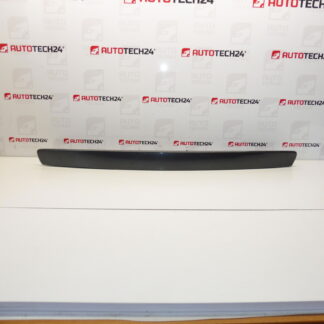
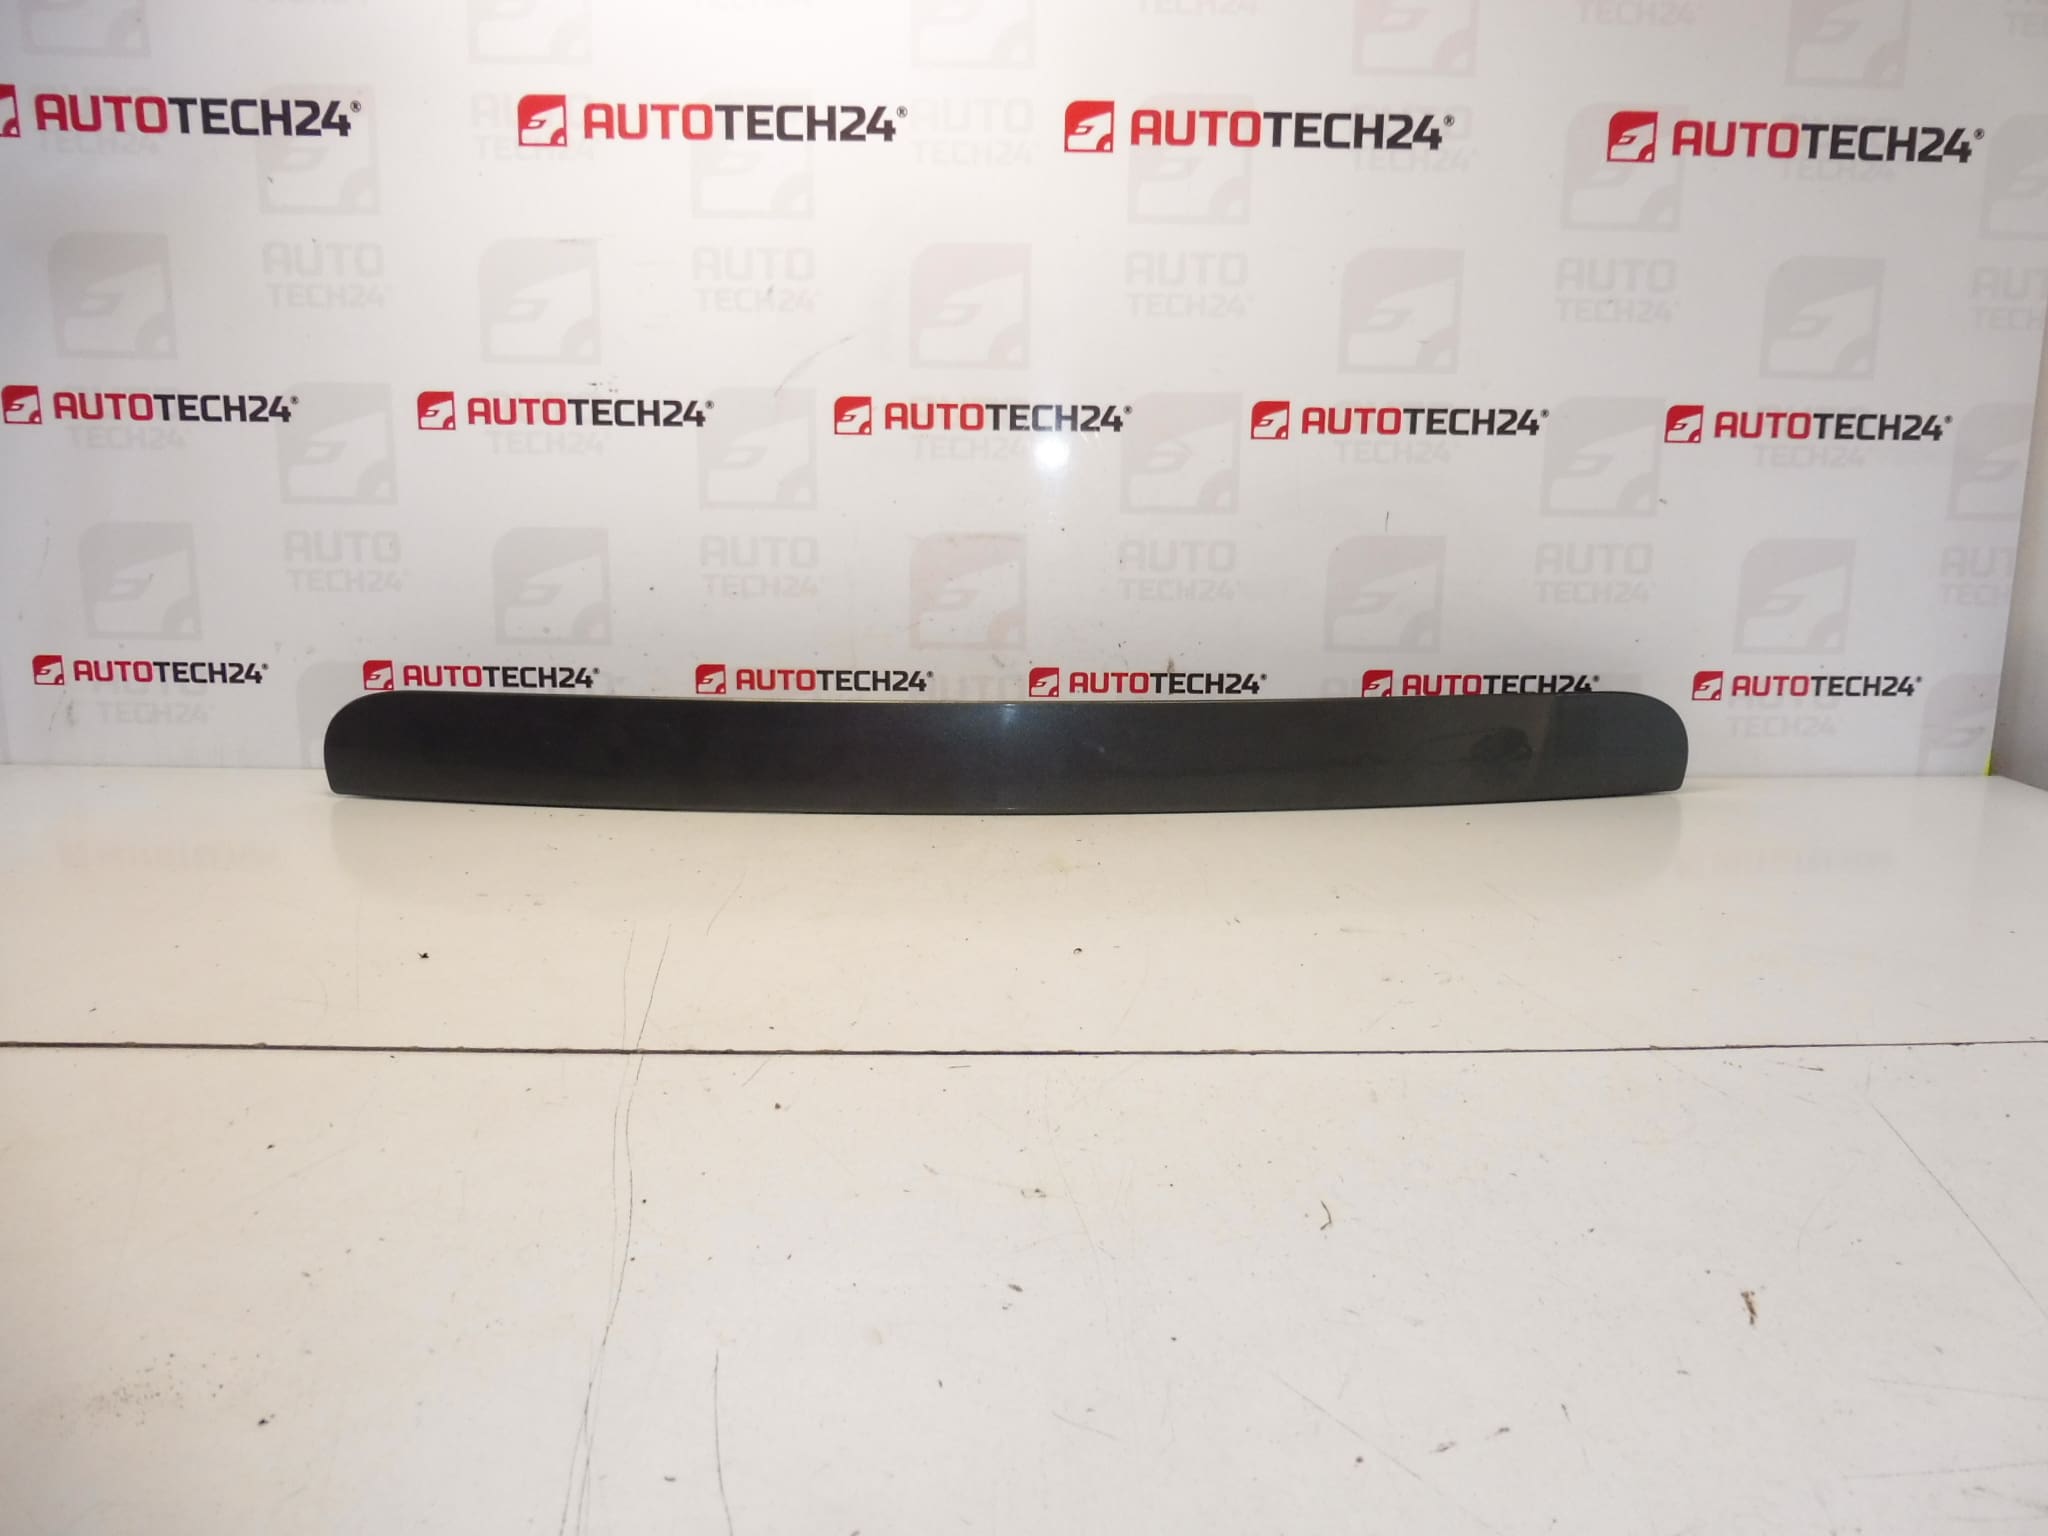
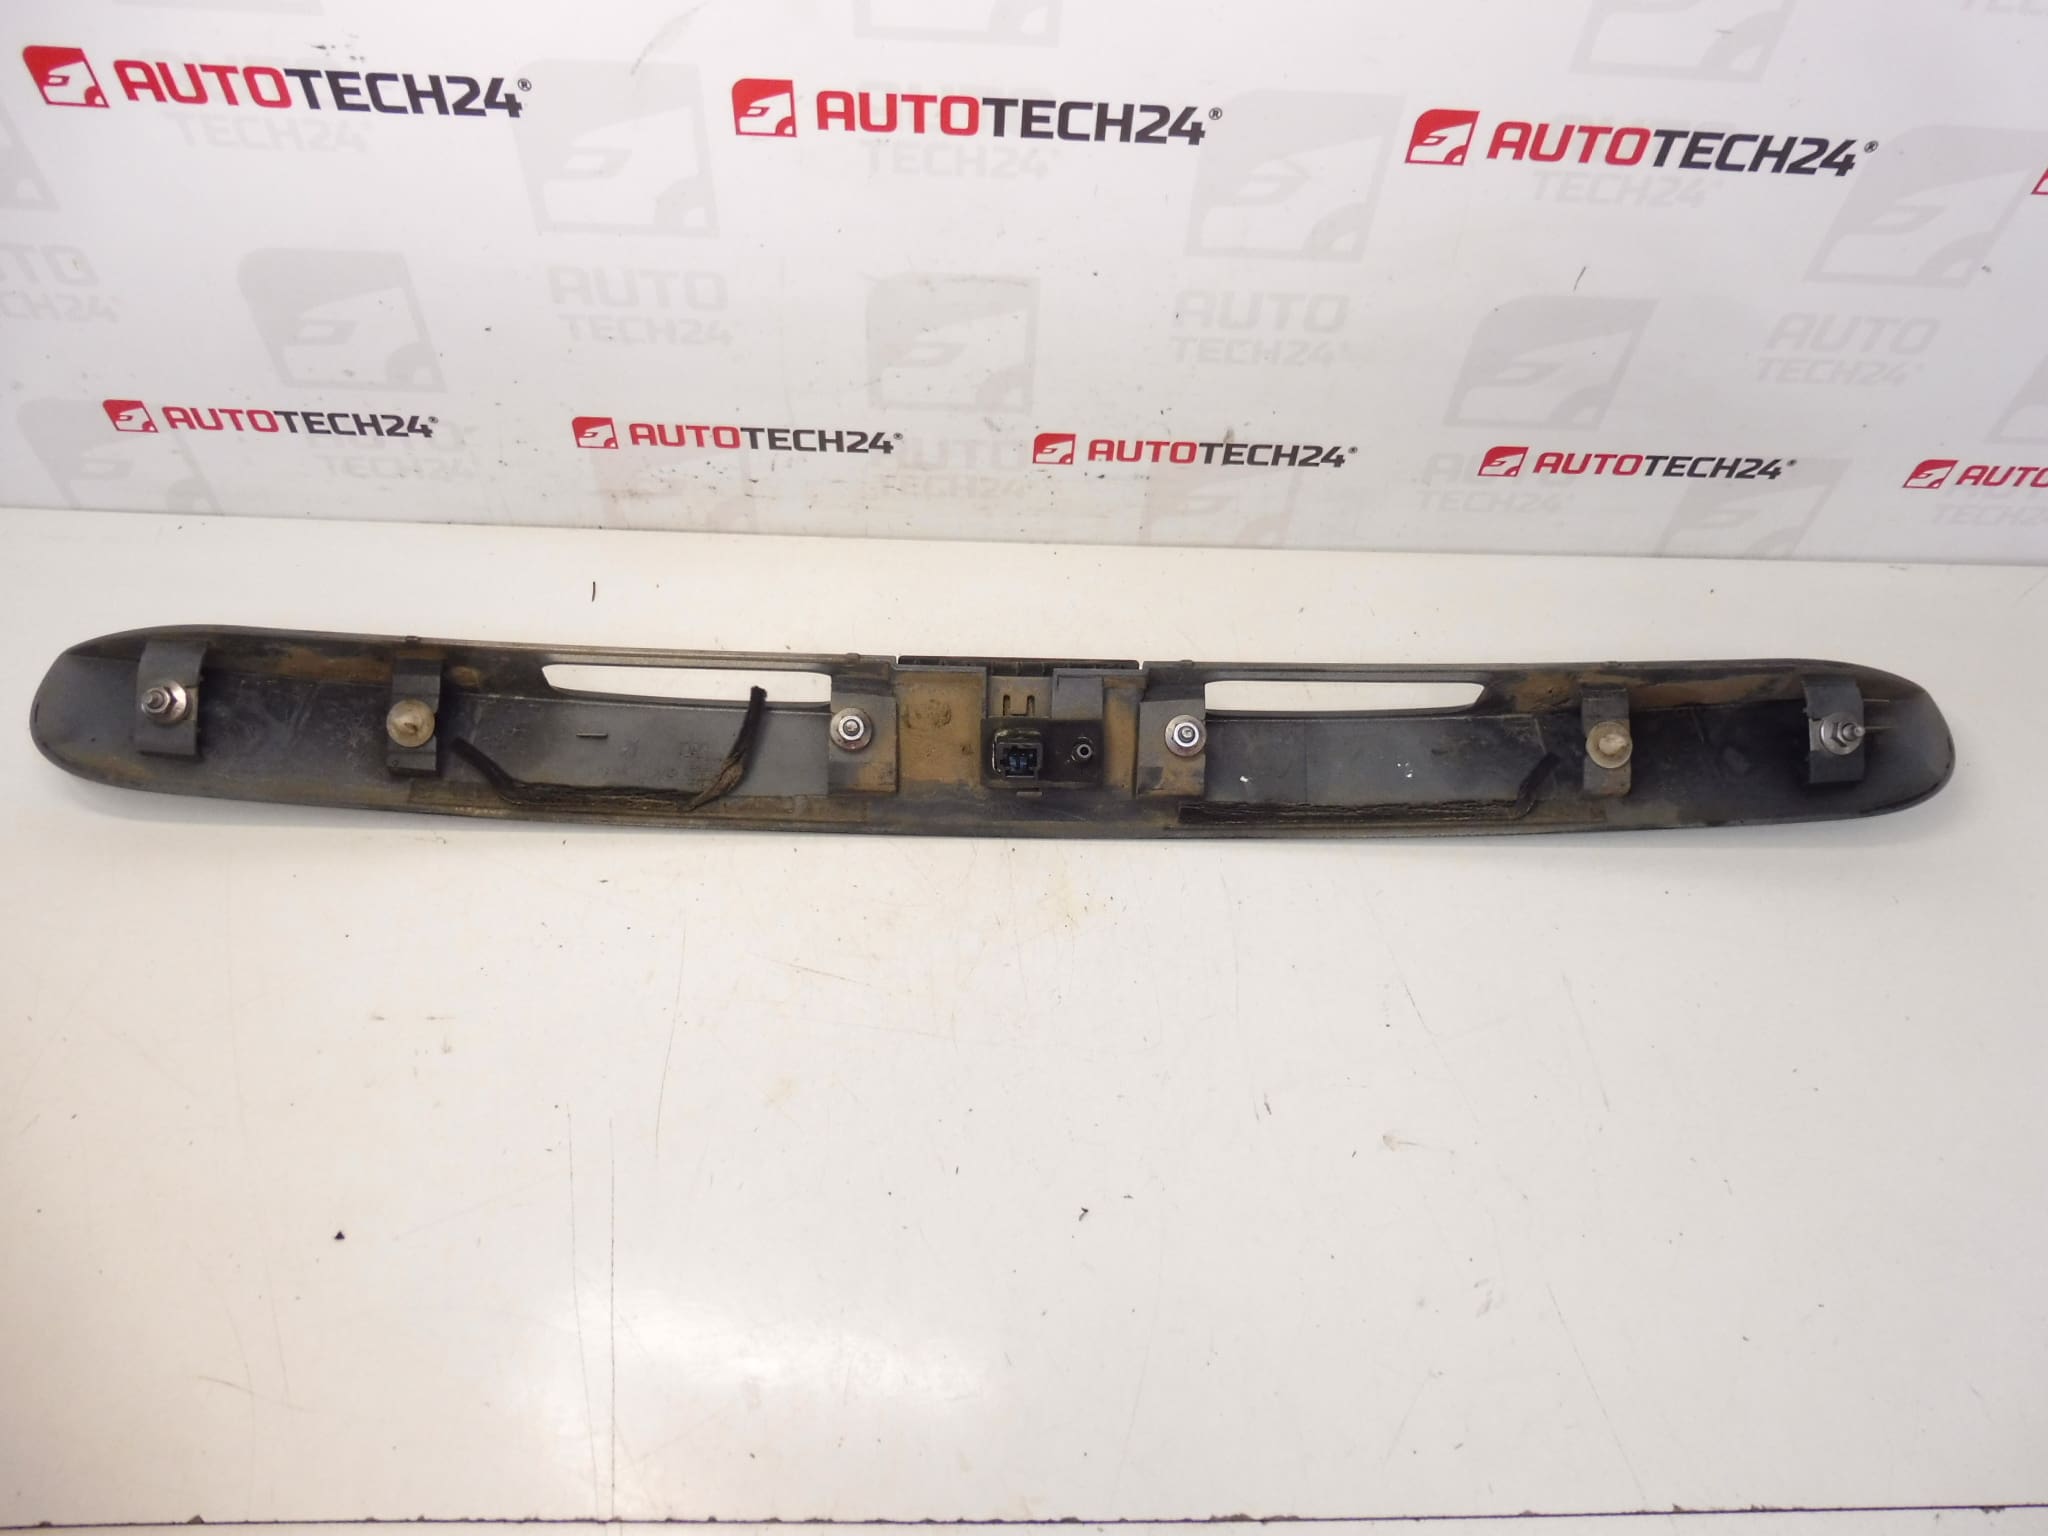
Tailgate Handle For PEUGEOT 207 Hatchback
With Switch For Opening The Tailgate
Color: Green Metallic
Other Colors Available
Description
High-quality replacement tailgate handle for the Peugeot 207 hatchback, featuring an integrated switch for electrically releasing the rear hatch. This OEM-compatible handle (part number 8742L0) is ideal for professional workshops and DIY enthusiasts looking for a straightforward, reliable solution to restore tailgate operation and appearance. The green metallic finish matches certain factory color codes and other color options are available.
Function And Compatibility
The exterior tailgate handle houses the mechanical release mechanism and the electrical switch that signals the central locking or tailgate actuator to open the rear hatch. It is designed for the Peugeot 207 hatchback body style. Common search term: 8742L0. Fits vehicles originally equipped with an exterior tailgate handle with switch for the rear hatch.
How It Is Replaced
Replacement is straightforward for a competent mechanic or an experienced DIYer. Typical steps:
- Open the tailgate and remove the interior trim panel to access the handle mounting area and wiring.
- Disconnect the switch connector and unclip or unscrew the handle fasteners.
- Remove the old handle, fit the new handle in place, secure fasteners and reconnect the switch connector.
- Reinstall the trim panel, test the switch and tailgate operation (lock/unlock and manual open) to ensure correct function.
Durability And Common Failure Causes
Tailgate handles typically endure many years of service, but failure is most often caused by mechanical wear, plastic fatigue or breakage, and water ingress that corrodes mechanical parts or damages the switch contacts. Frequent use, exposure to road salt, and impact or forceful closing of the hatch accelerate wear. Electrical failures generally stem from moisture in the switch connector or worn contacts.
Installation Recommendations
- Disconnect the battery before working with electrical connectors to avoid short circuits and accidental actuation.
- Use correct trim tools to avoid damaging interior panels and plastic clips.
- Inspect the tailgate latch and striker for wear; lubricate moving parts with a suitable grease after installation.
- Apply dielectric grease to the electrical connector contacts if moisture ingress is suspected or for added protection.
- Test the switch operation and central locking function after installation. Replace any damaged clips or fasteners to ensure a secure fit.
Technical Information
- Manufacturer: Stellantis / Peugeot
- Model: Peugeot 207 Hatchback
- Product Codes: 8742L0
- Additional Numbers: N/A
Why This Part Fails Most Often
Failure usually results from mechanical stress and environmental exposure: plastic components can crack or snap from repeated use or impact, and the electrical switch can fail due to corrosion or ingress of water and dirt. Misalignment of the latch or damaged mounting points can also cause the handle to malfunction.
Choose part 8742L0 to restore reliable tailgate opening on your Peugeot 207 hatchback. Designed for easy installation and long-lasting performance, this handle is a practical replacement for worn or damaged originals.