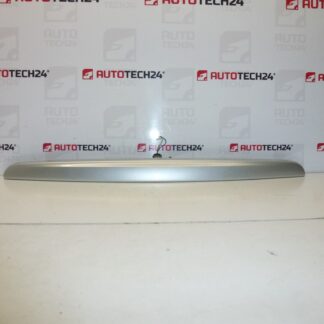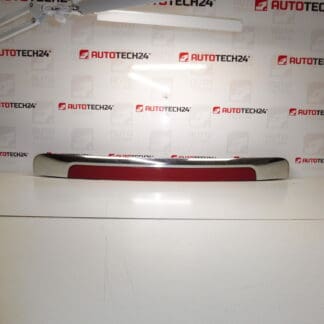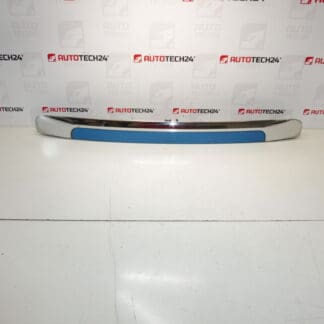
Description
Rear tailgate handle for Citroën C3 with switch for opening the tailgate
Color Black Cornelie
This replacement rear tailgate handle with integrated opening switch is designed for Citroën C3 vehicles and is a direct-fit part for applications listed by the OEM reference numbers. Ideal for professional workshops and experienced DIYers, the unit combines a factory-style appearance with a ready-to-install electrical switch for the tailgate release. Many buyers search by product code, so the listed references make compatibility checks and fast ordering straightforward.
Technical Information
- Manufacturer: Citroën (Stellantis)
- Model: Citroën C3 (tailgate/boot application)
- Product Codes: 9643468477A, 9643468477B, 9680701777, 8742N9
- Additional Numbers: 8742C9, 8742P0
Function And Fitment
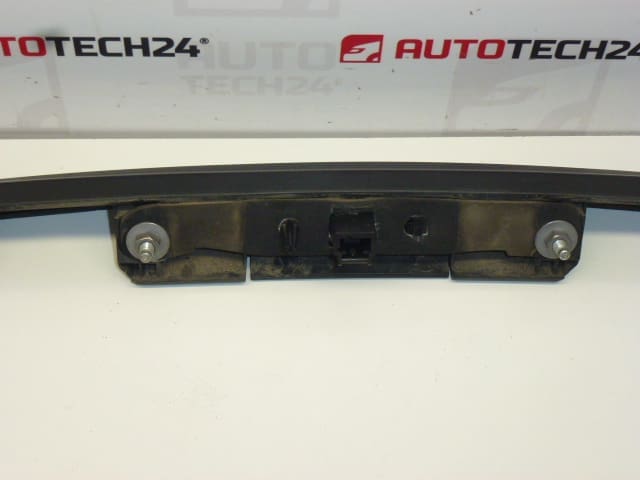
The part serves as the exterior handle for the rear tailgate and houses the electrical switch that actuates the tailgate release. It mounts to the outer tailgate panel and interfaces with the latch mechanism and wiring harness. When correctly fitted, it restores mechanical leverage and the electrical signal required to open the tailgate from the exterior or via remote/central locking systems where applicable.
Installation Recommendations
- Tools Needed: Basic socket set, trim removal tools, Phillips screwdriver, small torque wrench if available.
- Procedure Overview: Open the tailgate, remove the inner trim panel to access the handle fasteners, disconnect the electrical connector for the switch, remove mounting screws or bolts, transfer any retaining clips or lock cylinder if required, fit the new handle and fasten securely, reconnect the wiring, reattach trim, and test the operation several times.
- Best Practice: Inspect the latch striker and lubricate moving latch components before reassembly. Replace any damaged clips or deteriorated seals to prevent water ingress into the switch area.
- Safety Tip: Disconnect the vehicle battery if you will be working near electrical connectors for prolonged periods or if the vehicle manufacturer recommends doing so.
Why The Part Fails Most Often
- Mechanical Wear: Repeated use causes plastic and pivot components to wear or crack, especially on older vehicles.
- Impact Damage: Rear-end impacts or heavy loads on the tailgate can deform or break the handle assembly.
- Environmental Factors: UV exposure and temperature cycles make plastic brittle over years, while water ingress can corrode internal switch contacts.
- Electrical Failure: The integrated switch can fail from moisture, corrosion, or connector damage, leading to intermittent or complete loss of opening function.
- Associated Latch Problems: Sometimes the handle appears faulty while the actual issue is a worn latch, cable, or actuator—inspect the whole system when diagnosing.
Because this item is commonly searched by its OEM part numbers, check the listed codes above when ordering to ensure correct fitment. Suitable for workshops and competent DIY mechanics who can remove interior trim and handle small electrical connectors. Replace with the matching reference to restore reliable tailgate operation and factory fitment.