Description
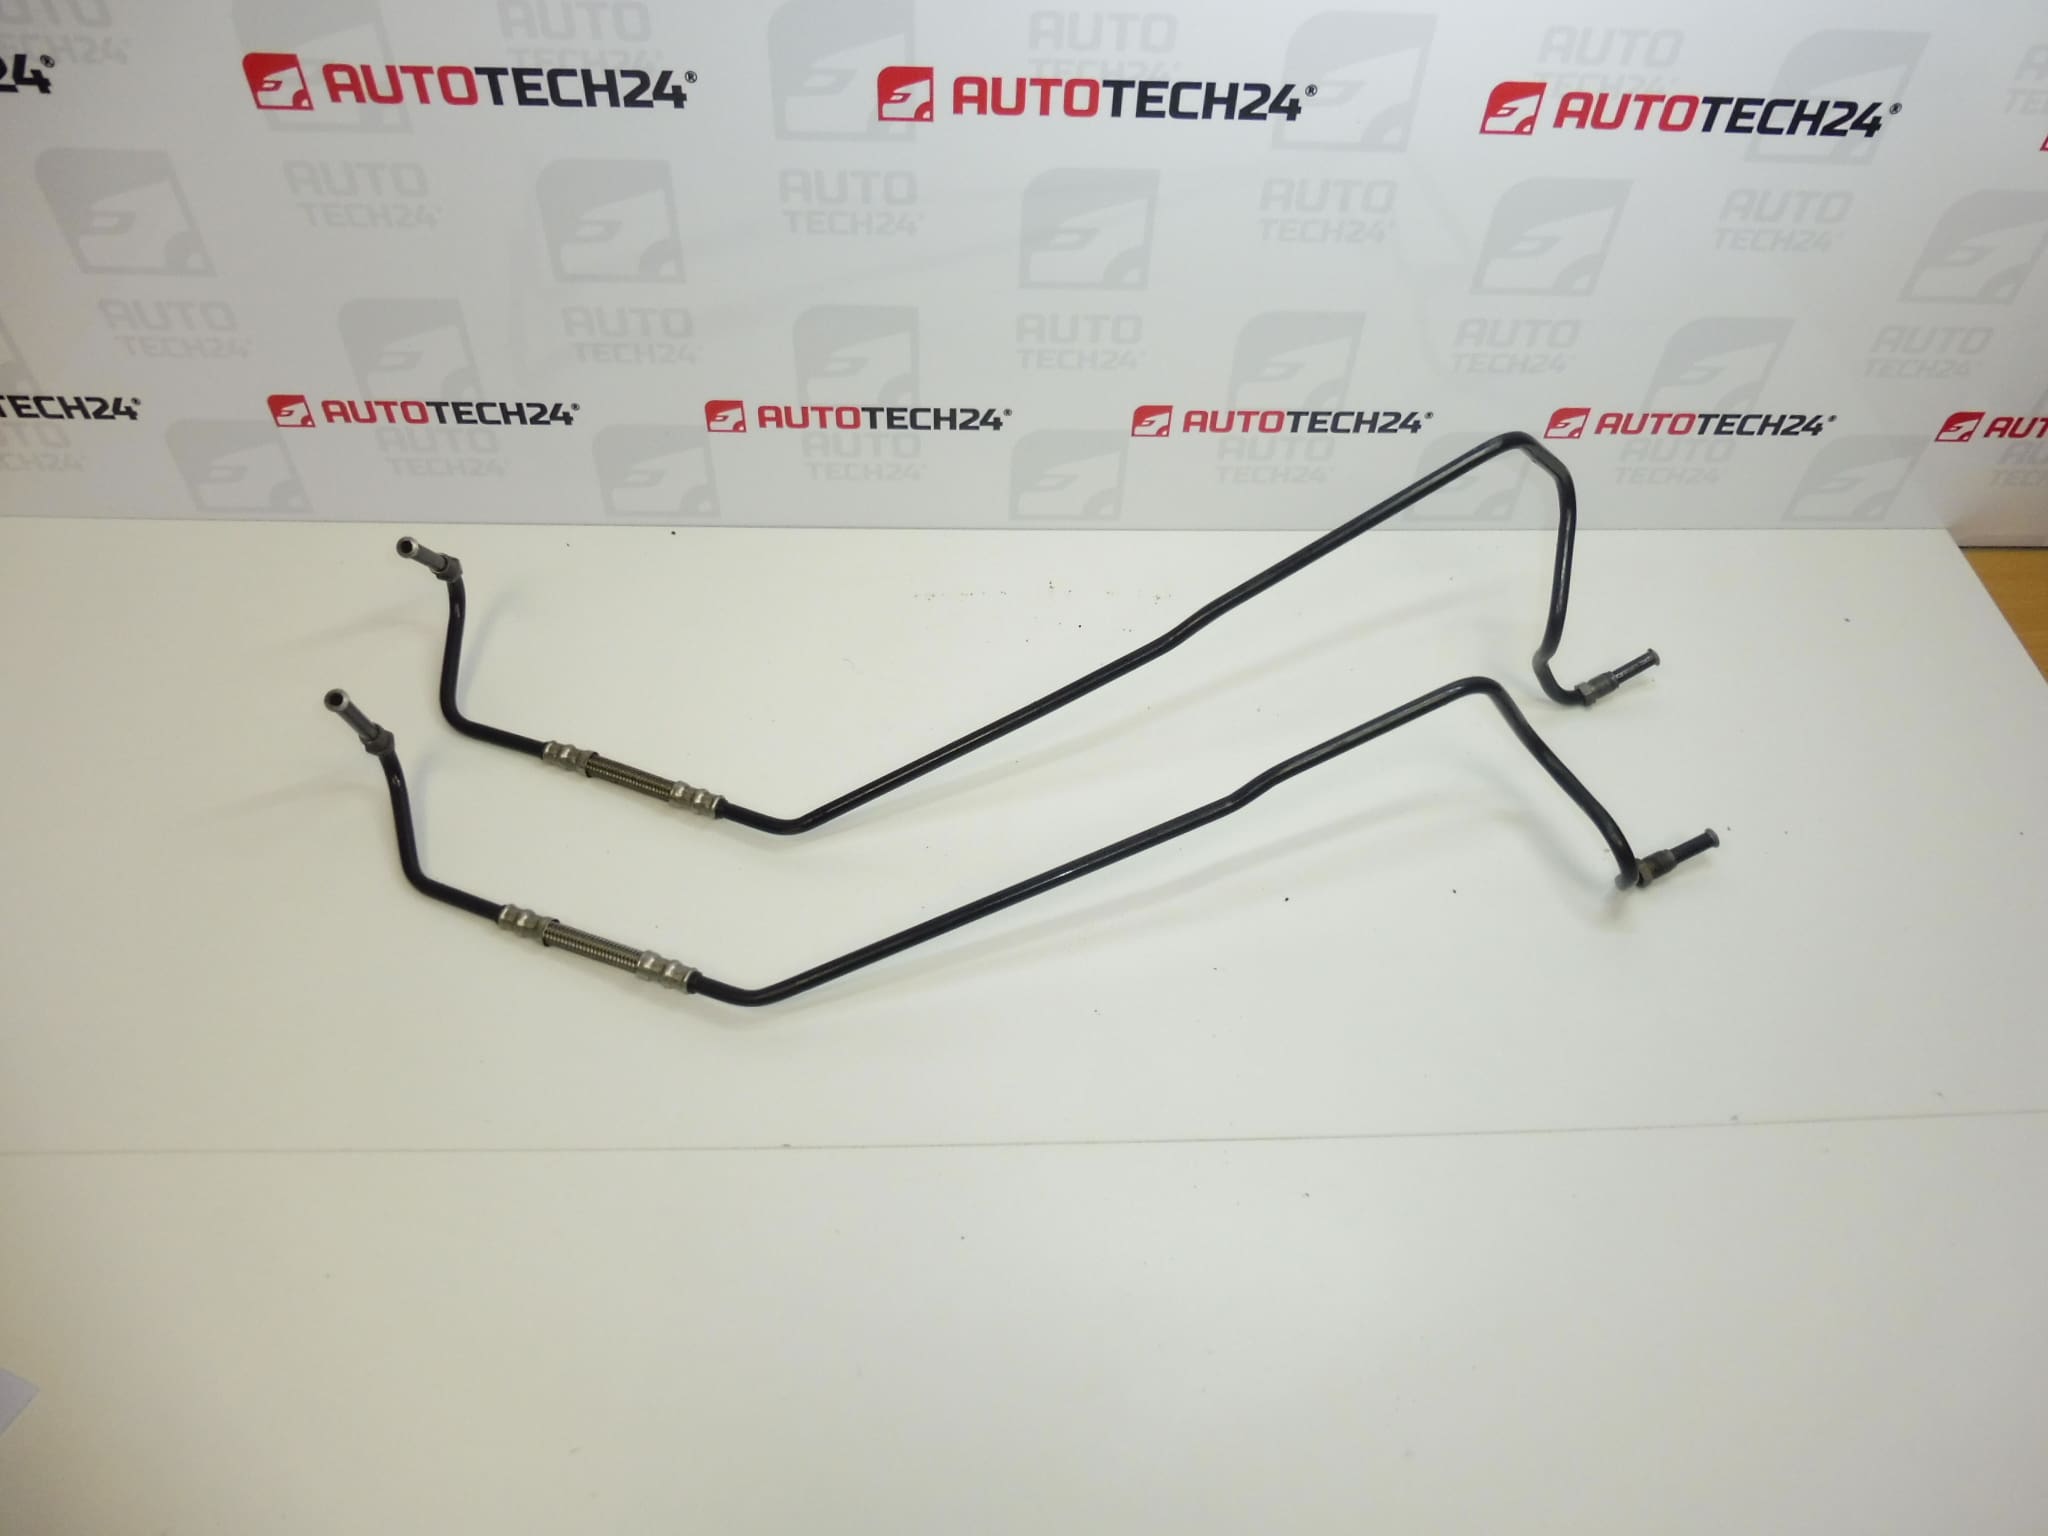
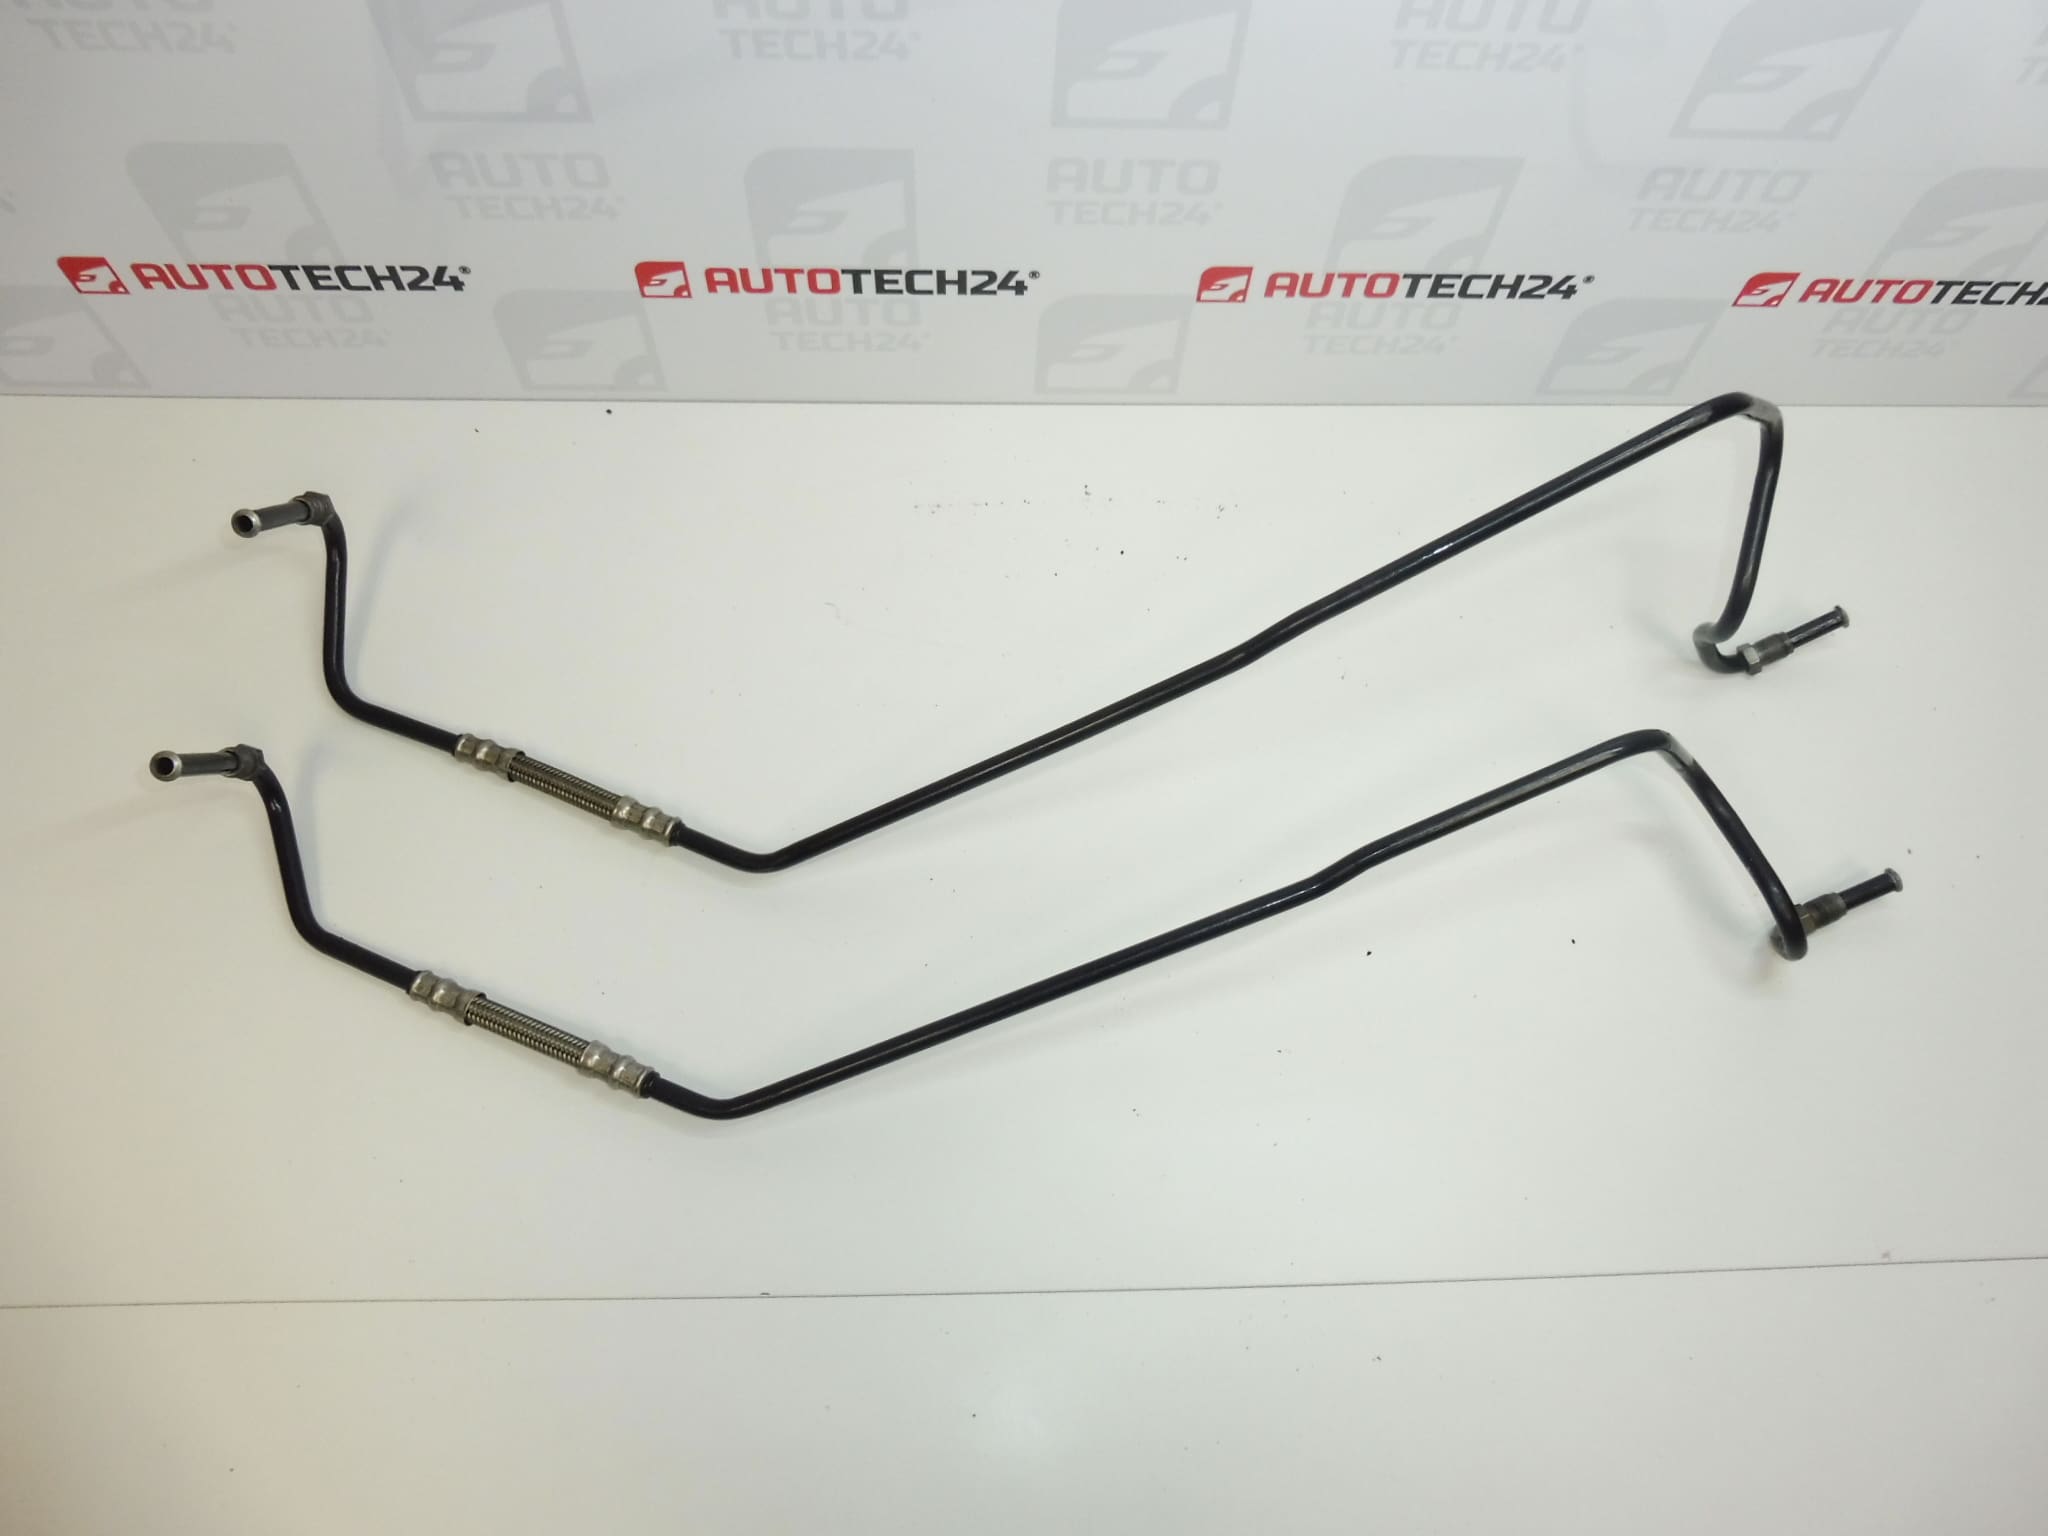
Brake pipe for the ABS – ESP module for CITROEN and PEUGEOT vehicles
Part description
Used brake pipe for the ABS/ESP module for Citroën and Peugeot vehicles, identified in the documentation by the numbers 4887T0 and 4887T1. The listed models are Citroën C4 and Peugeot 307. The pipe is part of the hydraulic braking system and carries brake fluid between the module and the connected parts of the system.
When choosing a replacement for a damaged or leaking pipe, it is important to compare not only the product numbers but also the pipe shape, end fittings and mounting points with the original part. The same vehicle model alone does not guarantee the same pipe configuration. A correctly selected part allows the proper brake pipe routing to be maintained without improvised modifications.
Technical information
- Manufacturer: Stellantis – CITROEN PEUGEOT according to the documentation
- Model: Citroën C4, Peugeot 307
- Part type: brake pipe for the ABS – ESP module
- Condition: used part
- Other numbers: not specified
- Other designations in the documentation: NFP
- Model years and engine variants: not specified
Product codes
- Product codes: 4887T0, 4887T1
These numbers serve as basic identifiers when searching for the part. The documentation does not specify whether these designations are interchangeable or what is included in the delivery; therefore, also take the configuration of the original pipe into account when selecting a replacement.
Installation recommendations
The following procedure is a general guide to replacing a brake pipe. The exact steps, access to the connections and bleeding procedure depend on the specific vehicle model and configuration. This is a safety-critical component: installation should be carried out by someone experienced in brake repairs and equipped with the appropriate tools.
1) Before installation
- Compare the product numbers, pipe length and shape, threads, end fitting seating surfaces and mounting points with the old part.
- Inspect the entire length of the pipe, especially at bends, near the end fittings and at mounting points. Look for corrosion, cracks, dents, abrasion and signs of leakage.
- Check that the openings are clean and inspect the condition of the threads. Do not install a pipe with surface damage, deformation or damaged connections. A visual inspection alone does not guarantee leak-tightness under pressure.
- Check the prescribed procedure for opening the hydraulic circuit and bleeding the system for the specific vehicle beforehand.
2) Required tools and materials
- Flare nut spanners for brake pipe fittings and standard installation tools.
- Suitable equipment for safely lifting and supporting the vehicle, if required for access.
- A catch container, clean protective plugs for open connections and supplies for cleaning the areas around the joints.
- Protective gloves and goggles, and materials to protect painted surfaces.
- Brake fluid specified by the manufacturer of the particular vehicle and bleeding equipment; diagnostic equipment may also be required by the service procedure.
3) Step-by-step installation procedure
- Secure the vehicle against movement and prepare safe access to the pipe. Use suitable stands when working underneath a raised vehicle.
- Make the braking system safe for servicing according to the manufacturer’s instructions. Protect painted surfaces from brake fluid.
- Record the original pipe routing and the positions of its mounting points, for example by taking photographs.
- Clean the areas around the connections before opening them to prevent dirt from entering the hydraulic circuit.
- Place a catch container underneath the joints. Using a suitable spanner, carefully loosen the connections without twisting the pipe or applying excessive force to the module.
- Release the pipe from its brackets and remove it. Protect open connections with suitable clean plugs; avoid unnecessarily draining the reservoir.
- Compare the two parts side by side again. If the replacement pipe does not match or requires forced reshaping, stop the installation.
- Position the replacement pipe along the correct route without strain. Start threading the end fittings by hand to avoid cross-threading.
- Secure the pipe in its brackets and tighten the connections according to the manufacturer’s service instructions. Check that the pipe does not touch moving parts, sharp edges or heat sources.
- Top up with the specified brake fluid and bleed the system using the procedure for the particular vehicle. If the procedure requires activation of the ABS module using diagnostic equipment, do not skip this step.
- Clean and dry the joints, check the fluid level and perform a stationary check for leaks and brake pedal response.
4) Post-installation checks and functional verification
With pressure applied to the brake pedal, verify that there are no fluid leaks, that the pedal does not sink and that the pipe remains securely mounted. Also check the braking system warning indicators. Do not drive the vehicle if there is a leak, a soft pedal or an unresolved brake fault. Only after a successful stationary check should you carefully test braking at low speed in a safe location away from normal traffic. Afterwards, inspect the connections and fluid level again; a brake performance test on a test rig is also advisable.
5) Common installation mistakes and how to avoid them
- Incorrect configuration: compare the codes, end fittings and entire pipe routing before installation.
- Cross-threading or overtightening: start threading the connections by hand and follow the manufacturer’s instructions.
- Forced bending and installation under strain: the pipe must match the routing and brackets without being forced into position.
- Introducing dirt into the circuit: clean the connections before disconnecting them and protect open ports.
- Insufficient bleeding: follow the procedure for the specific braking system, including the use of diagnostic equipment if required.
- Skipping the leak check: check the joints under pressure before driving and again after the functional test.
Reasons why the part becomes damaged
Common causes of brake pipe damage generally include the following factors; this is not a description of defects found on this particular part:
- Corrosion caused by moisture, road salt and damage to the protective surface coating.
- Chafing at mounting points or against surrounding components due to a missing or loose bracket.
- Mechanical damage caused by improper repairs, an accident or handling of the pipe.
- Fatigue cracking due to vibration and prolonged strain in an incorrectly routed pipe.
- Damage to threads and seating surfaces caused by unsuitable tools, threading fittings at an angle or overtightening.