Description
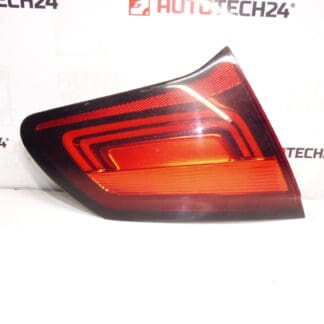
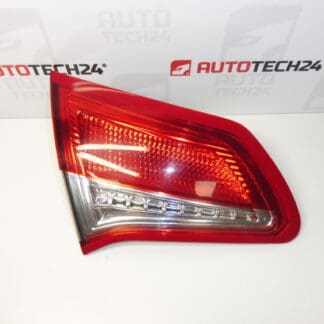
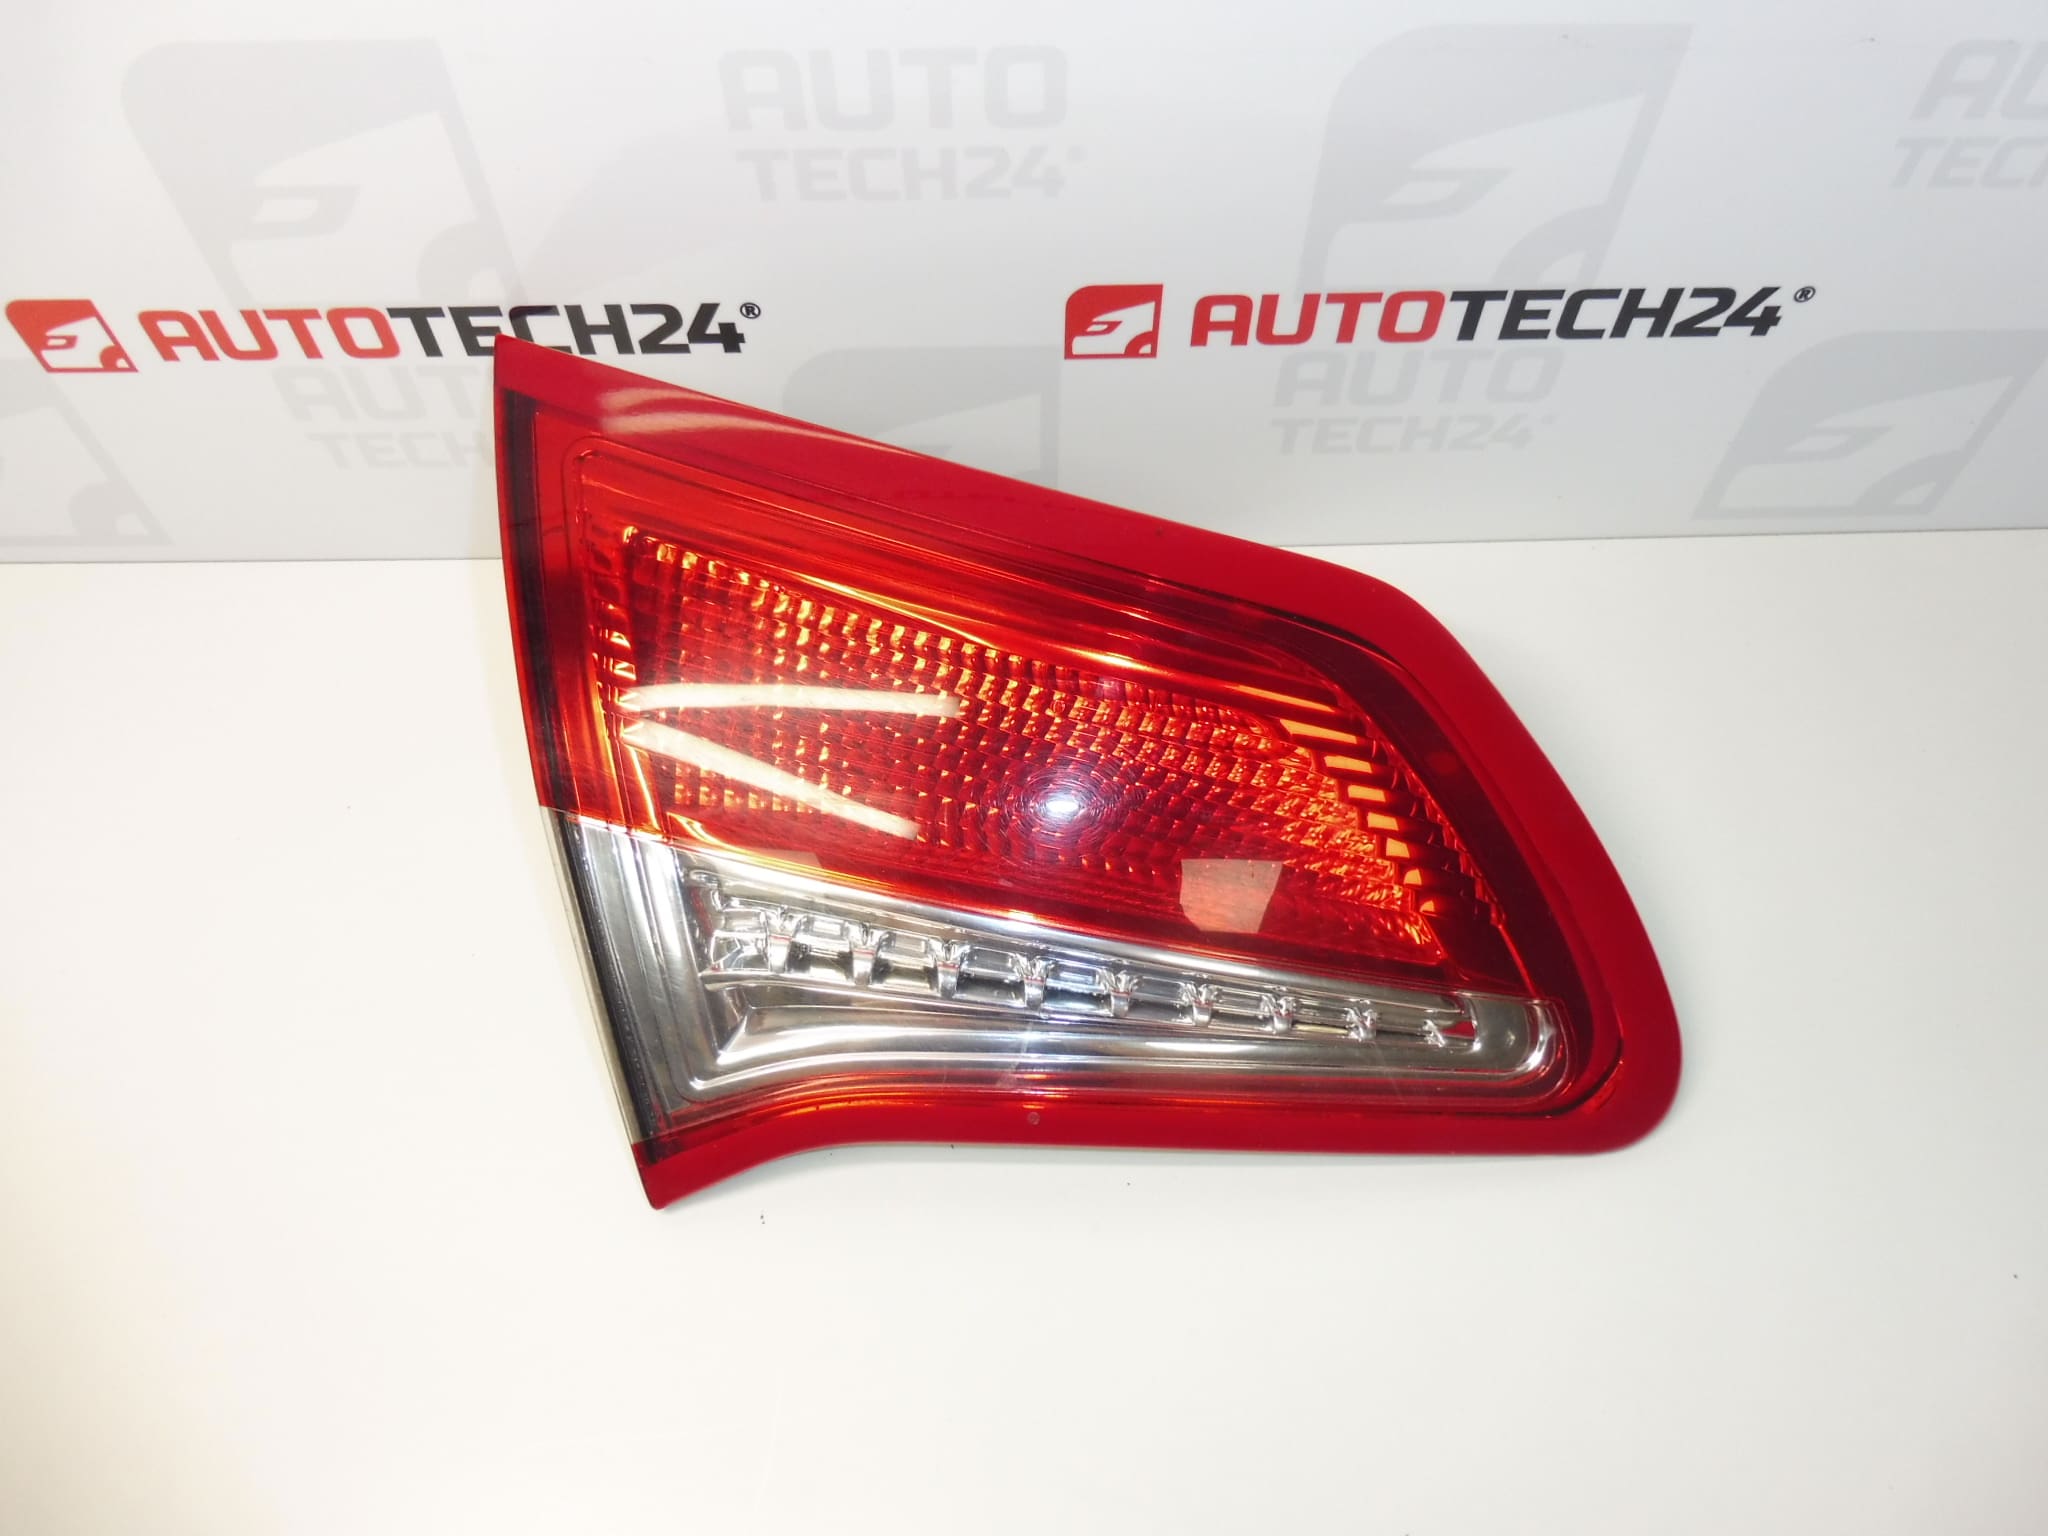
Inner left rear lamp for CITROEN C4 B7 cars
Side behind the driver
To the trunk lid
Part description
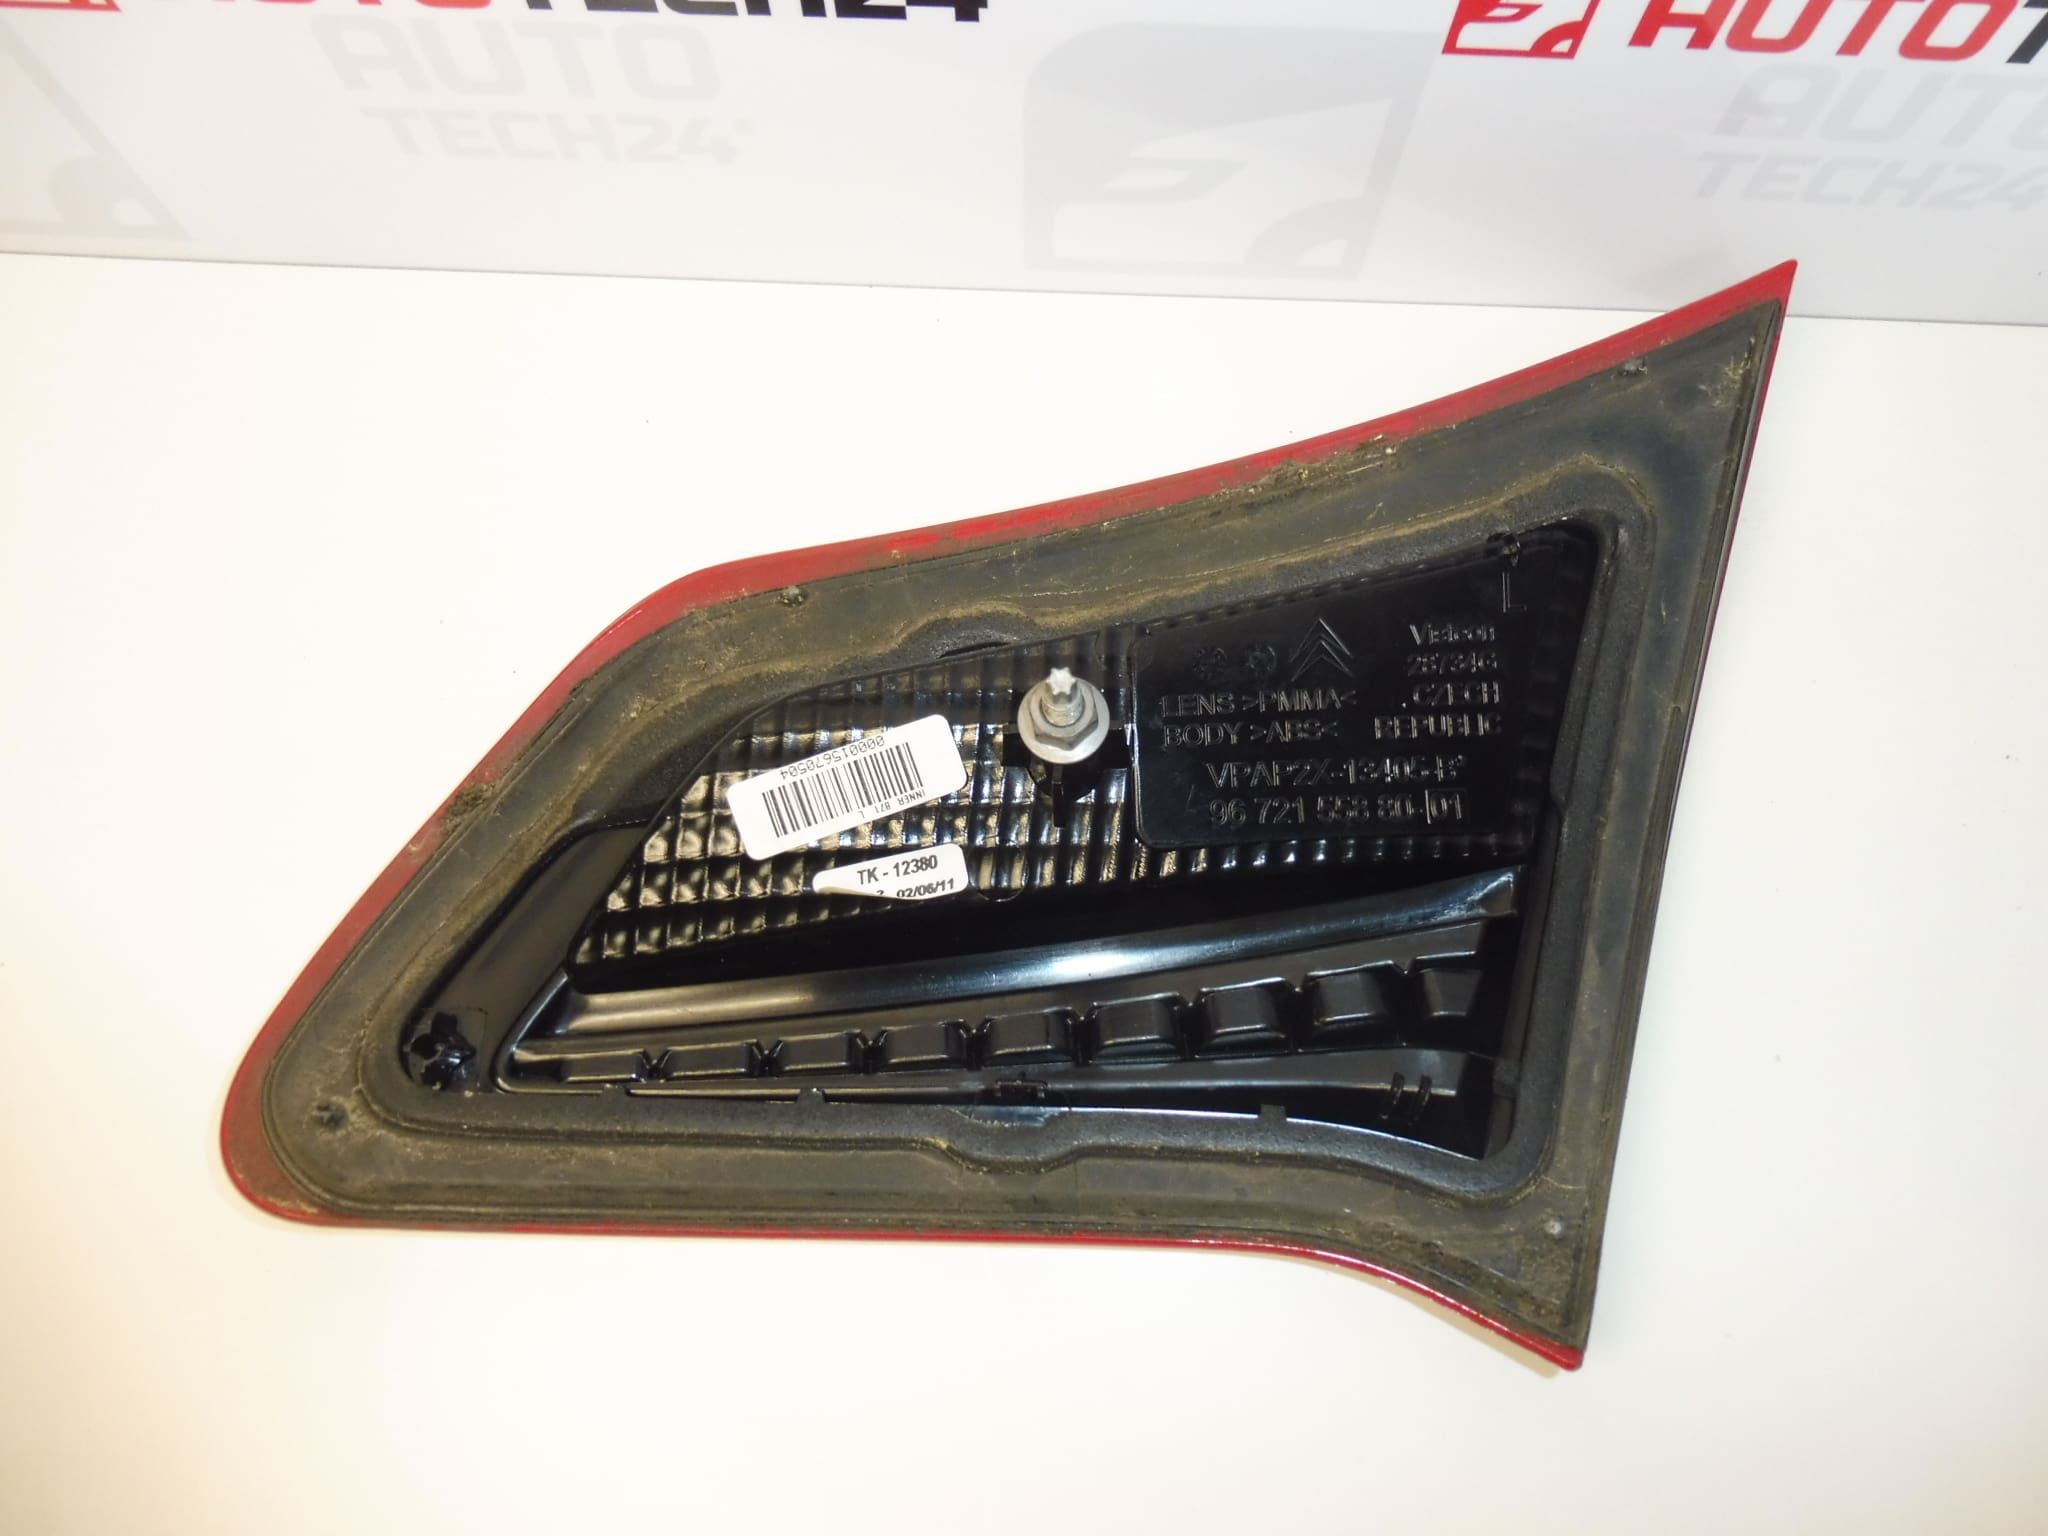
The used decorative frame of the left rear lamp for Citroen C4 II is listed in the documents under the numbers 9672155880 and 7453E4. A replacement frame can be a practical solution when replacing a cracked, scratched or otherwise damaged visual part around the rear light.
Clarification of labeling: the product name indicates a decorative frame, while the original description refers to the inner left rear lamp for the trunk lid. Therefore, it cannot be confirmed from the supplied data that the offer includes a complete lamp. When choosing, base it on the product numbers and comparing the design of the part being replaced.
Technical information
- Manufacturer: not specified
- Model: Citroen C4 II; in CITROEN C4 B7
- Marking in documents: Stellantis CITROEN PEUGEOT
- Type of part by name: left rear lamp bezel
- Location according to the original description: left rear inner part, side behind the driver, in the trunk lid
- Condition: used part
- Other numbers: not listed
‘s original description
Product codes
- Product codes: 9672155880, 7453E4
- Model: Citroen C4 II
The numbers 9672155880 and 7453E4 are used to trace the part. Before assembly, also compare the shape, dimensional design and attachment points with the original piece.
Installation recommendations
Generally for this type of part: the following procedure refers to the replacement of the decorative element in the tail lamp area. Due to the different markings in the documents, it is not an exact instruction for disassembling the complete lamp. The specific approach, method of attachment and order of work depends on the model and design of the car.
1) Before assembly
- Compare the marking, outline, orientation and all available attachment points with the old part.
- View the used piece from the front and the back. Focus on cracks, deformations and damaged handles.
- Also check the surrounding bodywork and lamp. A damaged substrate can prevent the replacement part from fitting properly.
- If the design does not agree, do not proceed with the assembly by force or adjusting the handles.
2) Necessary tools and materials
Plastic disassembly levers, hand tools matching the actual joints, a soft cloth, a gentle cleaning agent suitable for the surface and protection of the surrounding paintwork are usually useful. Determine the exact choice of tool according to the mounting design.
3) Step-by-step assembly procedure
- Secure the vehicle against movement, turn off the ignition and lights and check that it is securely held when working with the trunk lid open.
- Inspect the attachment and find out the prescribed method of disassembly. Don’t assume it’s a snap-on piece.
- Protect the surrounding paint and the surface of the lamp from scratches.
- If access is obstructed by the cover elements, carefully release them according to the service procedure. Put the connecting material away neatly.
- Release the original part in a manner corresponding to its attachment. Do not pull on the lamp cover and if there is resistance, first look for the remaining connection.
- Clean the contact surfaces and check their condition. If a seal is present, also inspect its integrity.
- Attach the spare part without using force and verify the agreement of the outline, the grips and the continuity with the surrounding parts.
- Fix the part according to the actual design and manufacturer’s instructions. Avoid dragging joints or spot pressure on the viewing area.
- Return the removed covers and check the seating of the whole assembly. If the work requires disconnecting the electrical connectors, follow the service instructions for the vehicle.
-
4) Post-assembly checks and function verification
- Check for firm attachment, even seating and absence of unwanted tension.
- Carefully close and open the trunk lid and check that the part does not collide anywhere.
- Test the backlight functions, especially if the torch or connectors have been tampered with during work.
- Watch for possible vibrations or knocking during subsequent driving; if they occur, check the attachment again.
5) The most common assembly mistakes and how to avoid them
- Replacing the frame with a complete lamp: before starting work, clarify the scope of the replaced part.
- Force release: first determine the position and type of all joints.
- Installation on dirt or damaged substrate: clean the contact areas and solve the defects of the substrate before installation.
- Over-tightening: Follow the manufacturer’s instructions and do not attempt to correct an incorrect fit by over-tightening.
Reasons why the part is damaged
The decorative elements around the taillights are generally damaged mainly from these causes; it is not a description of the history of the offered piece:
- Impact or contact with an obstacle when parking or handling cargo.
- Reckless disassembly that damages edges or attachment points.
- Aging of the material and the effects of the weather, which can deteriorate the appearance and durability of the part.
- Improper seating or over-tightening, leading to permanent stress and cracking.
- Improper cleaning with aggressive agents or abrasive tools that damage the visible surface.