Description
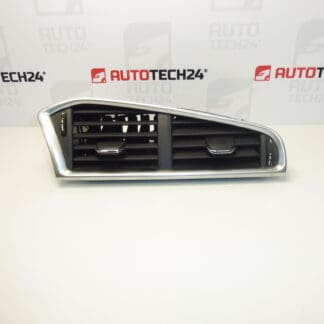
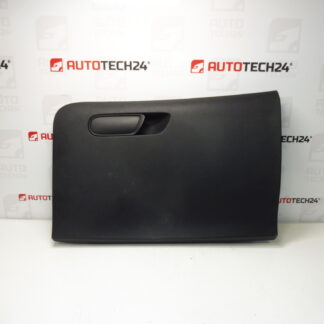
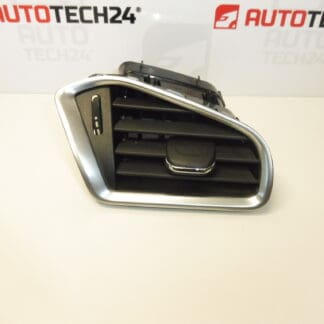
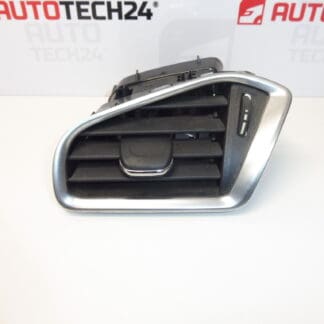
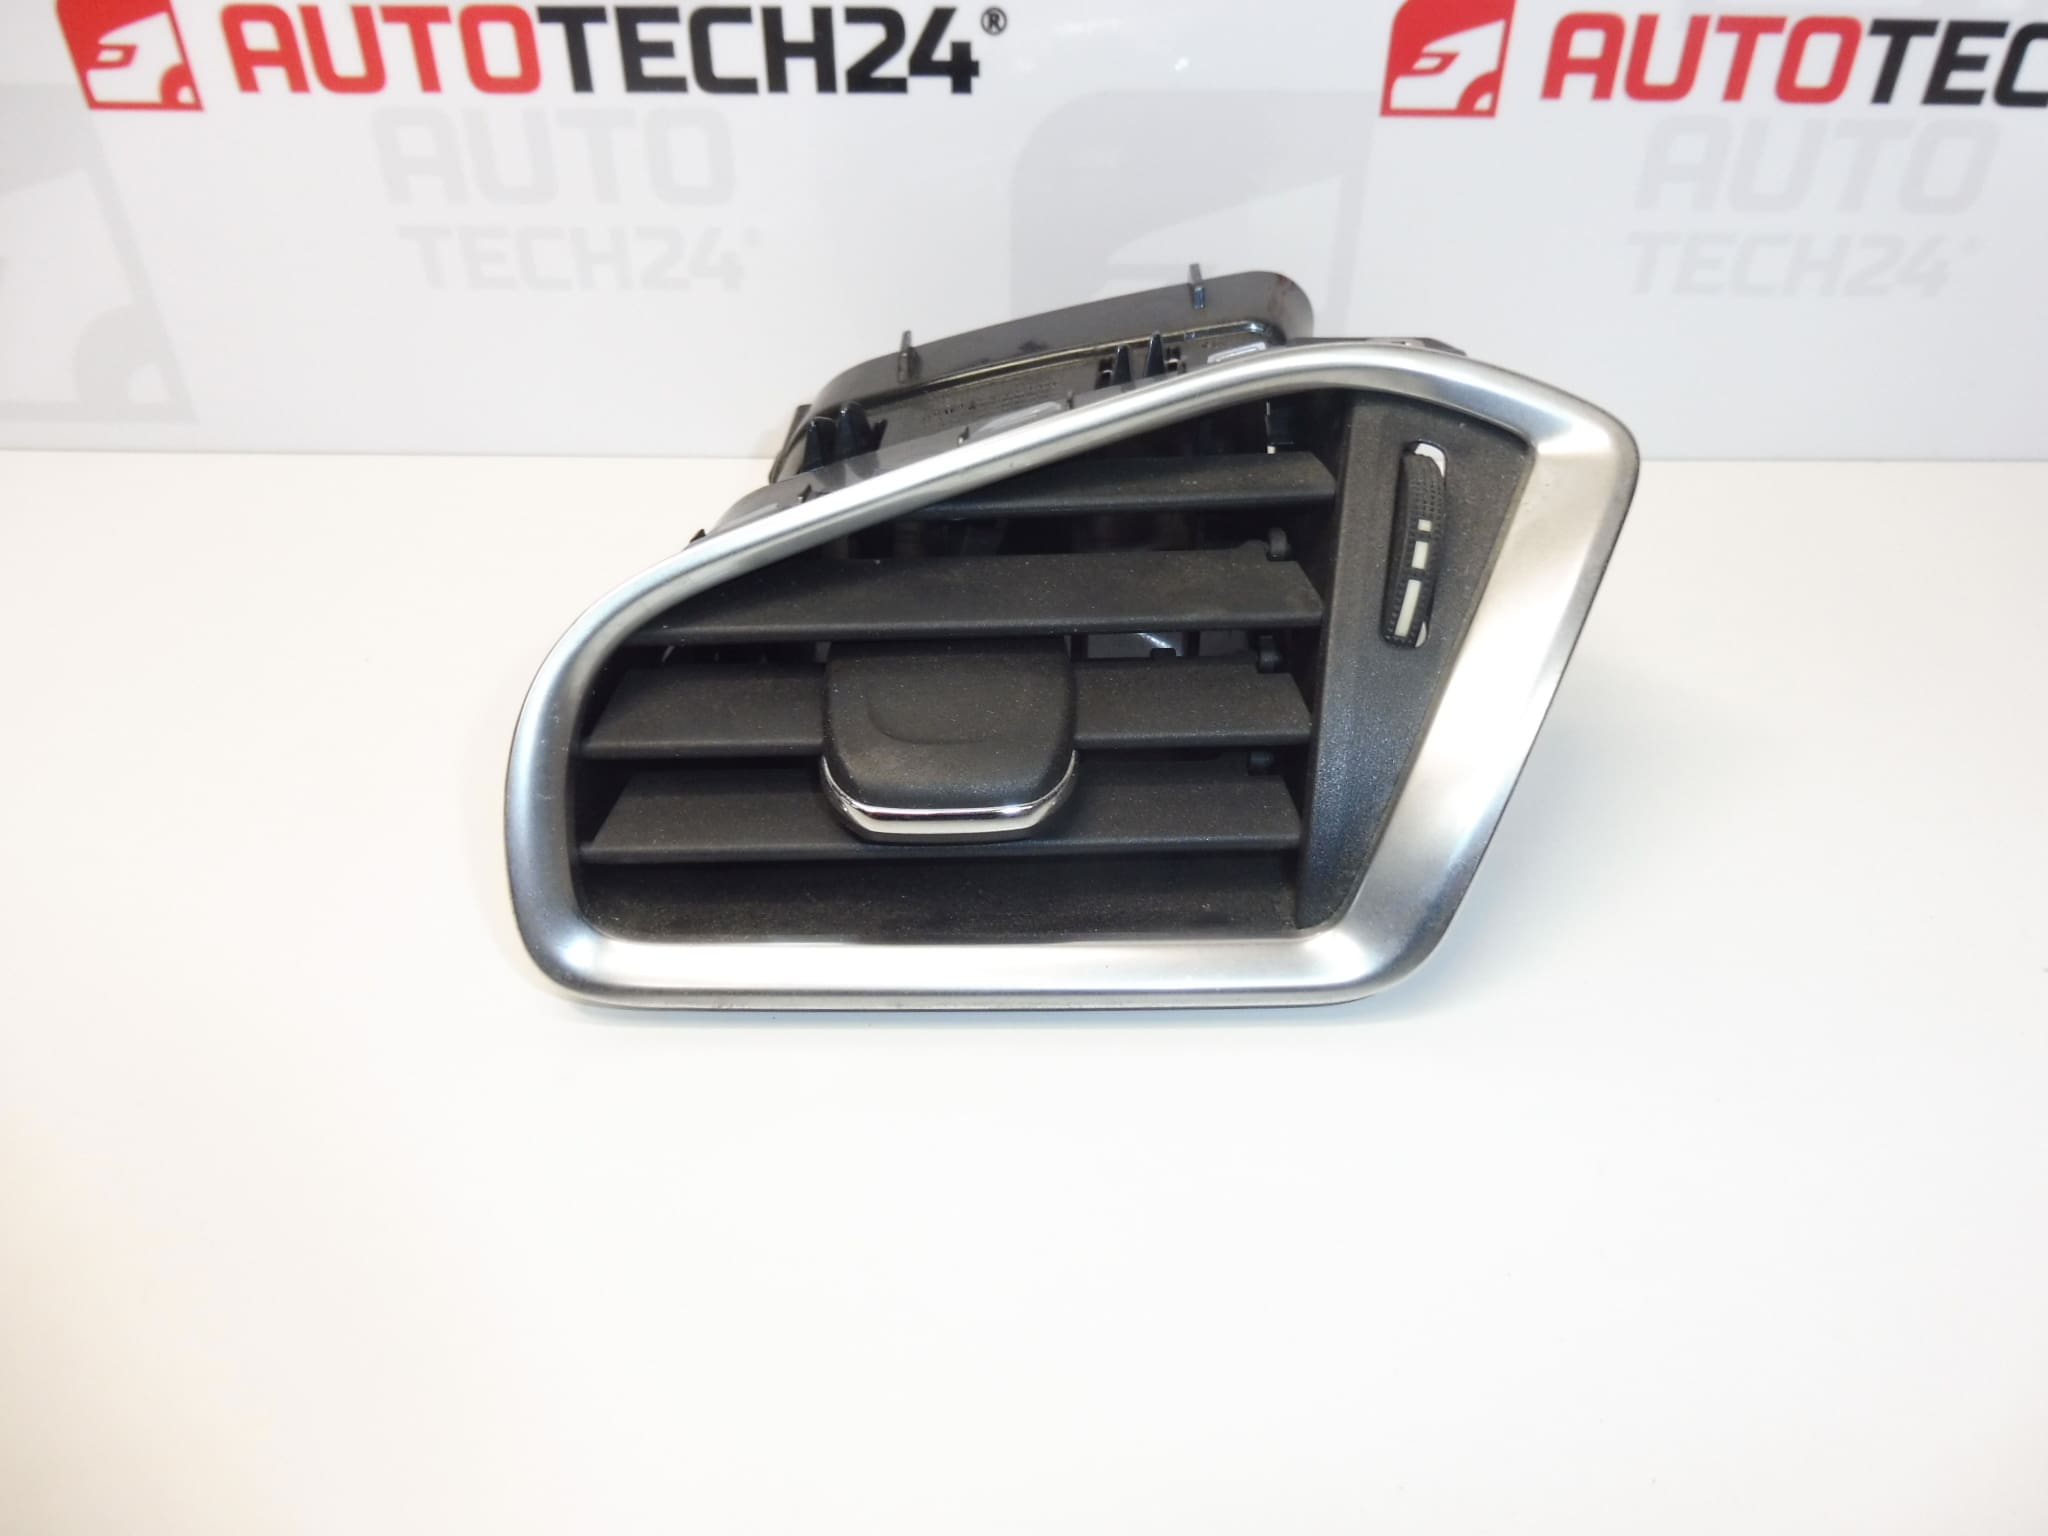
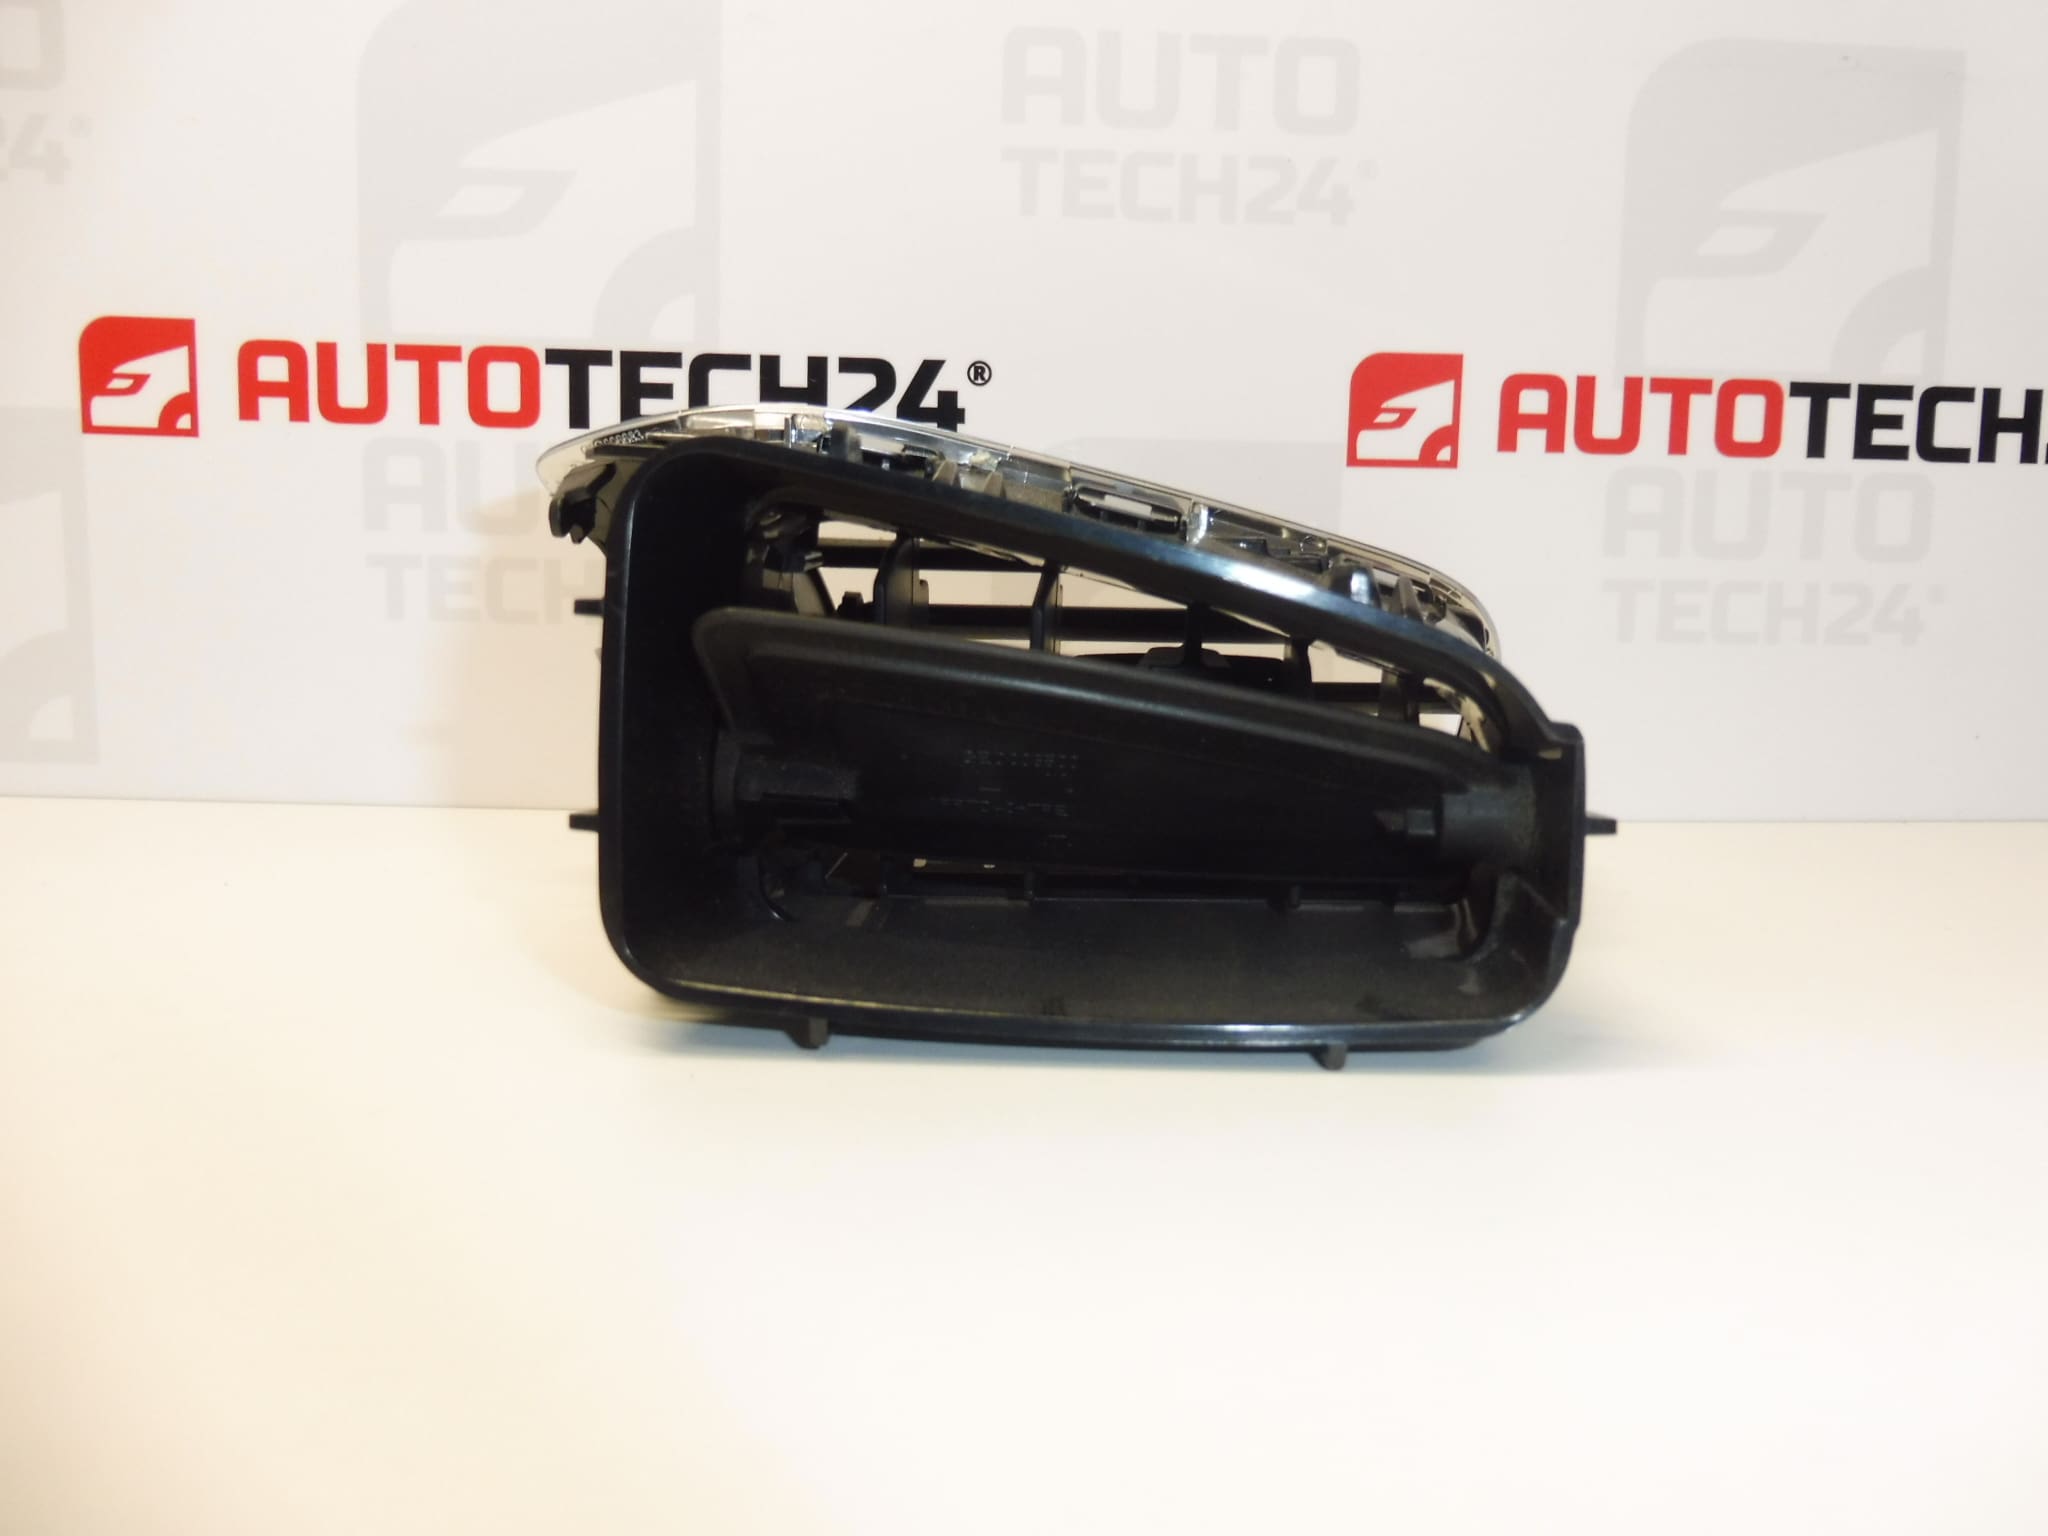
Left ventilation outlet for Citroen C4 II B7 and DS4 cars
Color HZD- – BLACK MISTRAL
Side in front of the driver
Part description
Used Citroen C4 II B7 and DS4 left ventilation grille is part of the dashboard on the driver’s side. The outlet serves to supply and direct air into the interior. It is a suitable replacement in case of damage to the original grid, its slats or flow direction control.
In order to choose the correct version, compare in particular product numbers 9671332377, 8247S2 and 96766097ZD, the shape of the output, attachment and color marking with the original part. The design in the color Mistral Black allows you to maintain the harmonious look of the interior when replacing the damaged part.
Technical information
- Manufacturer: not specified; the documents indicate the name Stellantis CITROEN PEUGEOT.
- Model: Citroen C4 II, DS4; in the description, C4 is specified as C4 II B7.
- Part Type: Air Outlet / Dashboard Grille.
- Location: left side, in front of the driver.
- Color: HZD- – BLACK MISTRAL.
- Condition: used part.
- Other numbers: 96766097ZD.
Product codes
- Product codes: 9671332377, 8247S2, 96766097ZD.
- Models according to labels: Citroen C4 II, DS4.
Numbers are provided for easy part tracking. When choosing, also compare the design and color of the original grille.
Installation recommendations
In general, the following applies to this type of part: plastic ventilation outlets require careful handling, especially in the area of slats and attachment. The following procedure is general; the exact method of releasing the grille and any surrounding covers depends on the specific model and make of the car.
1) Before assembly
- Compare the part numbers, exterior shape, dimensional design, color and fastener location with the old piece.
- View the frame, slats and available mounting parts. Check that they are not cracked or deformed.
- Test the movement of the slats and controls if they are part of the output. The movement should be smooth, without using force.
- Find out the disassembly method according to the service procedure for a specific car. Do not attempt the force-pry method of attachment.
2) Necessary tools and materials
- Plastic disassembly levers for interior trim.
- Common hand tools corresponding to the actual fasteners used.
- Flashlight, soft cloth and protective material for surrounding surfaces.
- A fine brush or other gentle means to remove dust.
3) Step-by-step assembly procedure
- Stop the car safely, switch off the ignition and fan. Work ideally in a temperate interior, as cold plastics tend to be more fragile.
- Cover the surrounding viewing surfaces to avoid scratching them while working.
- According to the service procedure, find out how to fix the outlet and whether it is necessary to dismantle the surrounding lining.
- If surrounding covers prevent access, carefully loosen them with a suitable tool. Note the position of each fastener.
- Release the grid attachment actually used. Don’t grab the slats or the controls.
- Extract the original output evenly and without twisting. If there is resistance, stop and check to see if any of the attachments remain secured.
- Remove dust from the mating surfaces and check the connecting air duct for debris from the old part.
- Attach the replacement grille and verify that the shape, attachment and connection to the air duct are correct. Any sealing surfaces must fit without obstacles.
- Place the outlet in the correct position and secure it in a manner appropriate to its design. Apply pressure to the fixed part of the frame, not the slats.
- Reassemble the dismantled paneling and check for even joints and firm seating of all parts.
-
4) Post-assembly checks and function verification
- Turn on the ventilation and check the air flow through the outlet.
- Test air routing and any other controls if included in the grille.
- Listen for rattling or unusual whistling and check that the bezel is not loose.
- The function can be verified on site. During the subsequent short drive, watch for any vibration of the lining; make adjustments only after a safe stop.
5) The most common assembly mistakes and how to avoid them
- Prying the slats: can damage their pins or controls. Transmit force only through fixed parts intended for handling.
- Using an unprotected metal tool on visible surfaces: prefer plastic levers and protection of the surrounding trim.
- Overview of fragments of the original part: before fitting, clean the space and check the mating surfaces.
- Plastic aging and temperature stress – sunlight and changing temperatures can gradually increase the fragility of the lamellas and their fastening.
- Rough operation – violent adjustment or movement beyond the stop can damage the slats and their mechanism.
- Accessory load – holders or other objects suspended from the slats can cause them to deform or break.
- Impact and inappropriate cleaning – mechanical pressure or aggressive agents can damage the surface and delicate plastic parts.
Reasons why the part is damaged
Plastic ventilation grilles are generally damaged mainly due to the following reasons: