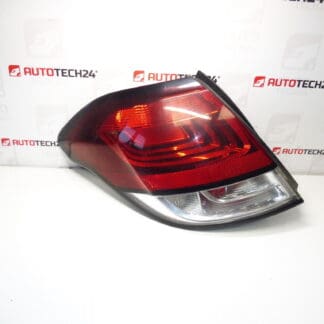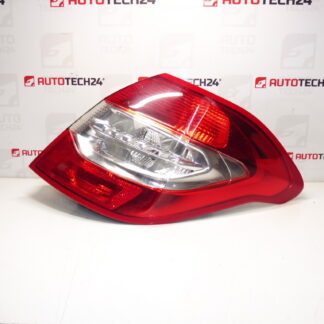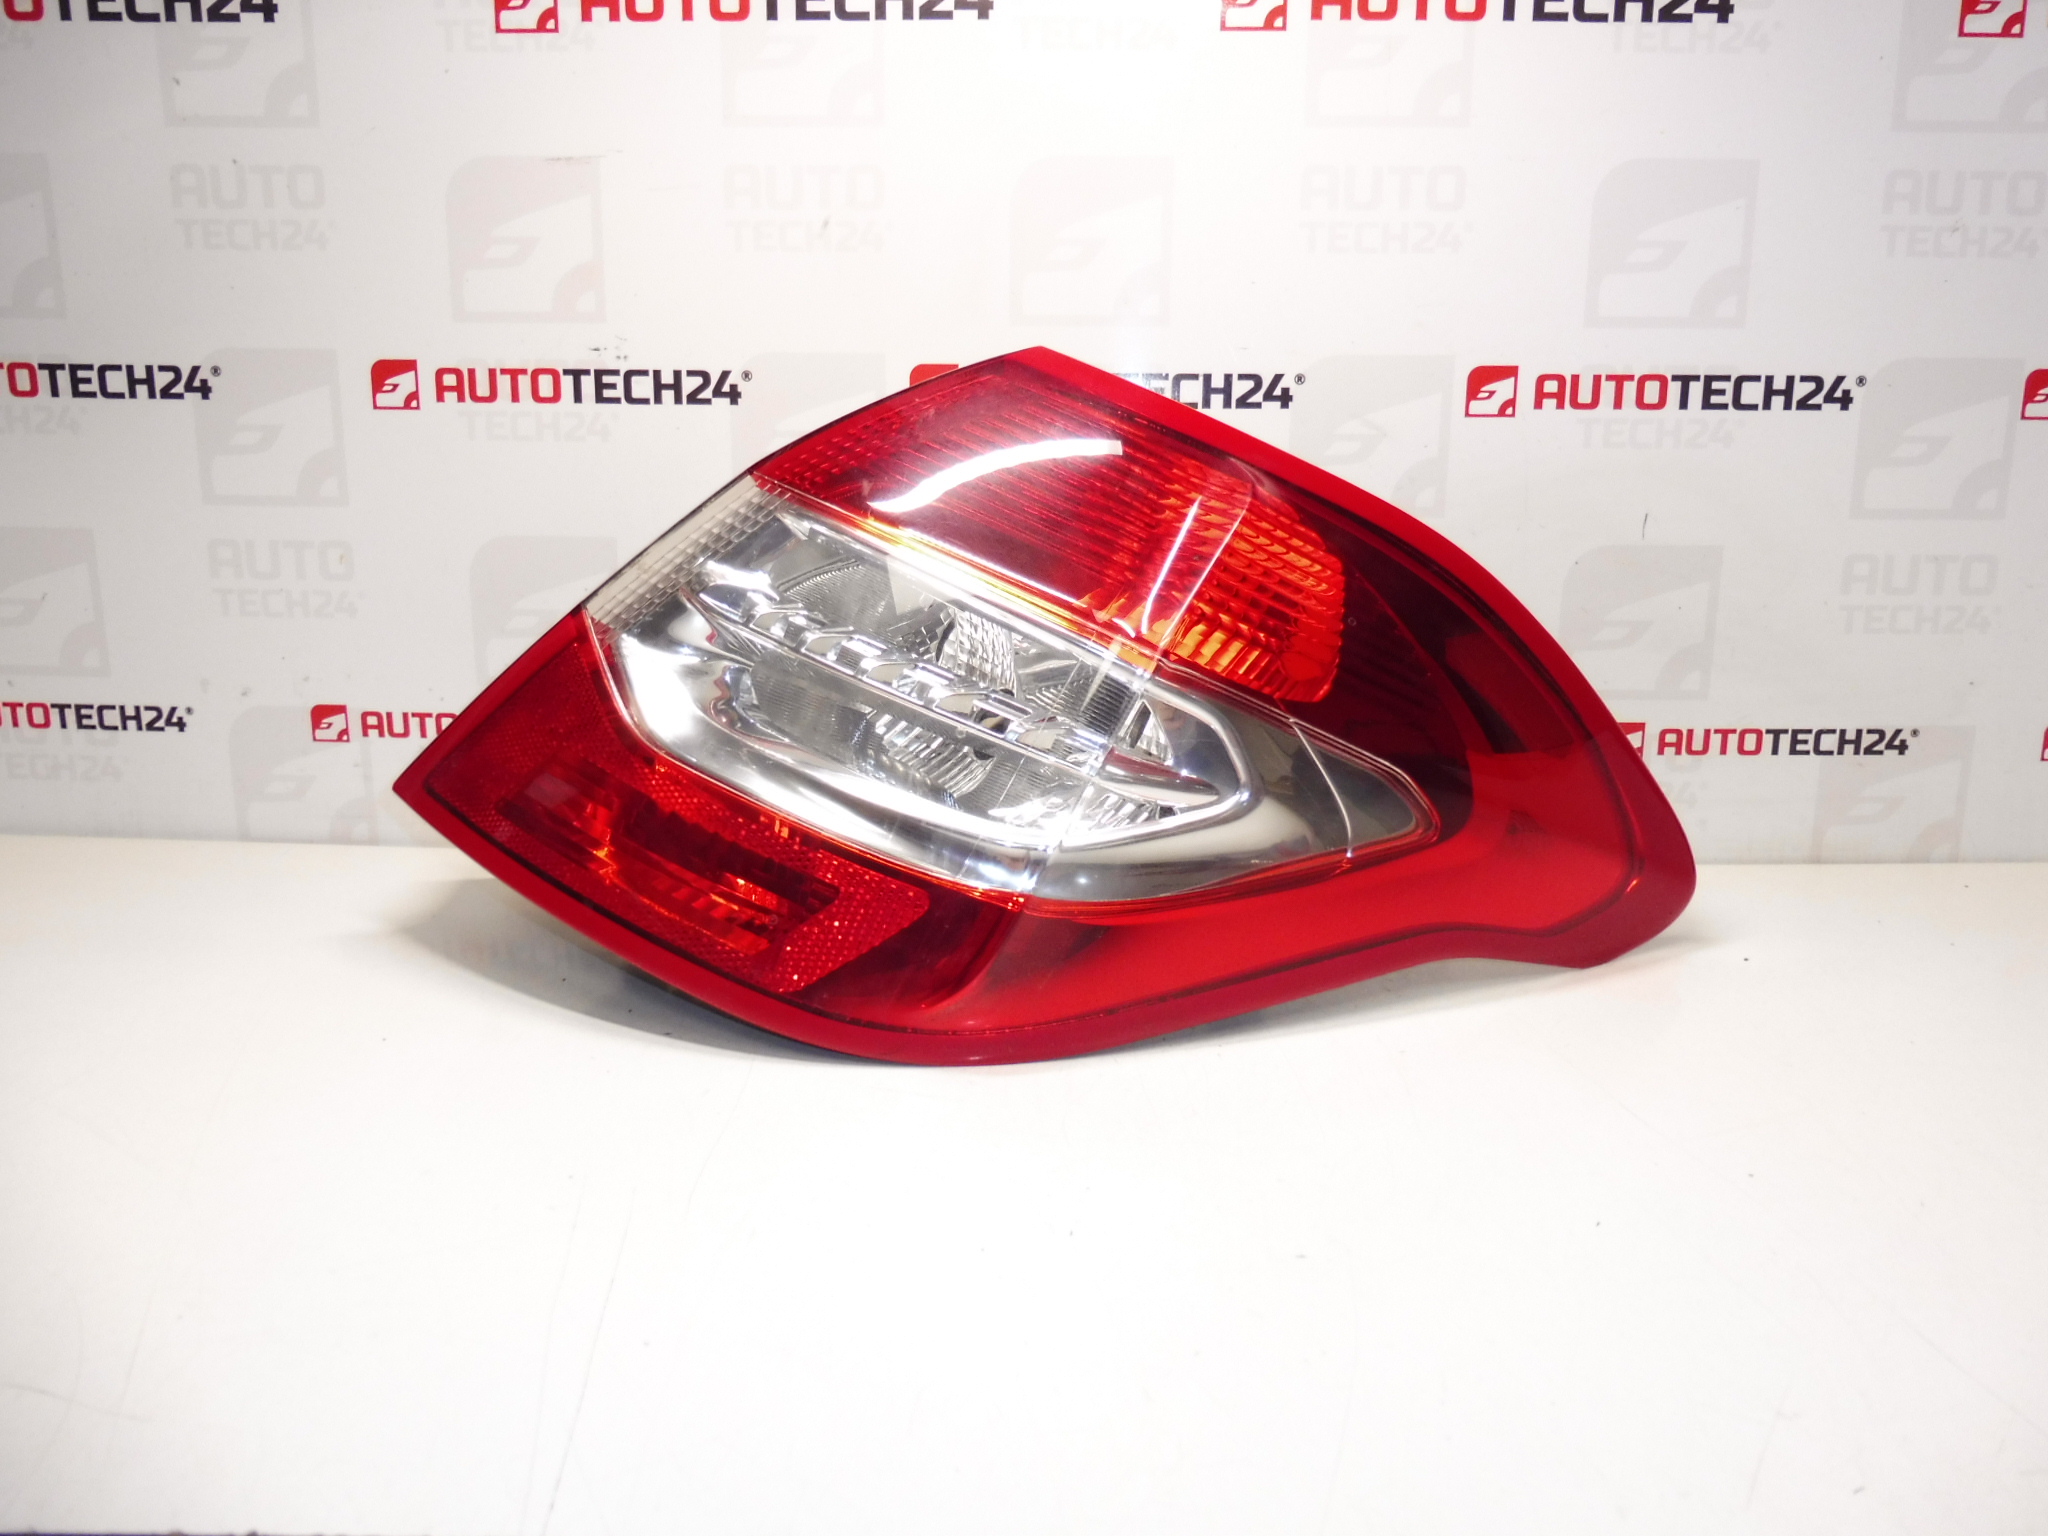
Description
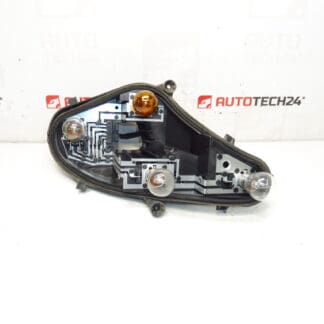
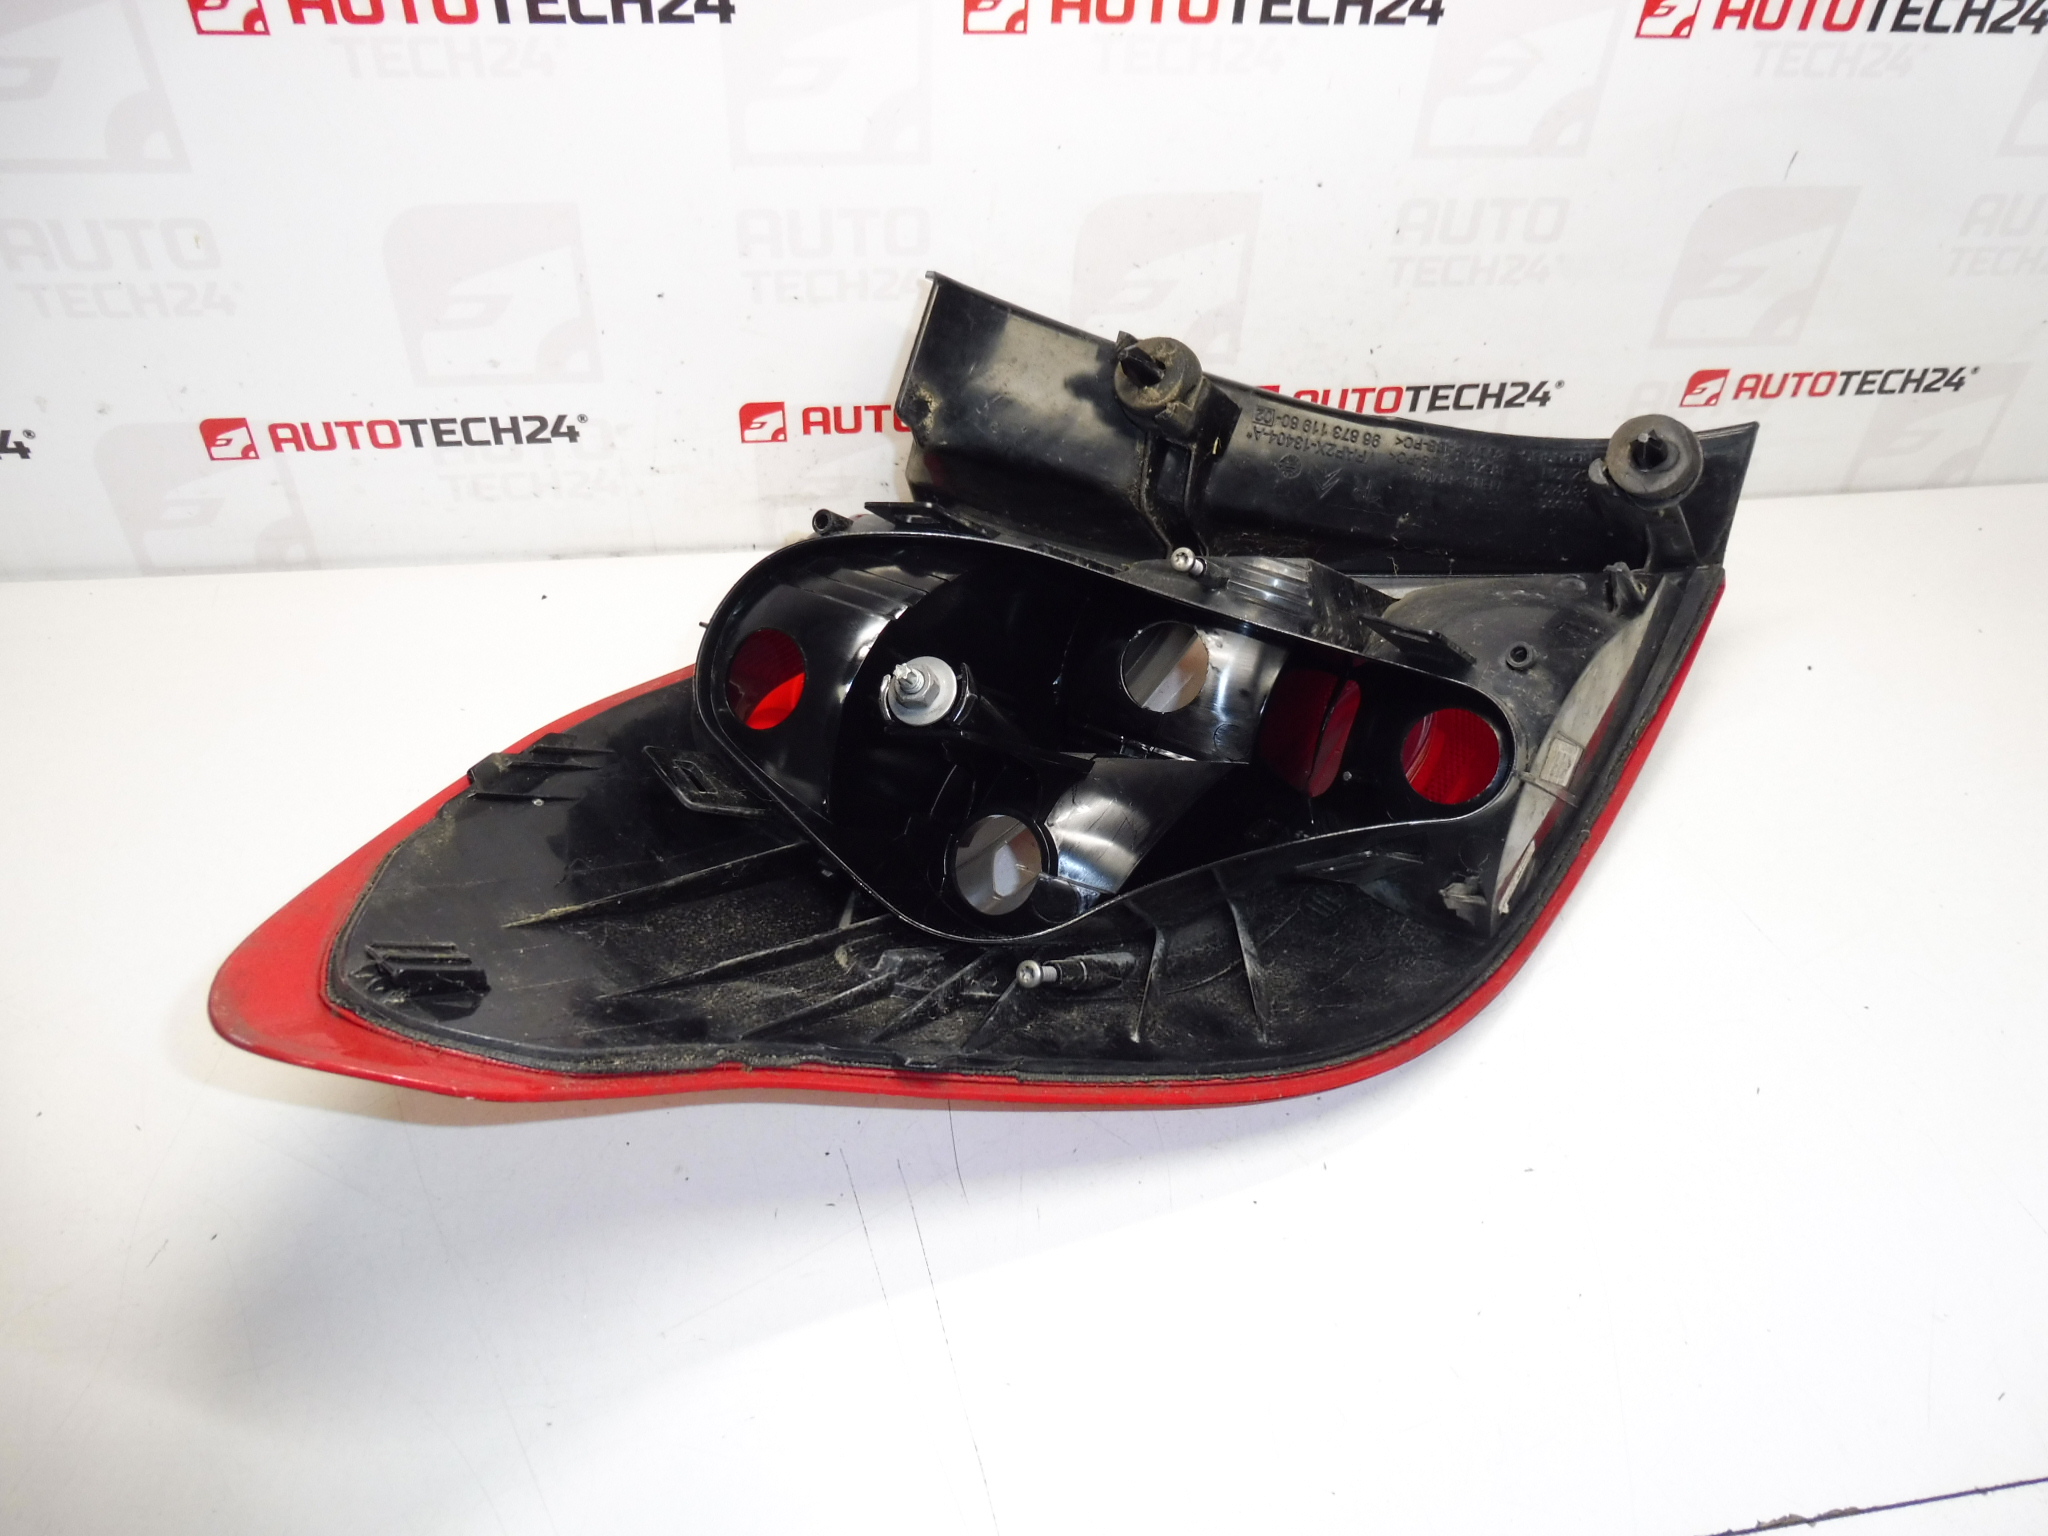
Right rear outer lamp for Citroën C4 B7, second generation. Supplied without bulb sockets and bulbs; these can be purchased separately.
This Right Rear Outer Lamp Is A Direct Replacement Part For The Citroën C4 II (C4 B7) Second Generation. It Replaces The Exterior Tail Light Assembly On The Right Side And Is Supplied Without Bulb Sockets Or Bulbs, Allowing You To Fit Your Preferred Lamp Types Or Reuse Existing Sockets If Serviceable. Commonly Identified By The Manufacturer And Aftermarket Codes Shown Below, This Unit Is Suitable For Professional Workshops And Experienced Do-It-Yourself Mechanics.
Technical Information
Manufacturer: Stellantis / Citroën
Model: Citroën C4 II (C4 B7), Second Generation
Product Codes: 9687311980, 6351KS
Additional Numbers: No Further Numbers Provided
Fitment And Function
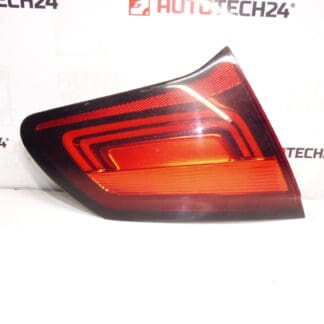
This Outer Rear Lamp Houses The Rear Light Functions Such As Tail Light, Brake Light And Turn Signal. Depending On Vehicle Specification, The Assembly May Also Interface With Reverse Light Circuits Or Reflectors. Ensure You Match The Product Codes Above When Searching: Many Customers Search By Part Number 9687311980 Or Code 6351KS To Find The Correct Unit.
Installation Recommendations
Installation Is Straightforward For Experienced Technicians: Open The Boot, Remove The Inner Trim Panel To Access The Lamp Fasteners, Unscrew The Retaining Bolts, Carefully Disconnect The Electrical Connector And Remove The Old Assembly. Fit The New Lamp, Ensure The Gasket Sits Correctly To Prevent Water Ingress, Reconnect The Wiring, And Secure All Fasteners To The Correct Torque. Test All Light Functions (Tail, Brake, Turn Signal And Reverse If Present) Before Reassembling The Trim. Replace Bulb Sockets And Bulbs If Corroded Or Damaged; Note That This Unit Is Supplied Without Sockets And Bulbs.
Common Failure Causes
The Most Frequent Reasons For Rear Lamp Replacement Are Impact Damage From Minor Collisions, Cracked Or Clouded Lenses Causing Reduced Light Output, Water Ingress Due To Failed Seals Leading To Corrosion Of Sockets And Connectors, And Age-Related Degradation Of Mounting Points Or Electrical Contacts. Regular Inspection Of Seals And Connectors Helps Prevent Premature Failure.
If You Are A Professional Mechanic Or A Competent DIYer, This Assembly Provides A Reliable Replacement Option When Matched By The Product Codes Shown Above. Always Verify Fitment Against The Vehicle’s Existing Part Number Before Installation.