Description
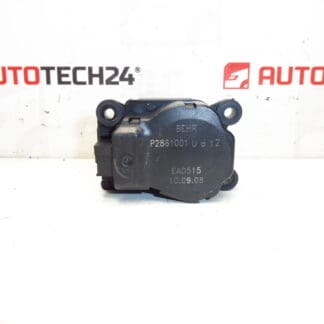
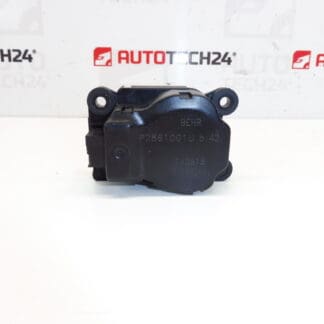
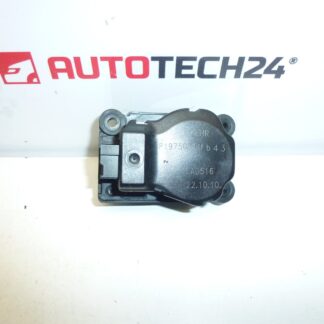
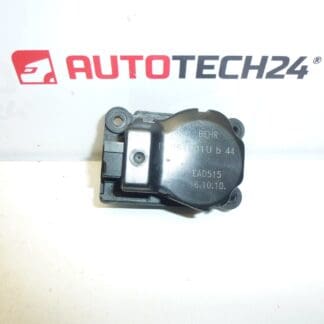
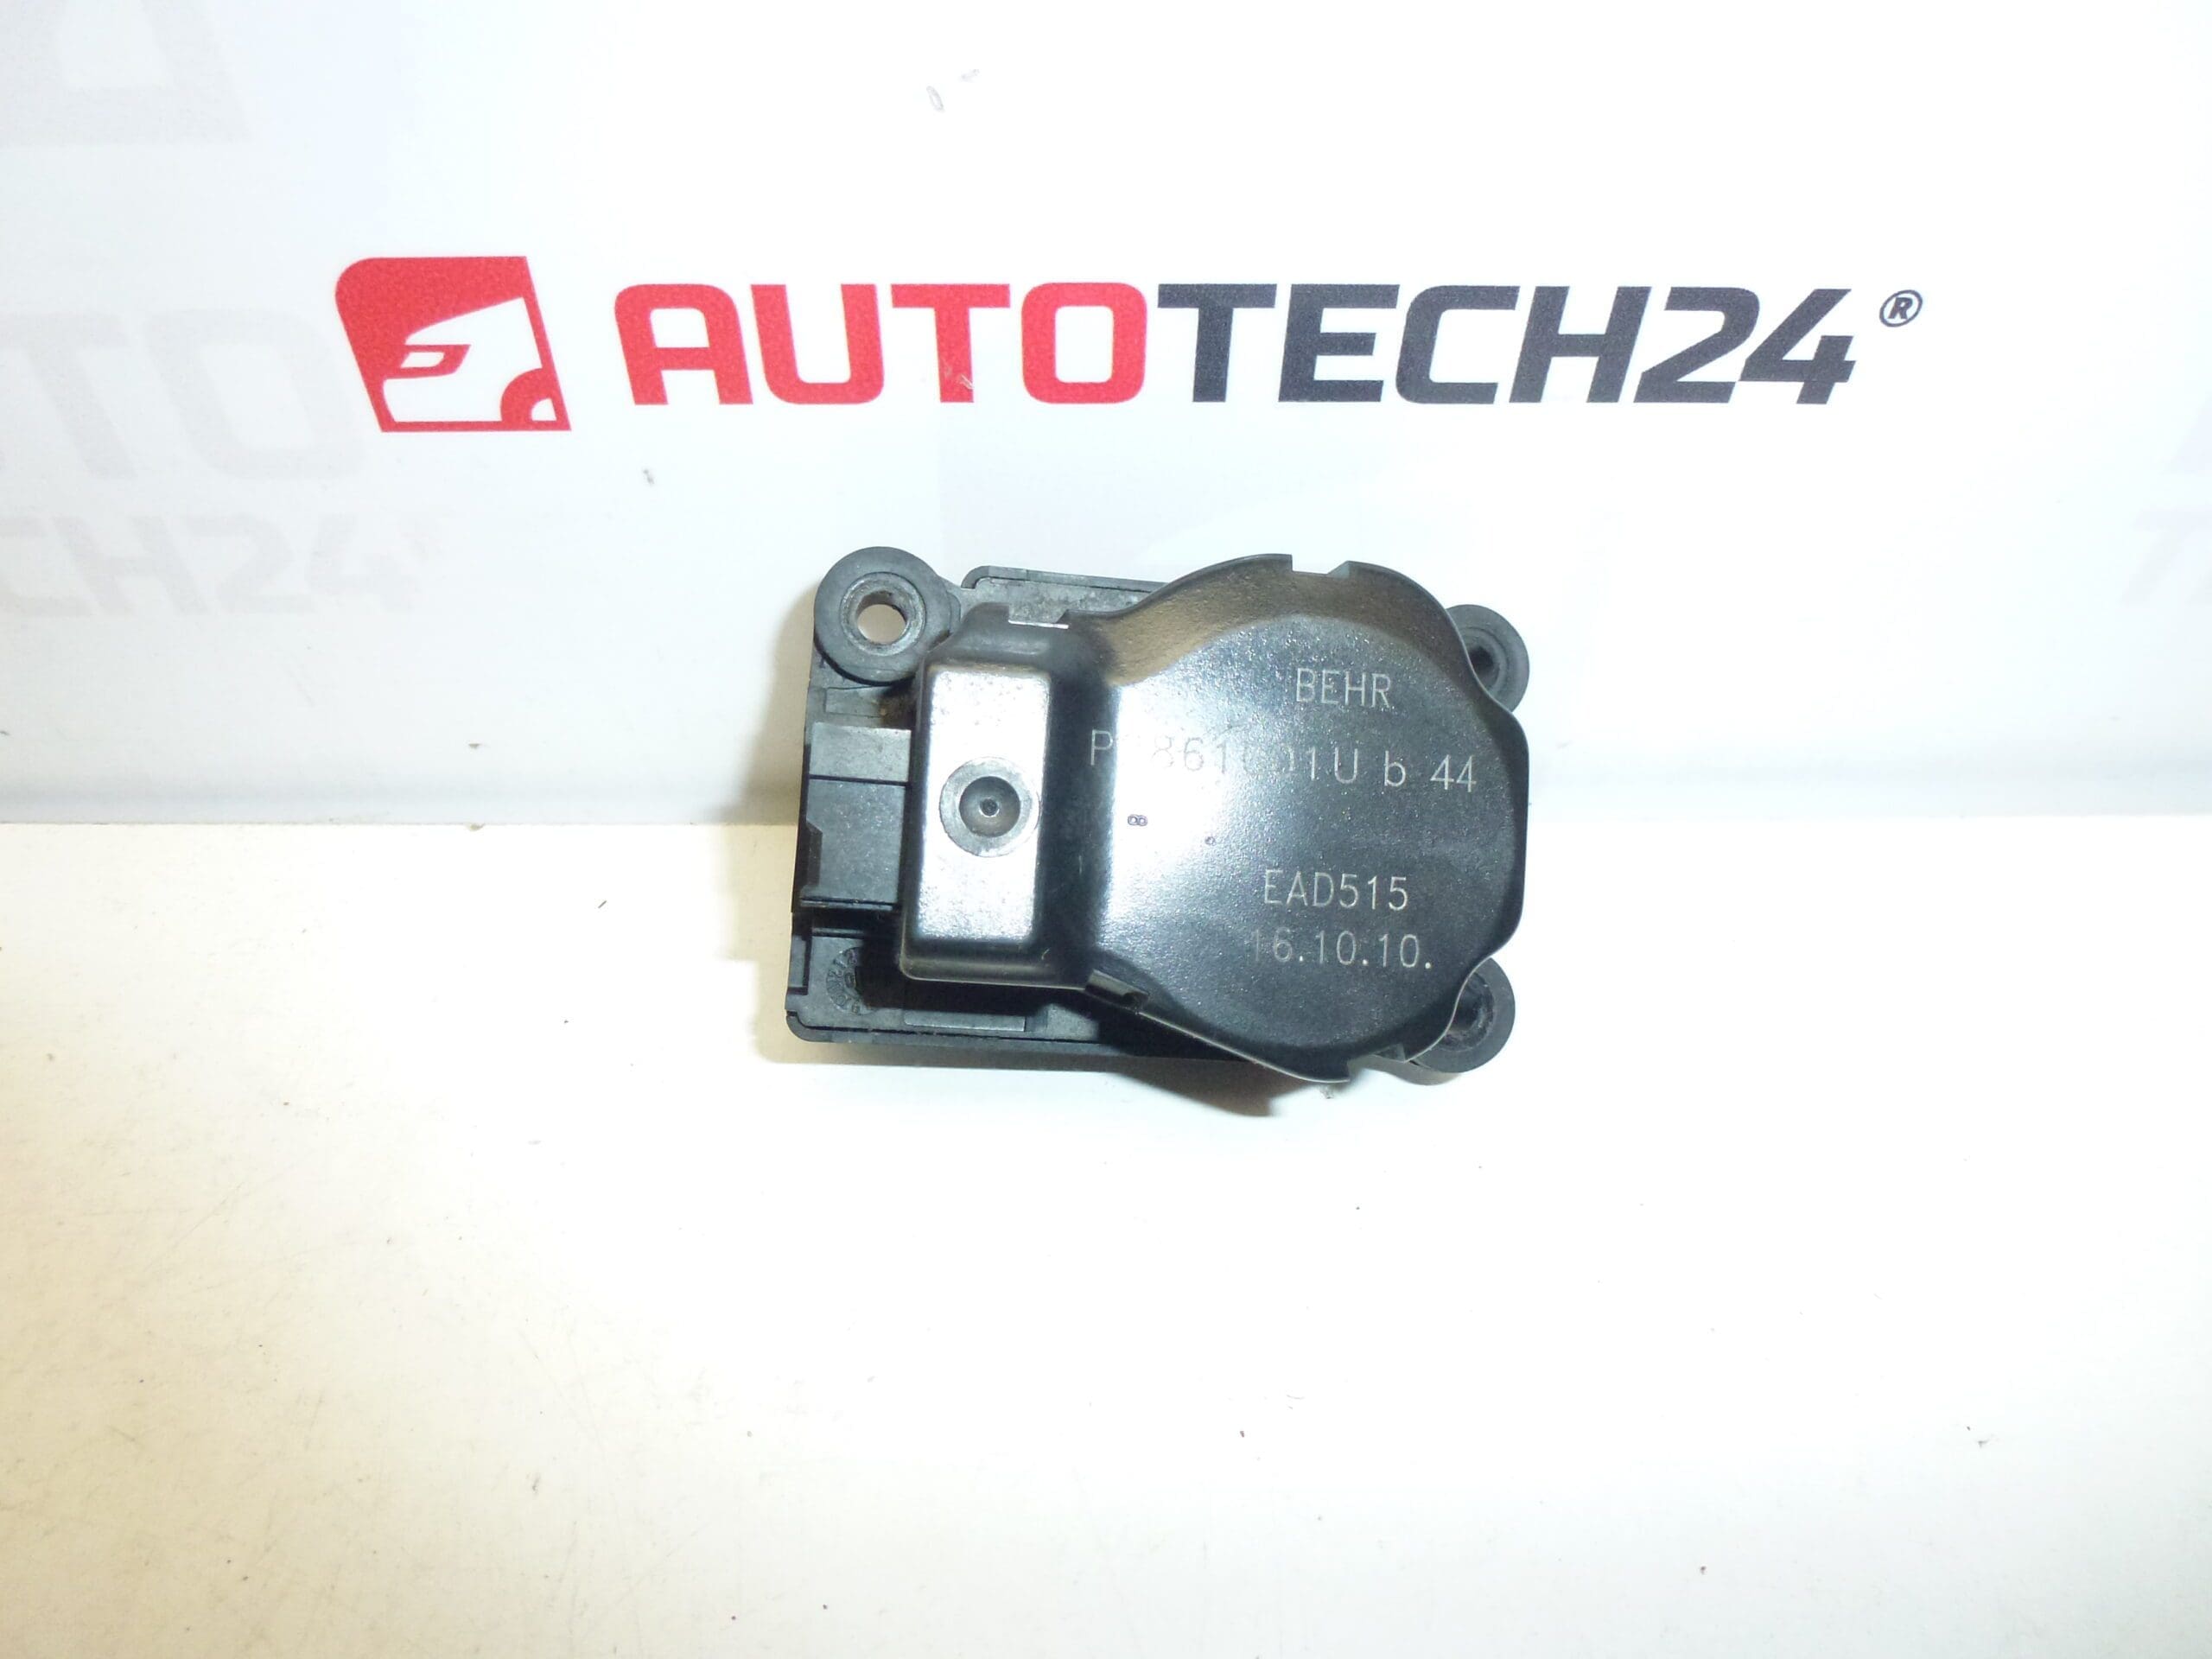
BEHR Heater Servo Motor For Citroën C5 X7 And Peugeot 407 Facelift.
This BEHR heater servo motor is a direct-fit electrical actuator for the climate control system of Citroën C5 X7 and Peugeot 407 (facelift) models. It controls the movement of HVAC flaps and blend doors to regulate cabin temperature and air distribution. Designed with professional workshops and experienced DIYers in mind, the unit replaces faulty actuators that cause incorrect temperature, stuck vents or repetitive clicking noises. Common search terms include BEHR heater servo motor, EAD515, P2861001U and heater actuator for Citroën/Peugeot.
Technical Information
- Manufacturer: BEHR
- Model: Citroën C5 X7; Peugeot 407 (Facelift)
- Product Codes: EAD515; P2861001U; b 44; 647947
- Additional Numbers: As Listed In Parts Data And Aftermarket Catalogs: EAD515 / P2861001U / b 44 / 647947
Function And Symptoms
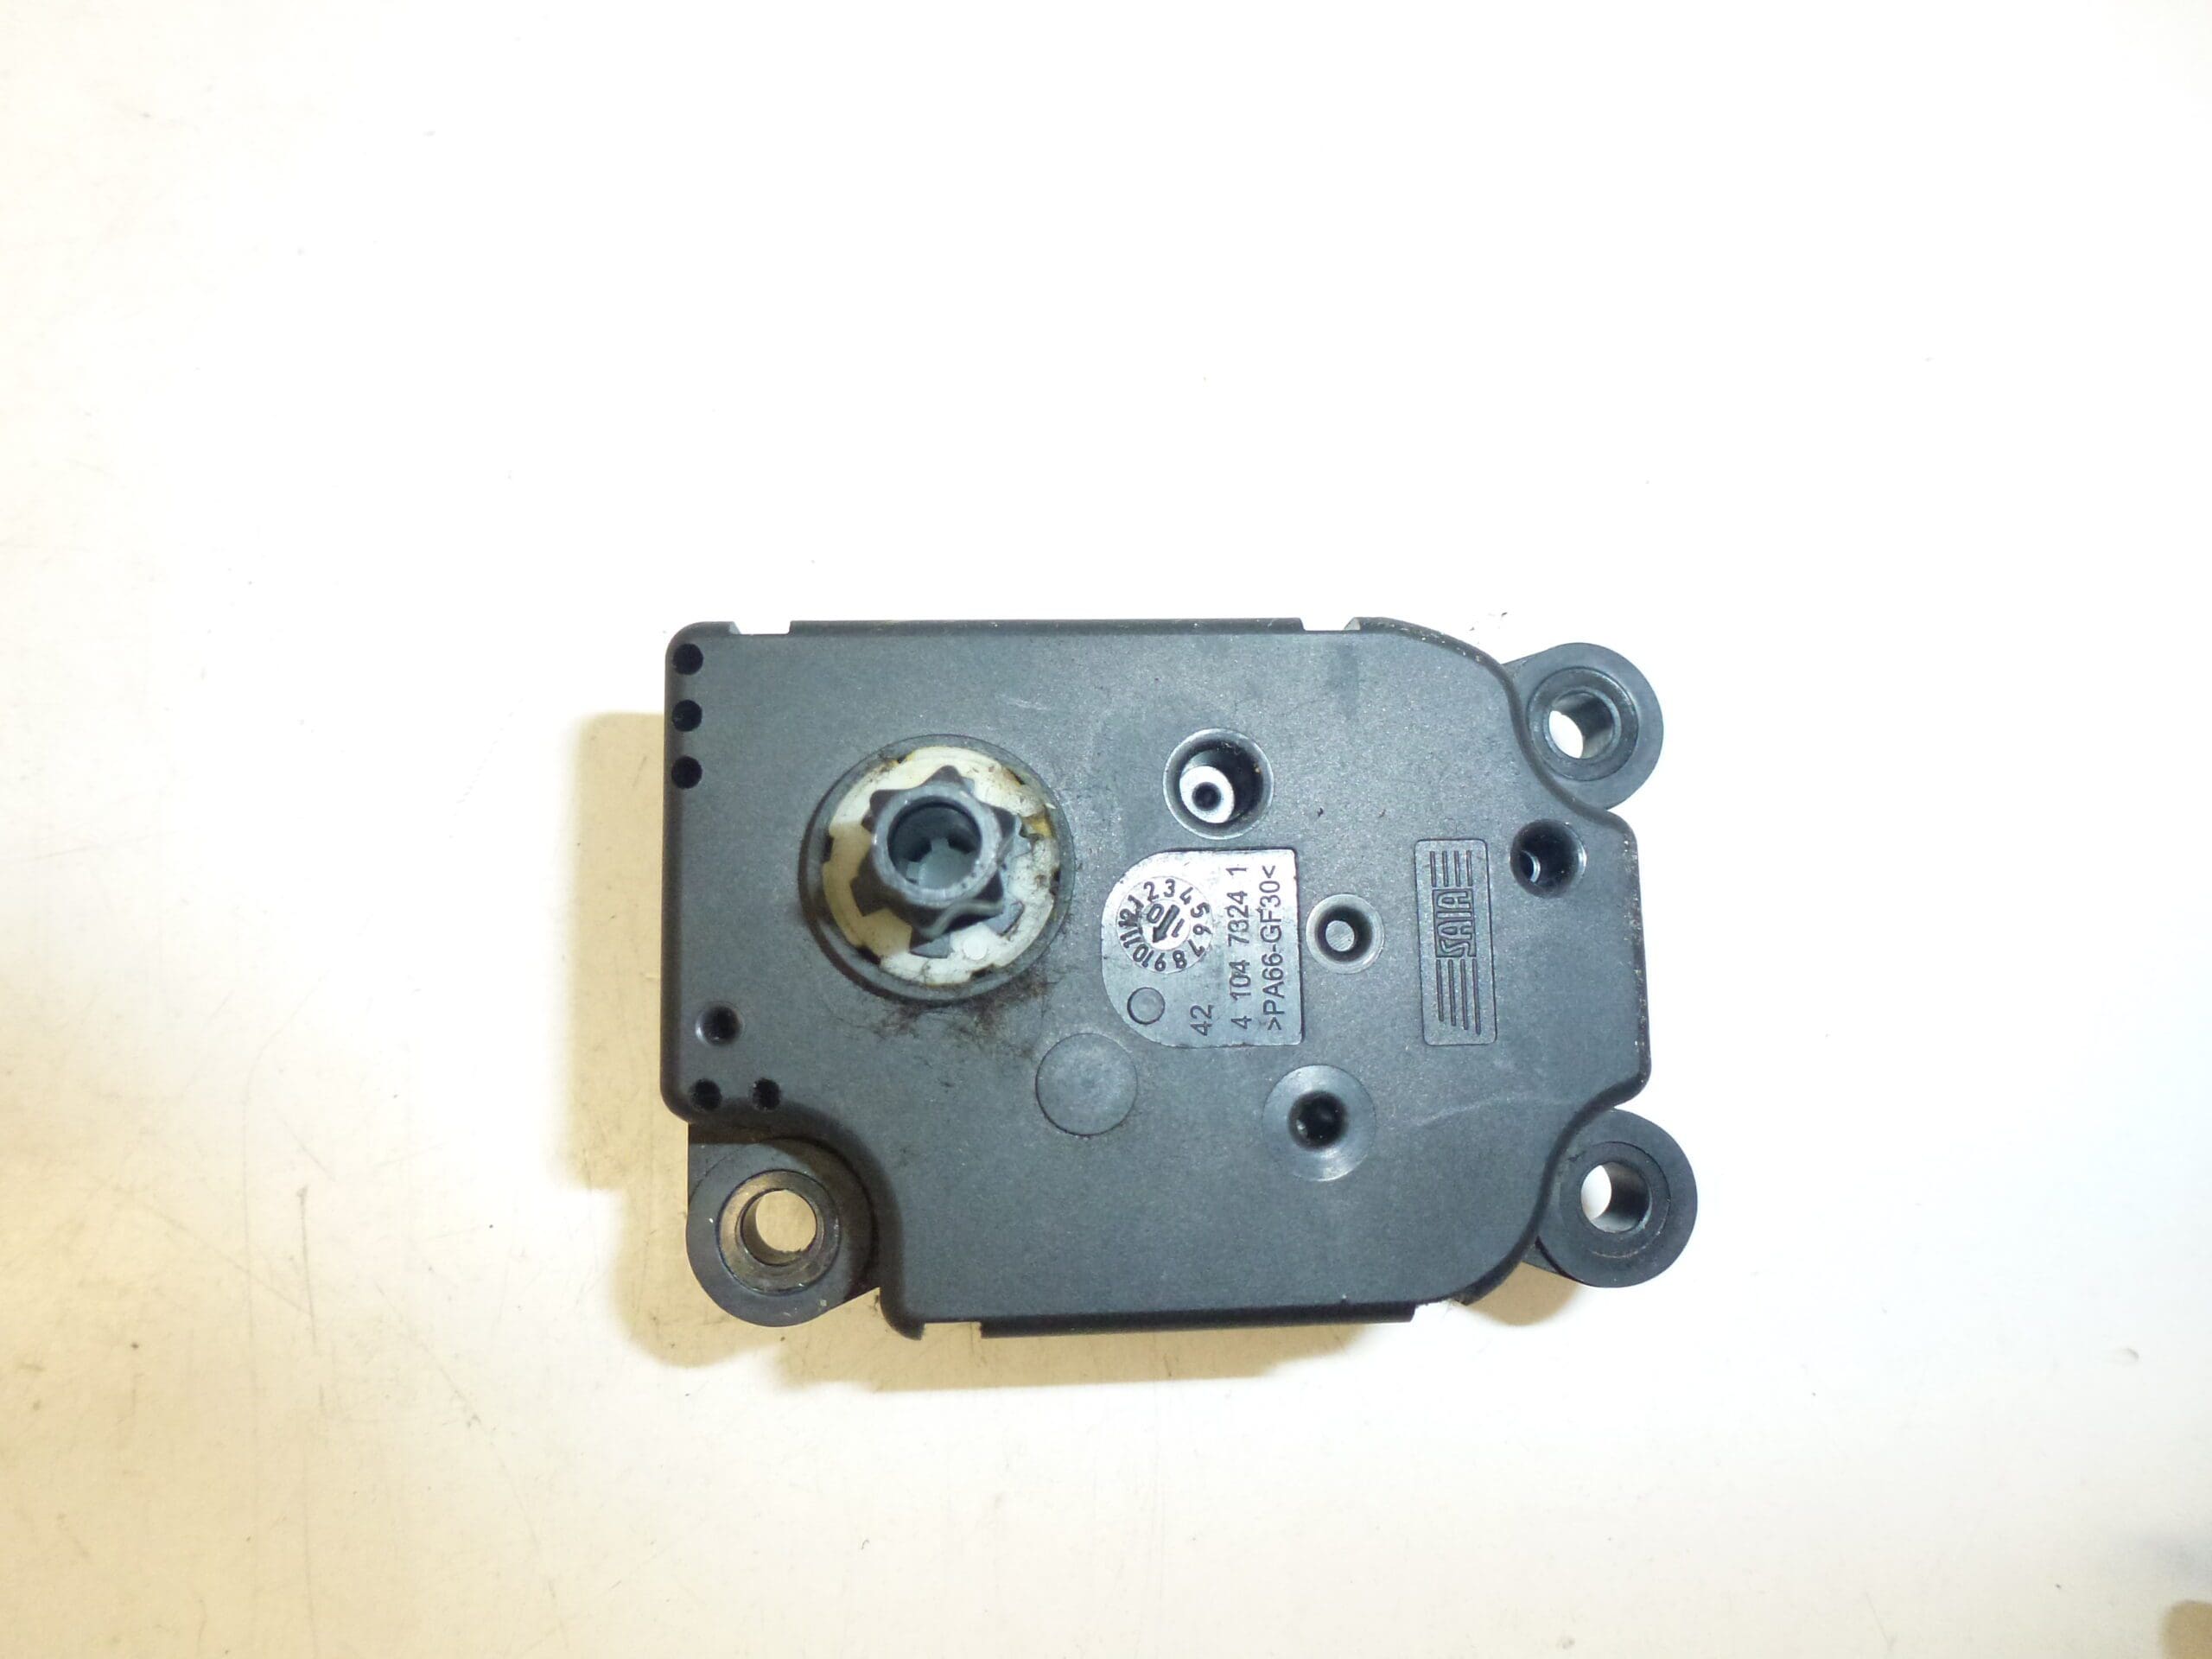
The servo motor actuates heater and air-mix flaps inside the HVAC box. When it fails, symptoms typically include intermittent or no temperature change, vents stuck in one position, unusual clicking or grinding noises from the dashboard, or an inability to switch between fresh and recirculated air. Replacing the actuator restores correct flap movement and precise temperature control.
Installation Recommendations
- Disconnect The Negative Battery Terminal Before Starting Work To Prevent Short Circuits.
- Access The HVAC Unit Through The Glovebox Or Center Console Depending On Vehicle Model; Remove Trim Panels Carefully.
- Unplug The Electrical Connector And Remove Fasteners Securing The Old Actuator. Note The Lever/Pawl Position To Ensure Correct Alignment On Installation.
- Fit The New Actuator So That The Output Gear/Pawl Engages The Flap Lever Smoothly; Do Not Force The Mechanism.
- With The Connector Reconnected, Cycle The HVAC Controls To Verify Full Range Of Motion And Correct Function Before Reassembling Trim.
- Some Vehicles May Require A Quick HVAC Initialization Or Several Ignition Cycles To Allow The Control Unit To Relearn Limits; Check HVAC Operation After Installation.
Why The Part Commonly Fails
Failures Are Usually Caused By Mechanical Wear Of Internal Plastic Gears, Motor Burnout From Excessive Load, Or Corrosion And Moisture Ingress On Electrical Contacts. Blocked Or Stiff HVAC Flaps Can Overload The Actuator And Accelerate Gear Damage. Repeated Clicking Often Indicates Stripped Gears Or A Motor That Loses Torque.
Practical Tips For Fitment
- Compare Product Codes (EAD515, P2861001U, b 44, 647947) With The Part You Remove To Ensure Correct Replacement.
- Keep The Connector Pins Clean And Dry; Apply A Light Dielectric Grease If Needed To Prevent Corrosion.
- When Reassembling, Ensure No Wiring Is Pinched And All Fasteners Are Secured To Avoid Rattles Or Misalignment.
For professional garages and competent DIY mechanics this BEHR servo motor offers a reliable replacement that restores proper HVAC control and driver comfort in Citroën C5 X7 and Peugeot 407 facelift vehicles.