Description
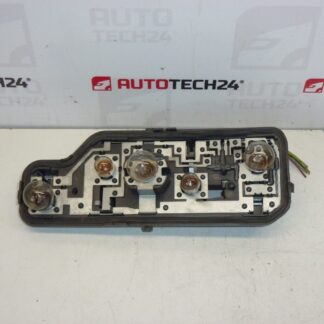
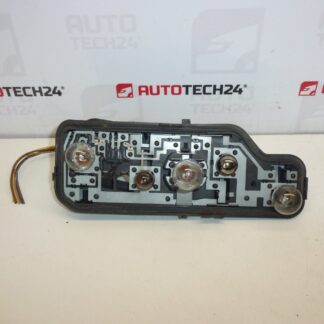
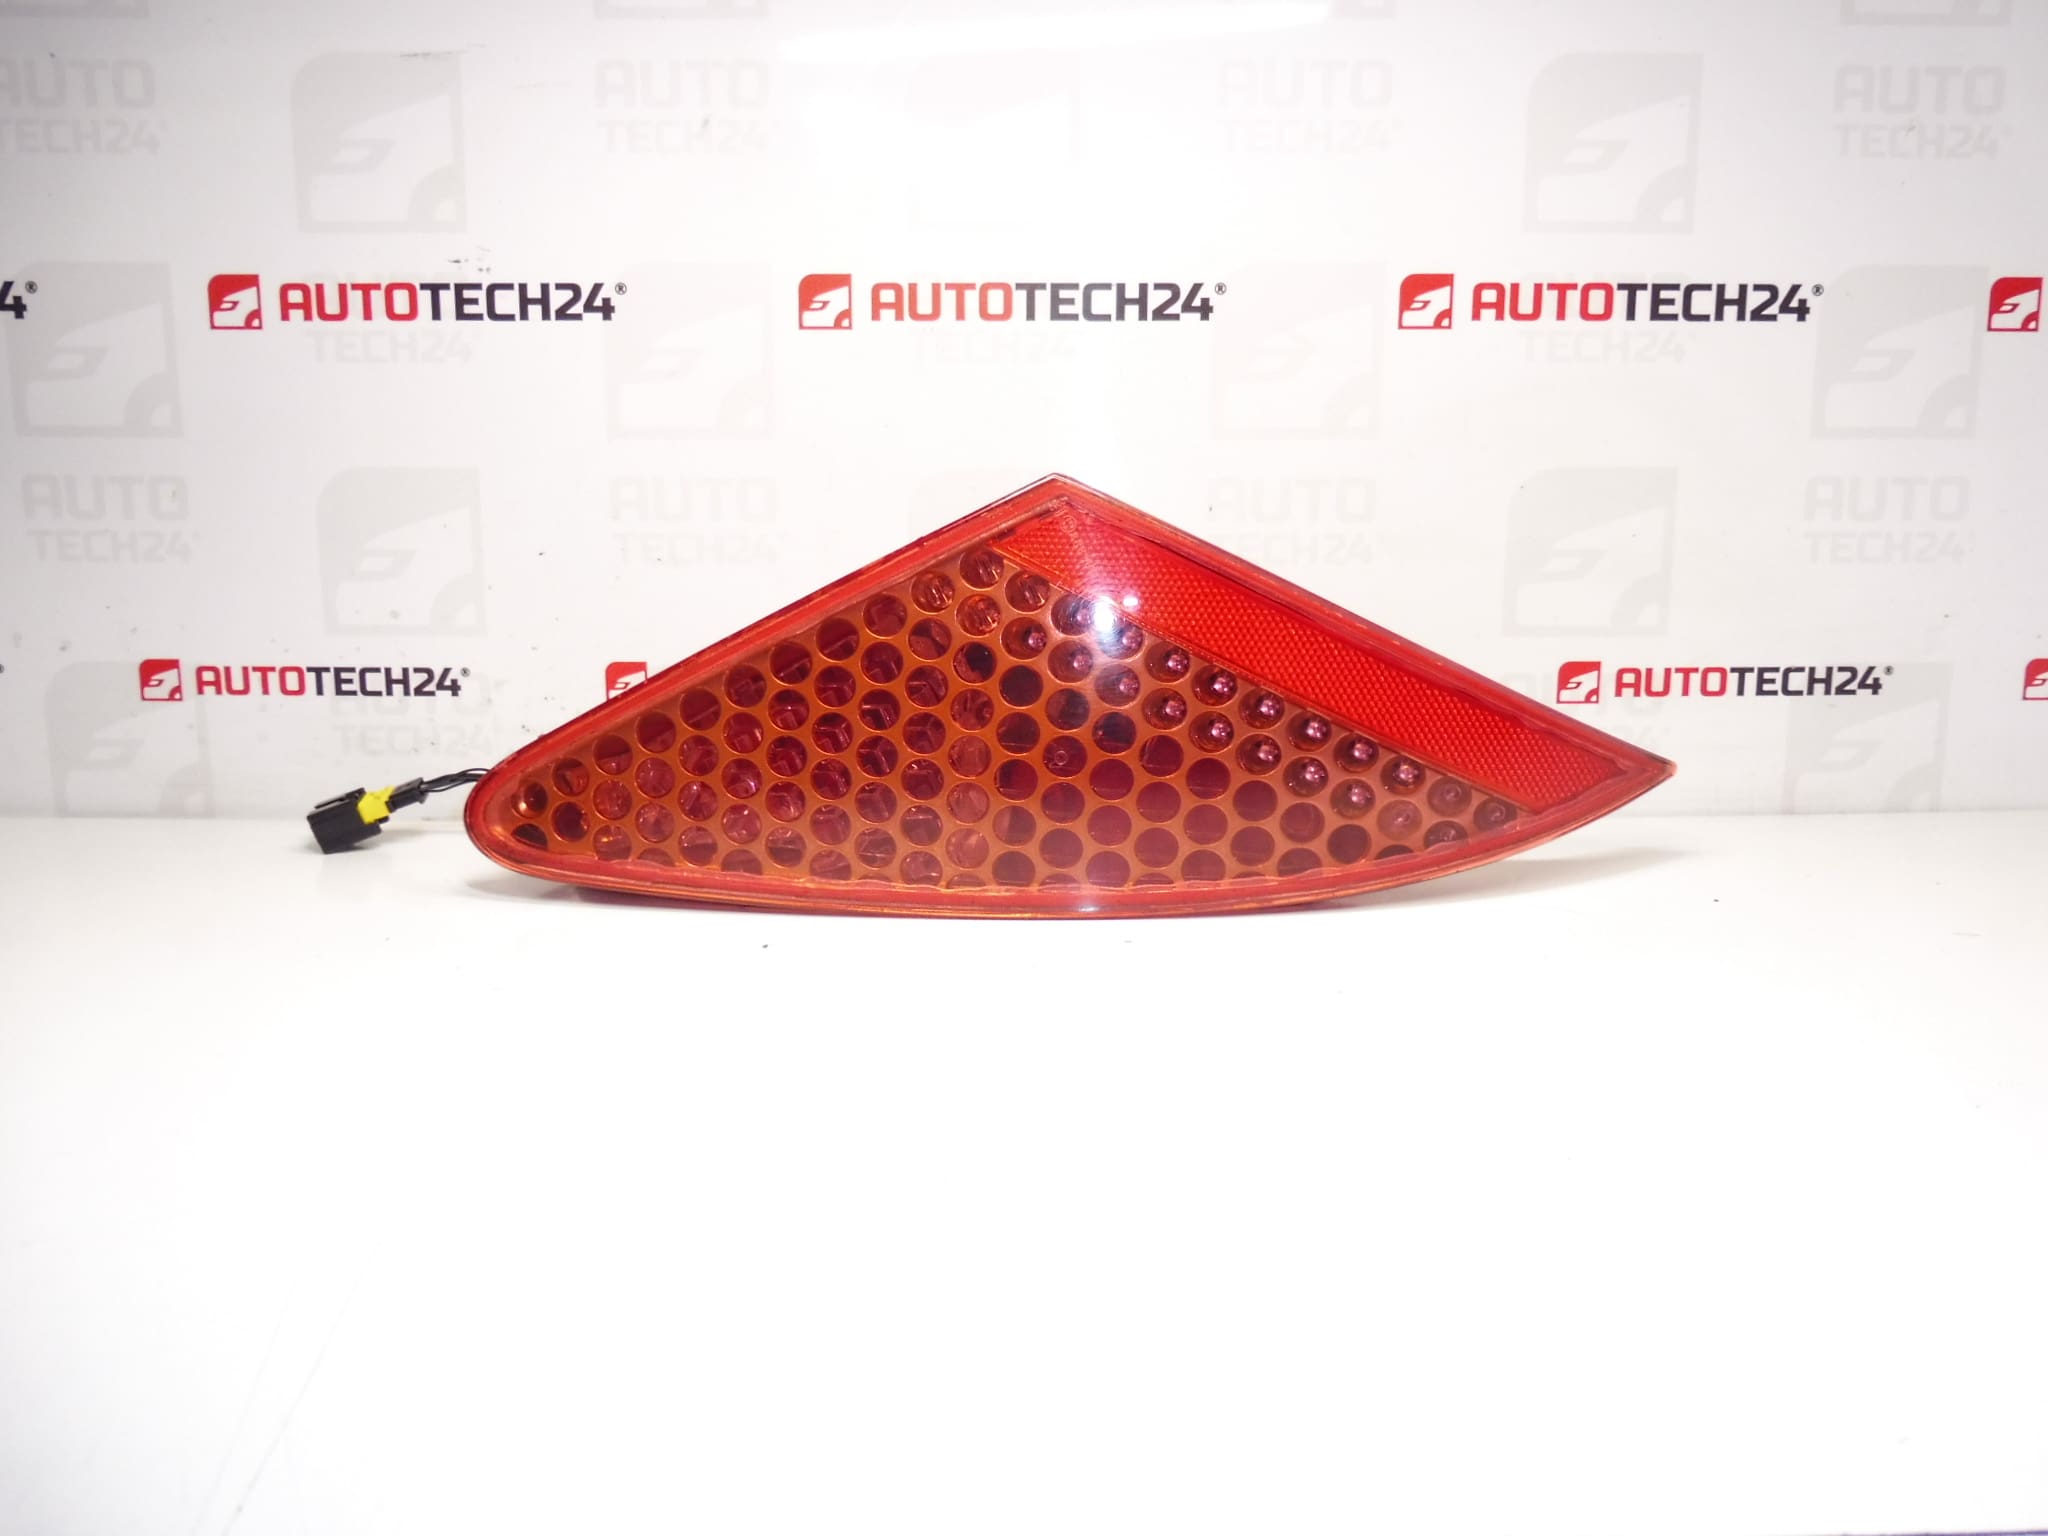
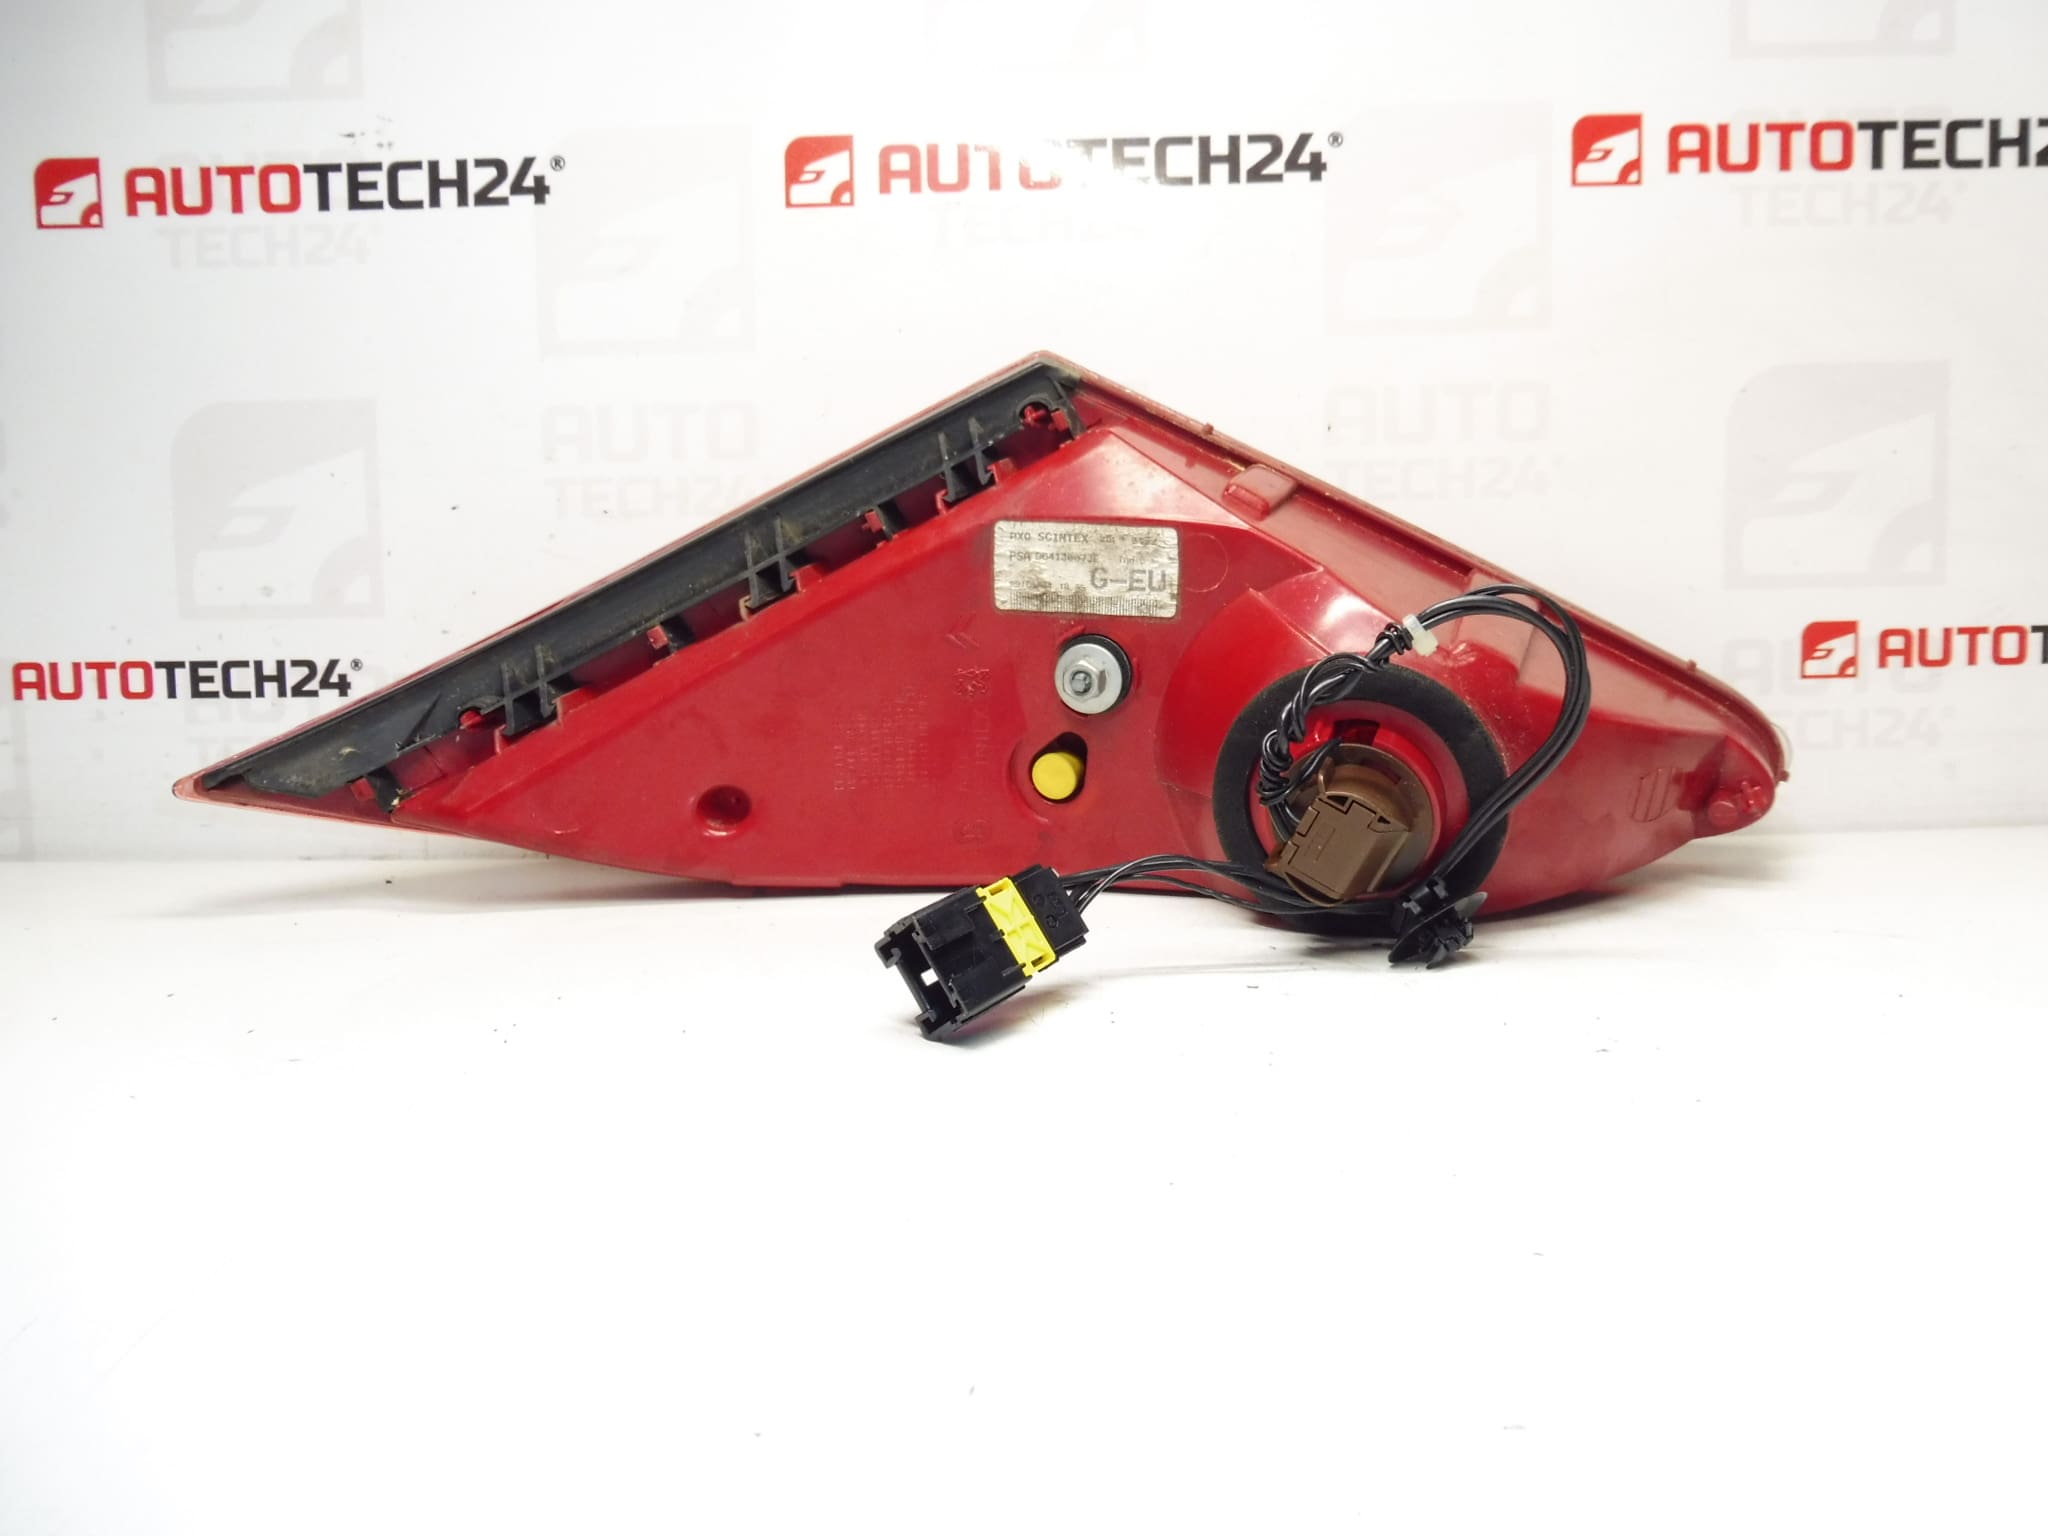
Left rear lamp for the driver’s side tailgate for PEUGEOT 307 CC. The lamp has been resealed with silicone, it does not fog up and the plexiglass will not detach. Attention: The lamp has faded over time.
This Left Rear Lamp Is A Direct Replacement For Peugeot 307 CC Owners And Professional Mechanics Looking For A Reliable Tailgate Light Assembly. It Is Ideal For Workshops And Do-It-Yourself Repairs, Often Searched By Part Number For Fast Identification. The Unit Has Been Sealed With Silicone To Prevent Condensation And To Secure The Lens, Improving Long-Term Reliability Despite Noted Fading Of The Outer Lens Over Time.
Key Features
- Direct Fit For Peugeot 307 CC Driver’S Side Tailgate
- Resealed With Silicone To Reduce Fogging And Prevent Lens Detachment
- Includes Original Type Mounting Points And Connector Interface For Easy Installation
- Commonly Identified By Part Numbers For Quick Search And Ordering
Application And Function
The Lamp Serves As The Rear Tail/Brake/Indicator Light Mounted In The Tailgate On The Driver’S Side Of The Peugeot 307 CC. It Provides Rear Signalling And Illumination Required For Road Safety And Legal Operation. Because It’S Mounted On The Tailgate, The Assembly Must Withstand Vibration, Weather Exposure And Occasional Mechanical Stress During Loading.
Installation Recommendations
- Open The Tailgate And Remove Interior Trim To Access Mounting Screws; Keep Clips And Screws In A Safe Place.
- Disconnect The Electrical Connector Before Removing The Lamp To Avoid Damage To Wiring Or Pins.
- Unscrew The Mounting Bolts, Remove The Old Lamp, And Compare Mounting Points And Connector Type Before Fitting The Replacement.
- Check Sealing Surface For Corrosion Or Old Sealant. Clean And Dry The Flange; If Needed, Apply A Quality Automotive Sealant Or New Gasket To Ensure A Water-Tight Fit.
- Reconnect Electrical Connector And Test All Light Functions (Brake, Tail, Indicator, Reverse Where Applicable) Before Reassembling Interior Trim.
- Use Dielectric Grease On Connectors To Prevent Corrosion And Improve Long-Term Electrical Contact.
Why This Part Most Commonly Fails
- Water Ingress Due To Deteriorated Seals Or Damaged Mounting Points Leading To Condensation, Corrosion And Electrical Faults.
- UV Exposure Causing Lens To Fade Or Become Brittle Over Time; This Unit Shows Signs Of Fading.
- Mechanical Impact Or Vibration From Frequent Tailgate Use Leading To Cracks, Loose Mounts Or Broken Clips.
- Corroded Electrical Connectors Resulting In Intermittent Function Or Complete Failure Of Light Functions.
Technical Information
- Manufacturer: Stellantis / Peugeot
- Model: Peugeot 307 CC
- Product Codes: 96413007JE, 714025600701, 6350S4
- Additional Numbers: NFP (As Marked)
For Mechanics And Experienced DIY Enthusiasts, This Lamp Provides A Practical Replacement Option When Original Appearance Or Functionality Has Been Affected By Aging. Note The Lens Has Lightened Over Time, So Cosmetic Expectation Should Be Aligned With That Condition While Function And Seal Were Addressed By Resealing.