Description
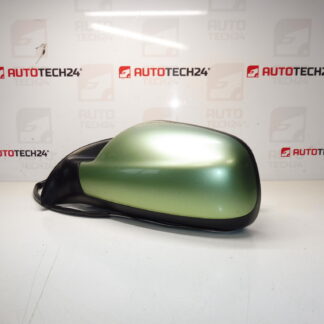
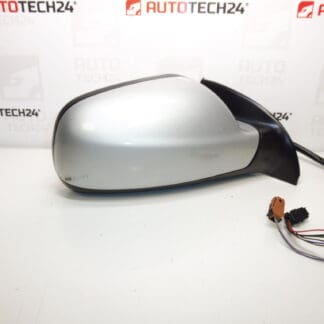
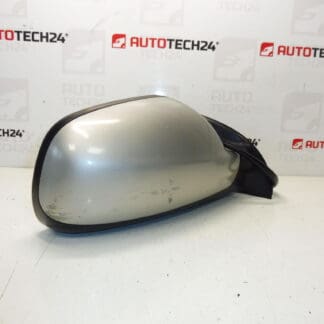
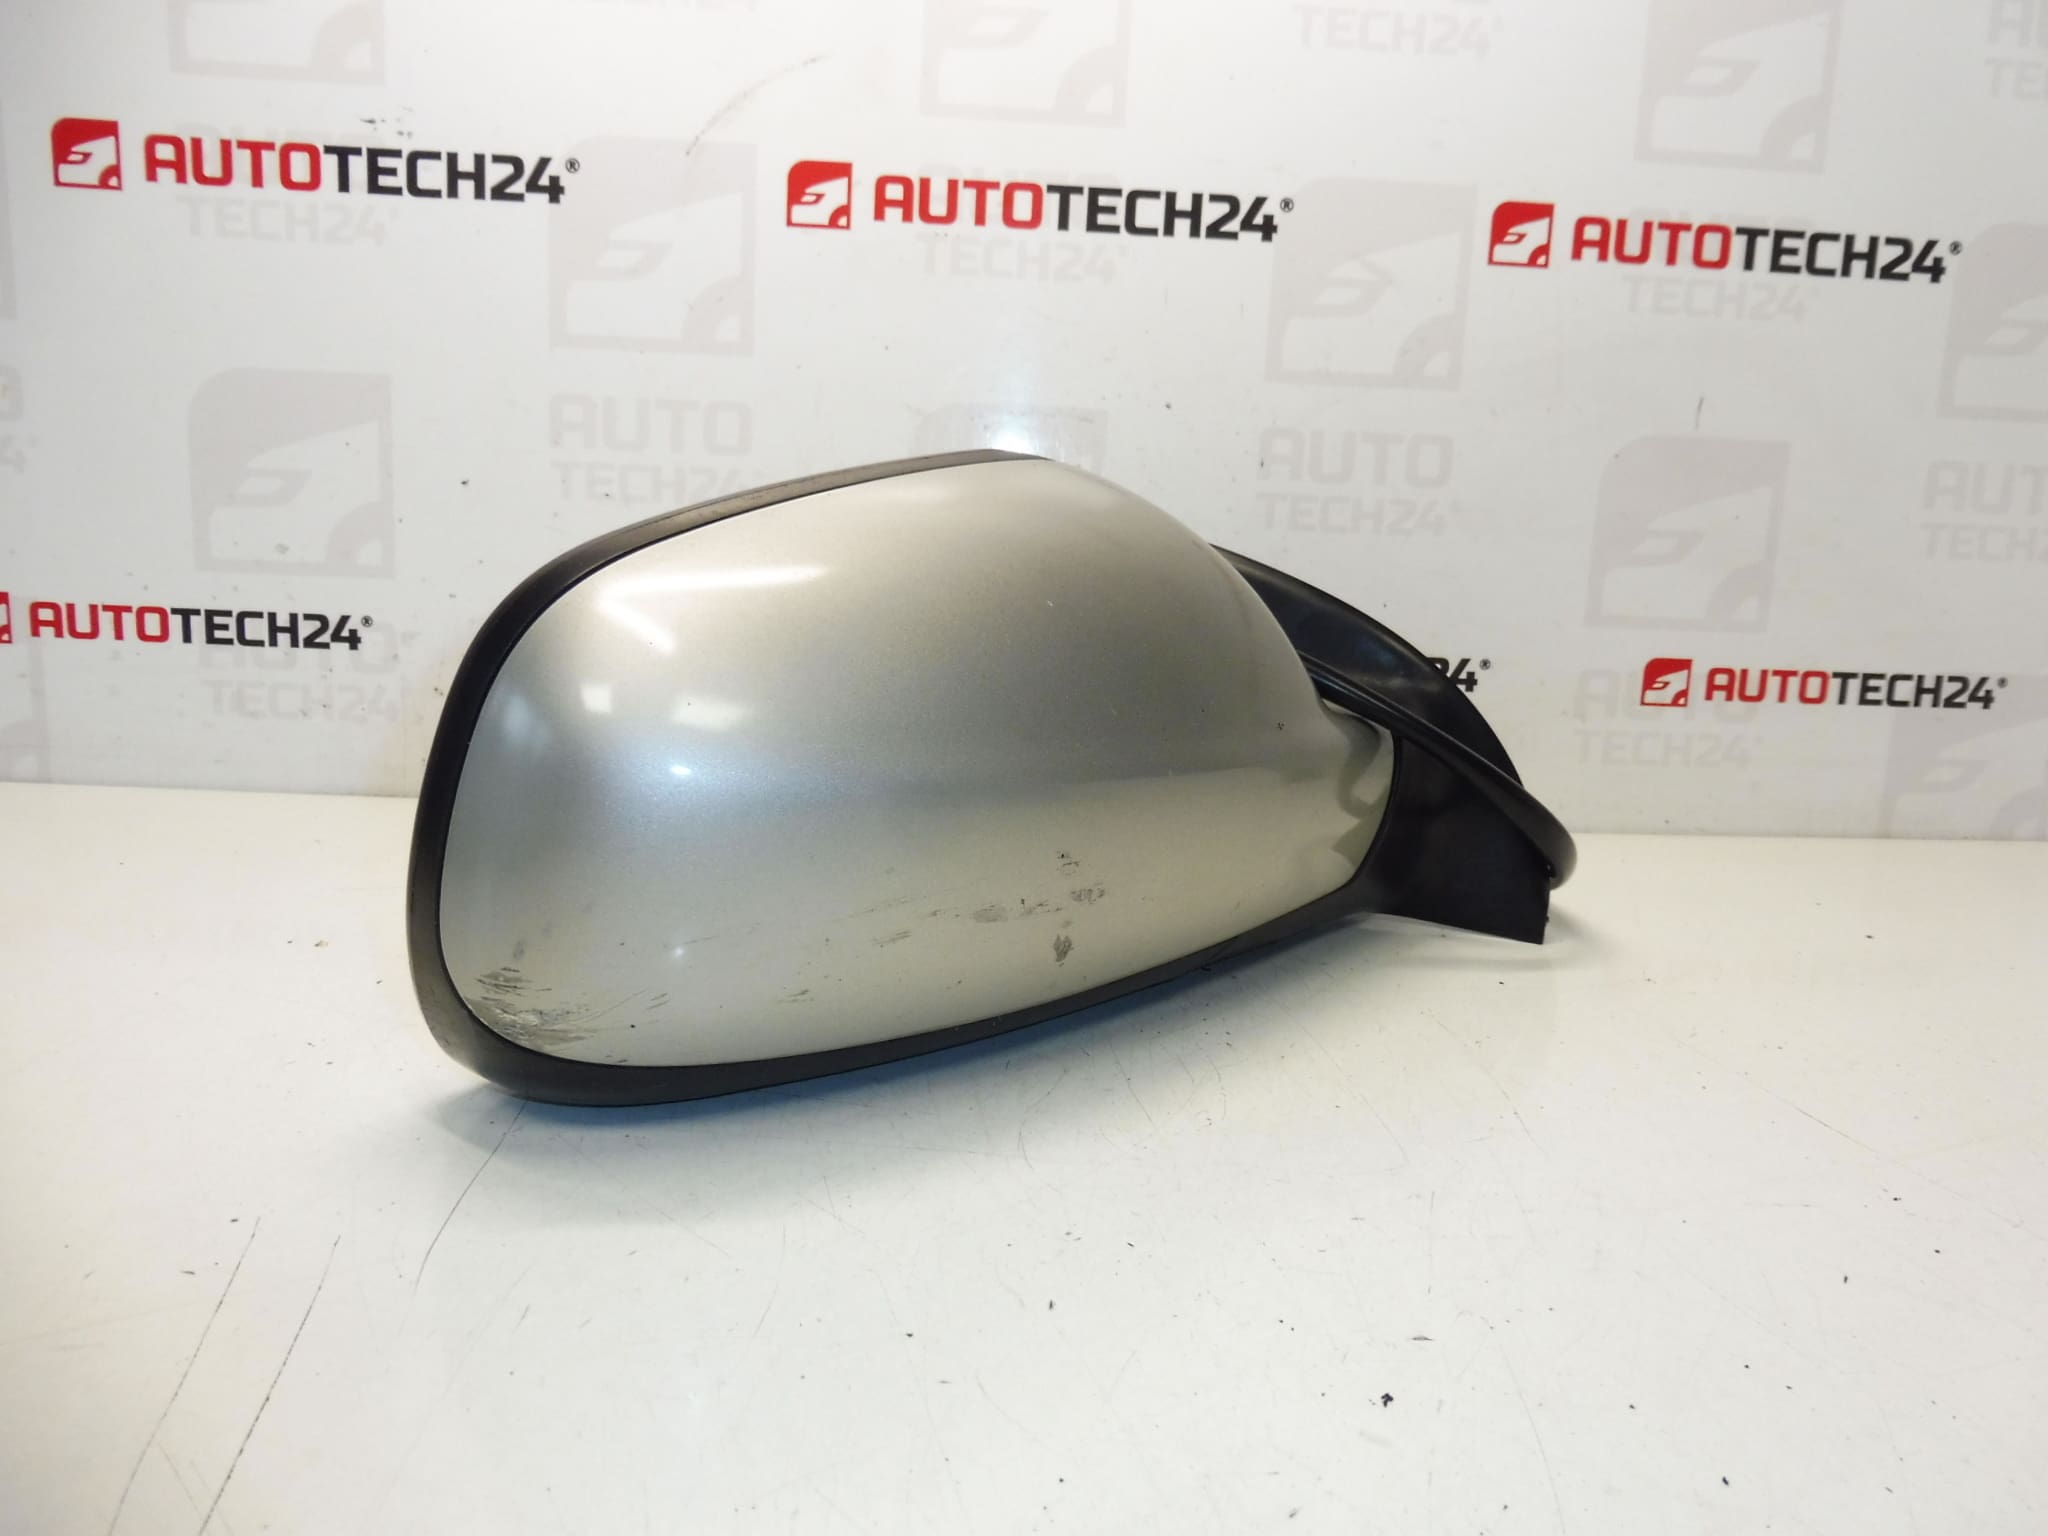
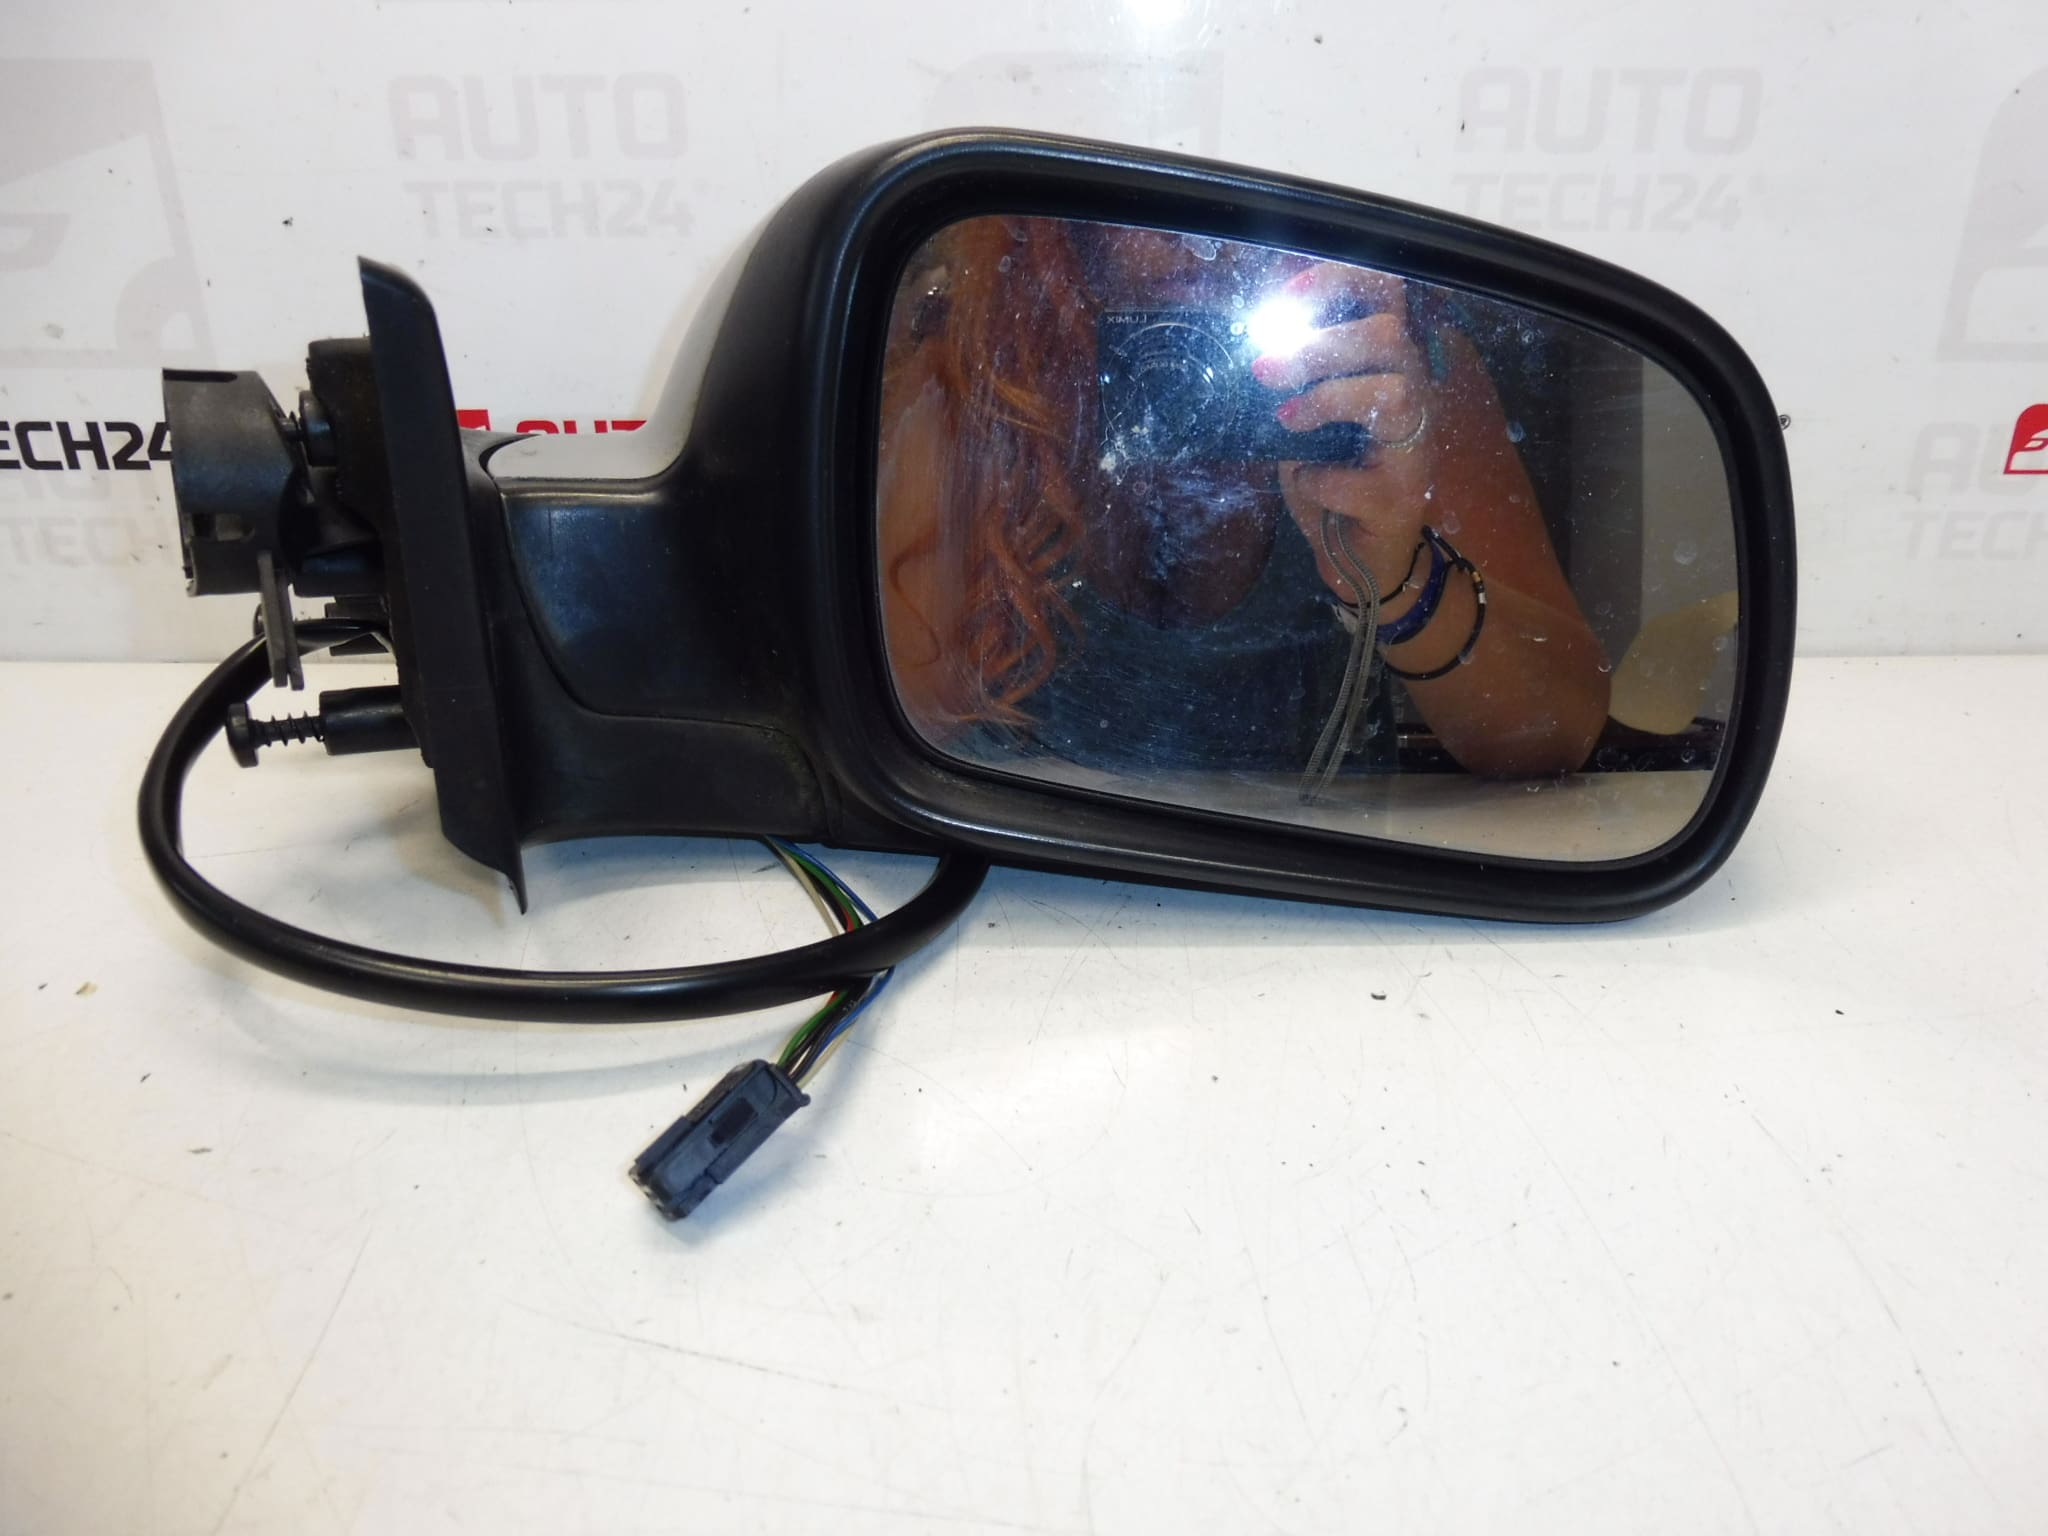
Right Exterior Mirror For PEUGEOT 307. May Have Light Paint Scratches, Not Cracked, Fully Functional. Color: ETS – Gray Cendré Paint. Electrically Adjustable, Temperature Sensor – 6-Pin. Passenger Door.
Product Overview
This right-side exterior mirror is designed for Peugeot 307 vehicles and is ideal for professional mechanics and DIY enthusiasts. Supplied as a fully functioning unit, it features electric adjustment and an integrated temperature sensor. Commonly searched under codes 8149AX or 8149A (ETSC), this mirror is a direct replacement for the passenger door and helps restore visibility, heating/defogging capability and electrical adjustment without the need for additional parts.
Function And Fit
The mirror provides electrically controlled position adjustment and includes a temperature sensor useful for automatic climate and defogging systems. It is intended for the right (passenger) door and has a 6-pin electrical connector. The housing color is Gray Cendré (ETS paint). The housing may show light paint scratches but is not cracked; all mechanical and electrical functions are reported as fully operational.
Technical Information
- Manufacturer: Stellantis / CITROËN / PEUGEOT
- Model: Peugeot 307 (307 I)
- Product Codes: 8149AX, 8149A, ETSC
- Additional Numbers: 6-Pin Connector; Right Side (Passenger)
Installation Recommendations
- Disconnect the vehicle battery before starting work to avoid short circuits and protect vehicle electronics.
- Remove the interior door trim to access the mirror mounting points. Typical installation requires removal of three retaining bolts and unplugging the 6-pin connector.
- Carefully transfer any trim pieces or mirror glass if necessary. Install the replacement mirror, reconnect the electrical connector, tighten fasteners to the manufacturer’s torque values, and verify all functions (adjustment, temperature sensor/heating) before refitting the door panel.
- If the mirror integrates sensors that require calibration, follow Peugeot service procedures after installation.
Why This Part Fails Most Often
Physical impact (collisions or knocks) is the most frequent cause of mirror failure, leading to cracked housings or damaged adjustment mechanisms. Water ingress and connector corrosion can cause electrical faults in the adjustment motor or temperature sensor. Repeated manual folding or vandalism can also degrade mechanical components over time.
Notes For Mechanics And DIY
- Verify the connector pin count (6-pin) and that the unit is for the right (passenger) side before installation.
- Minor paint blemishes are cosmetic and do not affect functionality; repainting may be considered for aesthetic restoration.
- Use original or equivalent fasteners and follow manufacturer torque specifications to ensure secure fitment and prevent rattles.
Suitable for workshops and individuals seeking a reliable right-side mirror replacement for Peugeot 307 (307 I) models. Keywords: Peugeot 307 right mirror, ETSC 8149AX, 6-pin electric mirror, temperature sensor mirror.