Description
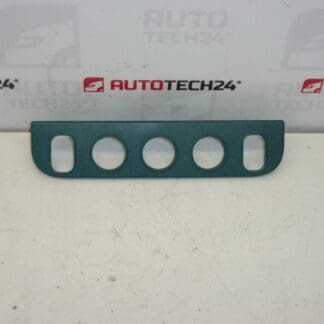
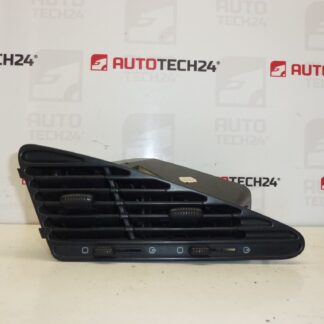
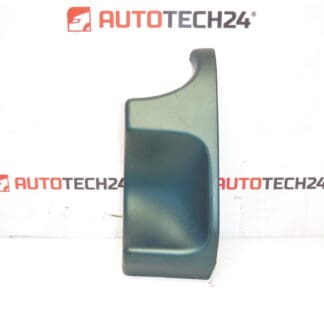
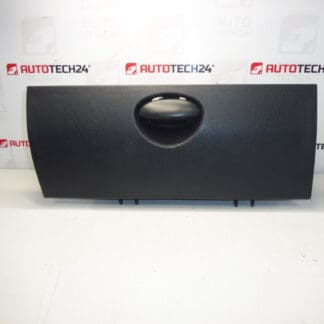
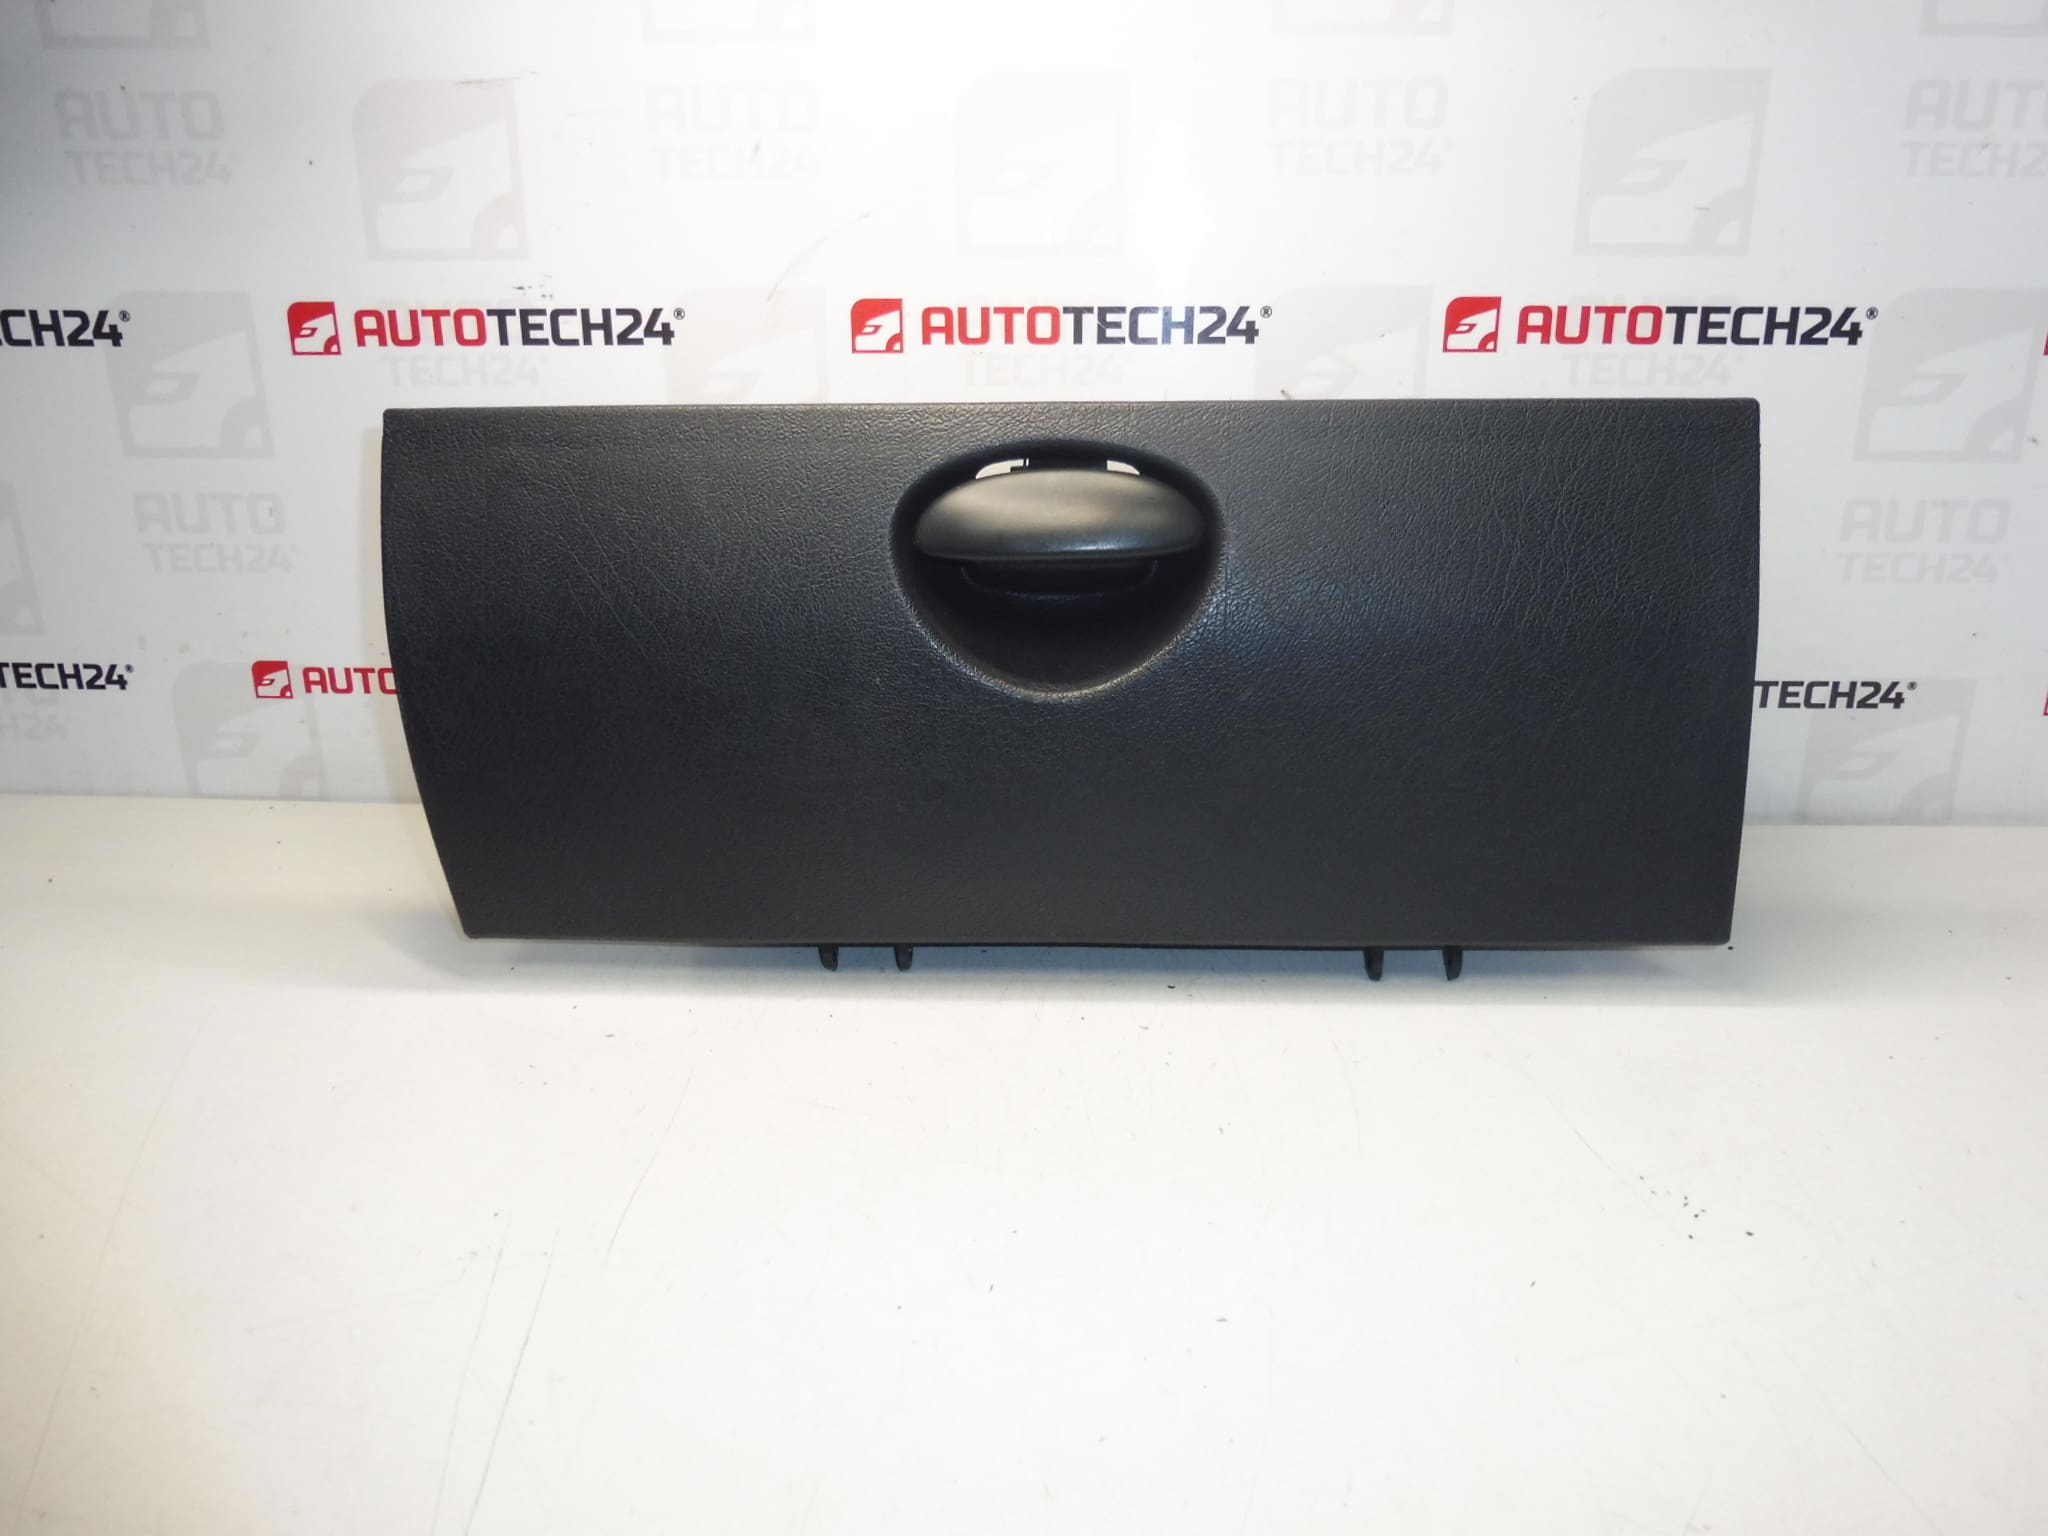
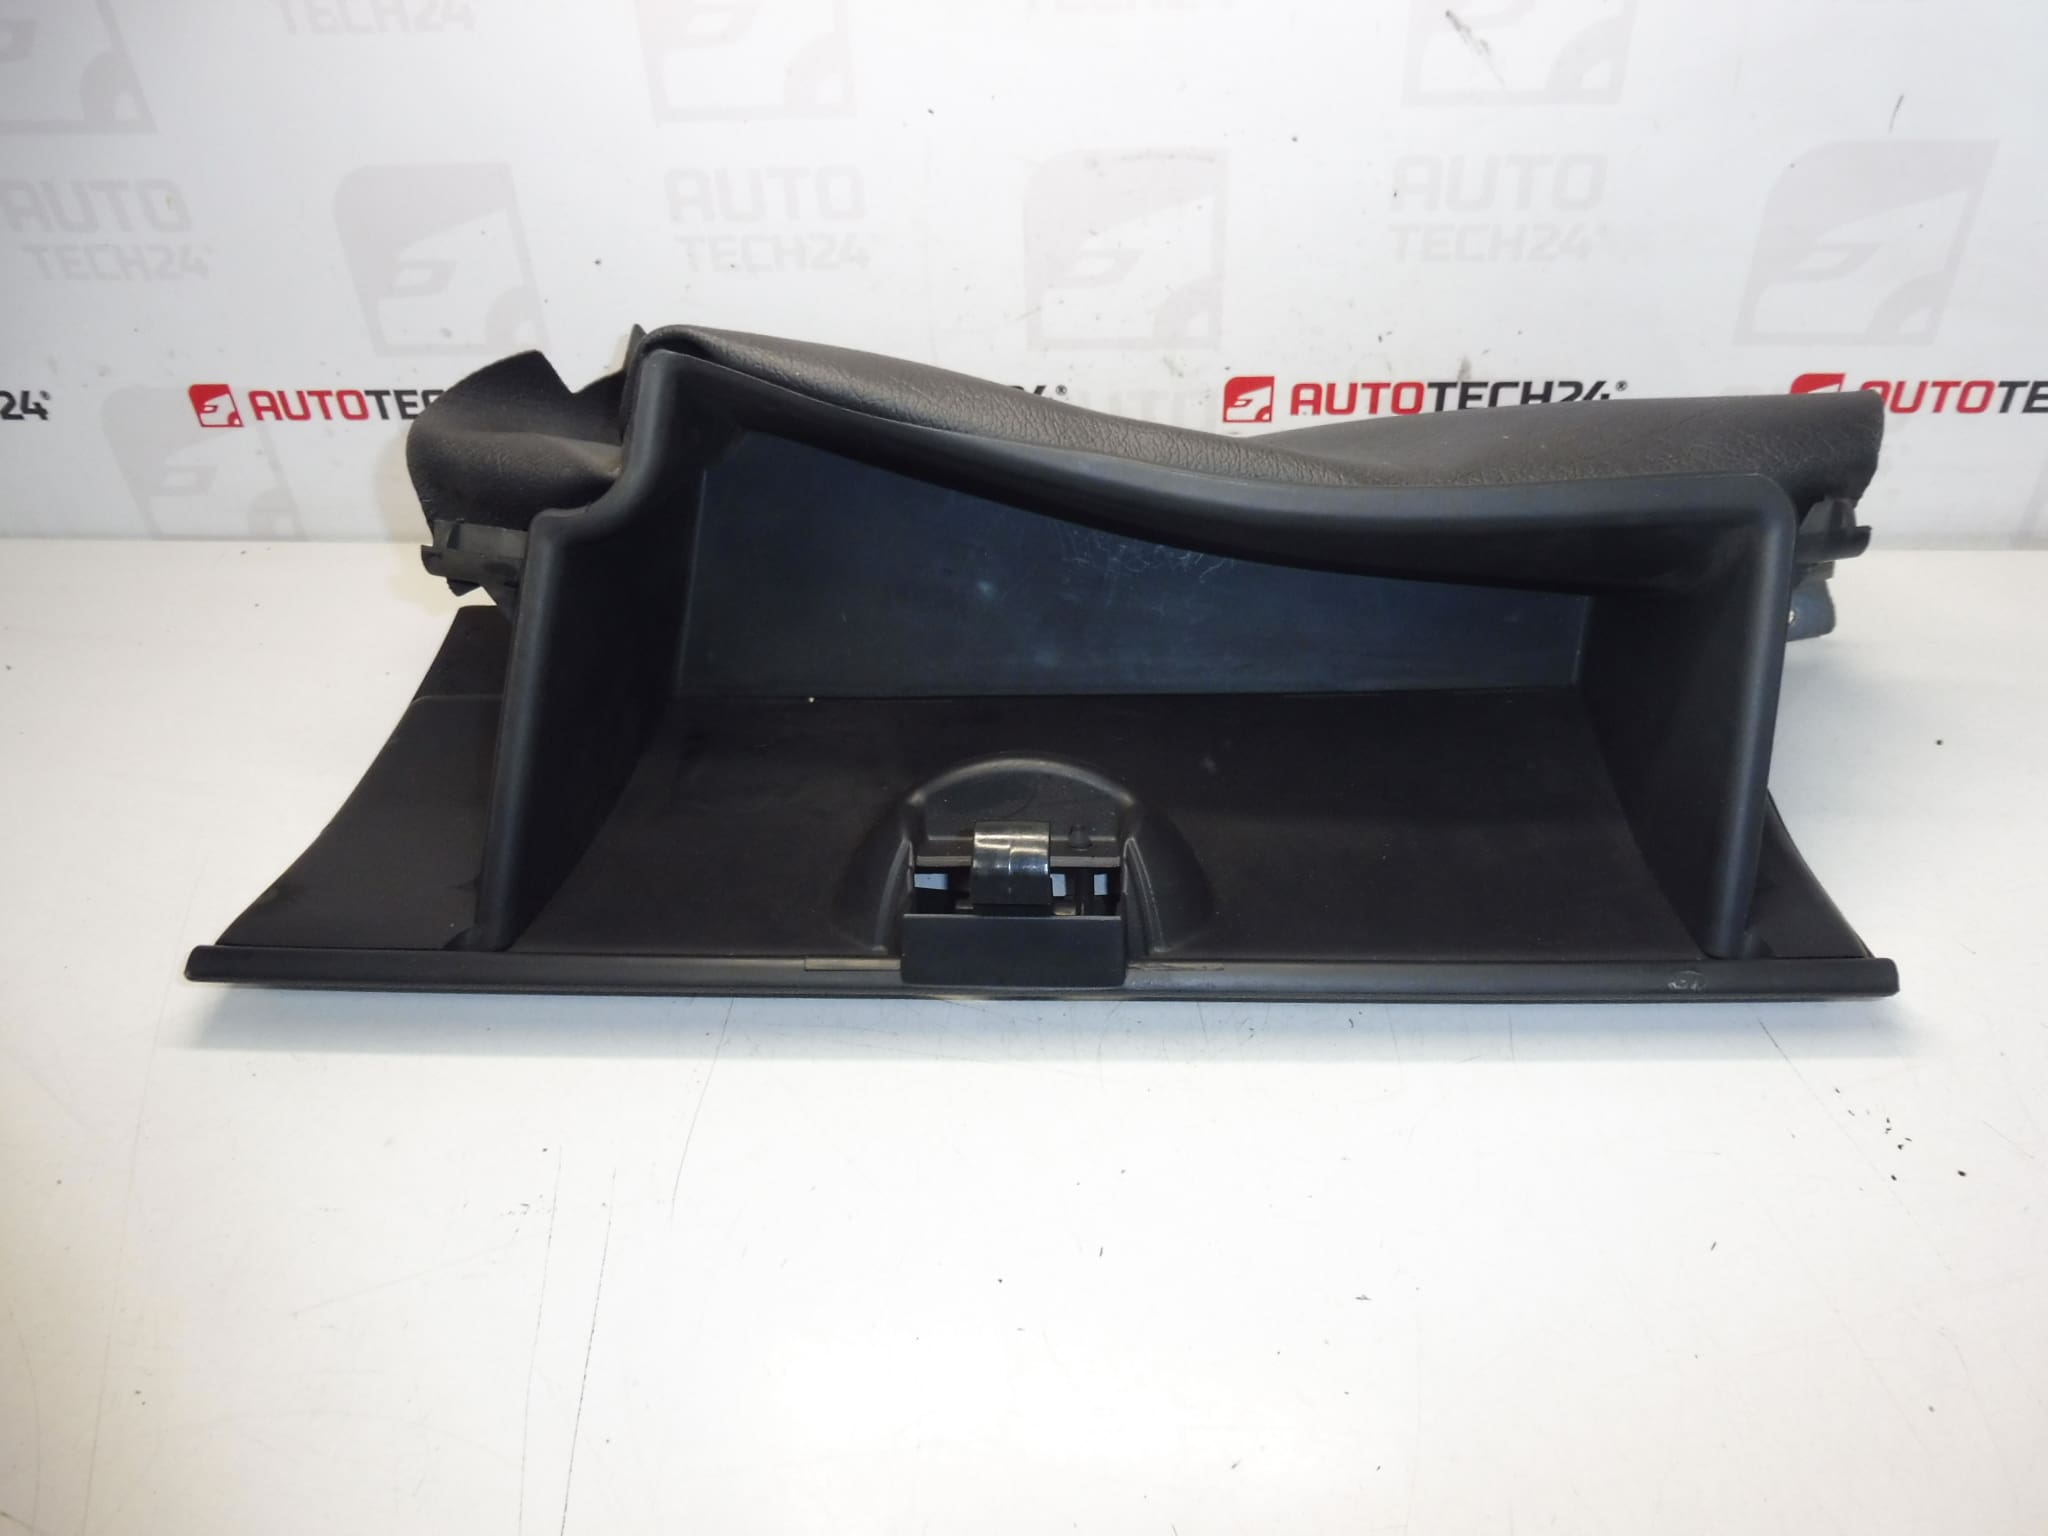
Dashboard storage compartment for Citroën Berlingo II and Peugeot Partner II. Colour HZE – Tramontane.
This genuine-style dashboard storage compartment is designed as a direct replacement for interior trim on Citroën Berlingo II and Peugeot Partner II models. It restores original functionality and appearance to the passenger side of the dashboard, offering a secure place for small items, paperwork or vehicle documents. Often searched for by OEM numbers 9646344077 and 822644, this item fits typical factory mounting points and matches the Tramontane (HZE) interior colour for a discreet, factory-correct finish.
Technical Information
- Manufacturer: Stellantis / Citroën / Peugeot
- Model: Citroën Berlingo II, Peugeot Partner II
- Product Codes: 9646344077, 822644
- Additional Numbers: Tramontane Colour Code HZE
Function And Fitment
The storage compartment provides a simple, low-profile storage solution integrated into the dashboard. It secures with factory clips and fasteners and is intended to match the original trim colour and texture. It replaces worn, cracked or missing bins and restores tidy interior appearance and practical storage space.
Installation Recommendations
Replacement is straightforward for experienced mechanics and competent DIYers. Basic procedure:
- Remove any trim panels or screws securing the existing compartment using appropriate trim tools and hand tools.
- Unclip and extract the old compartment carefully to avoid breaking plastic retaining clips.
- Position the new compartment, align the mounting points and press into place until clips engage; reinstall screws or fasteners.
- Check operation of the lid (if fitted) and ensure secure fitment with no rattles.
Recommended tools: trim removal tool, suitable screwdrivers or bit set, and a small flashlight. Work in a clean, well-lit area. Always follow common workshop safety practices.
Why This Part Fails
- Mechanical wear: Hinges and latches can weaken or break over time from repeated use.
- Impact damage: Heavy loads or accidental impacts can crack the bin or mounting points.
- Plastic fatigue and UV exposure: Long-term sunlight and temperature changes can make interior plastics brittle, causing clips and edges to snap.
- Improper removal: Excessive force during previous removal attempts can damage retaining clips or the compartment itself.
For Whom
Ideal for professional workshops and DIY enthusiasts repairing Citroën Berlingo II and Peugeot Partner II interiors. Use this part to quickly restore functionality and maintain original interior aesthetics.
Buy now to replace a worn or damaged dashboard compartment with a part that matches factory fit and colour. Fast identification by part numbers 9646344077 and 822644 helps you get the right item quickly.