Description
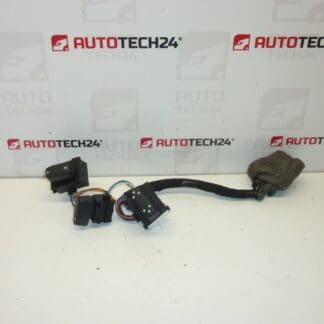
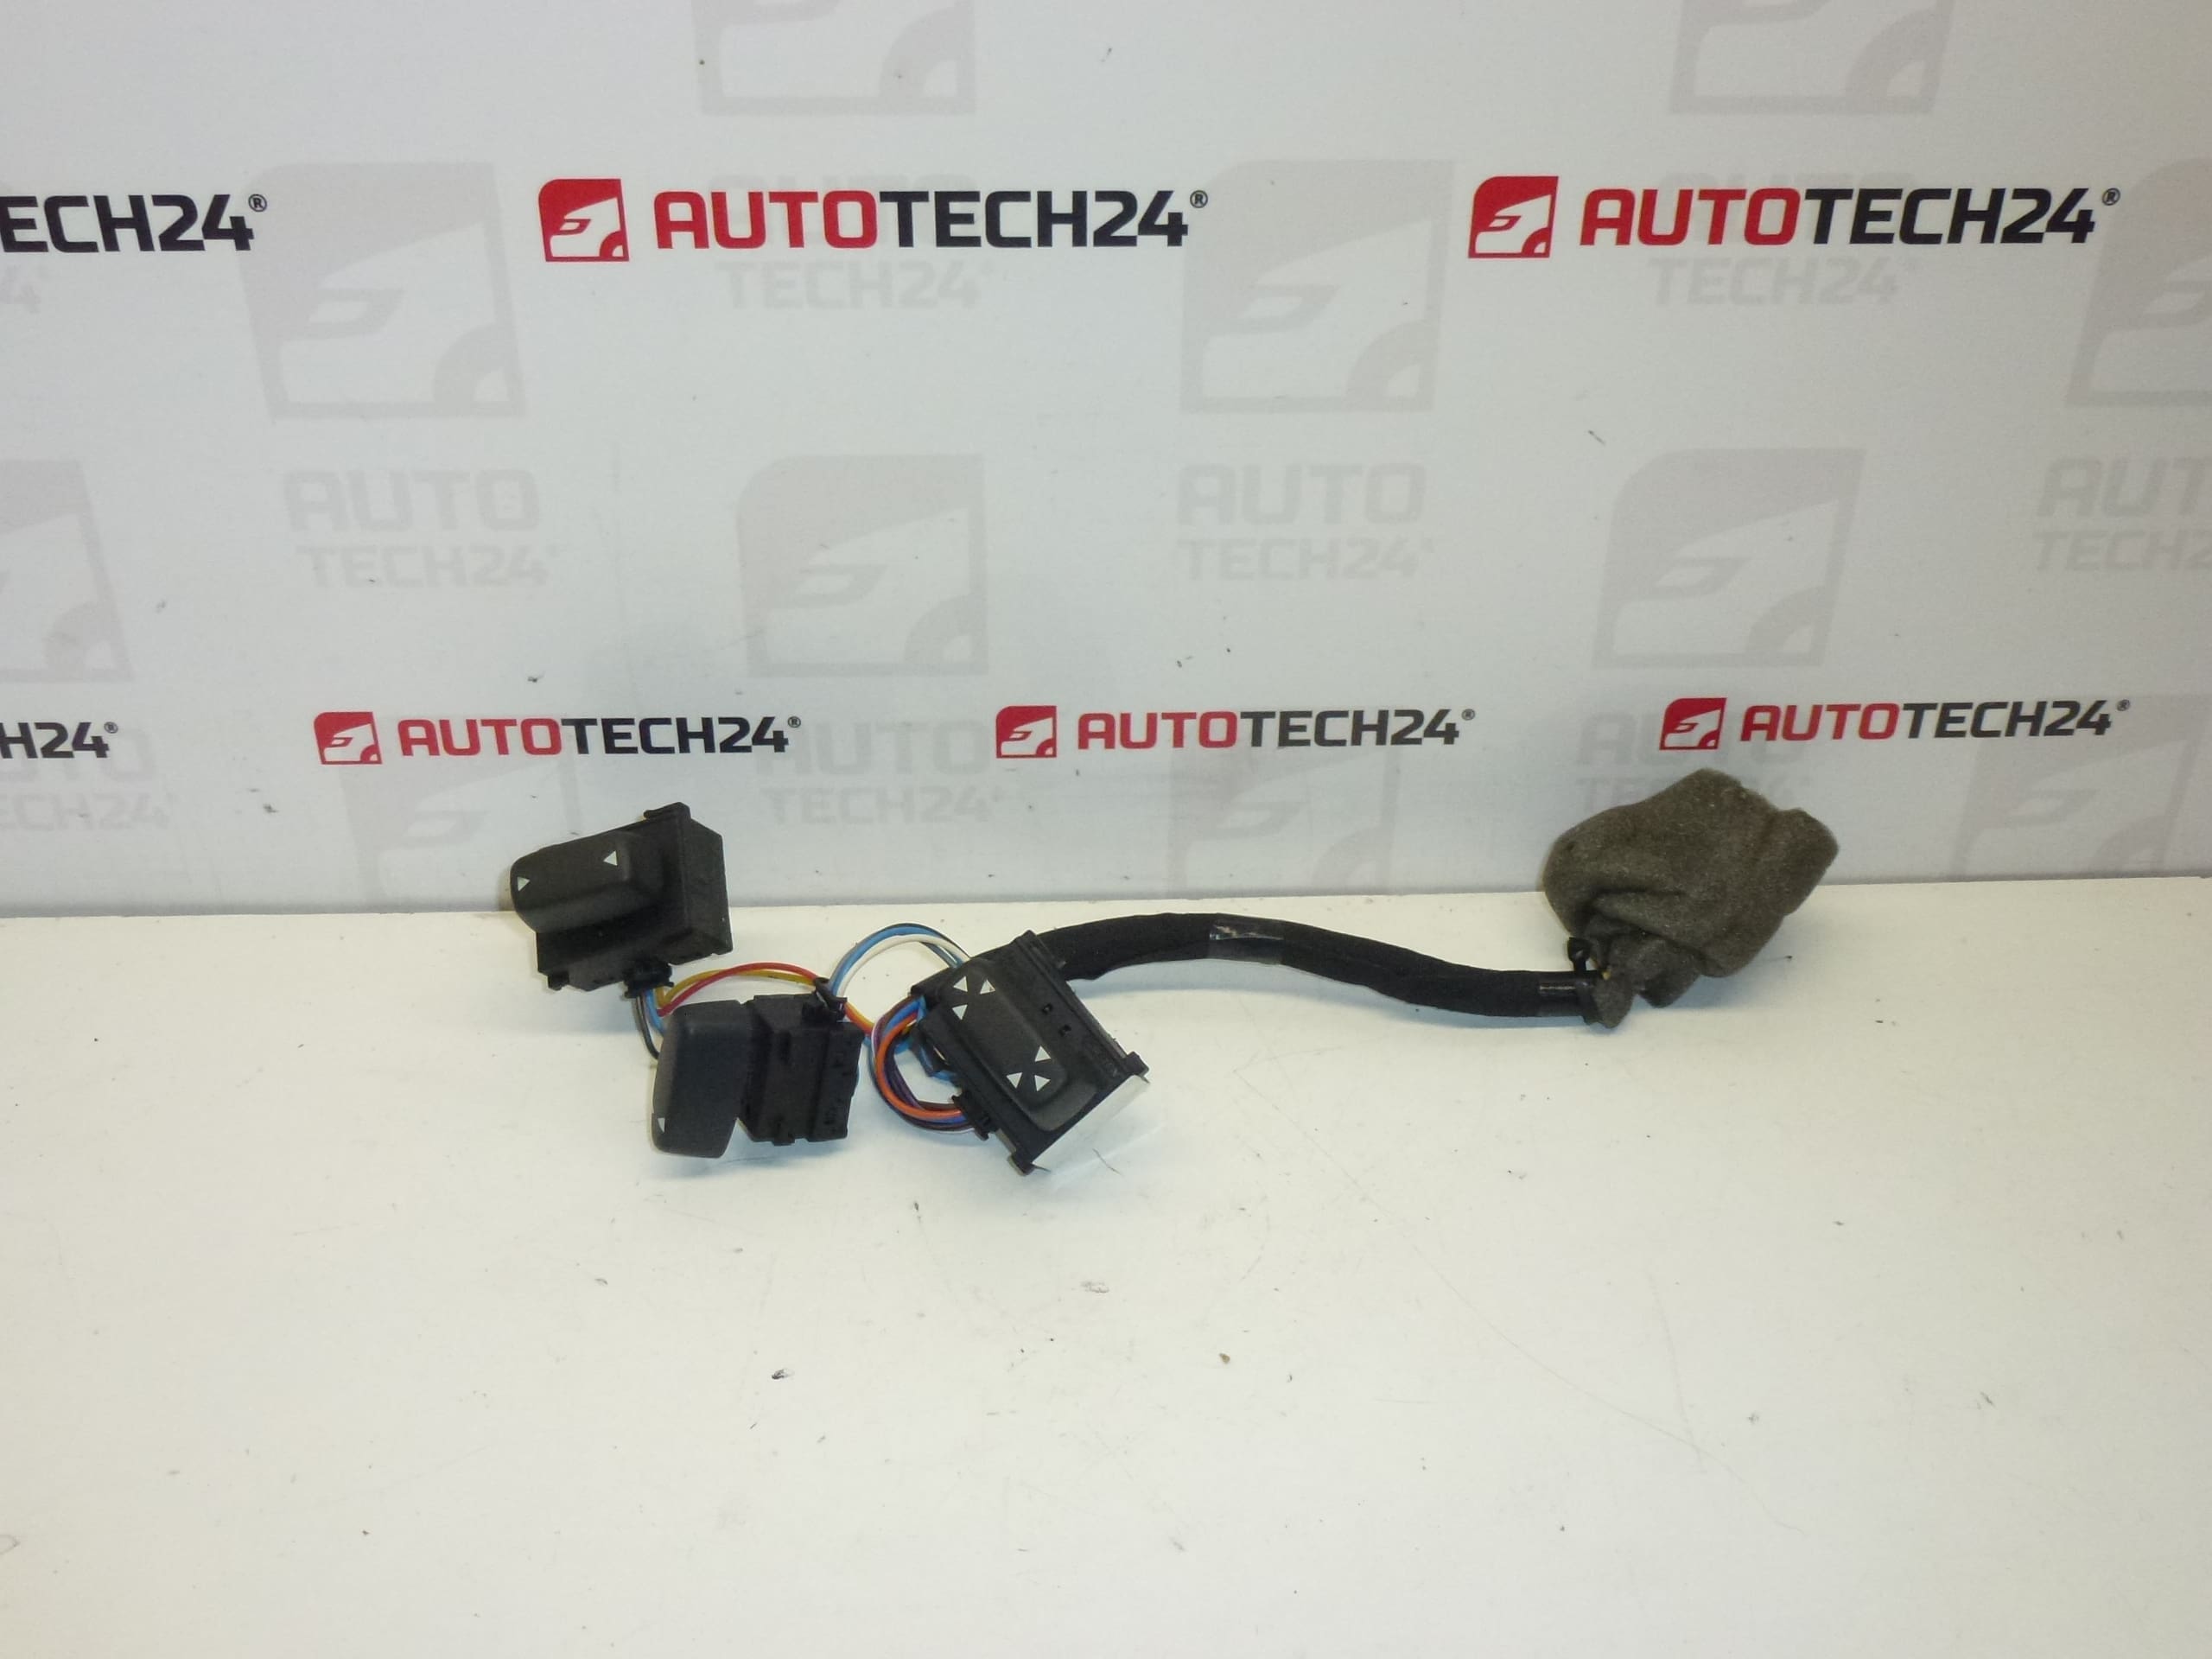
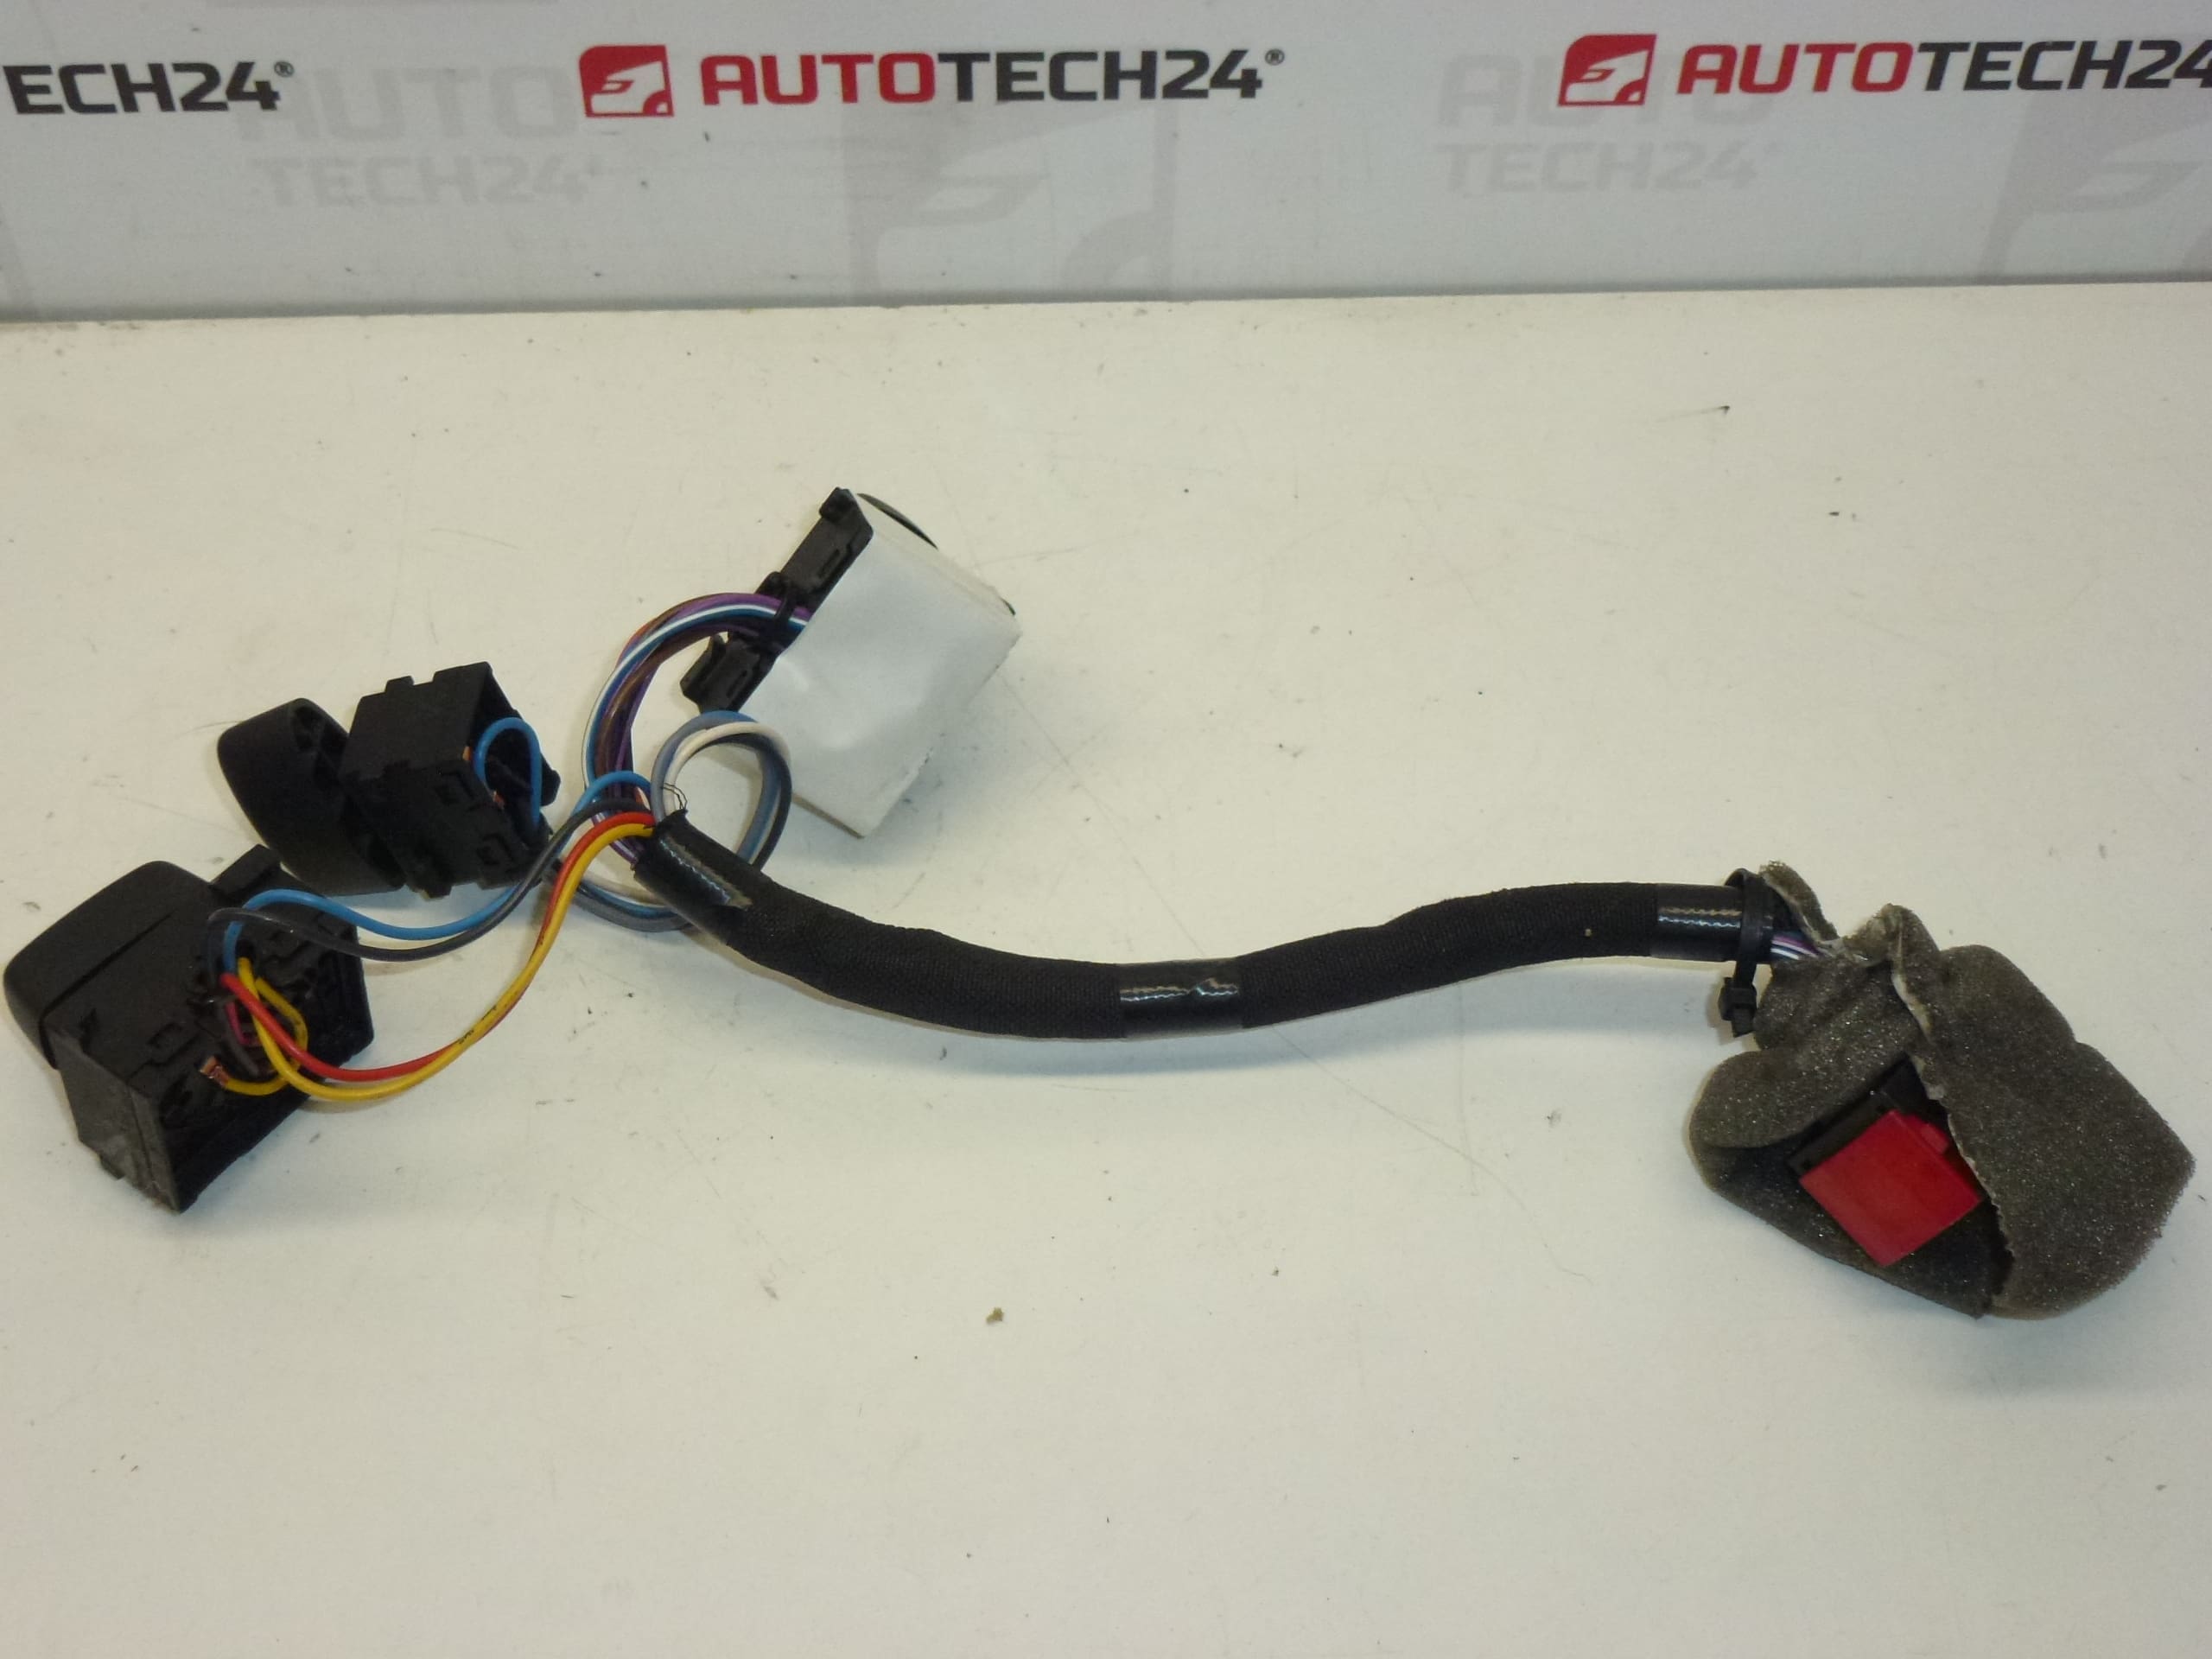
Electric Driver’s Seat Control For Citroën C5 First Series.
Replacement Electric Seat Control Switch Designed For Professional Workshops And DIY Enthusiasts. This unit Is Intended For The Driver’s Power Seat On Early Citroën C5 Models And Is Frequently Searched By Part Numbers, Which Are Listed Below. The Switch Restores Reliable Electric Adjustment—Fore/Aft, Backrest Angle, Height And Tilt—Allowing Fast Repair Without Replacing The Entire Seat Assembly. Ideal For Mechanics Looking For A Direct Swap That Saves Time And Costs Compared To Full Seat Replacement.
Technical Information
- Manufacturer: Stellantis (Citroën / Peugeot)
- Model: Citroën C5 First Series (C5 I)
- Product Codes: 8914AL, 6554J3, 8914EH, 8914EG
- Other Numbers: NFP
Function
The Control Switch Operates The Electric Motors In The Driver’s Seat, Allowing Adjustment Of Fore/Aft Position, Backrest Recline, Seat Height And Tilt (Depending On Vehicle Specification). It Translates Driver Input Into Motor Movement Via Internal Contacts Or Electronic Potentiometers, Ensuring Smooth And Precise Seat Positioning.
Compatibility And Application
Primarily Suited For Citroën C5 First Series (C5 I) Models. The Unit Is Commonly Listed Under The Product Codes Above—searching By These Codes Greatly Increases The Chance Of Finding The Correct Replacement. Suitable For Vehicles Equipped With Electric Driver’s Seat Adjustment.
Installation Recommendations
- Safety First: Disconnect The Negative Battery Terminal Before Starting To Prevent Short Circuits Or Airbag System Alerts.
- Seat Positioning: Move The Seat To A Position That Gives Access To Trim Panels; If Seat Movement Is Inoperative, You May Need To Access Fasteners From Under The Seat.
- Trim Removal: Remove Side Trim Panels Or Plastic Covers Securing The Switch Module; Use Trim Tools To Avoid Breaking Clips.
- Electrical Disconnect: Unplug The Seat Wiring Connector Carefully; Depress Retaining Tabs To Avoid Damage.
- Switch Replacement: Remove Mounting Screws Or Clips Holding The Switch, Replace With New Unit, And Reassemble In Reverse Order.
- Testing: Reconnect The Battery And Test All Seat Functions Before Final Assembly. Verify Movement In All Directions And Confirm There Are No Unusual Noises Or Intermittent Operation.
- Estimated Time: Typical Replacement Time For A Experienced Technician Is 30–60 Minutes.
Most Common Failure Reasons
- Wear Of Internal Contacts Or Potentiometers Due To Frequent Use, Leading To Intermittent Operation Or Loss Of Function.
- Moisture Ingress And Corrosion Of Electrical Contacts Or Connector Pins, Especially If Seat Covers Have Been Wet.
- Mechanical Damage To Plastic Switch Housing Or Mounting Clips From Impact Or Rough Removal.
- Wiring And Connector Problems Causing Voltage Drops Or Open Circuits—often Caused By Chafing Under The Seat.
- Motor Overcurrent Situations That Can Cause Protective Circuits To Disable Switch Functions.
Symptoms Indicating A Faulty Switch Include Loss Of Adjustment In One Or More Directions, Intermittent Movement, Or Complete Lack Of Response From The Seat Controls. When Replacing, Compare Product Codes To Ensure Direct Compatibility And Restore Full Seat Function Quickly And Cost-Effectively.