
Description
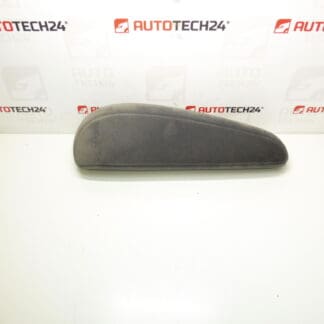
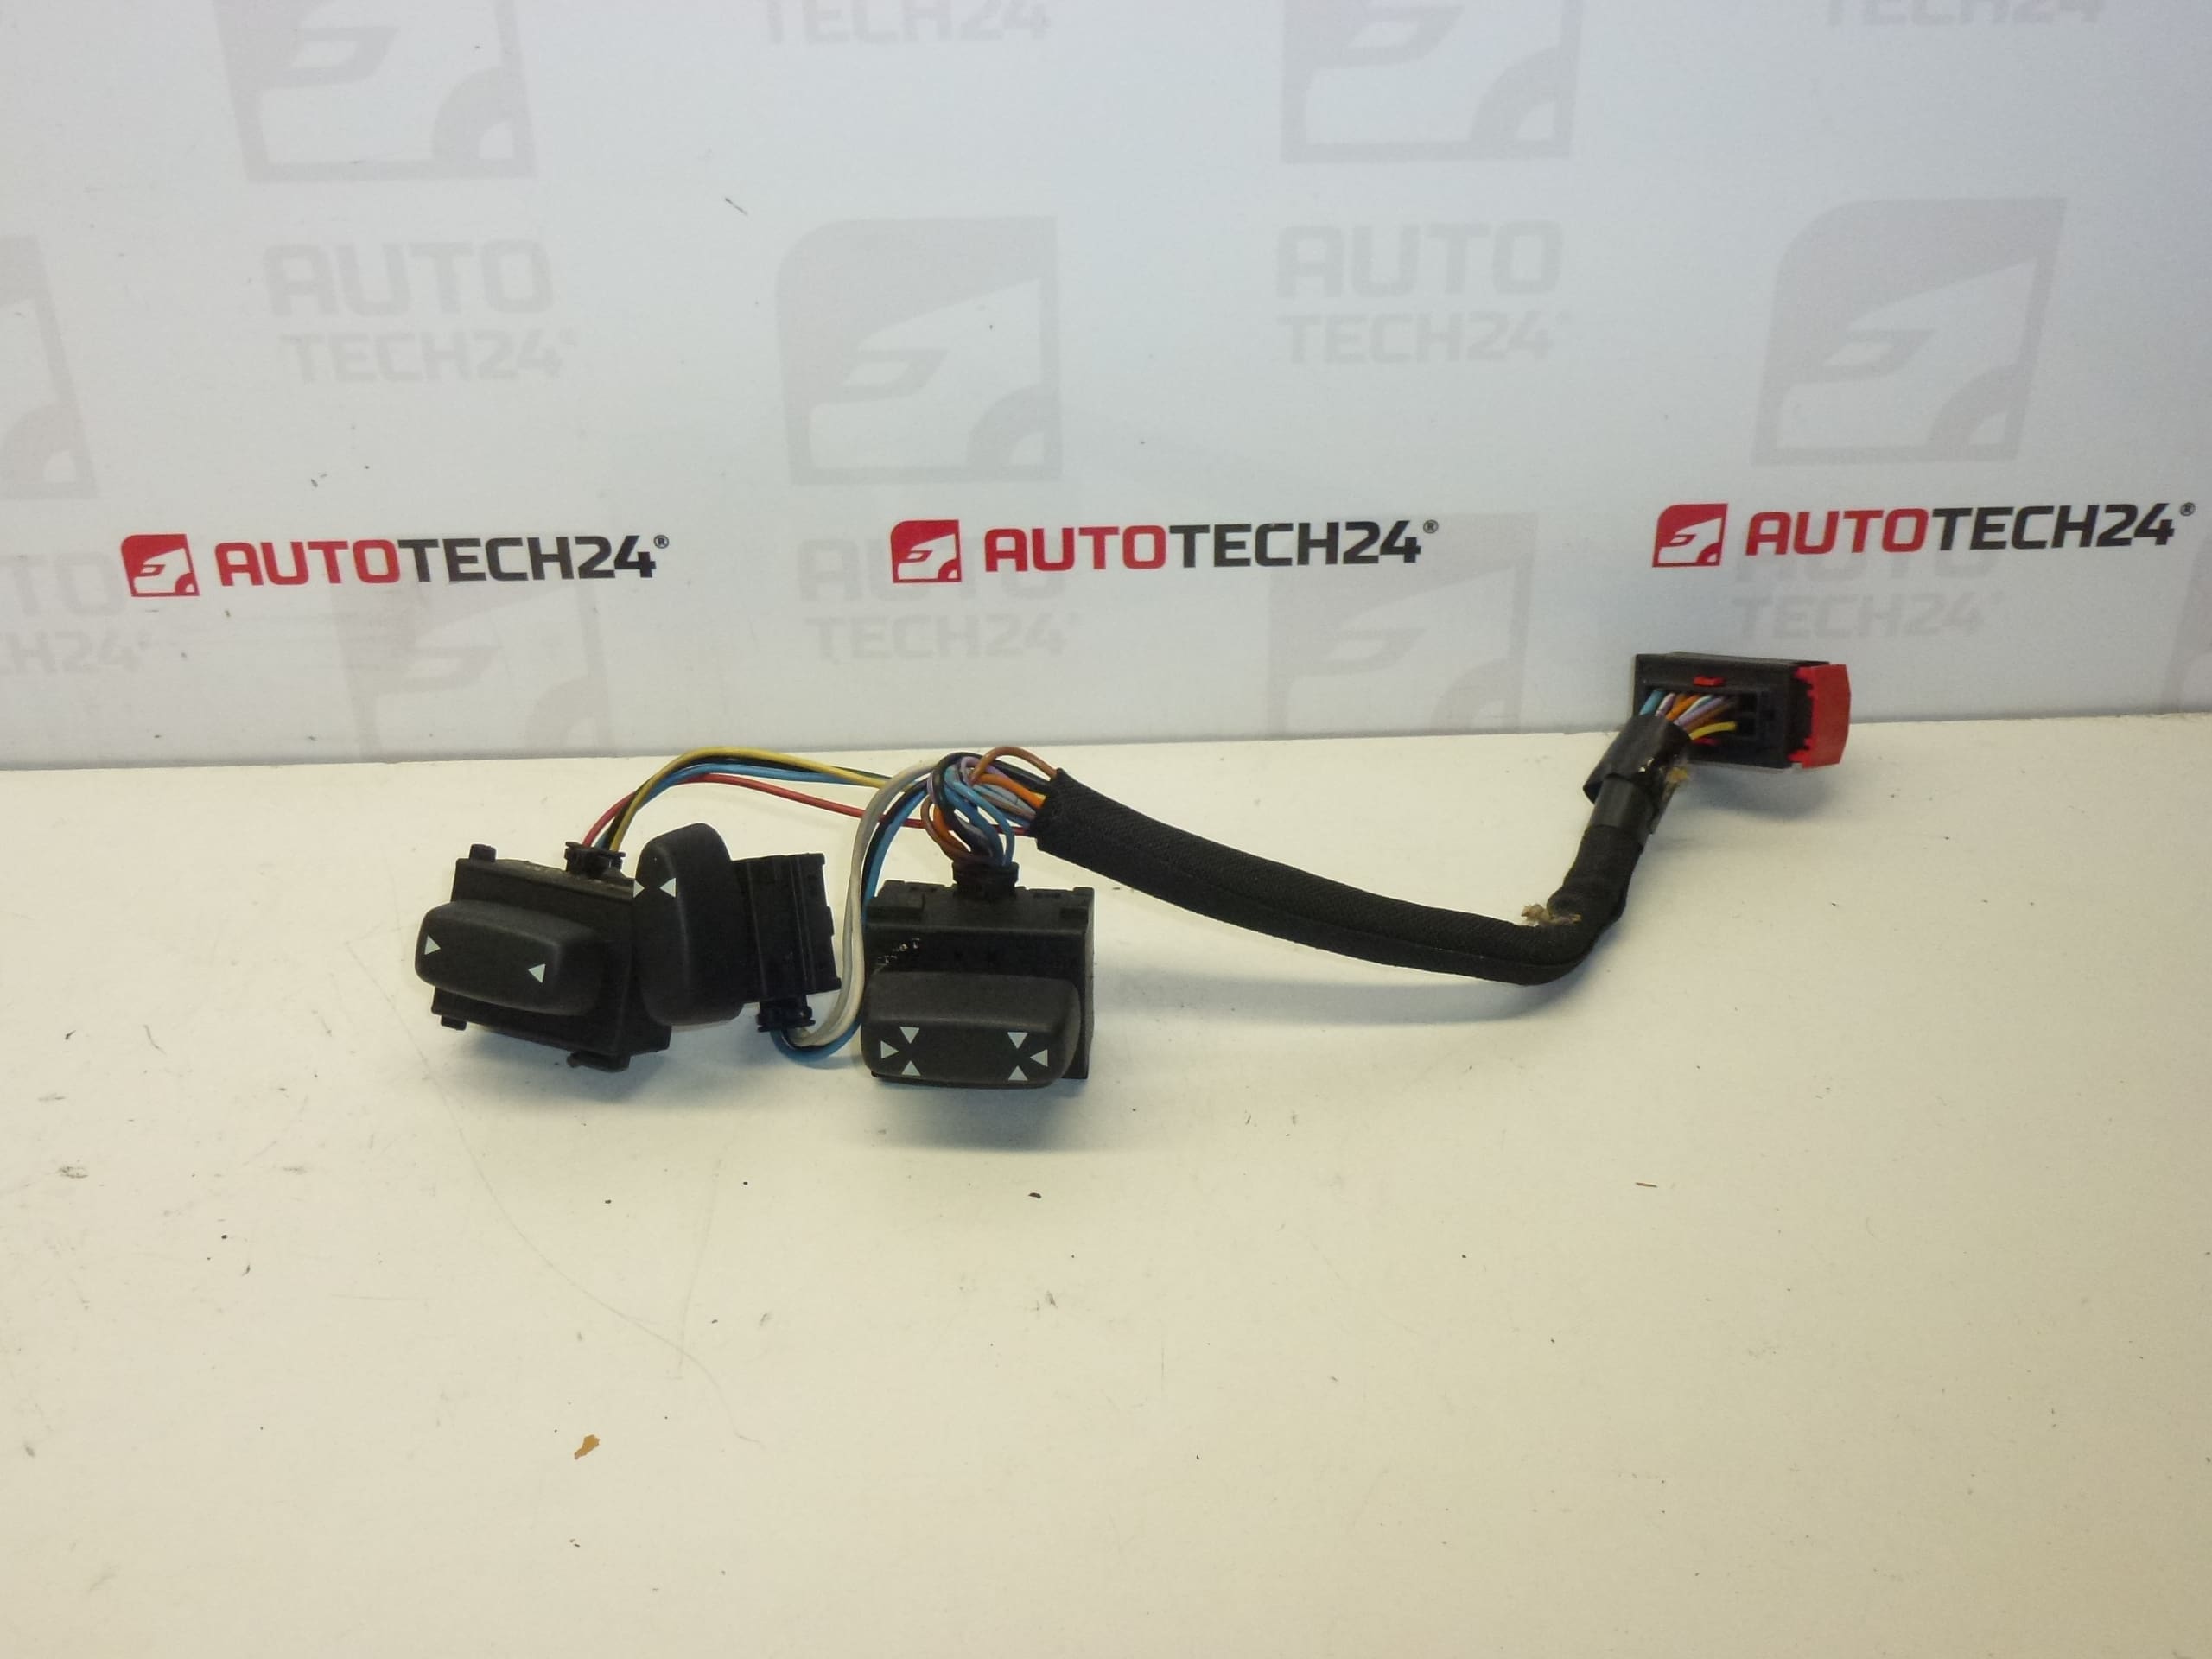
Electric Passenger Seat Control For Citroën C5 First Generation
This electric passenger seat control is a direct-fit replacement part commonly used on first generation Citroën C5 models. Designed for workshops and DIY enthusiasts, the unit restores reliable power adjustment of the front passenger seat—allowing fore/aft movement, seatback recline and height/tilt adjustment depending on the original vehicle equipment. Frequently searched by part number (e.g. 8914AK), this component is ideal when the seat no longer responds to the switch, moves intermittently, or produces unusual noises during adjustment.
Technical Information
- Manufacturer: Stellantis / Citroën / Peugeot
- Model: Citroën C5 (First Generation)
- Product Codes: 8914AK, 8914EH, 8914EG
- Additional Numbers: 6554J3, NFP
Key Features And Benefits
- Restores full electric adjustment of the passenger seat to factory-like operation.
- Direct replacement for the original control unit/switch assembly—fits Citroën C5 I configurations where this part was originally installed.
- Simplifies workshop repairs: identifiable by OE-style codes (8914AK, 6554J3, etc.), which helps technicians find the correct replacement quickly.
- Improves comfort and safety by ensuring accurate seat positioning and locking during travel.
How To Replace
Replacement can be performed by a competent mechanic or an experienced DIYer with basic tools. Typical procedure:
- Disconnect The Battery: Always isolate the negative terminal before starting to avoid electrical shorts and to protect any vehicle electronics.
- Move The Seat To A Service Position: Slide the seat to its rearmost or foremost position to access mounting screws and trim retainers.
- Remove Trim And Covers: Take off seat trim panels and plastic covers to reveal the switch/control unit and connectors.
- Unplug Electrical Connectors: Carefully release locking tabs on the connector(s) before pulling. Inspect connectors and wiring for corrosion or damage.
- Unscrew And Remove Old Unit: Remove fasteners securing the control unit or switch assembly and extract it from the seat frame.
- Install The Replacement: Fit the new control, secure fasteners to the manufacturer torque where available, reconnect electrical plugs and reassemble trim.
- Reconnect Battery And Test: Reconnect the battery and cycle all seat adjustment functions to confirm correct operation.
Installation Recommendation
Work With The Battery Disconnected And Follow Manufacturer Procedures. Use Genuine Or Quality Fasteners And Ensure Connectors Are Fully Seated. If Any Wiring Loom Shows Wear Or Corrosion, Repair It Before Installing The New Unit To Prevent Immediate Re-Failure. When Reassembling, Check That Seat Movement Is Smooth And That Wiring Does Not Become Pinched Between Moving Parts.
Why The Part Fails Most Often
Common causes of failure include electrical contact wear or corrosion in the switch or connector, water ingress from spills or leaks, mechanical wear of internal switch contacts and actuators, and broken or fatigued wiring in the seat harness. Intermittent operation, complete loss of adjustment, or grinding/whining noises during movement are typical symptoms indicating the control unit or its associated motors/connectors need attention.
Notes For Mechanics And DIYers
- When searching for this part, use the product codes (8914AK, 8914EH, 8914EG, 6554J3) to increase the chance of finding the correct match.
- Inspect Motors And Cables While The Unit Is Removed—sometimes the root cause is a worn motor or seized gear rather than the control switch itself.
- Keep A Record Of Any Modifications Or Repairs Performed On The Seat Assembly For Future Diagnostics.