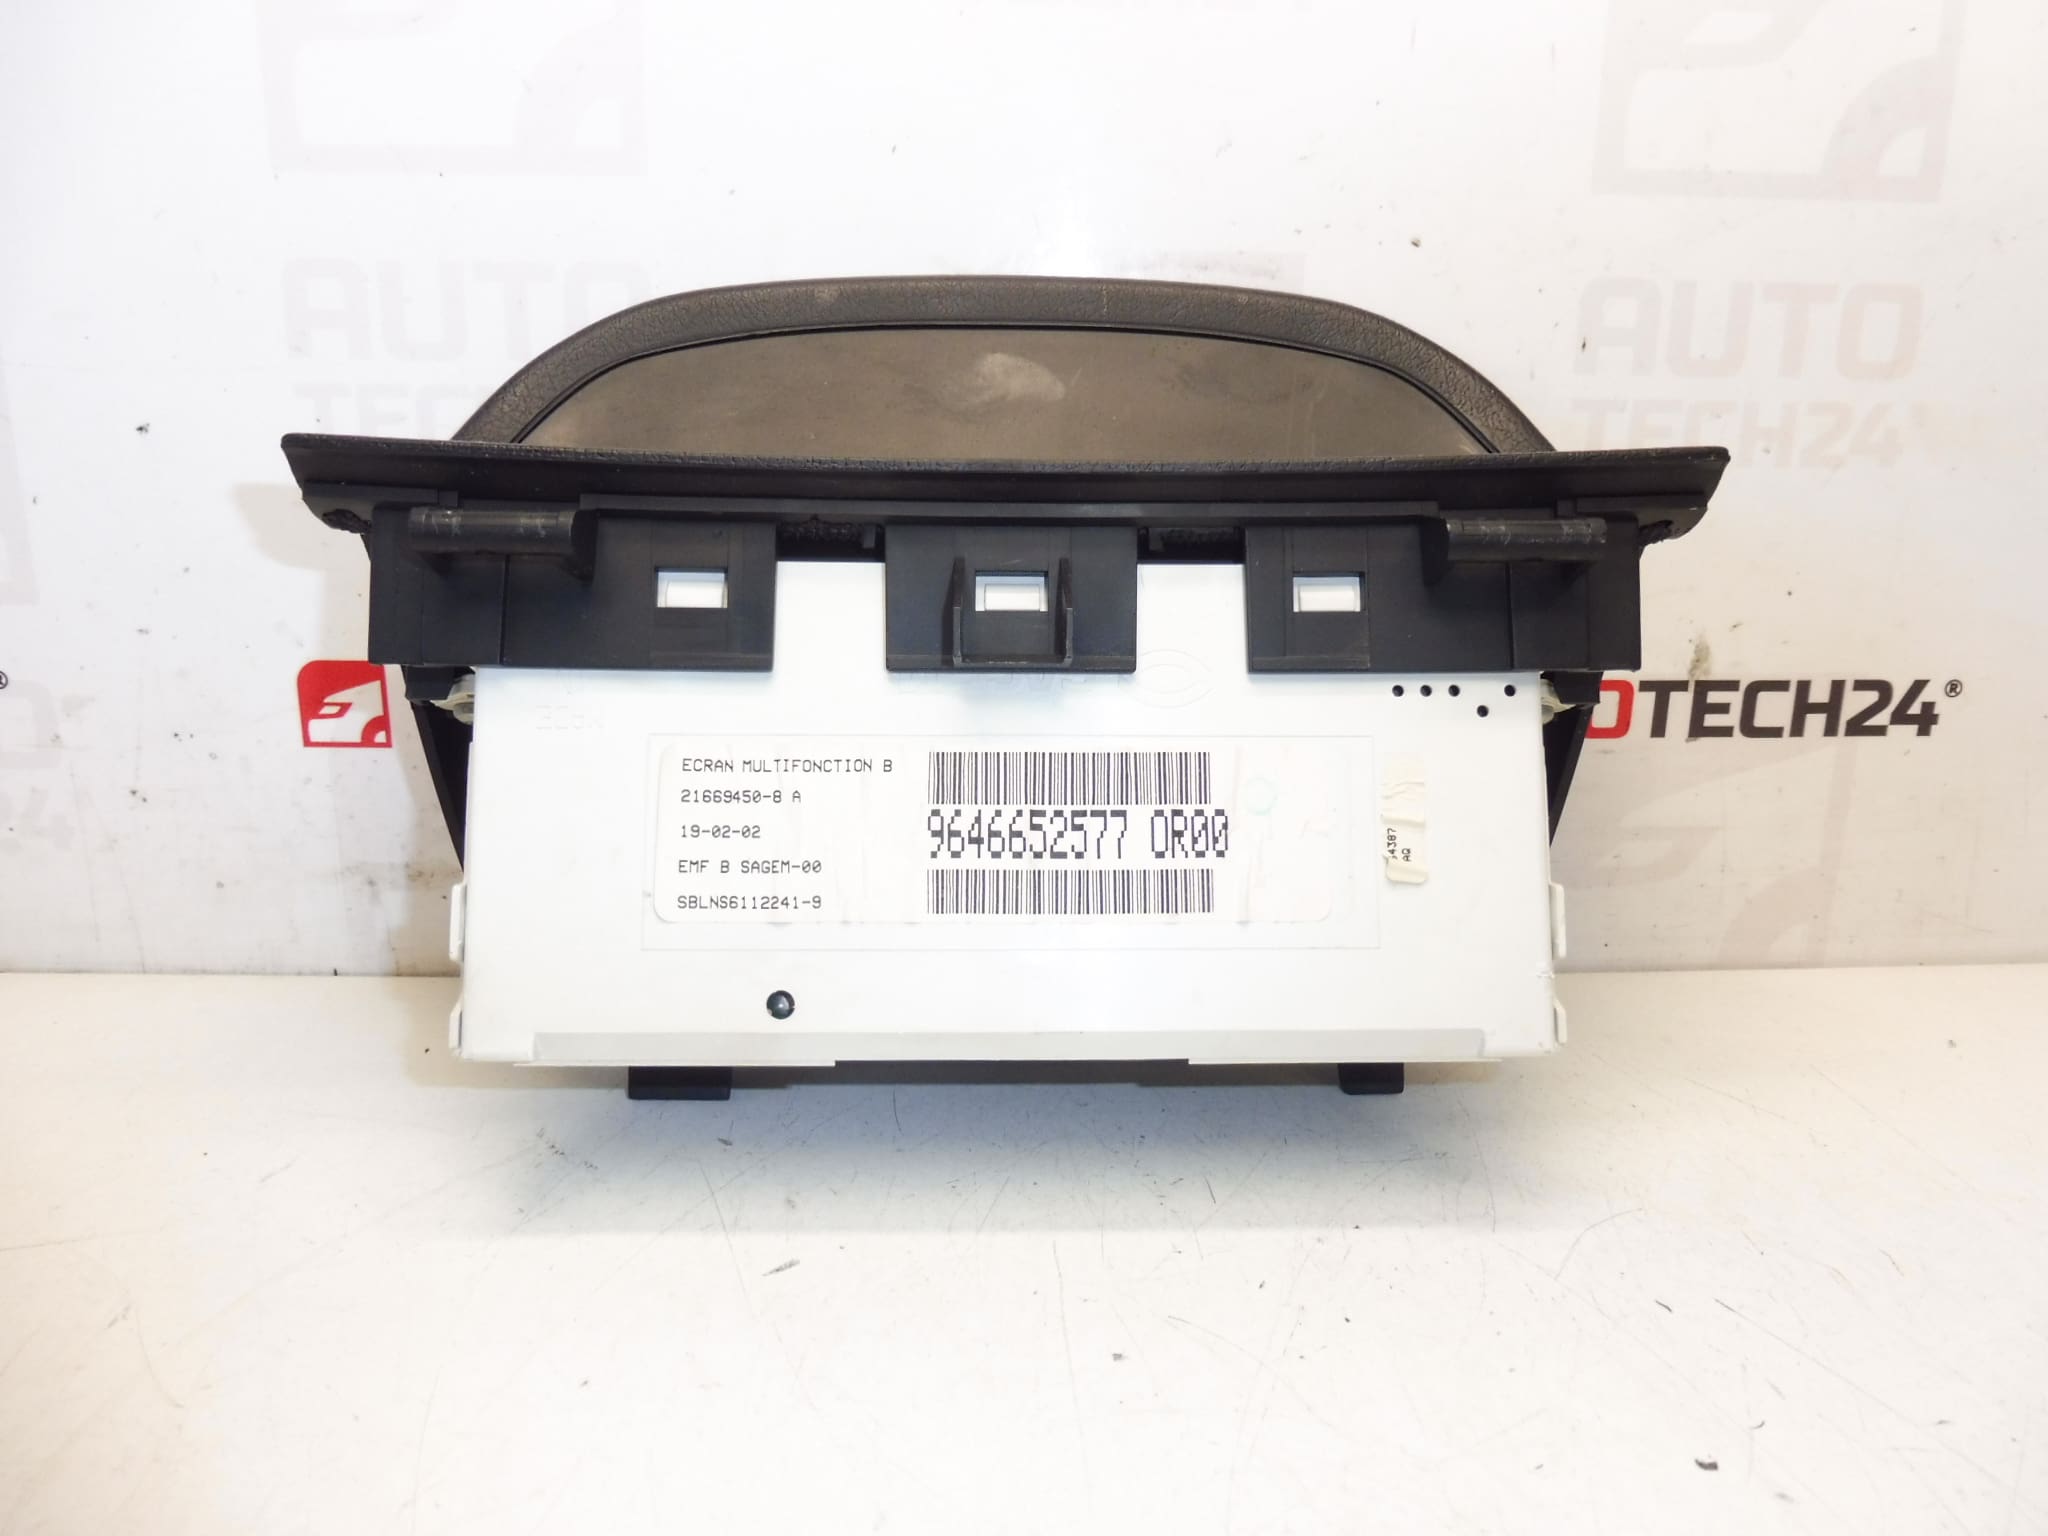
Description
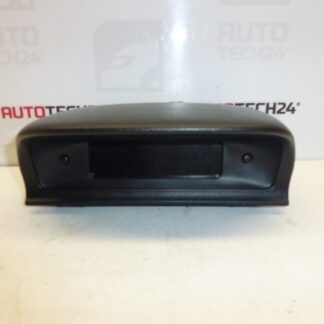
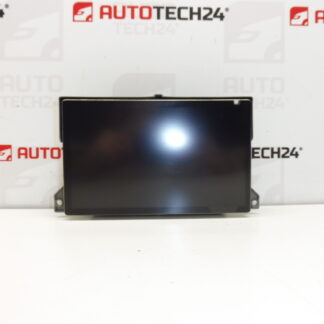
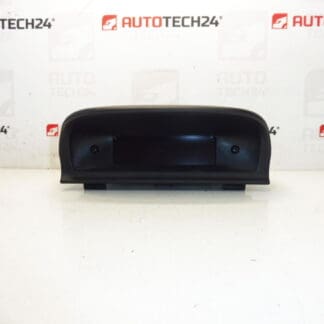
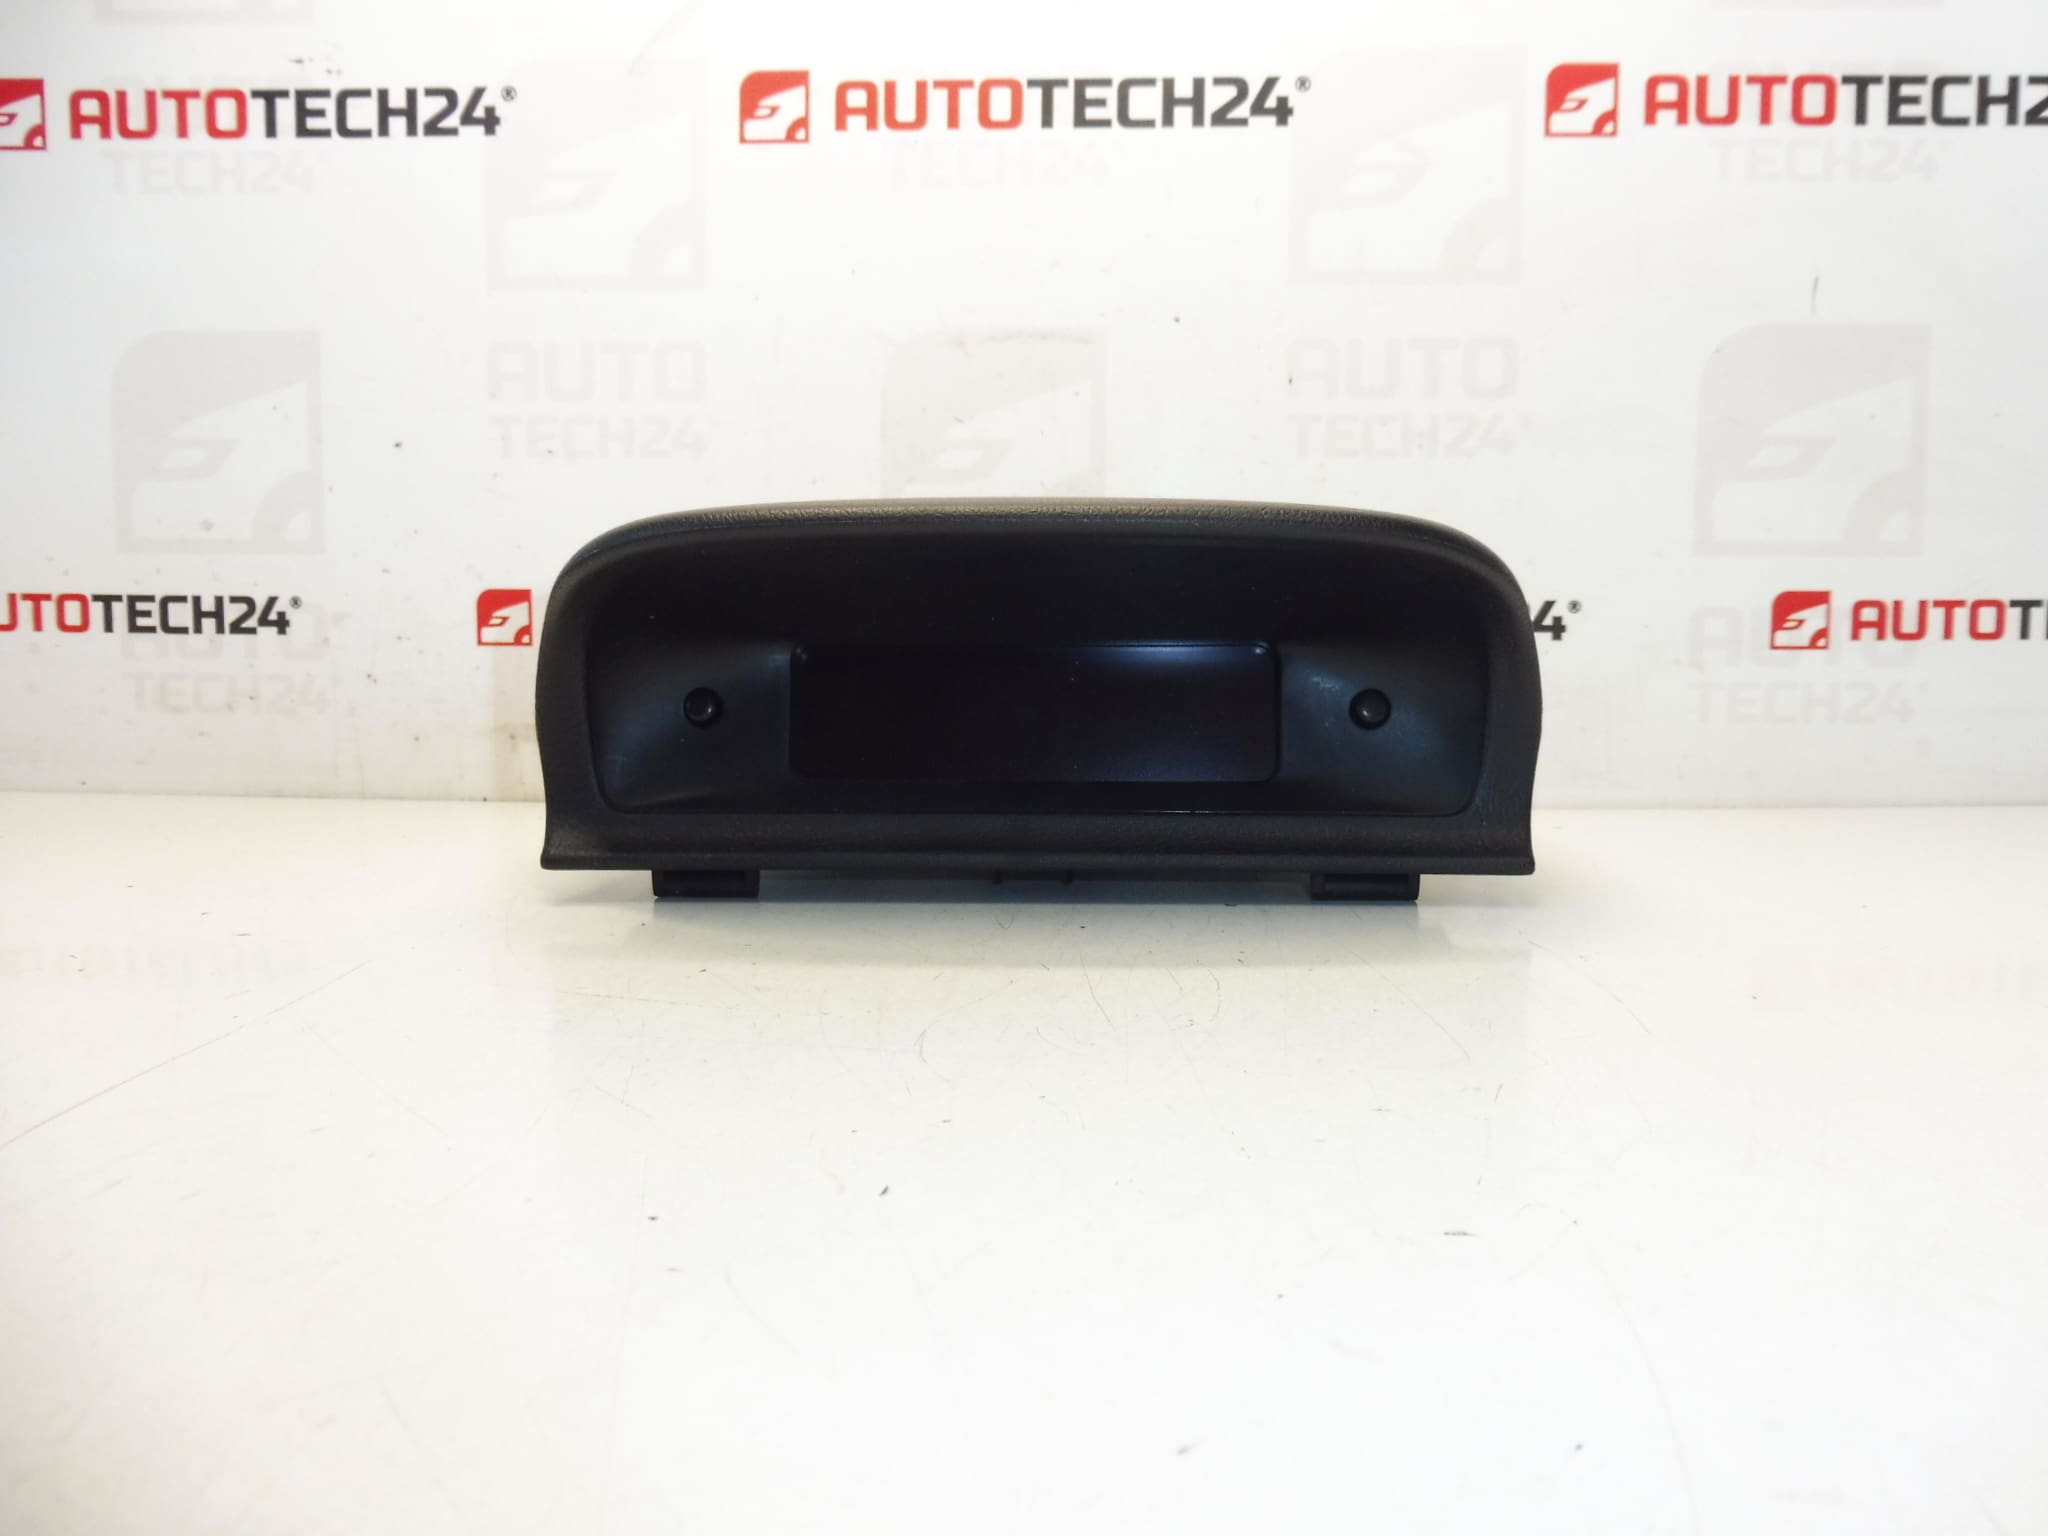
Radio and computer display for PEUGEOT 307 cars of the first series
Tested, fully functional
Part description
The used radio and on-board computer display is intended for Peugeot 307 cars. It is an original part from the Citroën Peugeot / Stellantis group, which is often searched for by production numbers. This makes it suitable for replacing a non-functioning, illegible or damaged display without the need to purchase a new part.
This piece has been tested and is fully functional, which is especially important for electronic components where assembly reliability is essential. The display ensures the display of radio and on-board computer information, which is why its correct function is important for the daily use of the car as well as an overview of operational data.
Technical information
- Manufacturer: Stellantis Citroën Peugeot
- Model: Peugeot 307
- Other numbers: 9646652577, OR00, 6564FA
Product codes
- Product codes: 9646652577, OR00, 6564FA
- Models: Peugeot 307
Installation recommendations
This part is an electronic display. The exact method of replacement may vary according to the specific design of the car, so below we provide a general procedure typically valid for this type of part.
1) Before assembly
- Check that all markings on the part match the old part, especially 9646652577 and 6564FA.
- Compare the shape of the connectors, the attachment and the overall design of the display.
- Check the condition of the contacts, plastic handles and the front part of the display.
- Before disassembling the original part, verify that the defect is really related to the display and not, for example, to the power supply, wiring or connector.
2) Necessary tools and materials
- ordinary set of screwdrivers and small hand tools
- plastic pry bar for panel removal
- clean cloth
- preparation for gentle cleaning of electrical contacts, if needed
3) Step-by-step assembly procedure
- Switch off the ignition and secure the vehicle against unwanted movement.
- It is generally recommended to disconnect the battery before working on electronic components.
- Carefully remove any covers or trims that prevent access to the display.
- Release the original display from the holders or fixing points.
- Unplug the electrical connector without using excessive force and check its condition.
- Compare the old and new part side by side, especially the connectors, part numbers and mounts.
- If the contacts are dirty, gently clean them in a suitable way.
- Connect the connector to the new display and make sure the connection is properly seated.
- Place the display in place and fasten it carefully.
- Reinstall all removed covers and trim.
- Connect the battery if it was disconnected.
- Turn on the ignition and check that the display shows the radio and on-board computer data correctly.
-
4) Post-assembly checks and functional test verification
- Check the readability of the display and the correct display of the data.
- Verify the function of the backlight, if it is part of the design of the car.
- Test the response to the radio controls and trip computer information display.
- Watch whether the display does not appear, flicker or lose data during normal operation.
5) The most common assembly mistakes + how to avoid them
- Part exchange based on appearance – always compare product numbers as well.
- Damage to plastic parts during disassembly – use suitable plastic tools.
- Insufficiently inserted connector – check for proper seating after connection.
- Installation of a dirty or mechanically damaged part – always perform a visual inspection before installation.
- normal wear and tear of electronics and display elements over the years
- voltage fluctuations in the on-board network
- oxidation or contamination of connectors
- mechanical damage during unprofessional disassembly of on-board parts
- moisture or long-term thermal load on the interior of the vehicle