Description
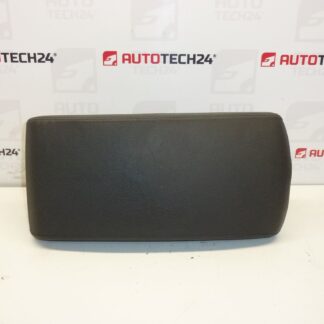
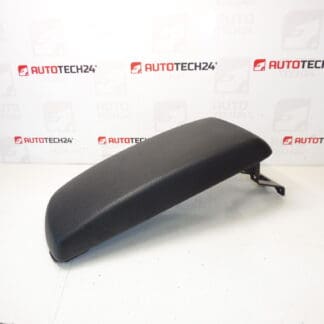
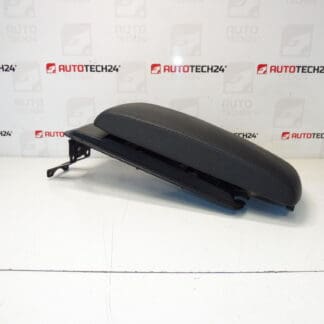
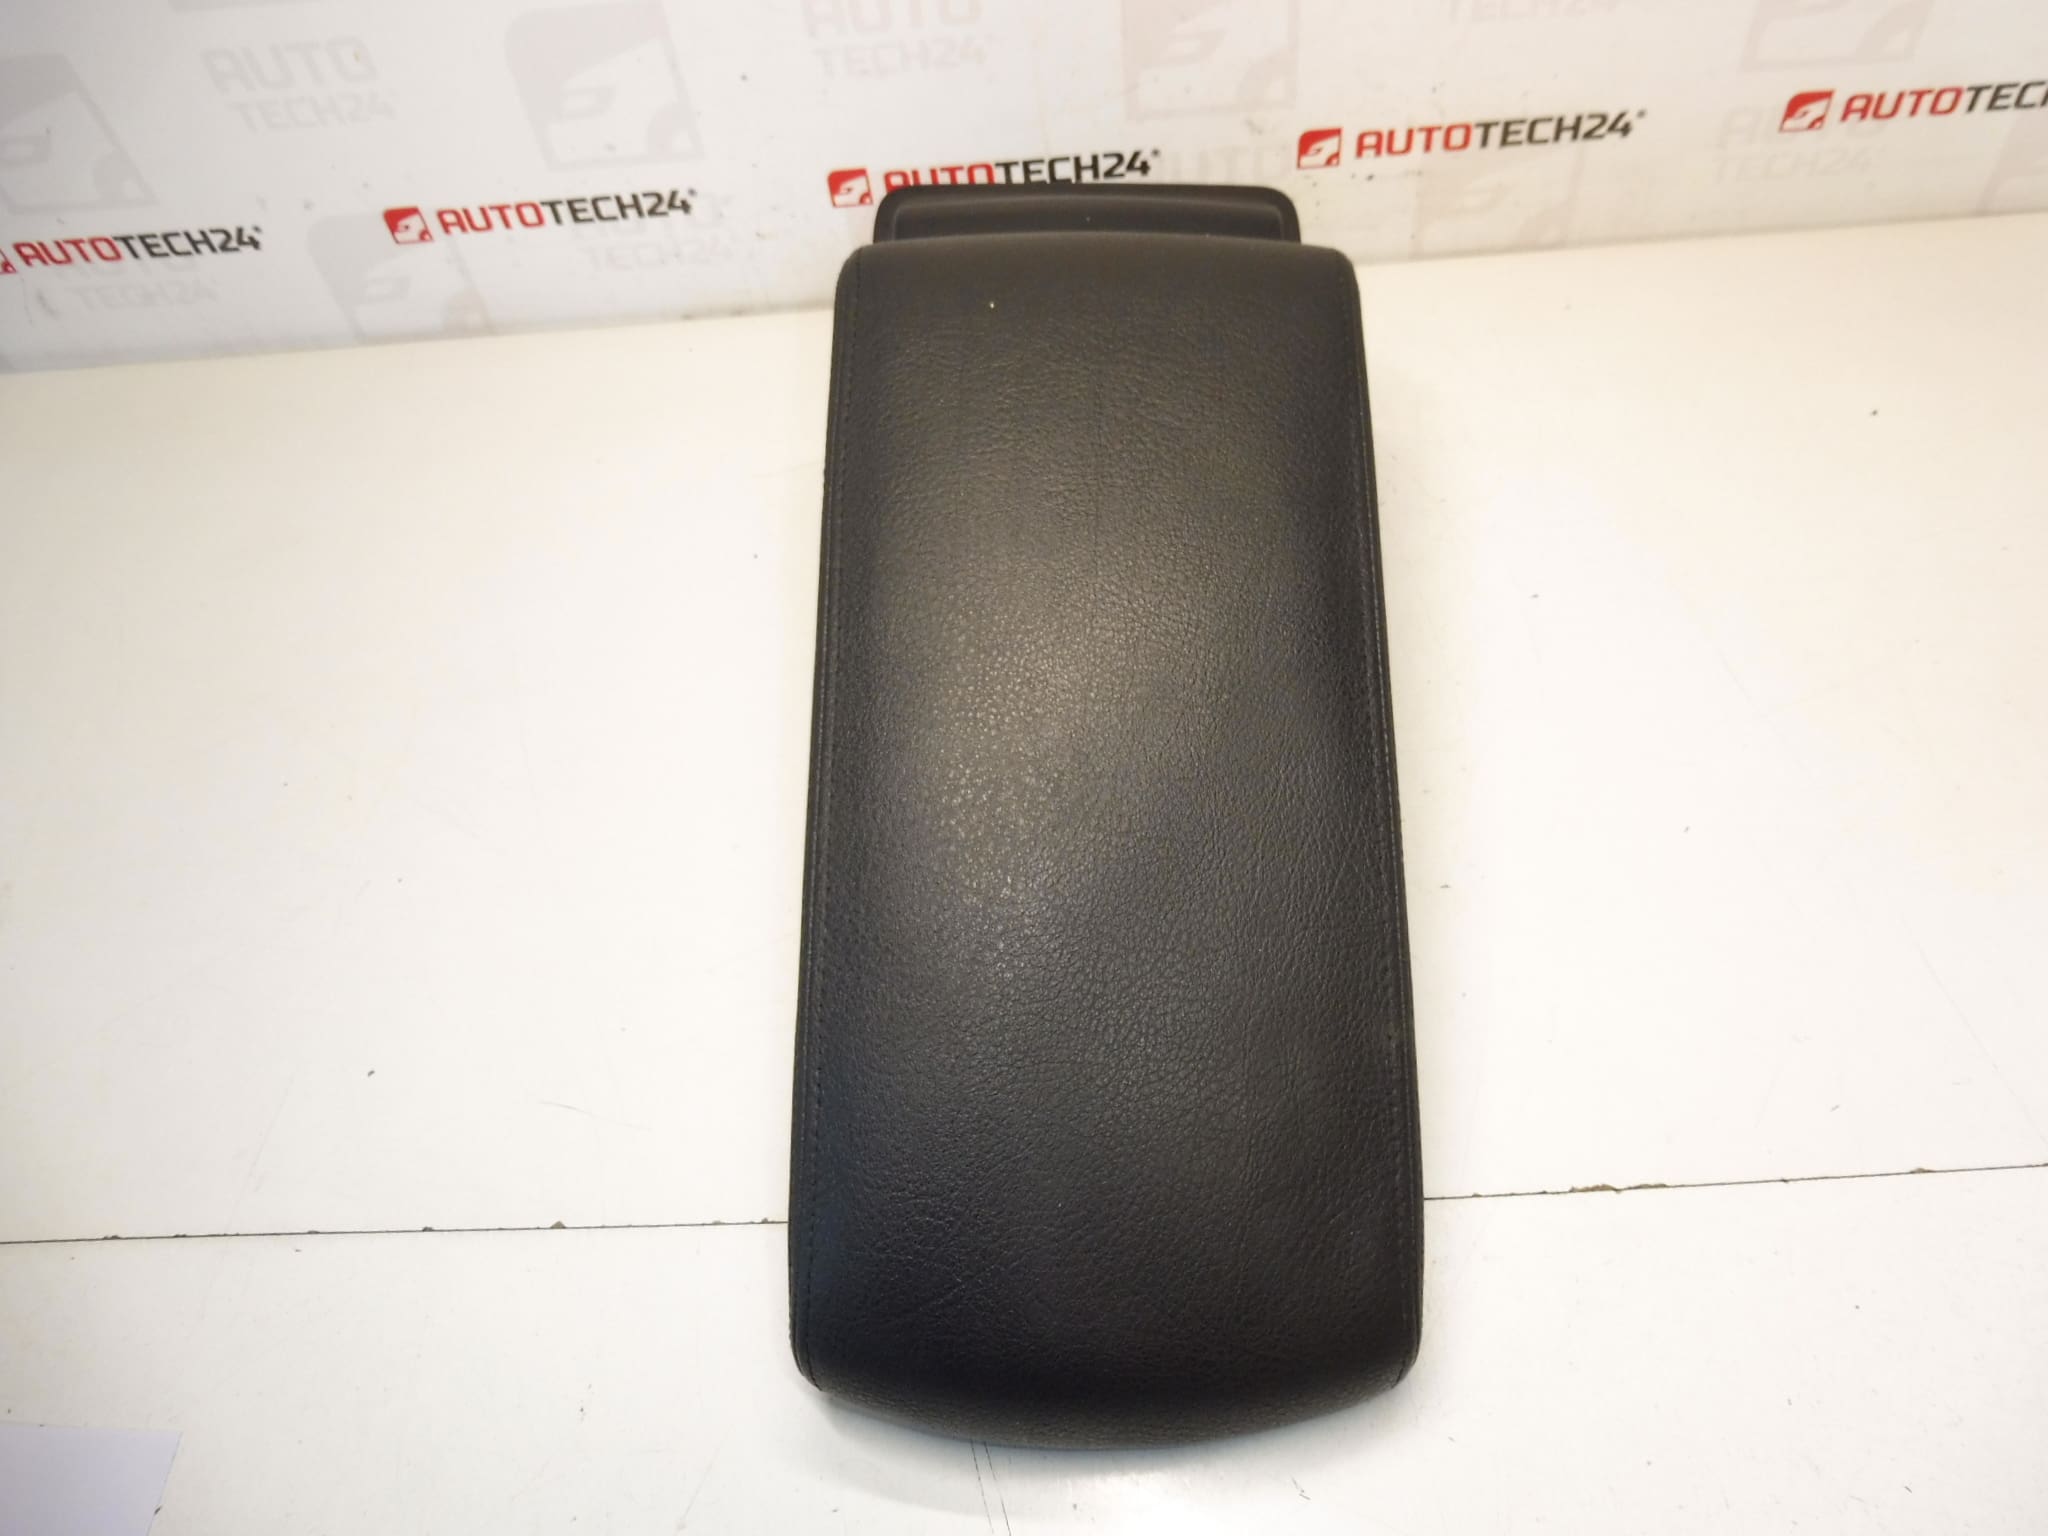
Center armrest for PEUGEOT 407 cars
Can be replaced with part 7589E9 or plastic part with code 7589E7
Color HZD- – BLACK MISTRAL. Imitation leather material, quilted.
Part description
This central armrest Peugeot 407 (code 7589XH) is an interior part designed to restore the comfort and appearance of the central part of the car. Thanks to the design in HZD – BLACK MISTRAL and the imitation leather (stitched) surface, it is suitable for replacement after wear of the original backrest or for repairing the interior after mechanical damage.
The advantage is the possibility of replacing it with the listed alternative codes (depending on the version): 7589E9 or plastic part 7589E7.
Technical information
- Manufacturer: Stellantis Citroën Peugeot
- Model: Peugeot 407
- Other numbers: 7589E9, 7589E7
Product codes
- Product codes: 7589XH
Installation recommendations
Generally/Typically for center armrest replacement the exact steps may vary depending on the specific design of the center console and the vehicle’s equipment.
1) Before assembly (checks)
- Compare the new and original part: code 7589XH (or match/alternative 7589E9 or 7589E7), shape of attachment and seating surface.
- Check the condition of the upholstery (imitation leather), stitching and functionality of the lid/joint (smooth operation, no excessive play).
- Check for cracked mounts, squeezed stops or damaged threaded points.
2) Necessary tools and materials
- A set of common hand tools (ratchet/bits, screwdrivers)
- Plastic pry bar for removing interior parts (to minimize scratching)
- Cleaning agent for the interior + cloth (for cleaning the contact surfaces)
- Screw/clip organizer (so nothing gets lost)
3) Step-by-step assembly procedure
- Secure the vehicle against movement and prepare a working space in the interior.
- Empty the surrounding storage spaces and free access to the center console.
- Using a plastic pry bar, carefully remove the covers/trims that may cover the backrest attachment (depending on the design).
- Locate and loosen the backrest mounting screws; continuously note their position and length.
- Remove the backrest carefully so as not to break the plastic handles or damage the surrounding parts of the interior.
- Clean the mounting surfaces and check the center console for loose clips or debris.
- Place the new backrest in the correct position and check that it fits and that nothing is squeaking.
- Screw the fastening screws first lightly “to the stop by hand” to align the part, then gradually tighten.
- Reinstall all covers and removed interior parts.
- Verify the full range of operation of the lid/rest and check the stability of the attachment.
-
4) Post-assembly checks and function verification
- The backrest must not have excessive play and must be firmly held in the attachment.
- Check that there are no leaks and that the surrounding plastics fit without gaps.
- Take a short test drive and listen for any noises from the center console.
5) The most common assembly mistakes + how to avoid them
- Broken clips/caps – use a plastic pry bar and use common sense.
- Exchanging screws – store them according to their positions, or take a photo documentation.
- Poor part seating – check fit and correct position before final tightening.
- Normal wear of the surface (imitation leather) from frequent use, friction from clothing and mechanical stress.
- Cracking of handles due to repeated loading of the backrest and pressure during boarding/exiting.
- Damage to the joint or lock during sudden closing, overloading or improper handling.
- Temperature changes in the interior (sun/frost), which accelerate the aging of plastics and the surface.