Description
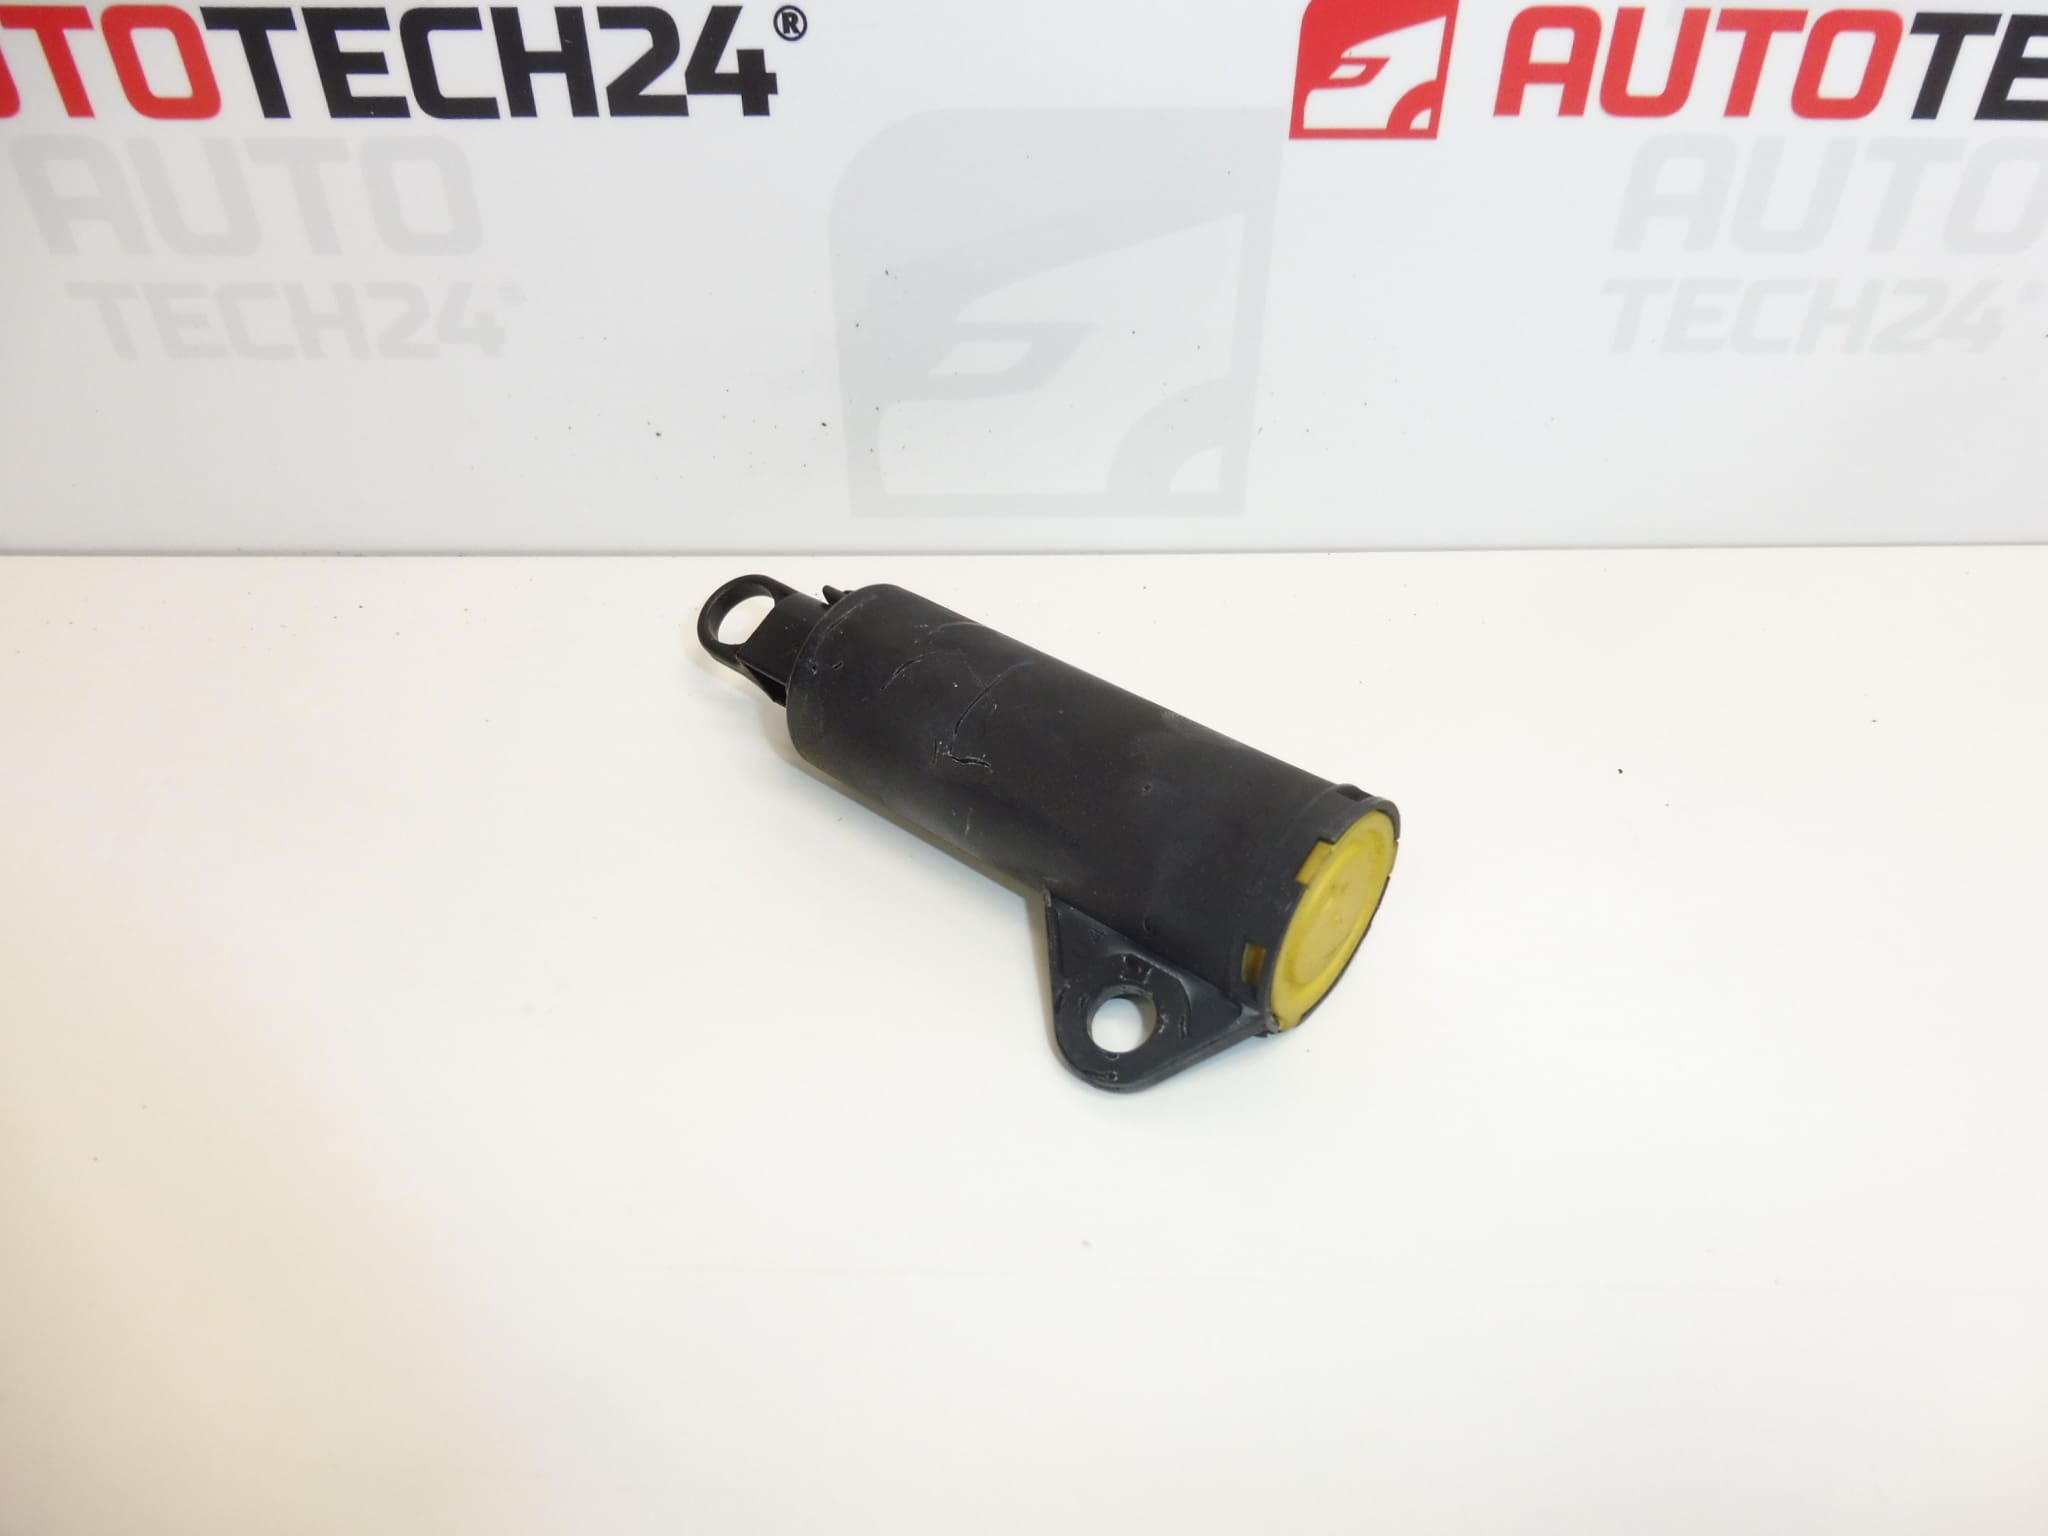
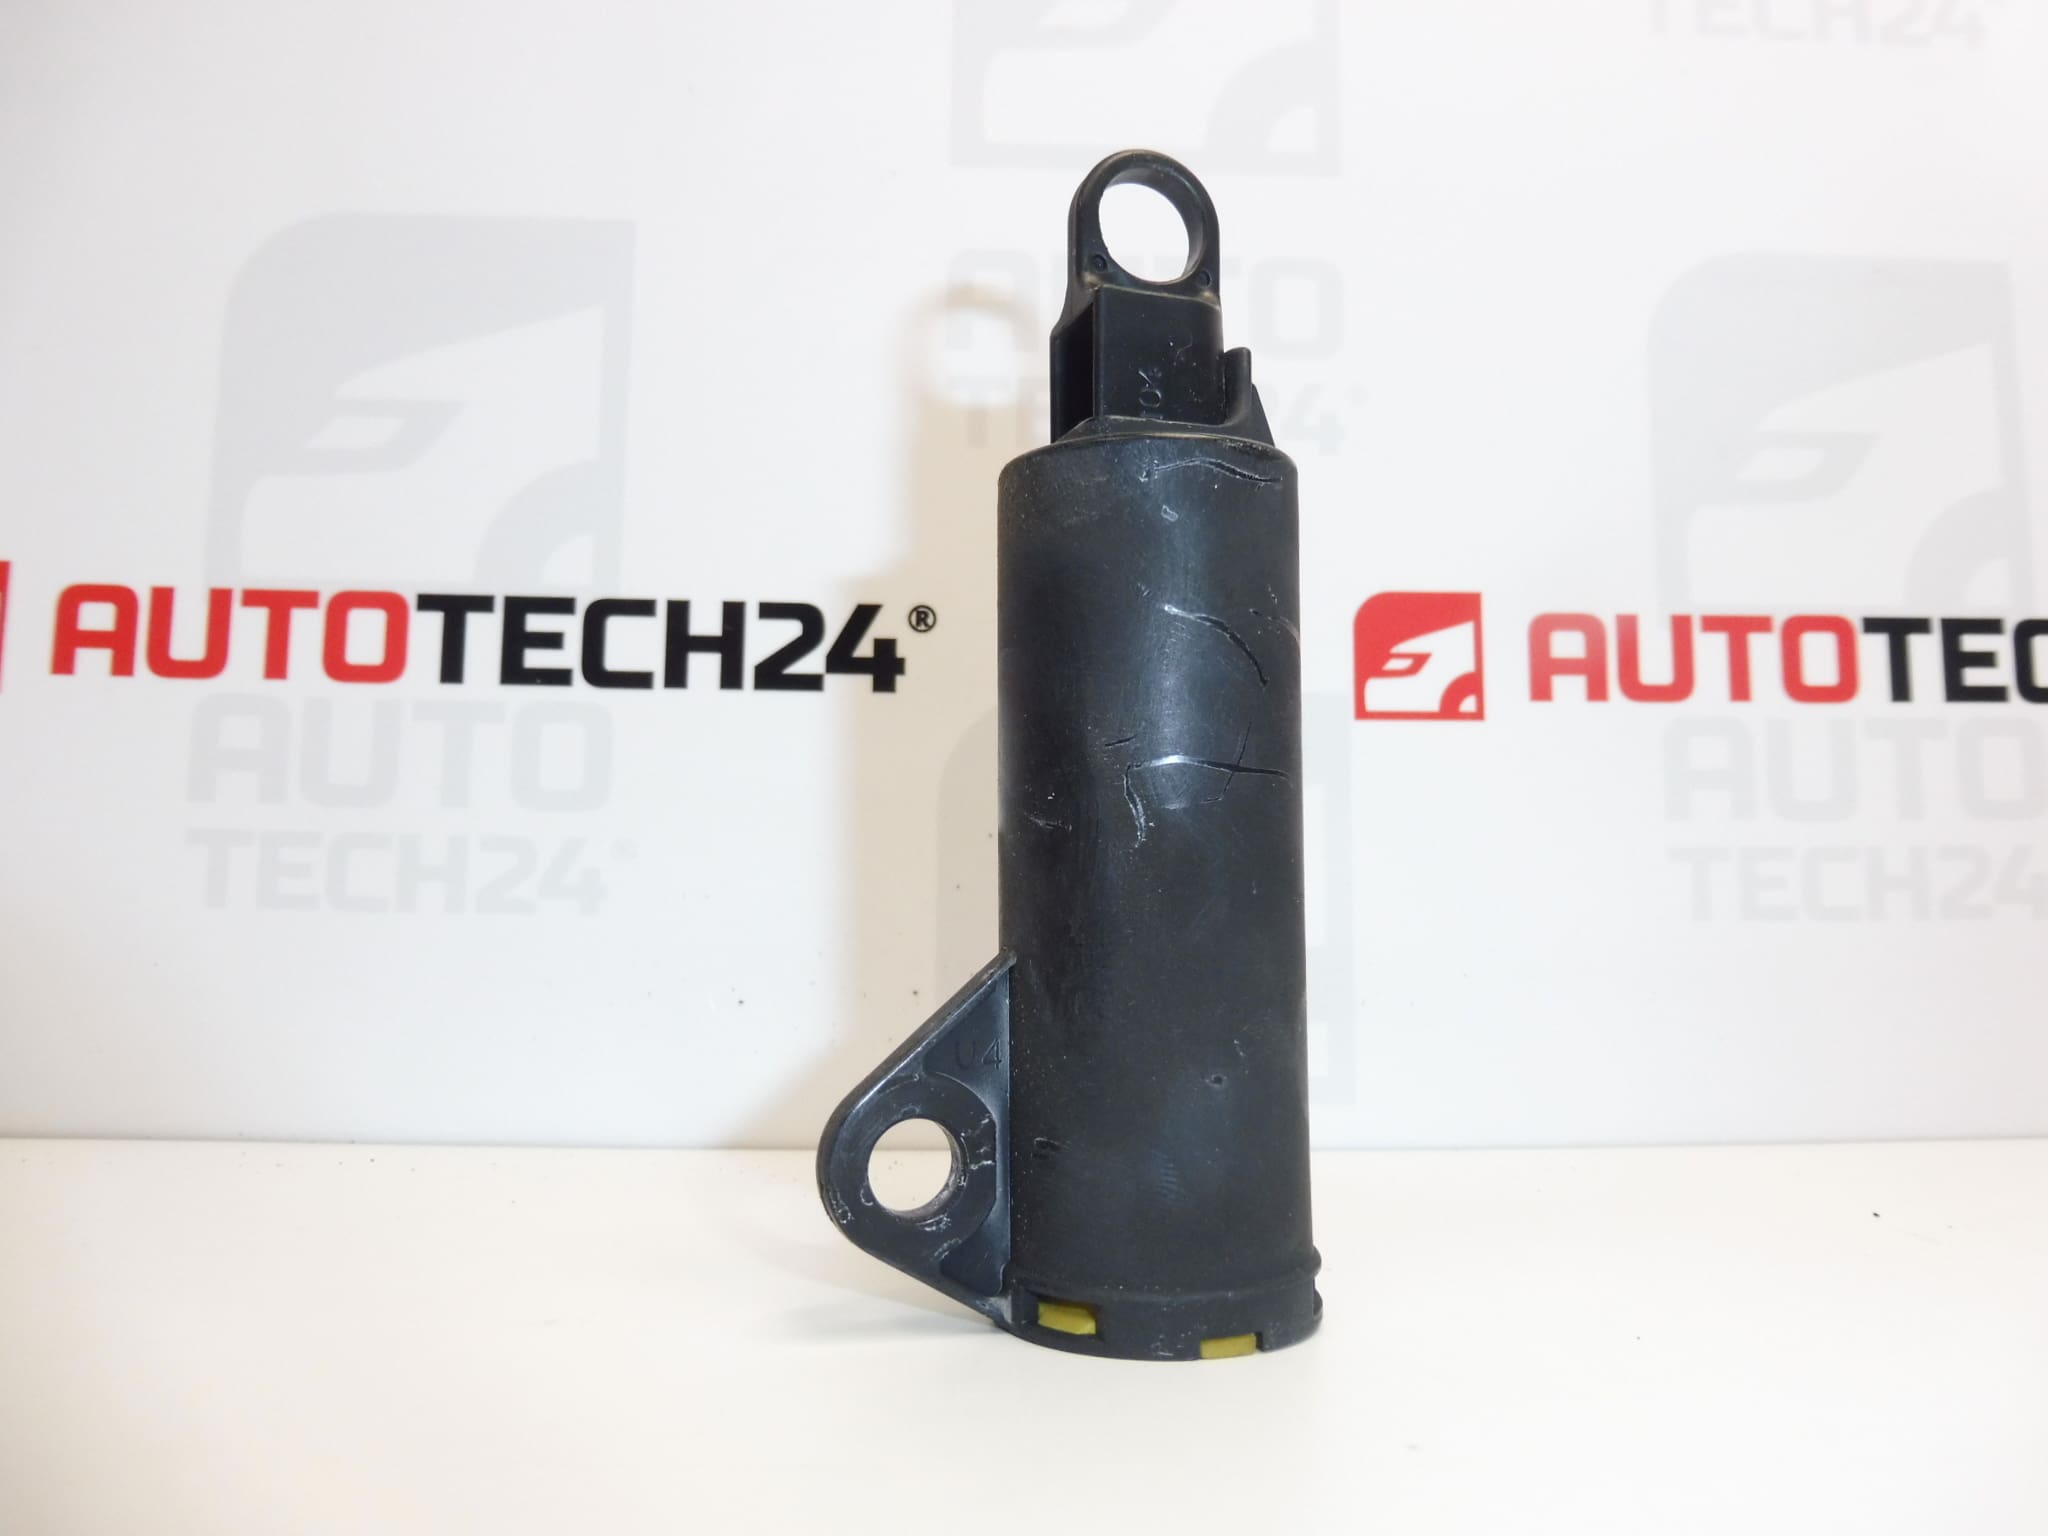
Glove compartment damper roller for PEUGEOT 407 vehicles
Part description
Used Peugeot 407 glove compartment damper roller with product number 8226X3 is part of the glove compartment mechanism in the interior. When repairing its damping mechanism, it can replace a damaged roller if the other components are still functional.
When selecting a replacement part, it is important to compare not only the 8226X3 designation, but also the shape, mounting points, and design of the original roller. Replacing the damaged component alone can be a practical solution without unnecessarily replacing undamaged parts of the compartment.
Technical information
- Manufacturer: not specified; the documentation lists the designation Stellantis CITROEN PEUGEOT.
- Model: Peugeot 407.
- Part type: glove compartment damper roller.
- Category: Interior – Dashboards and their parts.
- Condition: used part.
- Other numbers: not specified; additional designation in the documentation: NFP.
Product codes
- Product codes: 8226X3.
- Model: Peugeot 407.
- Additional designation: NFP.
Installation recommendations
General guidance for this type of part: the following procedure is a general recommendation for replacing a glove compartment mechanism roller. The exact method for accessing, releasing, and securing it depends on the specific vehicle and compartment design. The documentation does not include model-specific installation instructions.
1) Before installation
- Compare the product number, roller shape and dimensions, and mounting method with the old part.
- Inspect the used part: check for cracks, deformation, wear on the working surface, and the condition of the mounting points.
- Also check the adjoining glove compartment mechanism. Replacing the roller alone may not solve the problem if its mounting is damaged or other components are sticking.
- Before disassembly, take a photo of the part’s original position and how it connects to the surrounding components.
2) Tools and materials required
- Hand tools suitable for the fasteners actually used.
- Plastic trim removal tools for releasing interior panels, if required.
- A flashlight, soft protective mat, clean cloth, and a container for small fasteners.
3) Step-by-step installation procedure
- Park the vehicle safely, switch off the ignition, and empty the glove compartment.
- Protect nearby visible surfaces from scratches and make sure you have adequate lighting.
- Following the service procedure for the specific configuration, access the glove compartment mechanism. Do not force off covers or clips.
- Support the moving part of the glove compartment so it does not suddenly drop when the mechanism is disconnected and place strain on the remaining mounts.
- Note the roller’s orientation and how it connects to the mechanism. Release any preload only as instructed by the manufacturer.
- Carefully release the relevant retainer and remove the damaged roller. Do not lever against the fragile edges of surrounding parts.
- Clean the accessible mounting area and inspect the adjoining components. If you find further damage, address its cause first.
- Fit the replacement roller in the same orientation and restore its mounting and connection to the mechanism as in the original configuration.
- Check that it is seated and secured correctly. With the glove compartment supported, slowly check its movement and stop immediately if you encounter unusual resistance.
- Reinstall the removed covers and other parts. Make sure the clips are seated properly and nothing interferes with the movement of the glove compartment.
4) Post-installation checks and function test
- Slowly open and close the glove compartment several times. Check for smooth movement, proper operation of the damping mechanism, and secure closure.
- Make sure there is no cracking, scraping, or knocking, and that the mounting remains in place.
- Test the function while the vehicle is stationary first. On your next drive, keep the glove compartment closed and listen for any new noises.
5) Common installation mistakes and how to avoid them
- Incorrect roller orientation: refer to the photo of the original assembly and check its movement before refitting the covers.
- Forcing clips loose: first determine how they are secured and use suitable tools.
- Installing the part in a damaged mount: inspect the entire adjoining mechanism, not just the part being replaced.
- Forcing the mechanism to move during testing: if it sticks, stop and check the assembly.
- Applying lubricant without the manufacturer’s recommendation: do not apply lubricant automatically; it could affect the damping mechanism’s operation or damage the material.
Reasons why the part can become damaged
The following causes can generally lead to damage to glove compartment mechanism rollers. These are not confirmed faults with the item offered.
- Long-term mechanical wear from repeatedly opening and closing the glove compartment.
- Opening or closing it abruptly, placing excessive strain on the mechanism and its mounting points.
- Sticking adjoining components, which subject the roller to more stress than during normal operation.
- Dirt in the mechanism, which can restrict smooth movement and accelerate wear.
- Incorrect previous installation or a damaged mount, which causes uneven loading.