Description
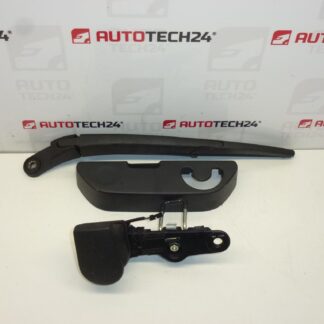
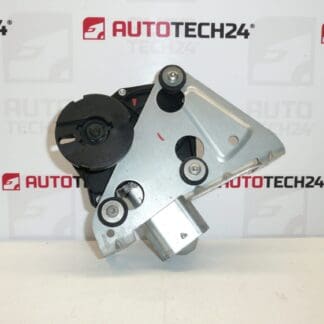
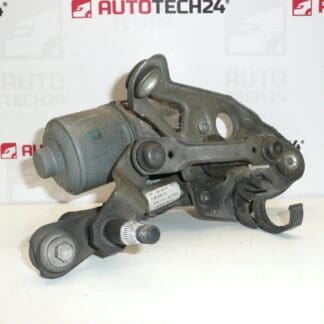
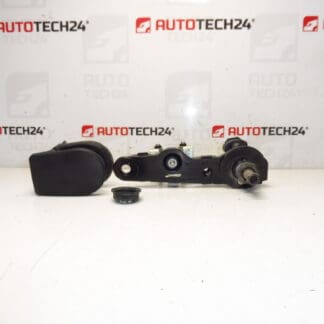
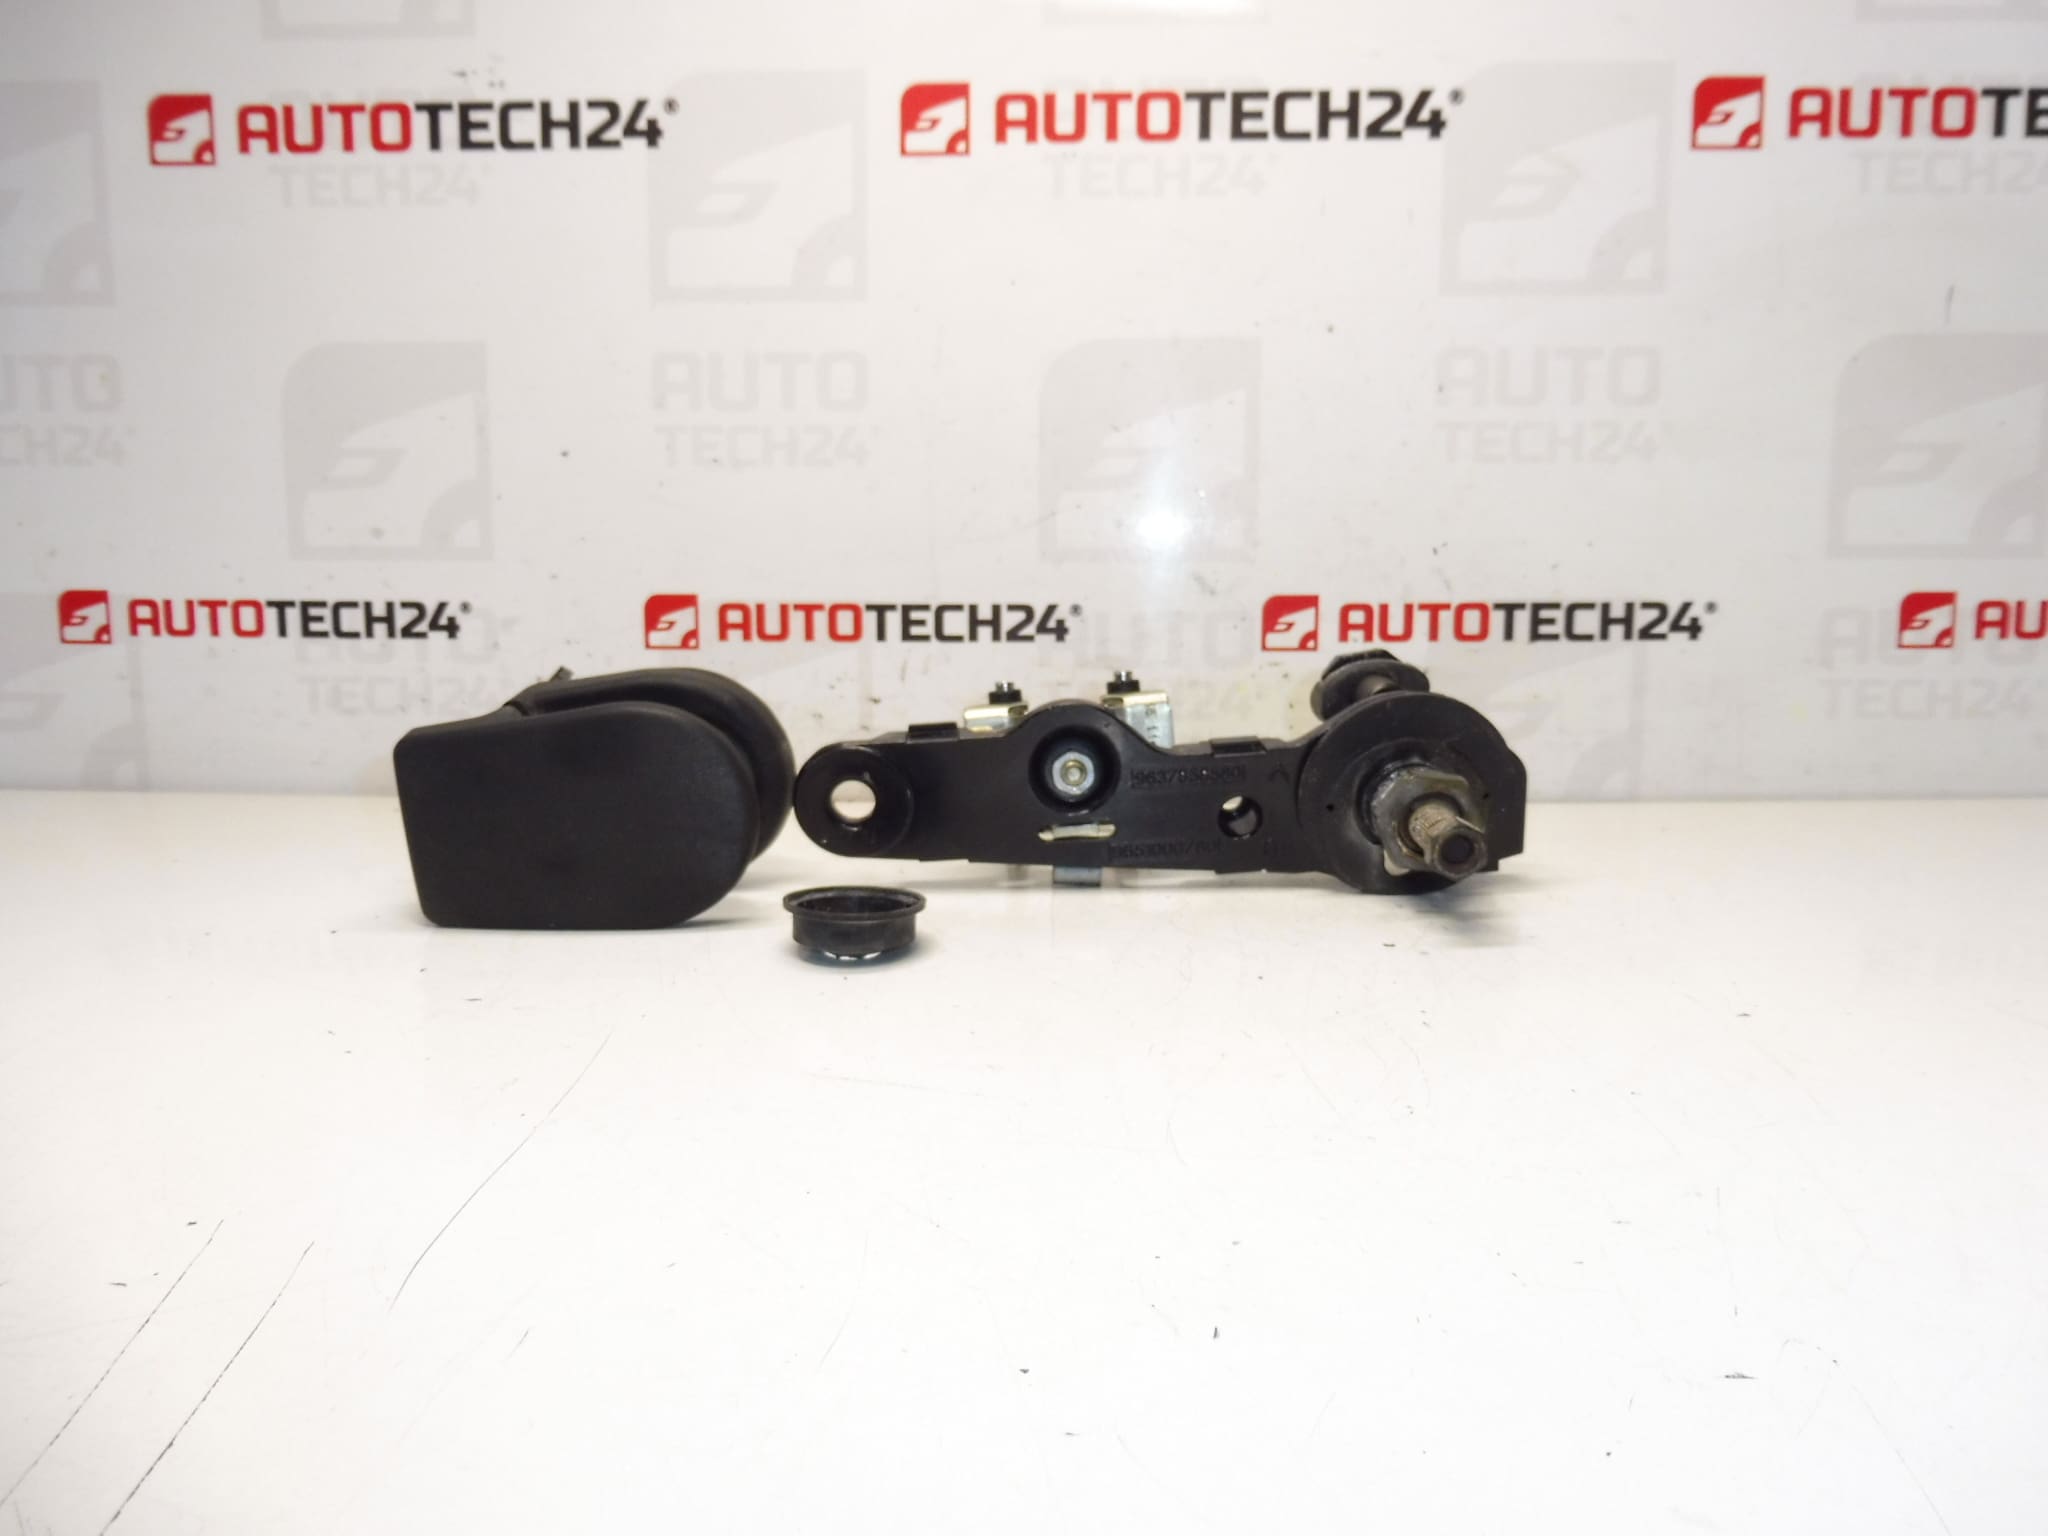
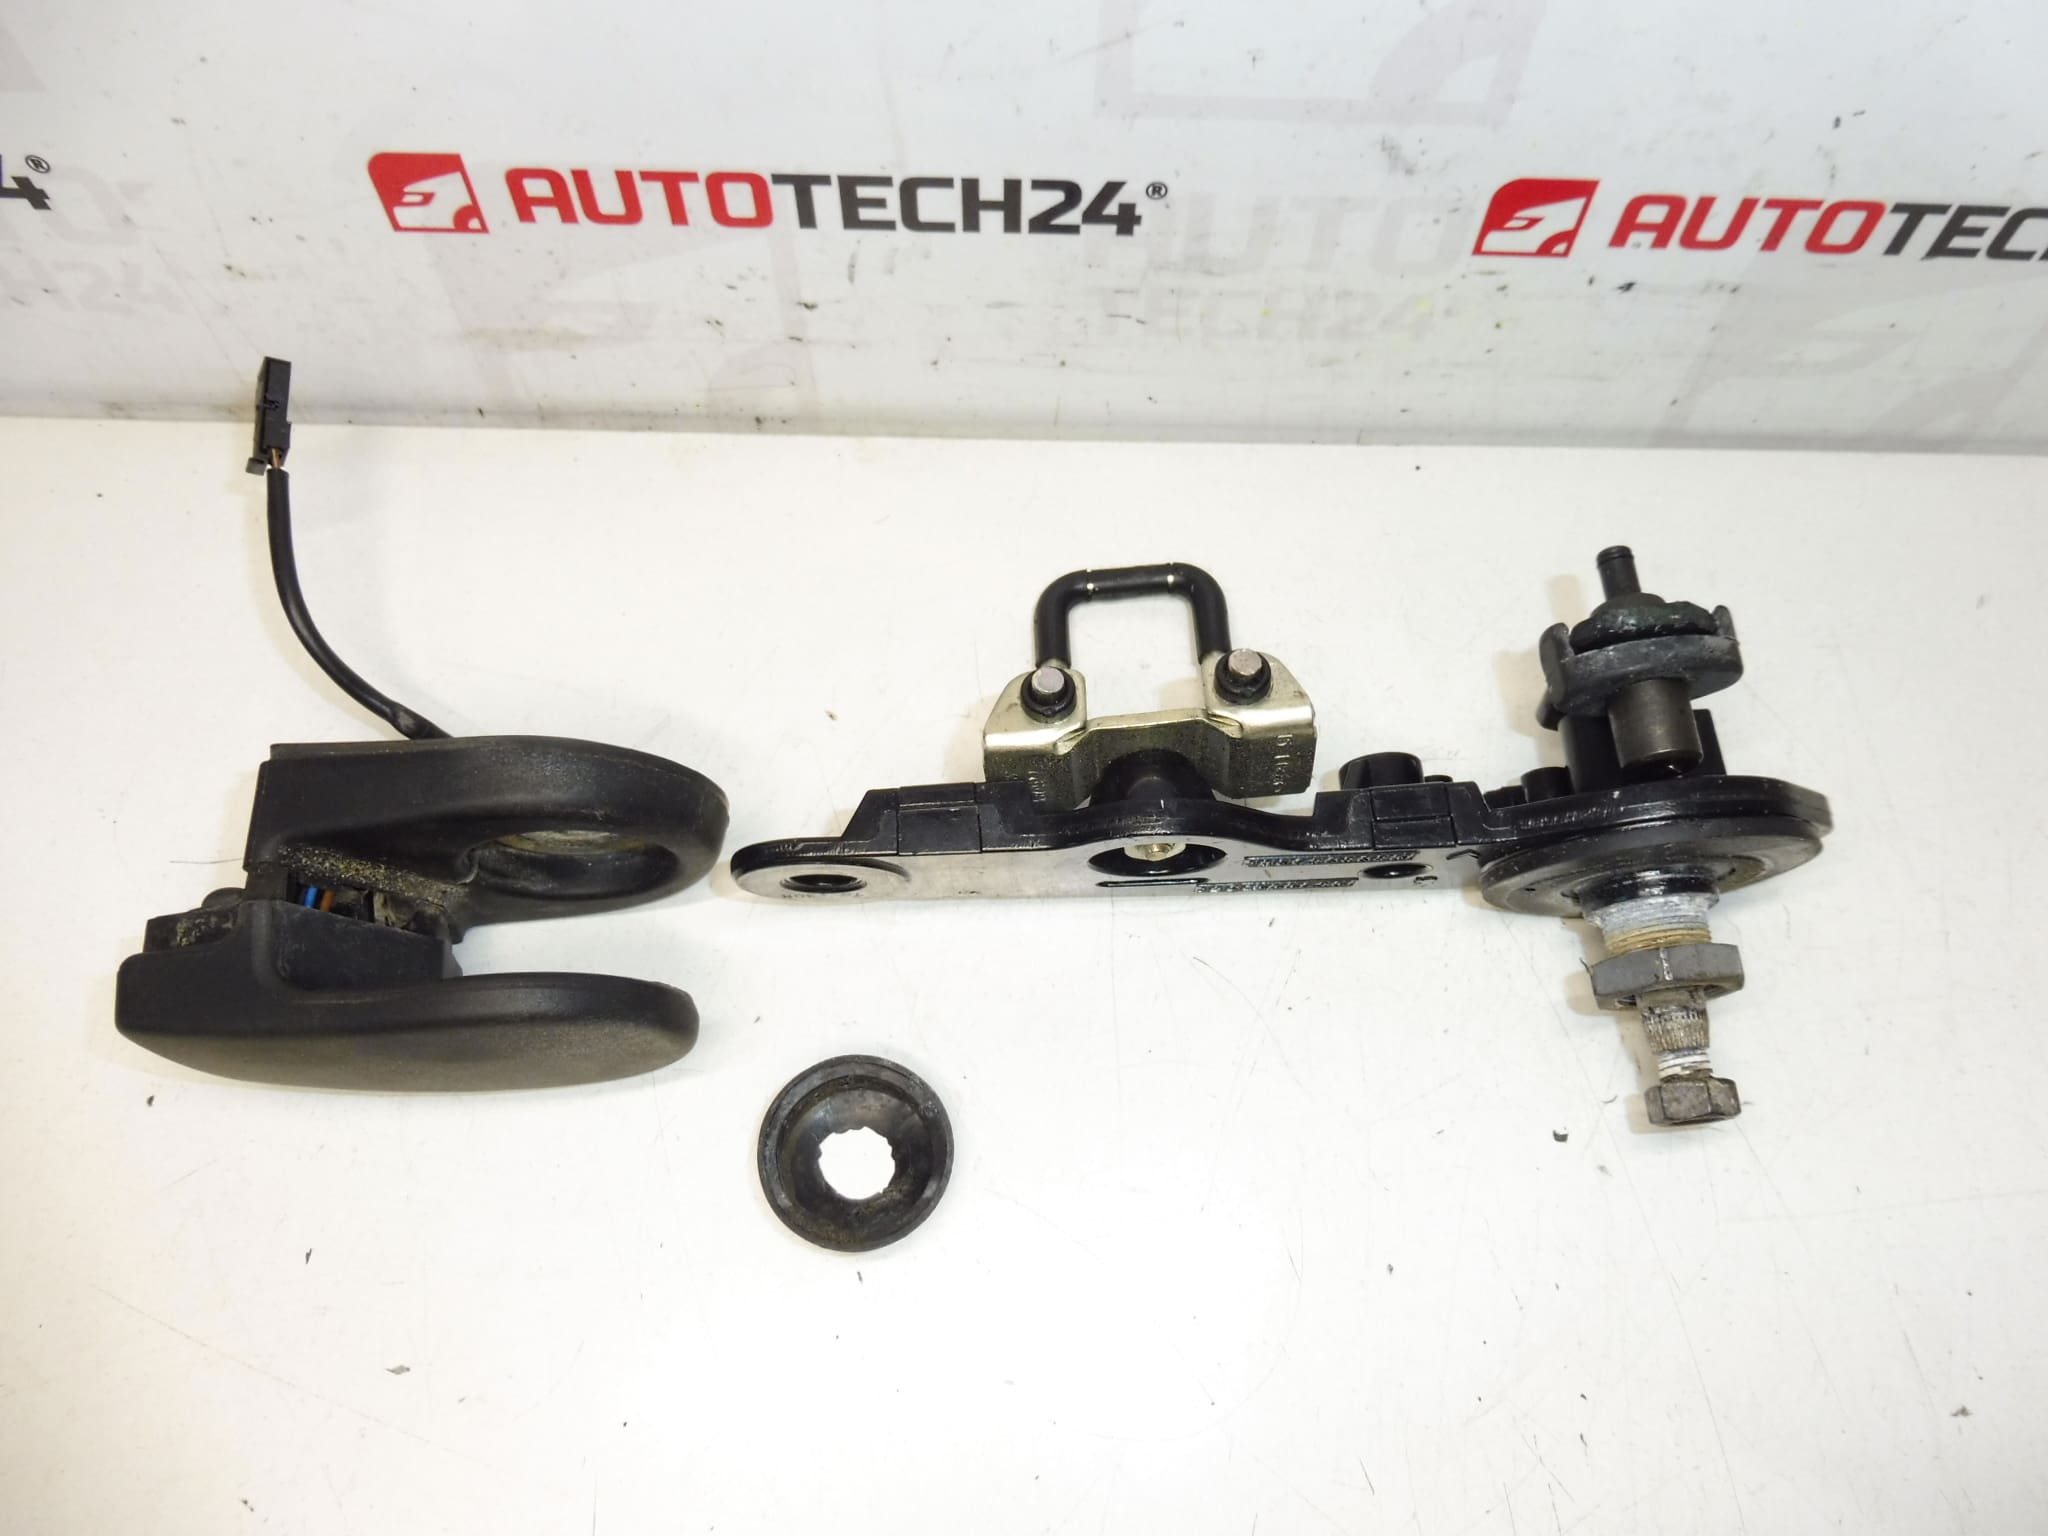
Rear Wiper Mechanism for Peugeot 407 SW. Bearing Is Functional, Microswitch Is Functional.
High-quality replacement rear wiper mechanism for Peugeot 407 SW, suitable for professional workshops and experienced DIY mechanics. This unit restores reliable wiping and parking function at the tailgate, helping maintain rear visibility in rain and snow. The mechanism is commonly identified by OE codes listed below, which technicians often use when searching for the correct spare part.
Technical Information
- Manufacturer: Stellantis / Citroen / Peugeot
- Model: Peugeot 407 SW
- Product Codes: 9651000780, 9637858580, 6405Z1
- Additional Numbers: 6405K3, 6405K4, 6405K5, 450343, 6936C2
Function
The rear wiper mechanism transmits torque from the small electric motor and linkage to the wiper arm, ensuring correct sweep and a defined park position. The bearing supports the rotating shaft and reduces friction, while the microswitch (park switch) signals the control circuit when the arm reaches its parked position so the motor can stop at the correct angle.
How To Replace
- Park Vehicle In A Safe Position And Remove The Ignition Key.
- Remove The Rear Wiper Arm: Lift The Cap And Unscrew The Retaining Nut; Carefully Extract The Arm From The Splined Shaft.
- Remove Interior Tailgate Trim To Access The Mechanism: Carefully Release Clips And Fasteners To Expose The Unit And Wiring.
- Disconnect Electrical Connector And Unbolt The Mechanism From The Tailgate.
- Fit New Unit: Position Mechanism, Fasten Bolts To Manufacturer Specification, Reconnect Wiring And Refit Trim.
- Refit Wiper Arm On Correct Spline Position And Tighten Retaining Nut To Spec (Refer To Repair Manual For Torque Values).
- Test Operation: Cycle Rear Wiper To Ensure Proper Sweep, Park Position And No Unusual Noise.
Mounting Recommendations
- Use Proper Tools And Avoid Damaging Trim Clips. Protect Paint Around Tailgate When Working On The Wiper Arm.
- Ensure Splines Are Clean And Lightly Lubricated With An Appropriate Anti-Corrosion Grease Before Refitting The Wiper Arm.
- Do Not Force The Arm On If Splines Do Not Align; Rotate Mechanism To Park Position First.
- Follow Manufacturer Torque Values For Fasteners—If Unknown, Consult The Workshop Manual.
Why It Fails
Rear wiper mechanisms typically fail due to mechanical wear, water ingress and corrosion, or a seized/broken bearing. The microswitch can wear or fail electrically, preventing the motor from recognizing the park position. Freezing conditions, heavy contamination (dirt/salt), or excessive force when the blade is obstructed are common triggers for premature failure. Regular inspection and ensuring the tailgate seals drain correctly will extend service life.
Notes
This unit Is Supplied As A Direct-Fit Replacement Where The Above OE Codes Match. Ideal For Workshops And Experienced DIYers Searching By Part Number.